
Overview
Embedding UnifyApps applications in Zendesk allows seamless integration of UnifyApps features within your Shopify store.
Step-by-Step Instructions
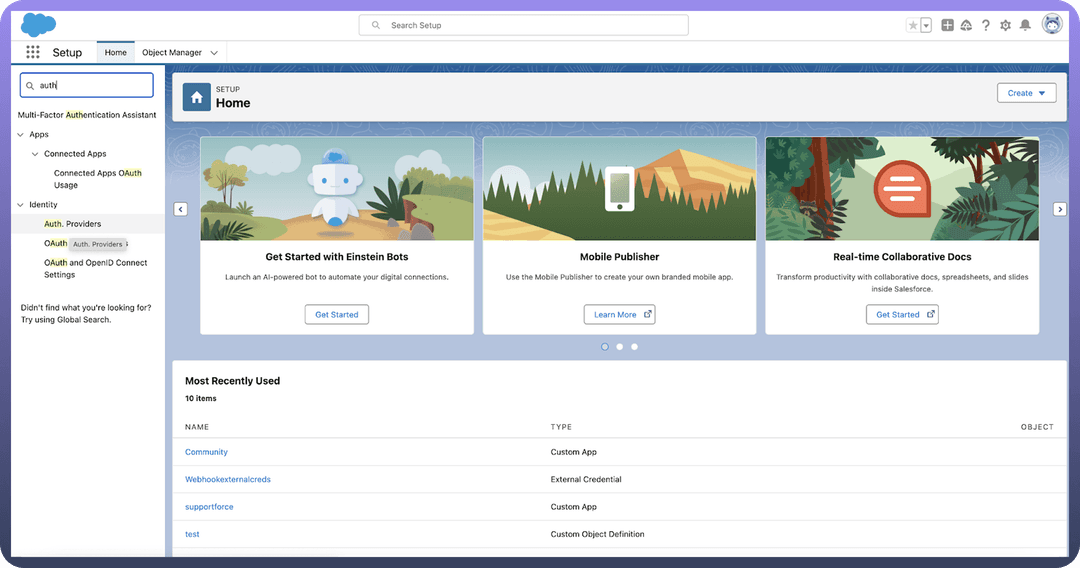
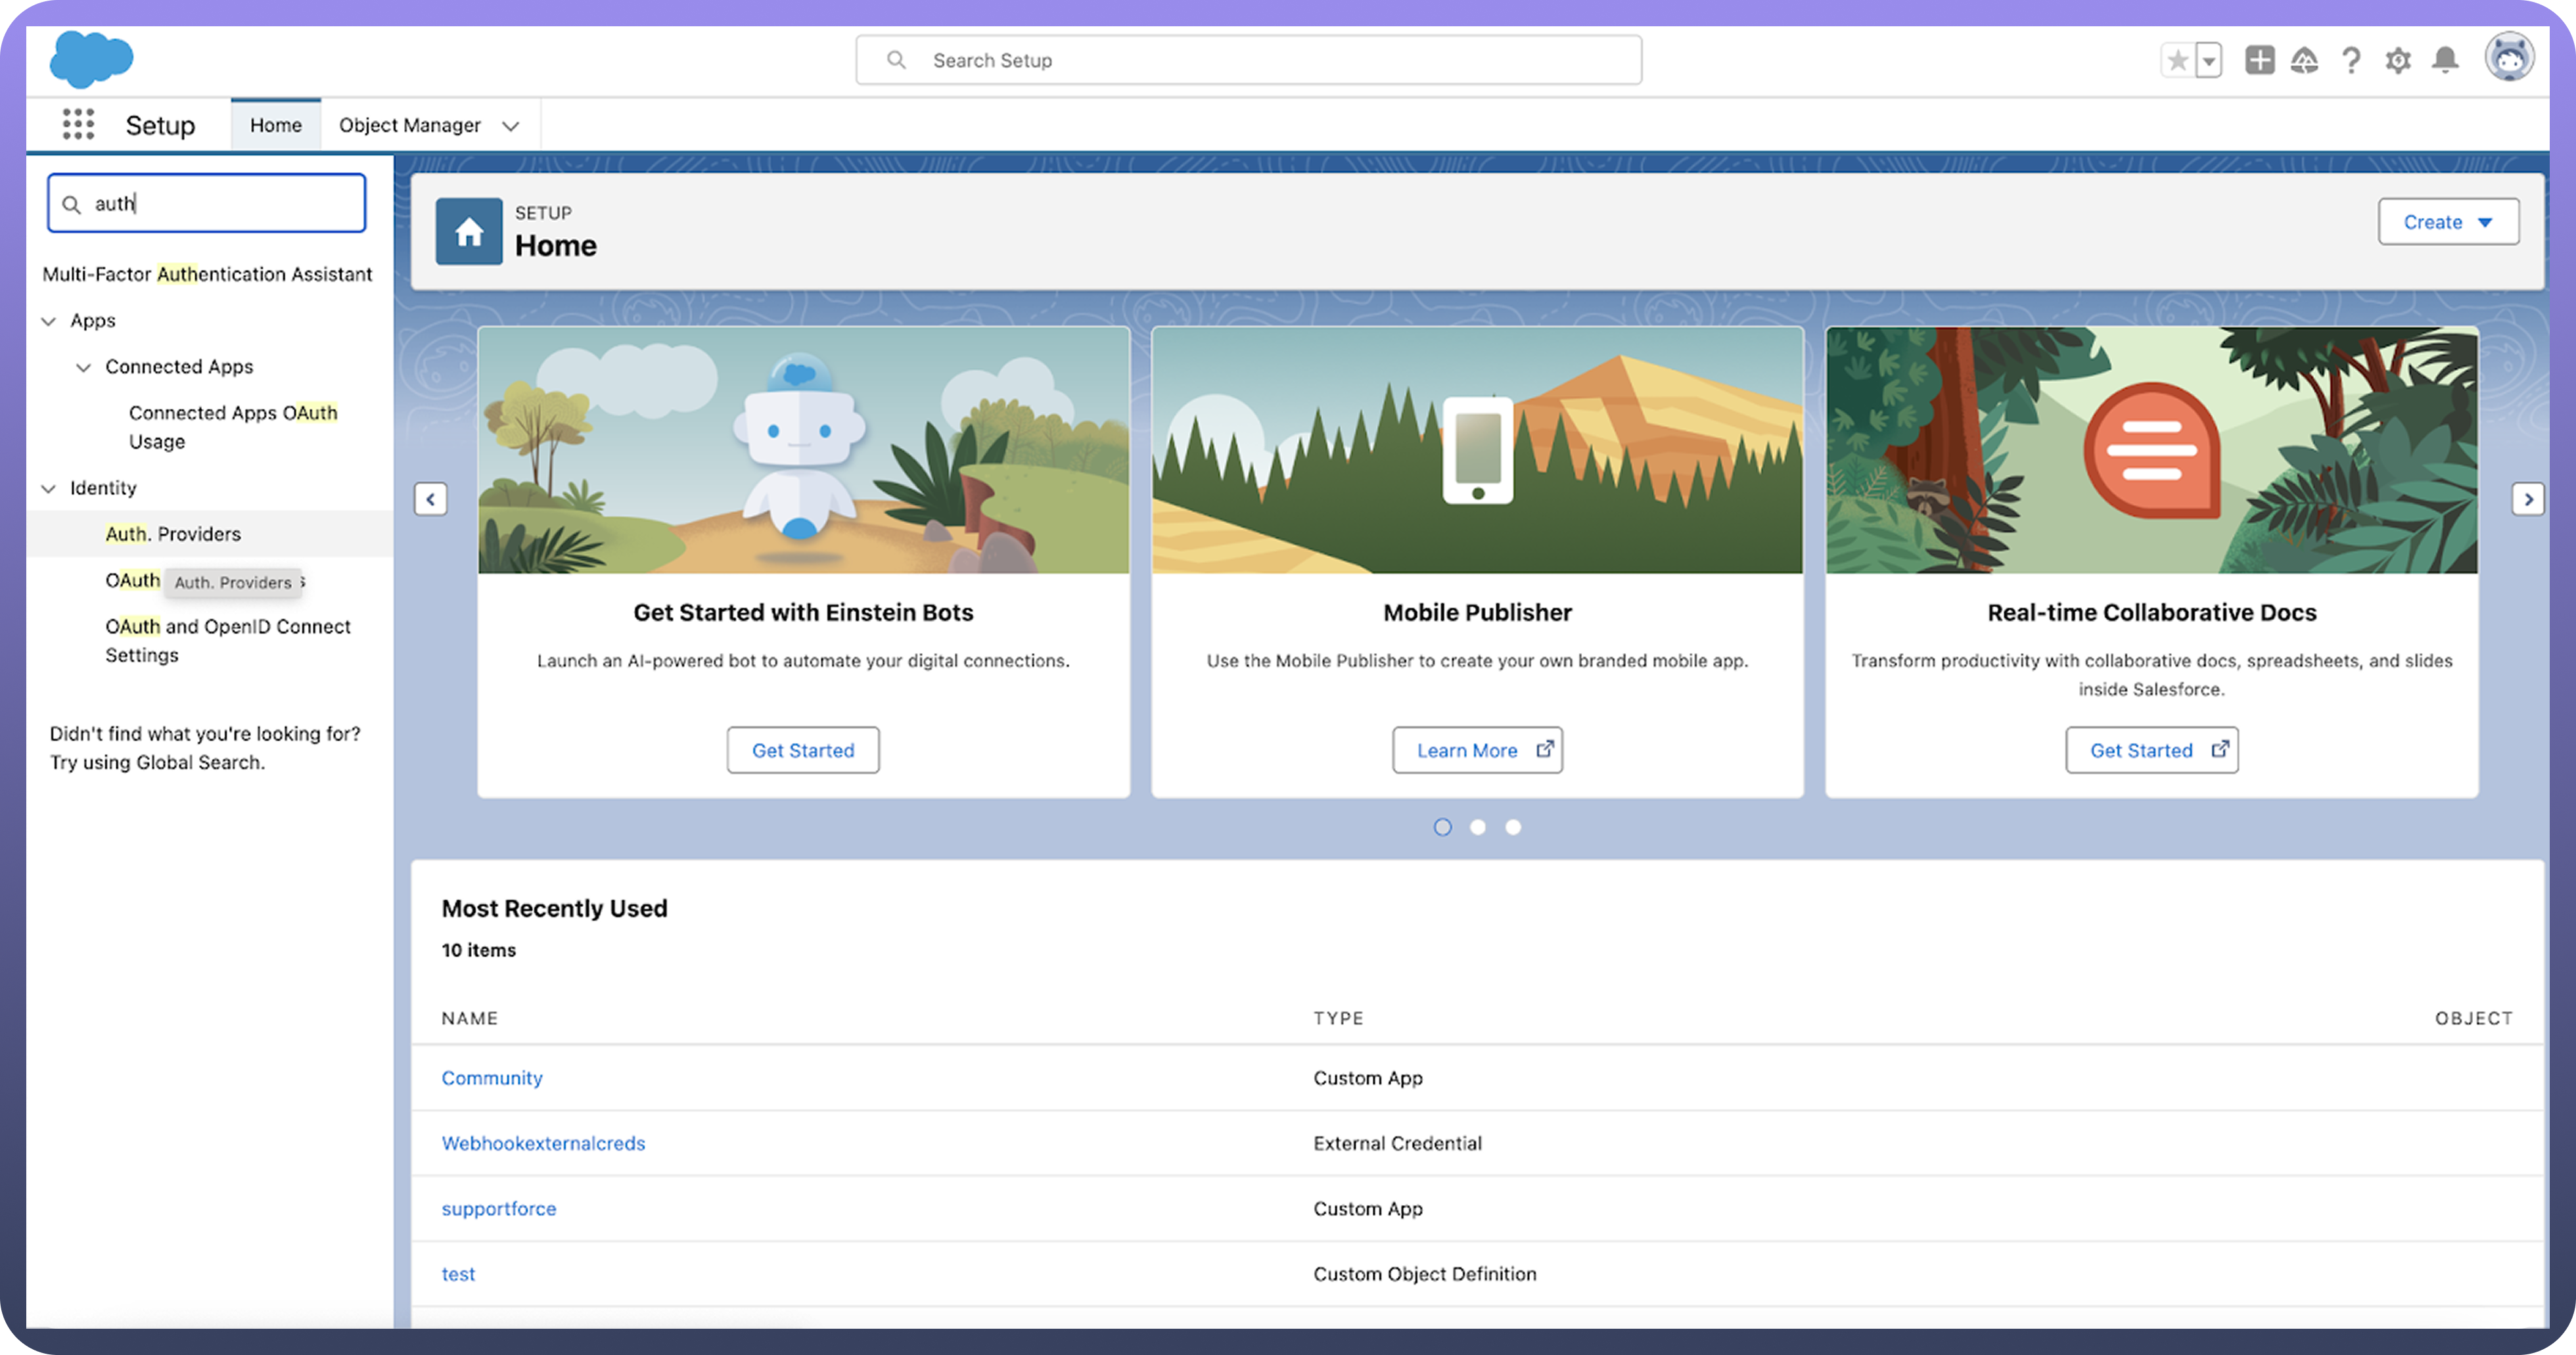
Pre Requisite 1
Ensure that “
Allow Authorisation Code and Credentials Flows” is enabled in OAuth and OpenID Connect Settings.This is required to fetch Salesforce data in UnifyApps
.png&w=1080&q=75)
.png)
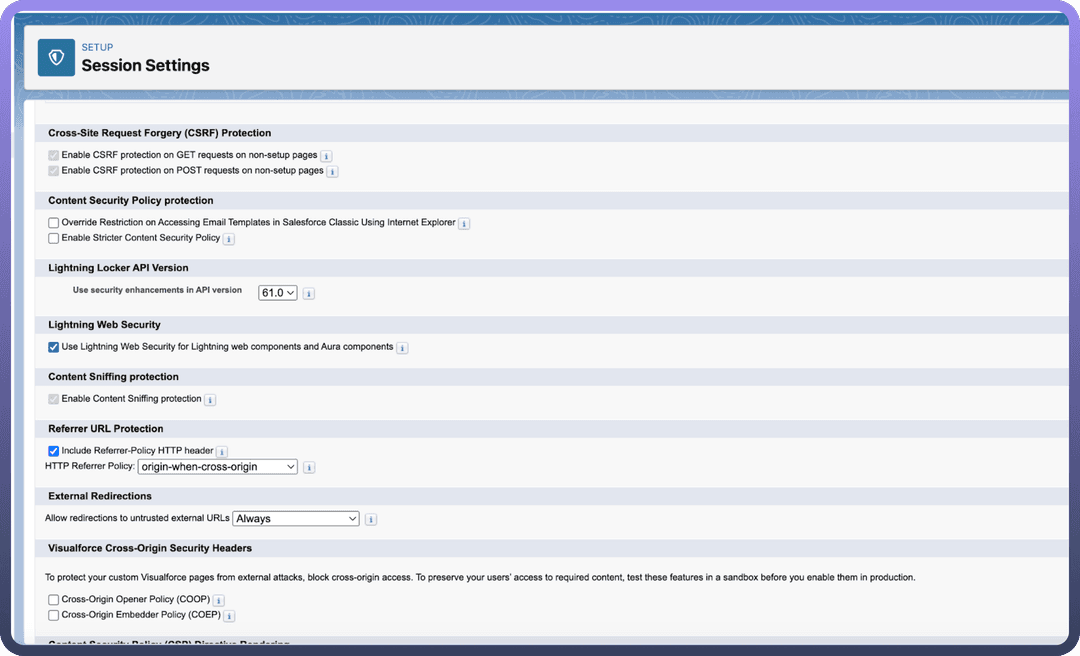
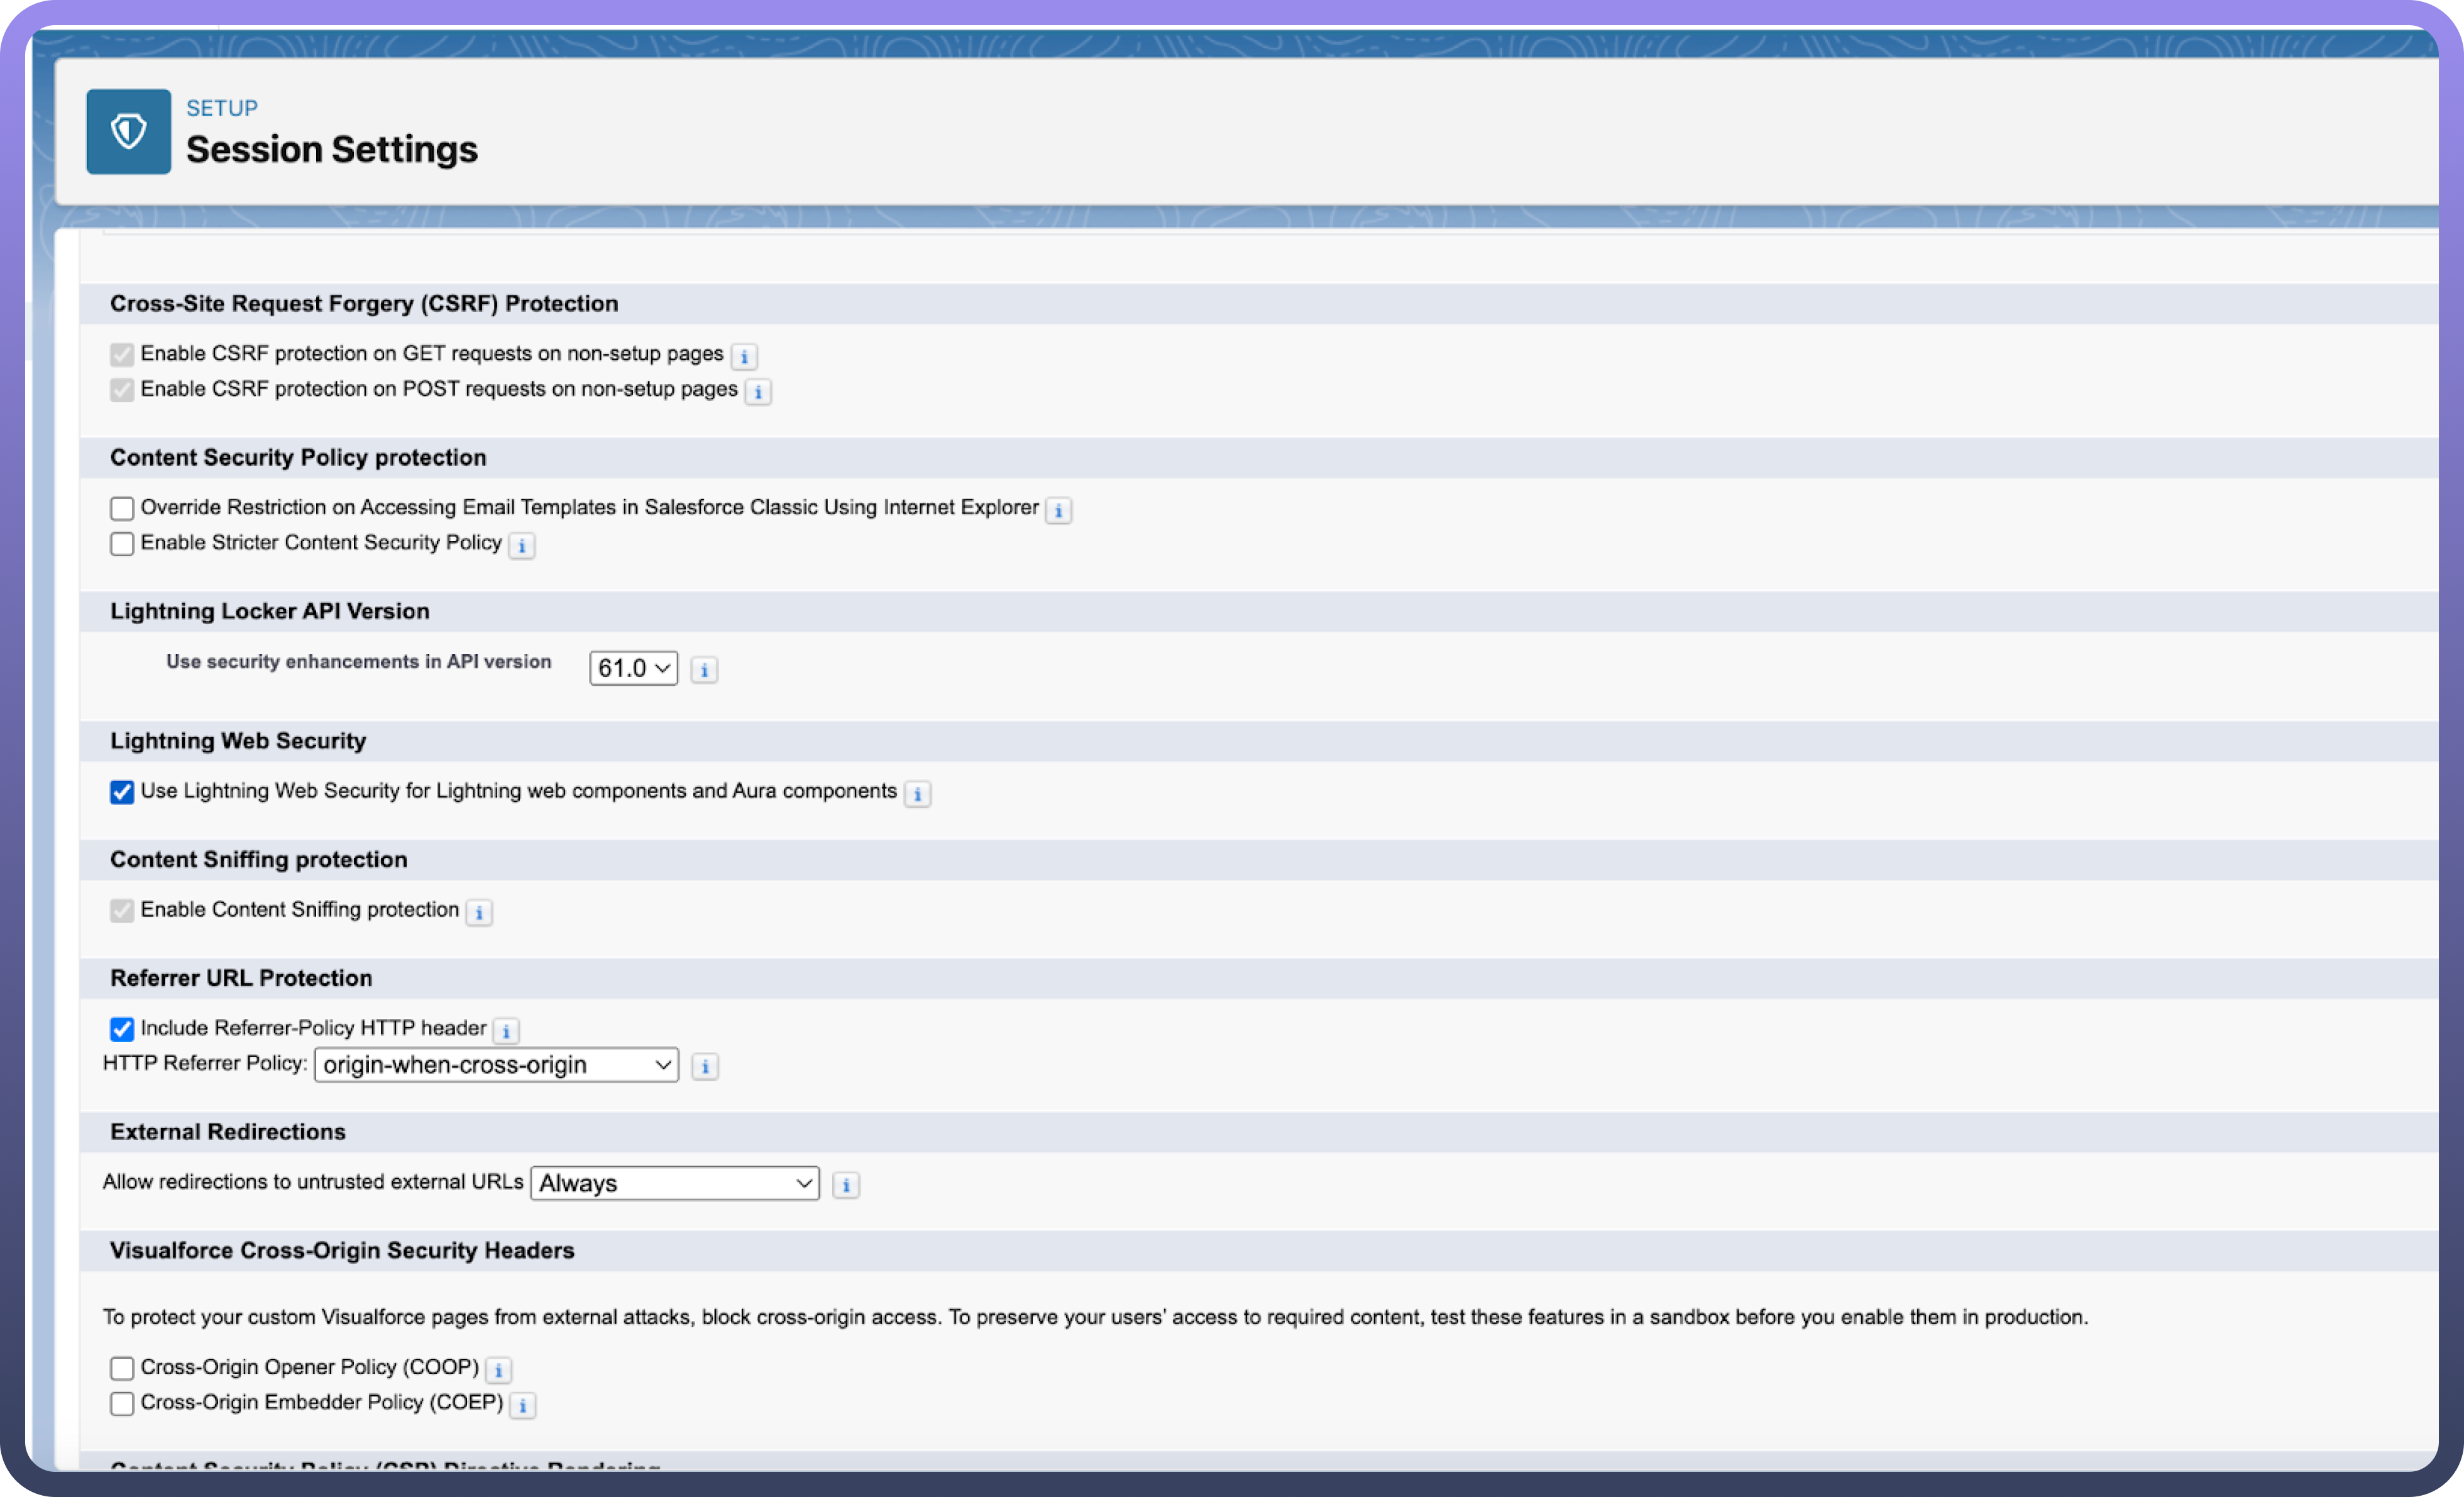
Pre-Requisite 2
Enable “Use Lightning Web Security for Lightning web components and Aura components” in Session Settings.
Step 1: Install UnifyApps
To begin the integration, you must install the UnifyApps package into your Salesforce organization.
Package Details: Version: 1.23
Published Date: Apr 14, 2025
Installation Link: Install UnifyApps Package (v1.23)
Instructions:
Click the link above to be redirected to the Salesforce installation screen.
Choose Install for All Users
Click the Install button
Approve third-party access for Salesforce and click Continue
Wait a few minutes for the installation to complete.
(Note: The UnifyApps package is currently undergoing the AppExchange approval process and will be available there directly in the coming months.)
.png&w=1080&q=75)
.png)
.png&w=1080&q=75)
.png)
Step 2: Configure UnifyApps
In Salesforce, Click on
App launcherand open Unify Apps configuration.Enter
Domain&Tenant ID
.png&w=1080&q=75)
.png)
Step 3: Authenticate UnifyApps
Go to the setup page under Settings.
Search for Auth Providers in setup.
Create a New Auth with AuthProvider Named “UnifyAppsAuthProvider”
Choose UnifyAppsAuthProvider as Provider Type.
Keep Name & URL Suffix as unifyapps.
Choose an admin from your SF org for Execute Registration As Field.
Click on
SaveButton.png&w=1080&q=75)
.png)
Step 4: Named Credentials
Search for Named Credentials in Setup.
Edit unifyapps named credentials
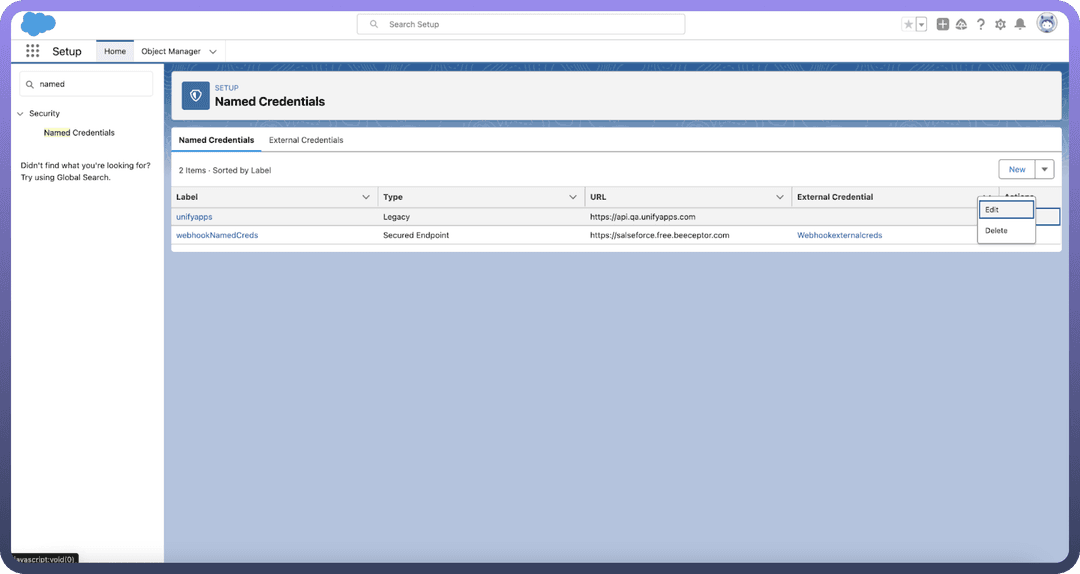
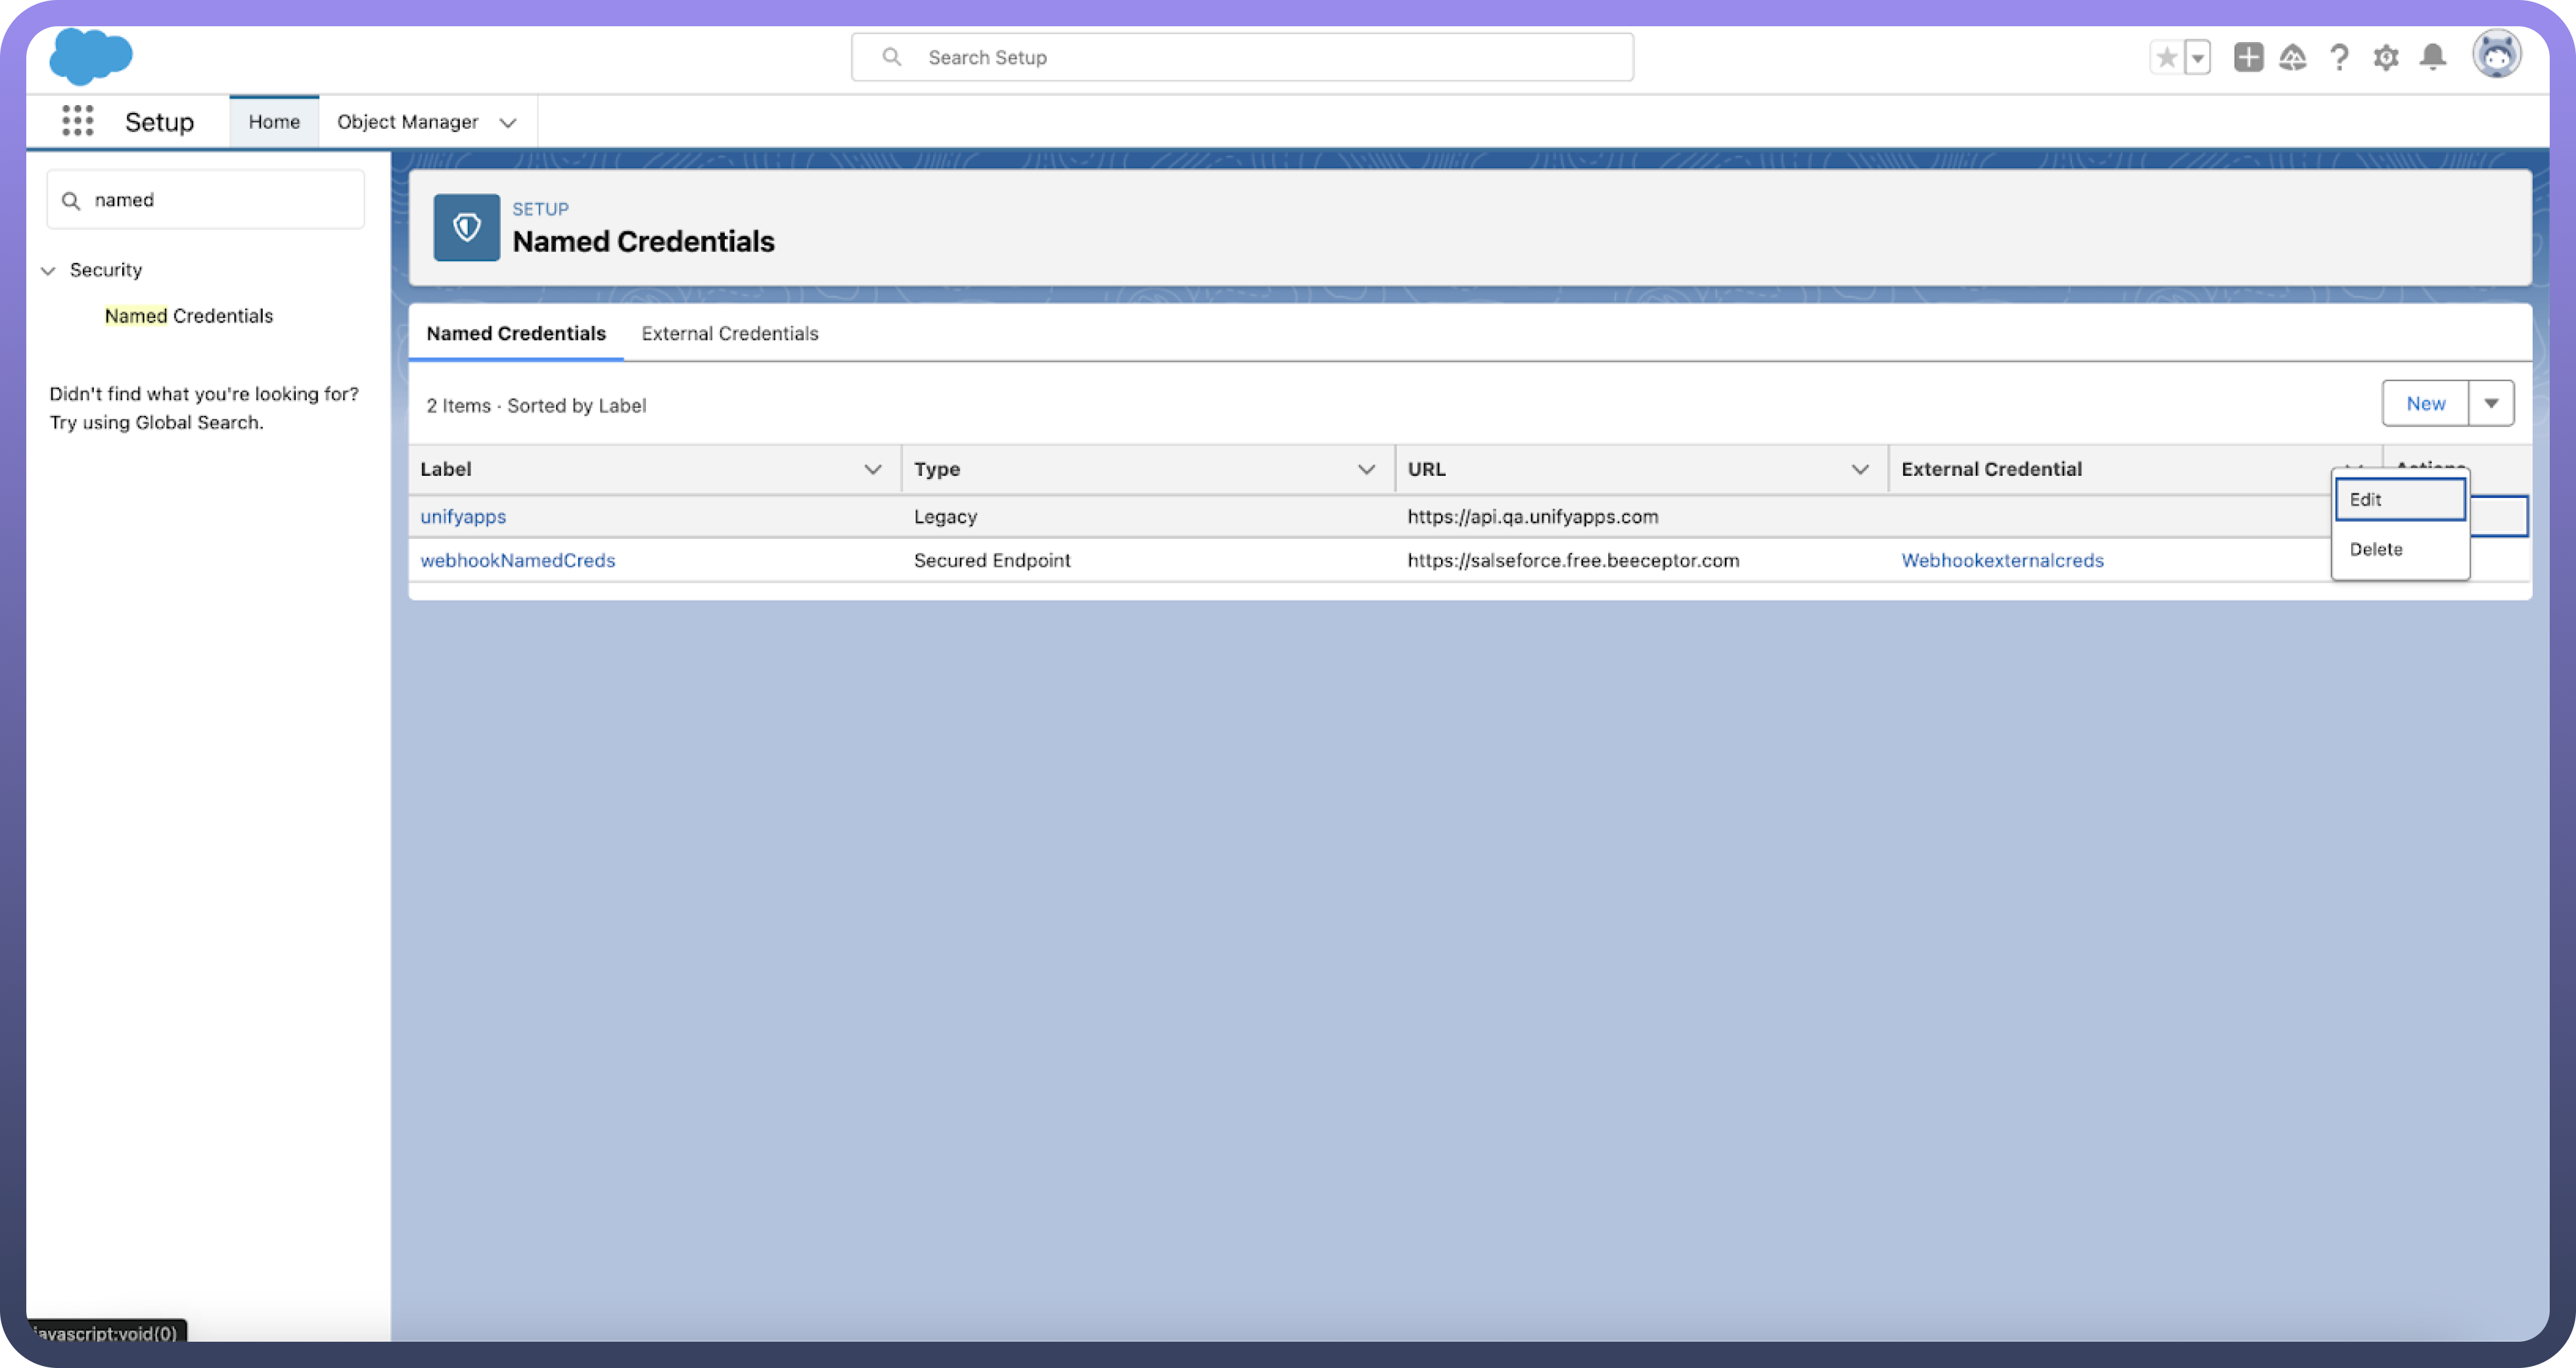
Choose
OAuth 2.0as Authentication Protocol.Choose unifyapps as Authentication Provider.
Select “
Start Authentication Flow on Save”Click on
SaveButton.png&w=1080&q=75)
.png)
Step 5: App Builder
Open Page where you want to add UnifyApps Interface component
Search for UnifyApps Interface component in Custom-Managed Components.
Drag and Drop UnifyApps Interface component in the screen to add it
Add Interface and page id to render UnifyApps application page.