


Unify Automations lets you connect apps, schedule tasks, and run logic without writing backend code — you wire triggers to actions on a visual canvas, and the platform runs your workflow.
Overview
Unify Automations lets you connect apps, schedule tasks, and run logic without writing backend code — you wire triggers to actions on a visual canvas, and the platform runs your workflow.
An automation has two parts: a trigger (the event that starts the run) and one or more actions (what happens in response). Triggers listen for something — a new record, an API call, a schedule — and actions do something with that signal: send a message, update a record, run code, branch on conditions.
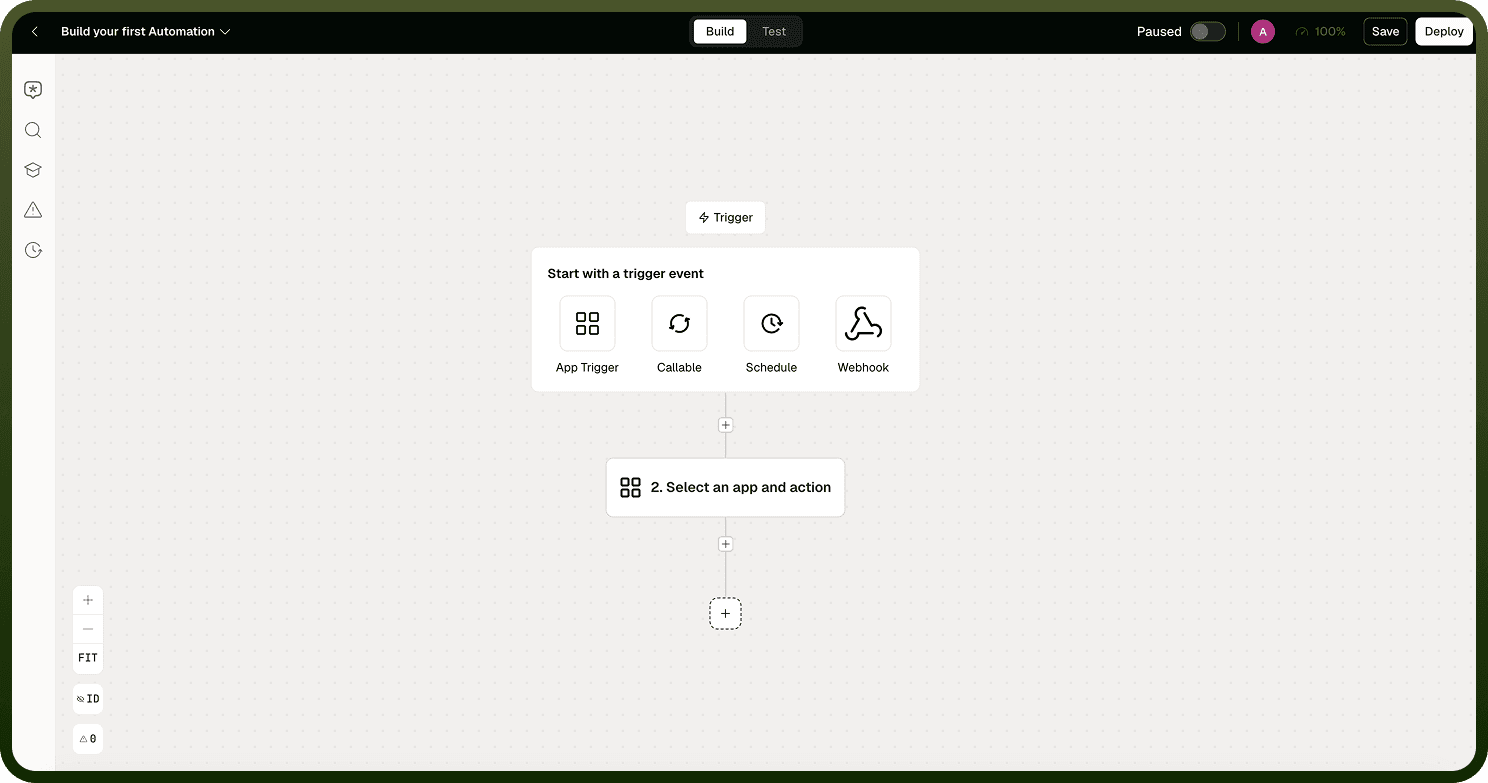
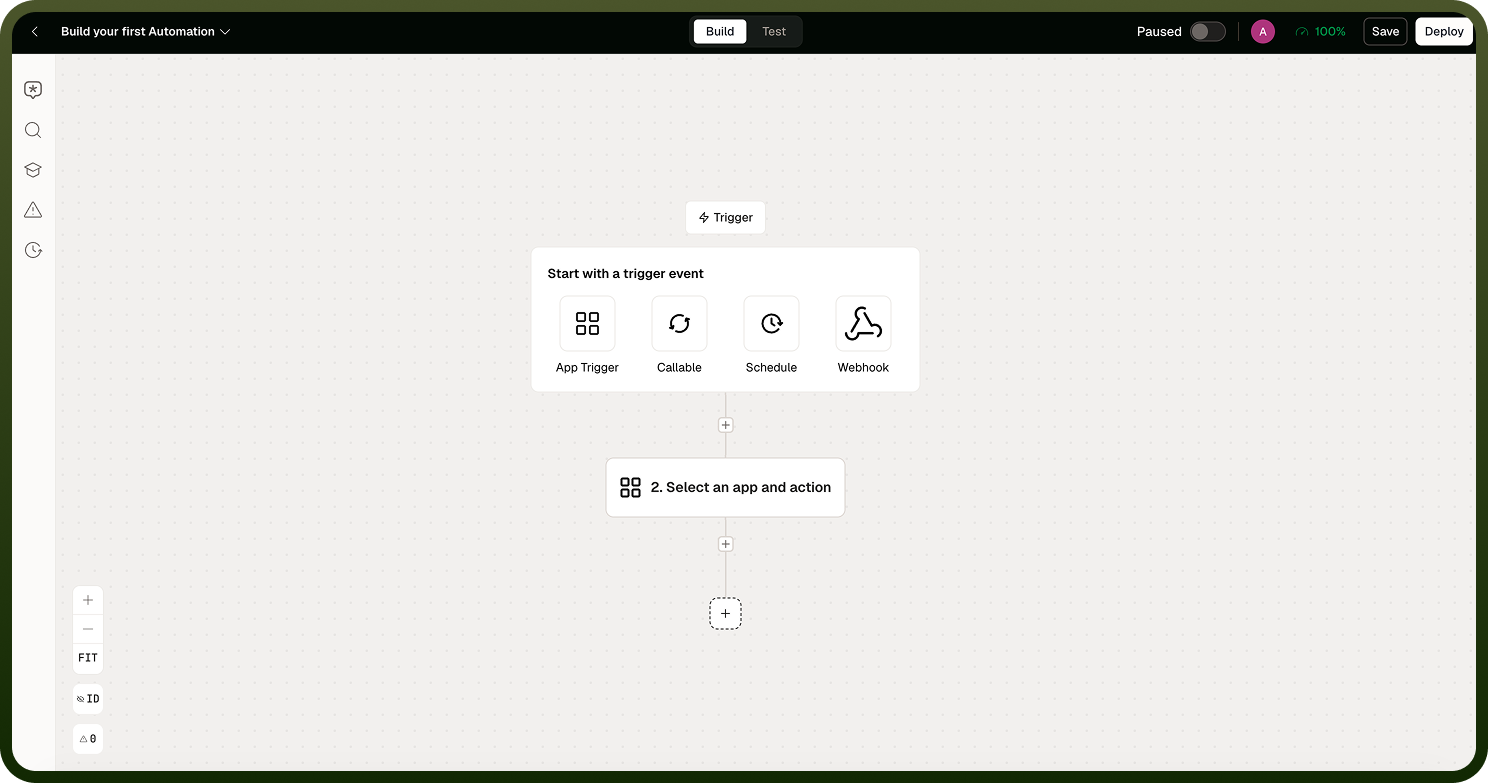
Trigger Types
Trigger | What starts the run | Key detail |
|---|---|---|
App Trigger | An event in an external app (new Gmail thread, Zendesk ticket updated, Salesforce record created) | Subscribe to app events; no API call needed |
Callable | Another automation or an API call invokes this one | Use when you need to send a response back to the caller |
Webhook | An HTTP request to the automation's generated URL | Sends a 204 response by default for all successful runs |
Scheduler | A recurring interval: daily, weekly, monthly, or custom | No external event required |
Action Types
Actions are grouped into three categories in the node picker:
Logic tools — control flow within the automation:
Condition — branch on a true/false test
Branch — multi-path routing
Loop — iterate over a list
Delay — pause execution for a duration
UnifyApps actions — built-in platform capabilities:
Storage by UnifyApps — read and write to key-value or structured storage
Variables by UnifyApps — set and get variables scoped to the run
Code by UnifyApps — run JavaScript, Groovy, Python, or Java inline
Connector Actions — app-specific operations (Create record in Salesforce, Post message in Slack, and so on). The list updates as new connectors are added.
How to Create a New Automation
Log in to your UnifyApps account.
Navigate to the Automations section within Unify Automations.
Click "New Automation" on the top right corner.
Choose a trigger type for your automation.
Configure the trigger settings.
Add actions by dragging and dropping from the available options.
Configure each action's settings and parameters.
Test your automation using the built-in test module.
Save and activate your automation.
Notes
Unify Automations supports every pattern from simple one-step notifications to complex multi-branch workflows with loops and callable sub-automations. To make the most of it:
Start with the trigger type that matches your source event — app trigger for app events, scheduler for time-based, callable for API-driven flows.
Use Variables by UnifyApps to pass data between non-adjacent nodes without re-querying an external API.
Test before activating — the built-in test module runs a single instance with hard-coded input so you can inspect each node's output before the automation goes live.
Keep automations focused on one business process; chain them via Callable triggers instead of building one automation that does everything.
A well-structured automation is faster to debug and easier to hand off to teammates.