


Alerts watch an automation on a schedule and notify you — or trigger an action — when a metric crosses a threshold you define. They let you detect failures and performance problems automatically, without monitoring the Runs screen yourself.
Overview
An alert is a background check that runs on a configurable interval. Each time it checks, it measures the metric you selected over that window, compares the result against your thresholds, and runs any actions you have attached to the matching status. An automation can have several alerts, each watching a different metric with its own thresholds and notification targets.
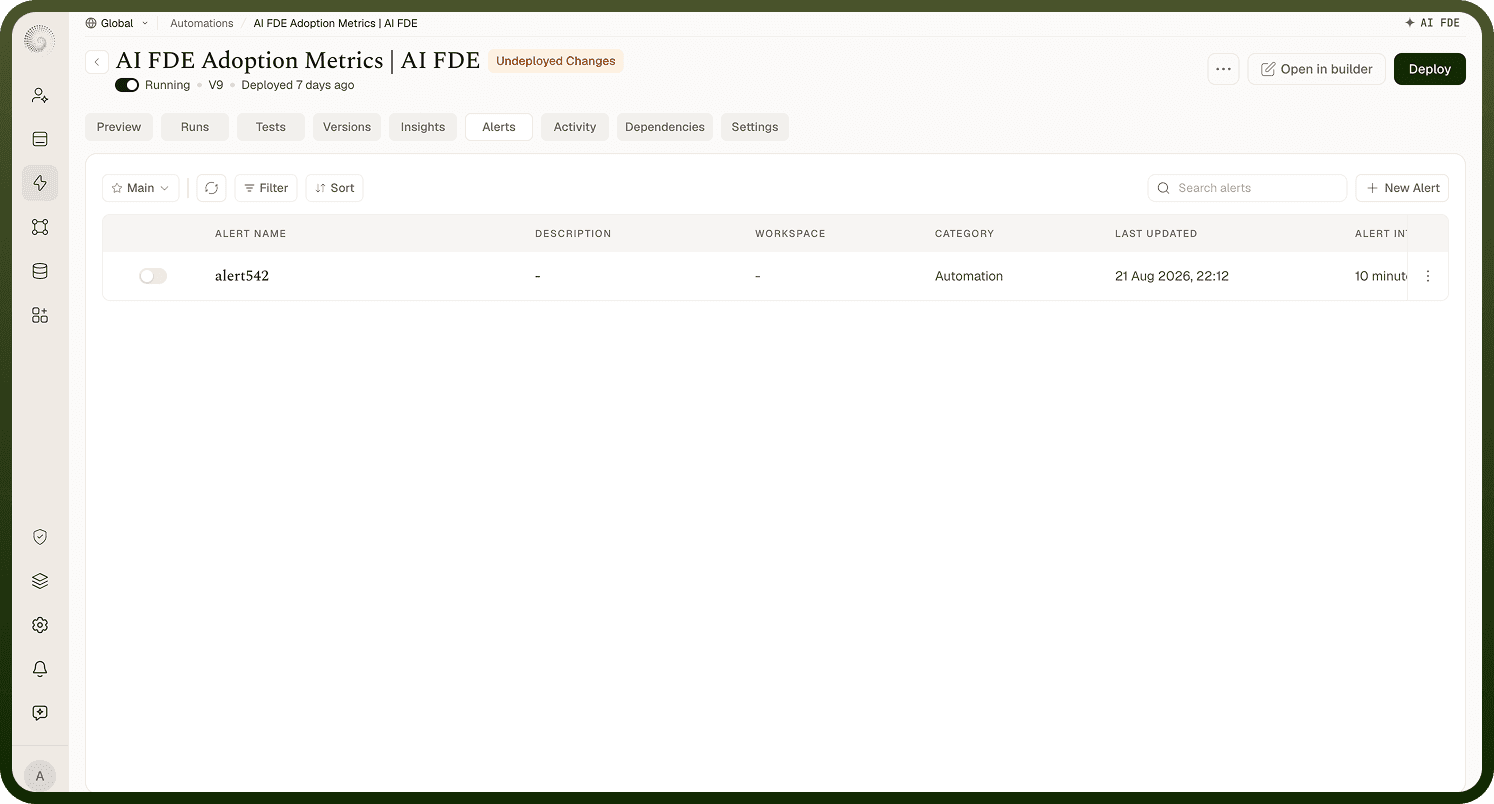
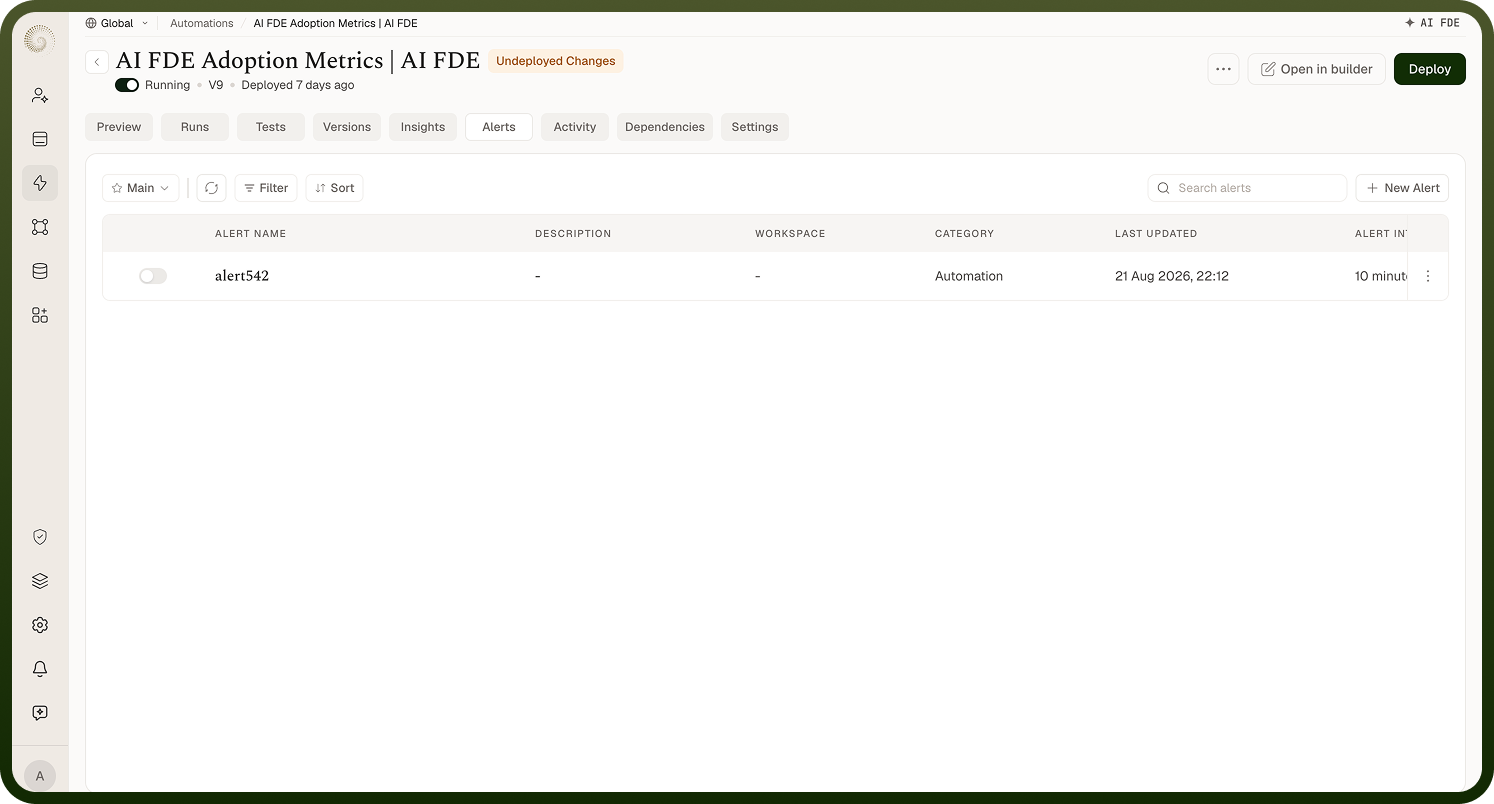
You find an automation's alerts on its Alerts tab. The tab shows a table of every alert configured for that automation, with columns for Active (an on/off toggle), Alert Name, Description, Category (what metric it watches), Alert Interval (how often it checks), and Last Updated.
Note: Alerts read from recorded run data. If run logging is disabled for an automation, there are no metrics for the alert to measure and it will not fire correctly. Verify that run logging is enabled in the automation's Settings before creating alerts.
Creating an Alert
To create a new alert, open the automation and go to its Alerts tab, then click New Alert. If no alerts exist yet, you can also click Create Alert from the empty state prompt. Fill in the form as follows:
Name and description — Enter a name (required) that identifies what this alert watches. Add an optional description for context.
Select Metric — Choose the metric the alert will monitor, such as how many runs failed or how long runs take.
Alert Interval — Set how often the alert checks: enter a number and select a unit of Minutes, Hours, or Days. Minutes is the default. On each interval, the alert measures the metric over that same window.
Define Thresholds — Add one or more threshold rules that specify when the alert should fire. Each rule has a value and a unit of Percent or Count — for example, fire when failures exceed 10% of runs.
Define Actions — Add at least one action to run when a threshold is crossed. See Notifications Channel below for the available action types.
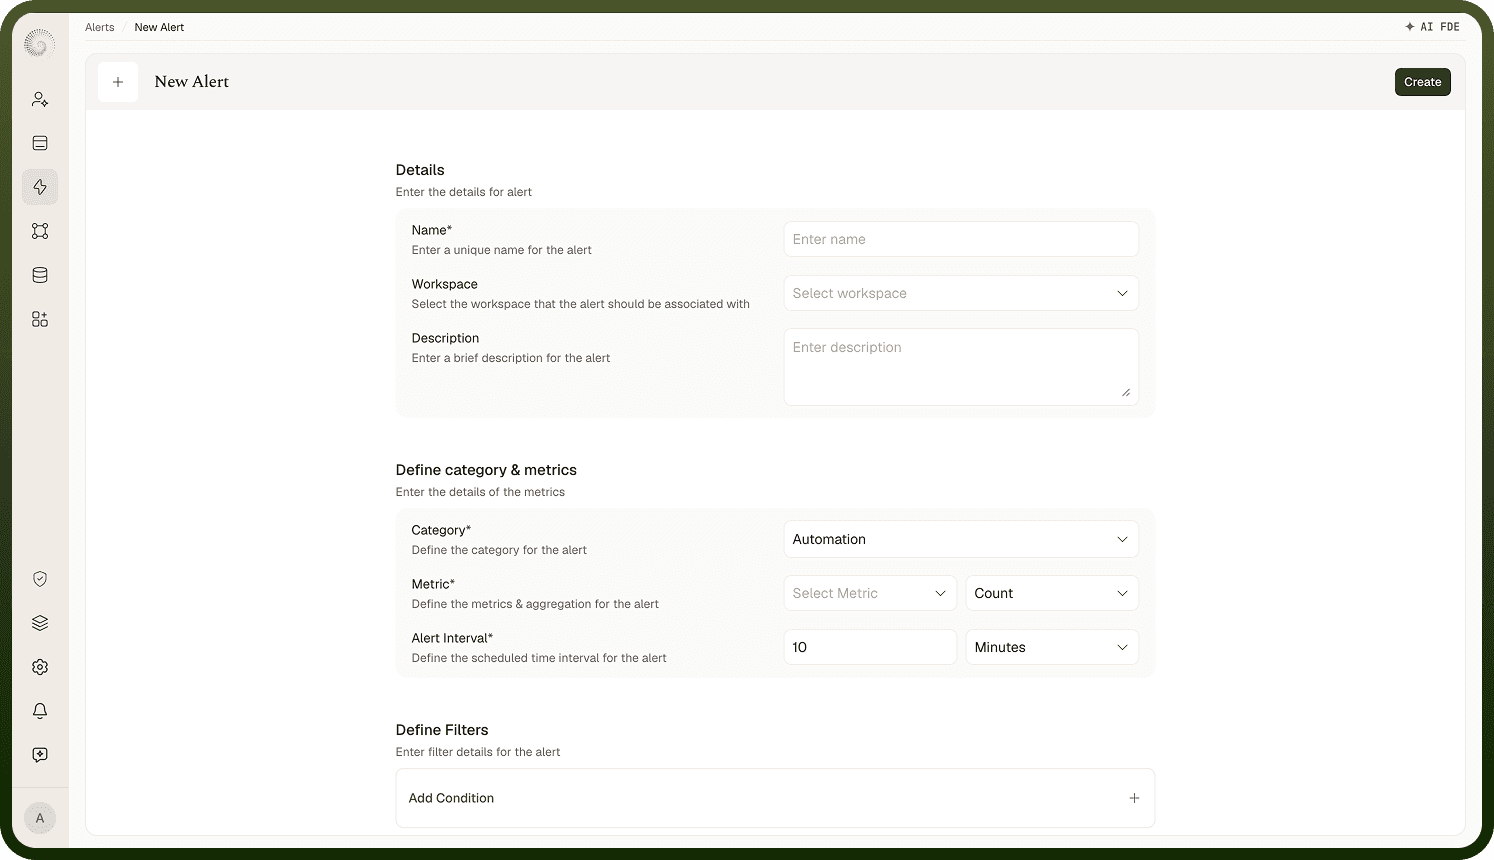
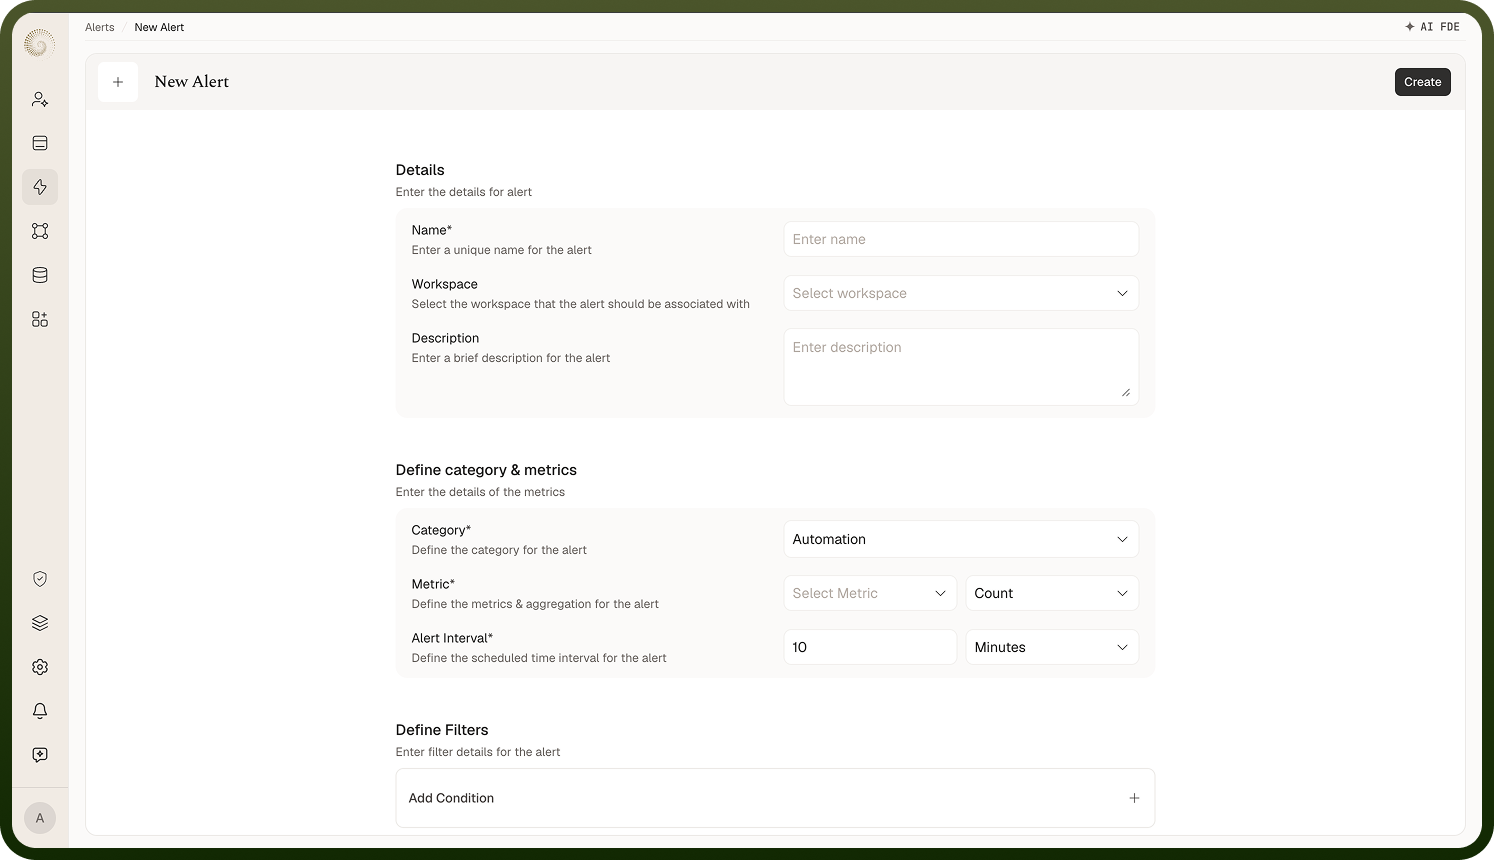
Save the form and the alert starts checking on its configured interval. You can edit any of these settings later by clicking the alert row in the table.
Alert Conditions
Thresholds are the rules that determine when an alert fires. Each threshold rule specifies a value and a unit:
Unit | Description |
|---|---|
Percent | The threshold fires when the metric crosses a percentage of total runs — for example, when more than 10% of runs in the interval window fail. |
Count | The threshold fires when the raw count of matching runs crosses the value — for example, when more than 5 runs fail within the interval window. |
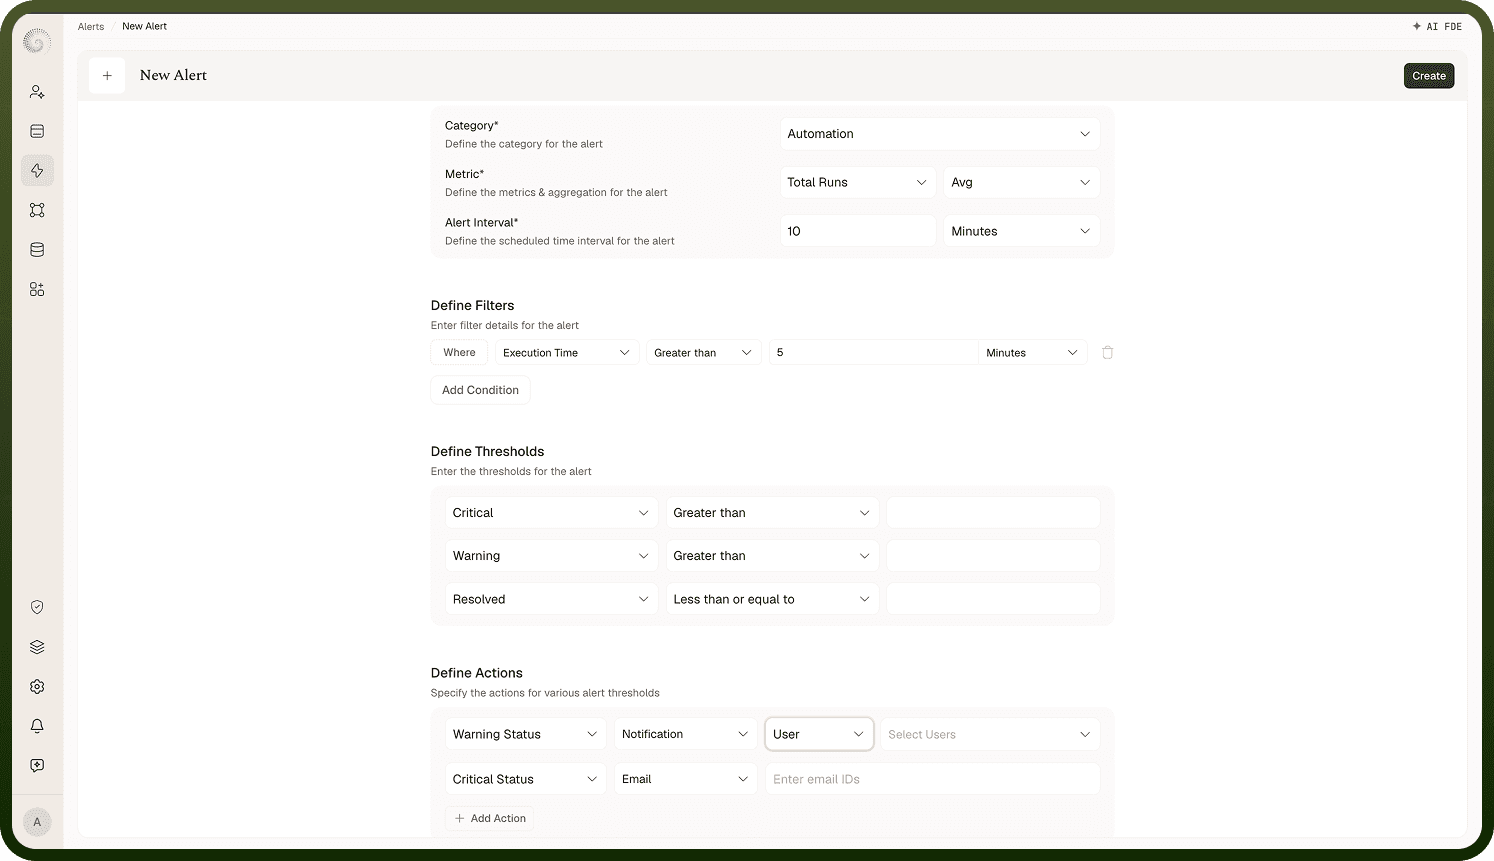
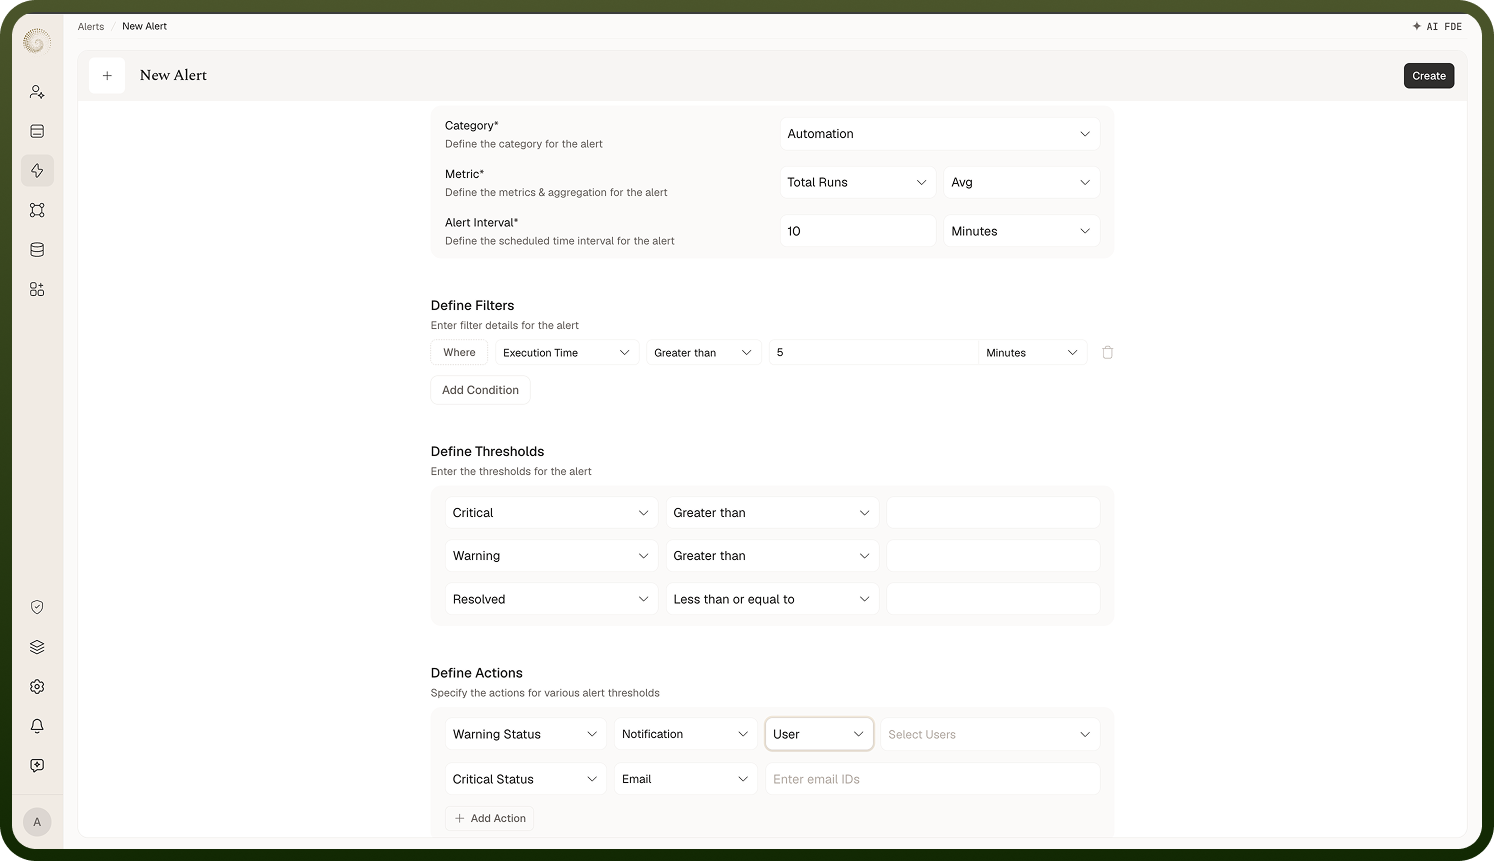
Each threshold is associated with a status that determines which actions run when it is crossed:
Status | When to use |
|---|---|
Critical | The serious threshold has been crossed — for example, a high failure rate. Use this for your most urgent notifications. |
Warning | An early threshold has been crossed — a signal to investigate before the problem becomes critical. Use this as an advance notice. |
Resolved | The condition has cleared and the metric is back within normal bounds. Use this to send an all-clear so responders know the issue is over. |
You can attach different actions to each status — for example, send an email and notify a team on Critical, send an email only on Warning, and notify the team on Resolved.
Notification Channels
Under Define Actions, you attach one or more actions to the alert. Each action specifies the status it applies to and the delivery method:
Action Type | Description | Configuration |
|---|---|---|
Sends a notification to one or more email addresses when the threshold is crossed. | Enter one or more addresses in the Email IDs field. | |
Notification | Sends an in-platform notification to specific users or teams within UnifyApps. | Set Group Type to User or Team, then select the recipients in the Users or Teams field. |
Custom | Runs a callable automation of your own, enabling the alert to take any action beyond notification — for example, logging a ticket or calling an external system. | Select the callable automation to invoke. |
Click Add Action to attach multiple actions to the same alert — for example, send an email to the owner and also post an in-platform notification to a team. Each action only runs for the status it is configured for.
Managing Alerts
Pausing and resuming an alert
Use the Active toggle in the first column of the Alerts table to pause an alert without deleting it. Turning it off stops the scheduled checks and all notifications while preserving the alert's metric, thresholds, and action configuration. Toggle it back on to resume checking. Use this during planned maintenance or when you expect a temporary spike in failures that you do not want to be paged about.
Editing an alert
Click a row in the Alerts table to open the alert form and edit any field — name, metric, interval, thresholds, or actions. You can also use the row's menu and select Edit. Changes take effect on the next scheduled check.
Deleting an alert
Open the row menu and select Delete to permanently remove an alert. Standard (system) automations display their system-level alerts but do not allow deletion of those rules.
Module-level alerts
In addition to per-automation alerts, you can create alerts that watch across all automations in your workspace. Go to Automations › Settings › Alerts to create and manage them. Module-level alerts work identically — name, metric, interval, thresholds, and actions — but apply at the workspace level rather than to a single automation, so you can set one escalation policy for any critical failure without adding the same alert to every automation individually.
Notes
To make the most of it:
Always verify that run logging is enabled for an automation before creating alerts — without logged runs there are no metrics for the alert to measure, and it will never fire.
Set the Alert Interval to match how quickly you need to know about problems: a short interval catches issues fast, while a longer interval reduces noise for slow-moving metrics.
Use Warning thresholds as an early signal so you can investigate before conditions reach Critical — layering both statuses on one alert gives you graduated notification without duplicating alert rules.
Add a Resolved action to every alert so responders receive an automatic all-clear when conditions return to normal, rather than having to manually confirm the issue is over.
Use the Custom action type to integrate alerts with external ticketing or on-call systems, turning a threshold crossing into an actionable incident record automatically.
For workspace-wide coverage, create module-level alerts at Automations › Settings › Alerts instead of duplicating the same alert across every automation individually.