


The templates library is a gallery of prebuilt automations you can start from instead of an empty canvas — browse, preview the real flow, and create your own editable copy in one click.
Overview
The templates library is a gallery of prebuilt automations you can start from instead of an empty canvas. Each template covers a common automation pattern — a particular trigger, a set of connected apps, and a sequence of actions already wired together. Picking a template saves you the time of setting up the basics and lets you verify the structure before committing to it.
Templates are pulled from your platform's automation library, so what you see in the gallery reflects what has been published for your workspace. The total count of available templates appears in the header of the Templates screen.
Use a template when your need matches a common pattern it already covers. Build from scratch (or generate from a description) when your automation is specific enough that no template fits — both options are available when you create a new automation.
How to Use a Template ?
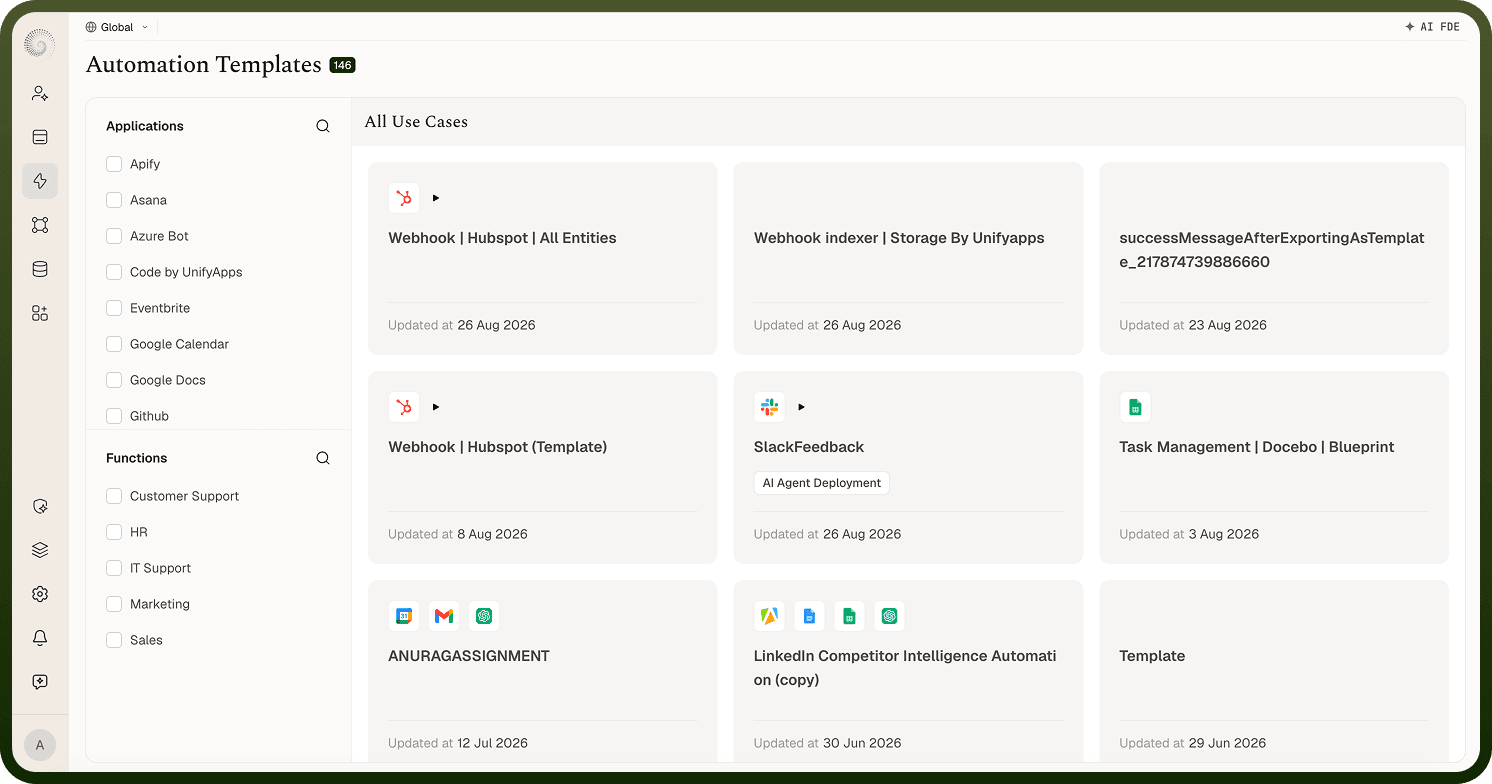
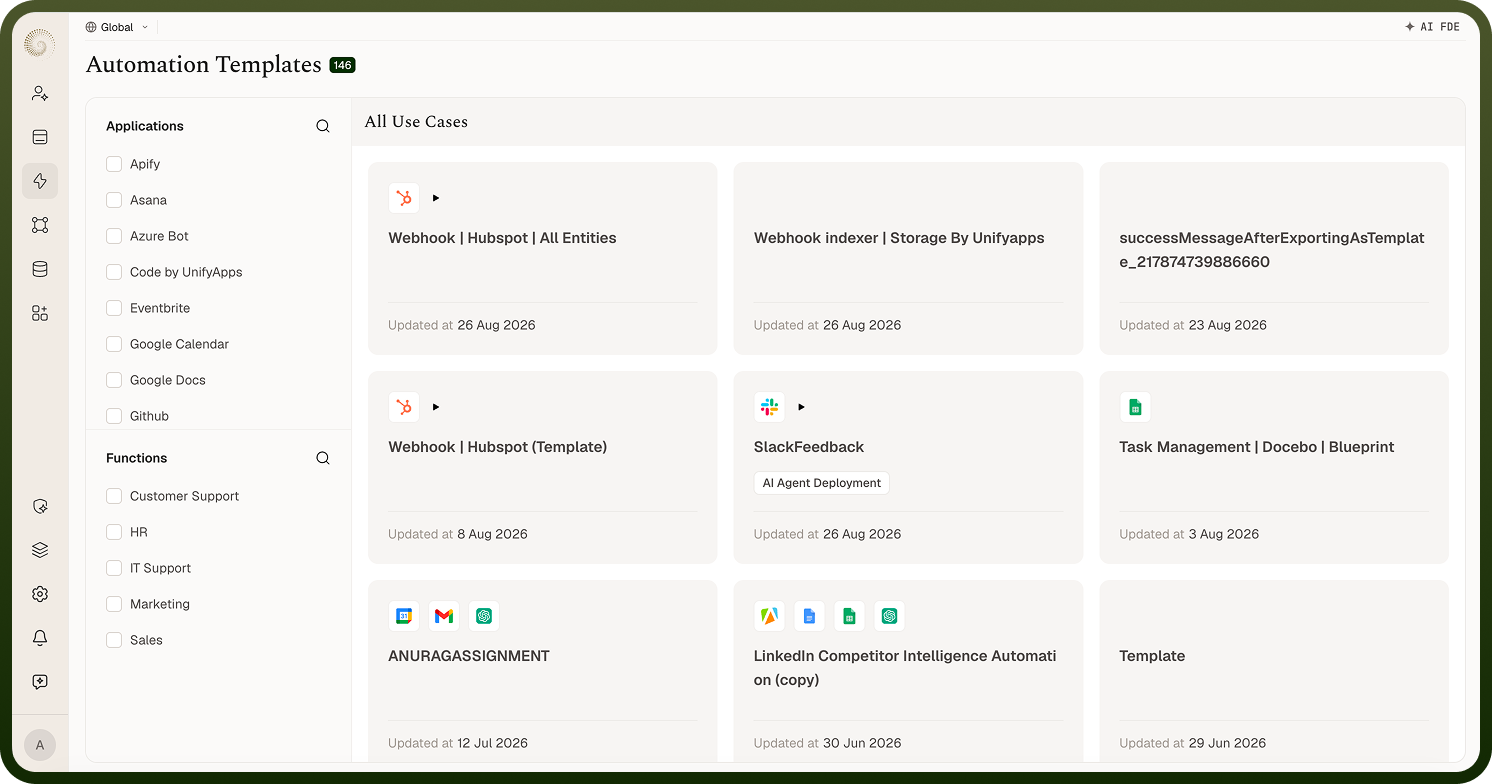
Step 1: Open the Templates library — When creating a new automation, select "Explore Templates". The Templates screen opens showing a grid of cards under the "All Use Cases" heading. Each card shows the apps the template connects (trigger app first, then the others it uses), the template's name, its tags, and an "Updated at" date. The grid scrolls to load more cards as you reach the bottom.
Step 2: Narrow the gallery — Your active filter choices appear as chips above the grid and can be removed individually to widen the results. There is no free-text search box on this screen — apps and tags are the only filter mechanisms. If no templates match your active filters, the gallery shows "No templates found". Use the filter panel on the left to narrow the list. Two filters are available:
Apps Used — shows only templates that connect a particular app.
Tags — shows only templates with a given tag.
Step 3: Preview a template — Click any card to open that template's detail page. The detail page shows the actual automation on a read-only canvas — its real trigger and steps — so you can see exactly how it is built before using it. An info sidebar alongside the canvas lists the trigger, any tags, the apps used, and who created the template. Where available, an "AI Summary" describes what the automation does in plain language. Opening a card only previews it; no automation is created at this point.
Step 4: Use the template — On the template's detail page, click "Use this Template". This creates your own editable copy of the automation and opens it directly in the flow builder — there is no naming dialog or extra confirmation step. The "Use this Template" button is only visible if you have permission to create automations in the workspace.
Step 5: Customize and test — With the copy open in the flow builder, adapt it to your specific case (see the section below), then test it using the built-in test module before activating.
Customizing a Template
A template is a starting point, not a finished automation. After opening your copy in the flow builder, make the following adjustments before testing:
Connect your accounts — replace the template's placeholder connections with your own. Each connector node shows which connection it is using; update each one to a connection configured in your workspace.
Adjust the trigger — review the trigger configuration and confirm it is set to the correct event, object, or schedule for your use case.
Update data mapping — check how data pills are used in each action. The template maps fields from its own example data; update those mappings to match your actual data fields.
Remove or add steps — delete any steps the template includes that you do not need, and add new actions for anything the template does not cover.
Rename the automation — a newly copied template may be named after the original template. Give it a name that reflects its purpose in your workspace.
Once your changes are in place, use the Test section in the builder to run a single instance with controlled input data. Review the output of each node before activating the automation.
Notes
To make the most of the templates library:
Preview the canvas on a template's detail page before using it — the read-only view shows the exact structure, so you can confirm the pattern matches your need without creating a copy first.
Filter by "Apps Used" first when you know which apps your automation must connect — this is the fastest way to find relevant templates in a large library.
After using a template, always replace placeholder connections with your own before testing. Leaving a template connection in place will cause actions to fail or use the wrong account.
If you have built an automation that others on your team could reuse, you can export it to the template library from within the flow builder. On success, it appears in the gallery filterable by its apps and tags.
Templates and "start from scratch" are not mutually exclusive — you can start from a template and then restructure it significantly, or start blank and add nodes that resemble a template's pattern.
Templates accelerate the starting point — the real work is in customizing and testing your copy to fit the specific use case you have in mind.