


Generate from Prompt takes a plain-language description of what an automation should do and produces a structured draft opened directly in the Flow Builder — trigger selected, steps connected — giving you a working starting point to refine rather than an empty canvas.
Overview
Instead of building an automation from an empty canvas, you can describe what you want in plain language and have the platform generate a structured draft for you. The create screen — headed "Describe. Build. Automate" — accepts a text description of your automation and produces a working flow that opens directly in the builder, ready to review and edit.
_1_(1).png&w=1920&q=75)
_1_(1).png)
This approach is useful when you have a clear idea of what the automation should do but want to skip the initial wiring. The generated draft gives you a complete starting point — trigger selected, actions arranged, steps connected — which you then refine to match your exact requirements.
Note: AI-powered generation must be enabled and configured for your workspace. If it is not available, only the manual creation path will appear. If generation is configured but not set up correctly, you may see the message "Automation generation is not configured. Please contact your admin."
How to Generate an Automation from a Prompt
Step 1: Open the generation screen — When creating a new automation, the "Describe. Build. Automate" screen appears if AI generation is enabled for your workspace. You will see a large prompt box with the placeholder text "What would you like to automate?"
Step 2: Write your description — Type a description of the automation you want to build. Describe the outcome and the key steps in plain language: what should start it, what it should do, and where the data comes from and goes. For example: "when a new lead is created in the CRM, notify the sales channel and create a task." There is no required format and no length limit. The clearer you are about the trigger, the actions, and the apps involved, the closer the generated automation will be to what you want. Use Shift+Enter to add a new line within your description without submitting.
Step 3: Attach supporting files (optional) — If you have a document, specification, or other file that provides useful context, attach it to give the generator more information to work with. To attach a file, either click the plus (+) button next to the prompt box or drag and drop files directly onto the screen. You can attach more than one file of any type. Attached files appear as thumbnails above the prompt box and can be removed or retried individually. The submit button waits until all uploads finish before allowing you to generate, ensuring the attached context is included with your description.
Step 4: Submit the description — Click the arrow button at the bottom-right of the prompt box, or press Enter, to submit. The submit button stays disabled until there is text in the prompt box — you cannot submit an empty description.
Step 5: Wait for generation — After you submit, the screen transitions to the flow builder. A brief loading animation plays while the steps are assembled. The automation's nodes appear on the canvas as they are built. The assistant chat panel opens alongside the canvas throughout this process.
Step 6: Review the result in the builder — Once generation completes, the finished automation is open in the flow builder — there is no separate "accept" or "discard" step. Review each node, update connections to your own accounts, verify the data mapping, and adjust any steps that do not match your intent. Then test the automation before activating it.
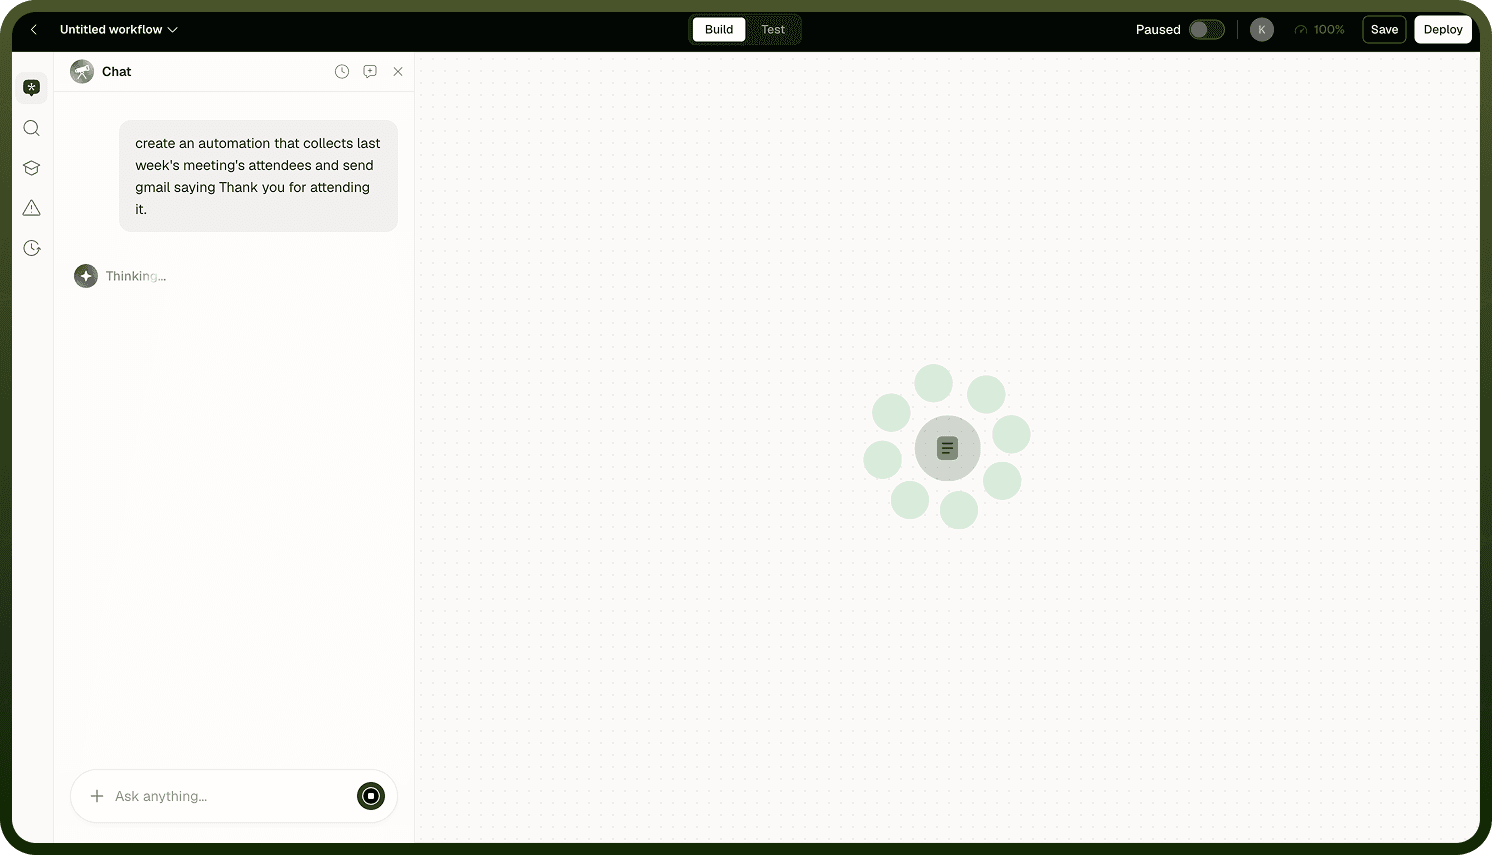
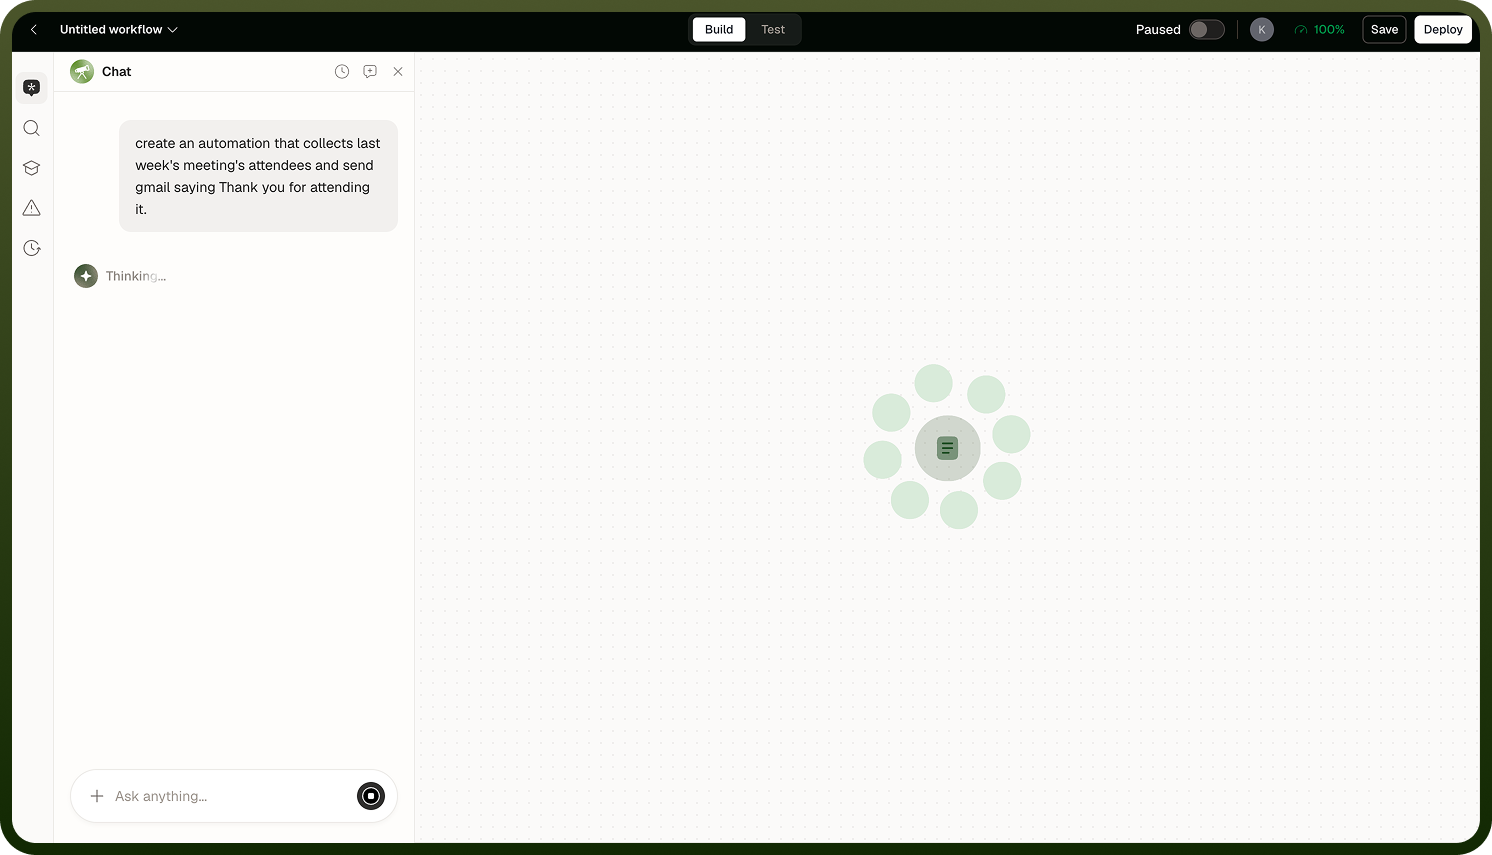
What Gets Generated
The generator produces a complete automation draft opened directly in the flow builder:
A trigger node — the generator selects a trigger type and, where possible, a specific connector event based on your description.
One or more action nodes — the steps inferred from your description are added to the canvas, connected in order.
An assistant chat panel — the chat panel opens alongside the canvas so you can continue refining the automation conversationally after generation completes.
A generated automation with no name yet shows as "Untitled workflow" in the builder.
After generation, you can continue using the assistant chat panel to adjust the automation: ask for changes, regenerate a response, edit your earlier message, or stop a response that is still being written.
Note: Treat a generated automation as a strong starting point, not a finished one. Review each step, connect it to your real connections, check the data mapping, and test it before deploying.
Notes
To make the most of the generation feature:
Include the trigger, the key actions, and the apps involved in your description — the more specific you are, the closer the draft will be to your intended flow.
Attach a spec or design document when your automation has complex requirements that are difficult to describe concisely in a single prompt.
After generation, always replace any placeholder connections with your own workspace connections before testing. The generated nodes reference app types; they do not automatically use your configured accounts.
Use the assistant chat panel after generation to iterate — you can ask it to add a step, change the trigger, or adjust data mapping without starting over.
If you prefer not to use AI generation, select "Create manually" below the prompt box. This opens a plain form to configure the automation yourself. You can switch back to the AI path with "Create with AI".
If you see "Could not generate automation. Please try again." or "Automation was generated but no workflow ID was returned.", retry the generation or contact your workspace admin.