


Export as Template packages a working automation into a reusable template that others can start from, letting you distribute proven automation patterns across your team or organization.
Overview
Exporting an automation as a template turns it into a starting point others can build from, instead of an empty flow. Once exported, it's published to the template library alongside every other template, where it's filterable by the apps it uses and its tags — the same way any prebuilt template is discovered.
Steps
Open the automation you want to export.
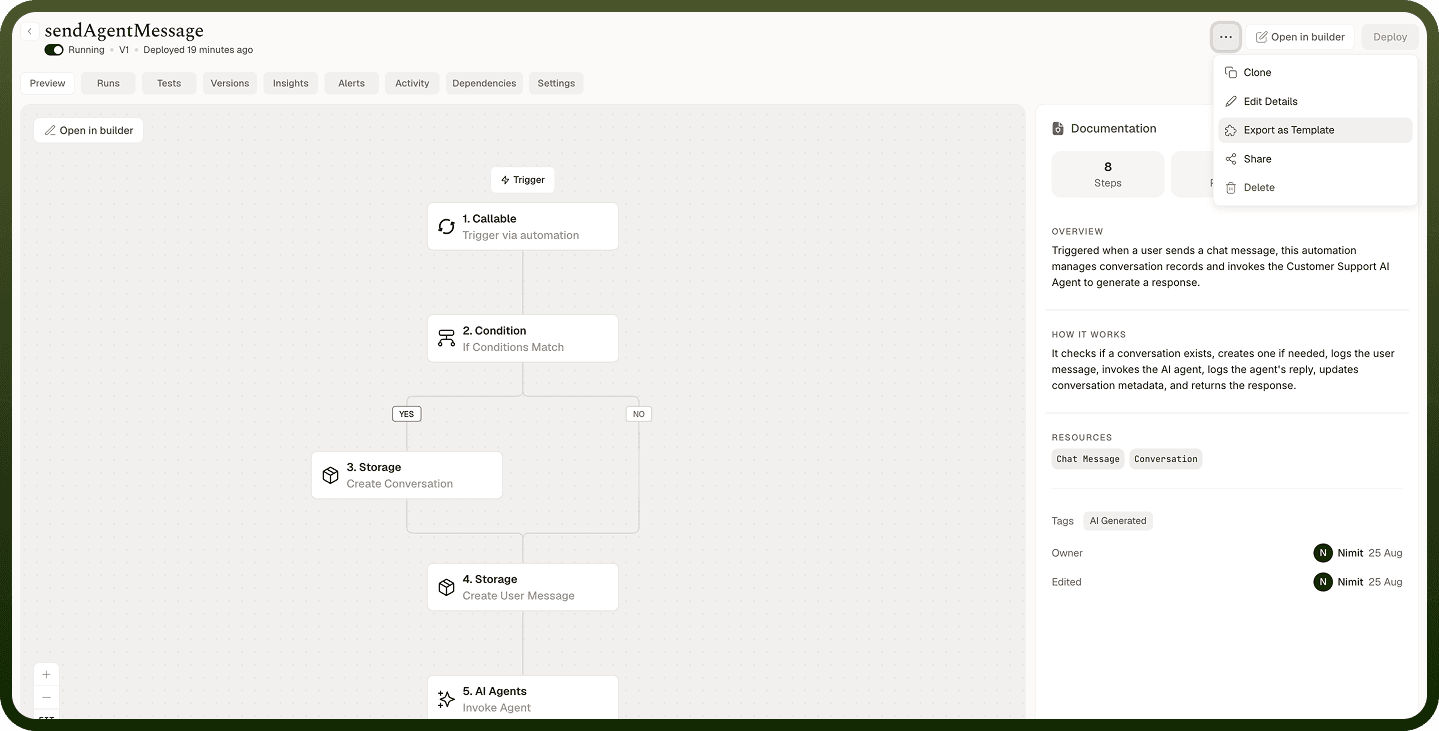
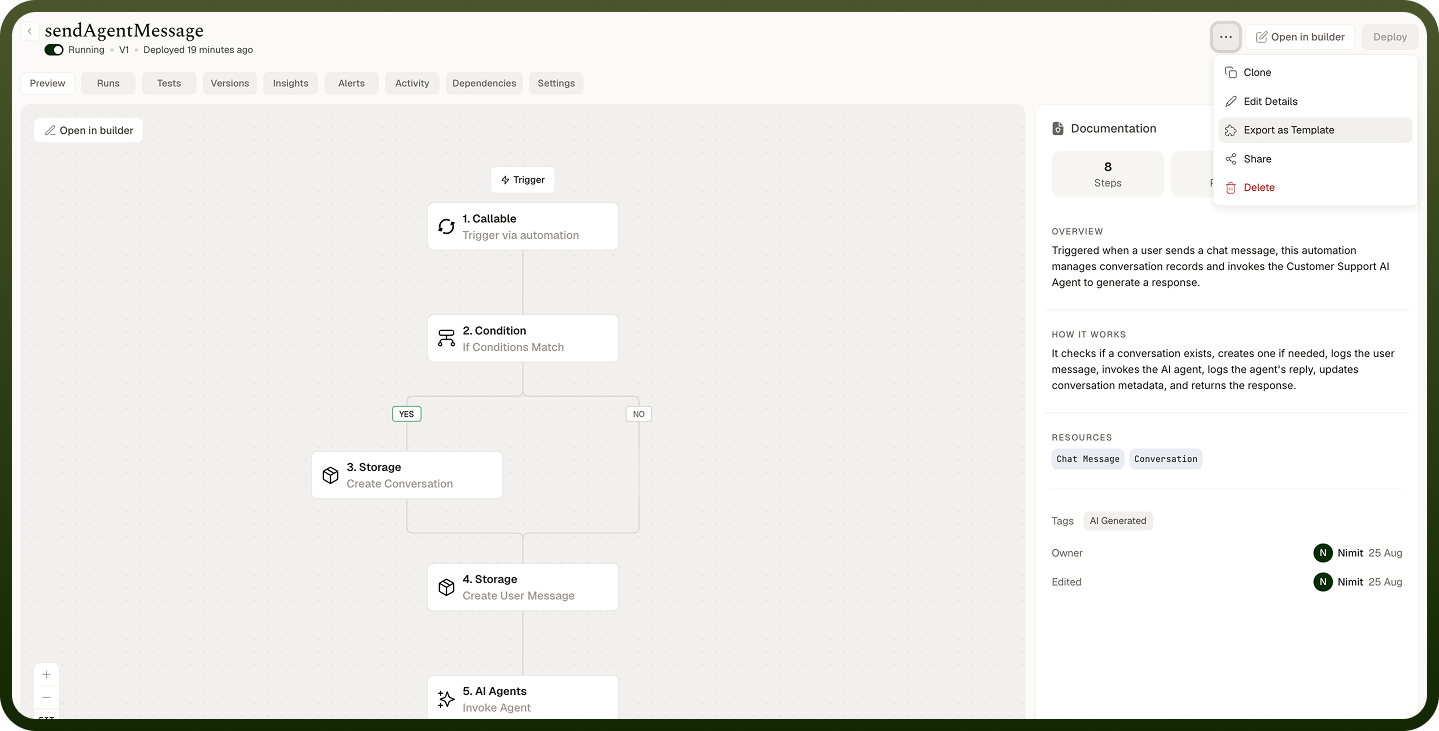
Open the header actions menu inside the automation.
Select Export as template.
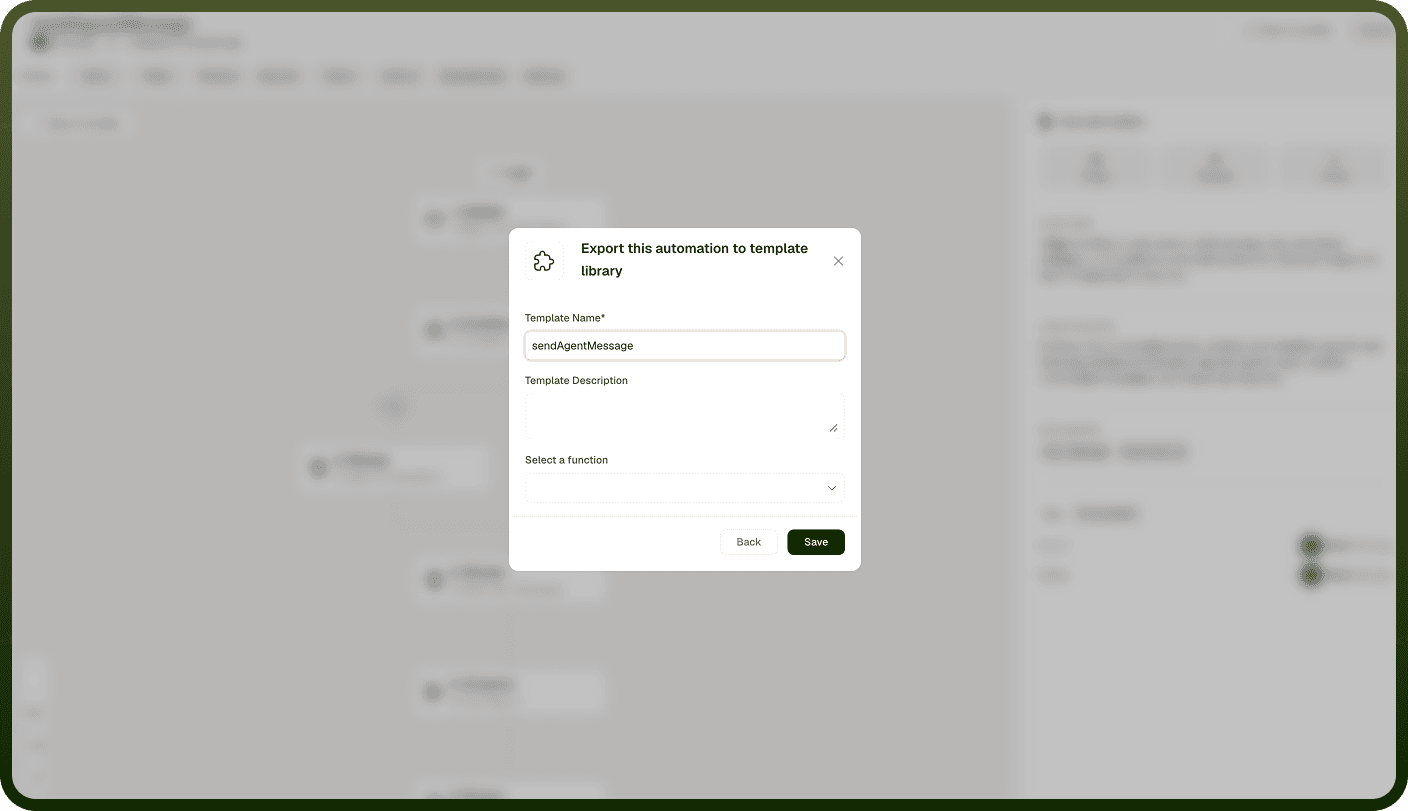
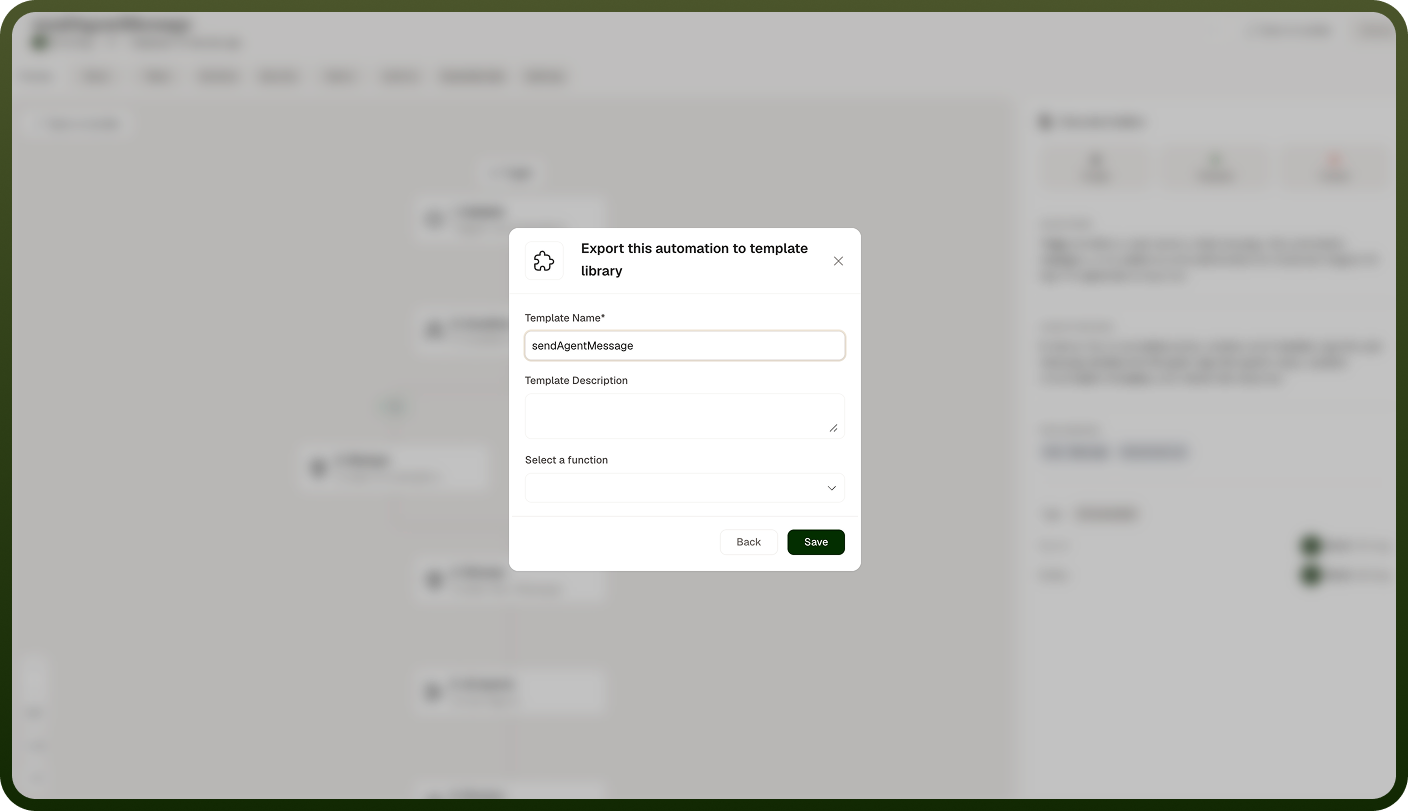
Complete any prompts that appear (such as a template name or description) and confirm. A success message confirms it was exported as a template.
The automation is now available in the template library. Opening its card there shows the real flow on a read-only canvas, plus an info sidebar with its trigger, tags, apps used, creator, and — when available — its AI-generated summary, so others can evaluate it before committing to it.
Note: Export as template is only available from inside the automation's own header actions menu, not from the row actions menu in the automations manager list. The option appears only if you have the appropriate permissions for the automation.
otes
Export as template after a newly built automation has been running successfully in production — this ensures the template reflects a proven, working pattern rather than a draft.
Choosing a clear template name and description matters: those are what teammates see first when browsing the template library, before they open the card to preview the actual flow.
Starting from your exported template creates a fully editable copy in the flow builder — teammates still need to connect their own connections and adjust the trigger and mappings for their case.