This guide outlines configuring Google as a SAML 2.0 Identity Provider (IDP) for Single Sign-On (SSO) with UnifyApps. You will need administrator access to your Google organization.
The configuration process involves three main stages:
Step 1: Initial Configuration on UnifyApps
In this section, you will start the SAML configuration process on UnifyApps and obtain the necessary URLs that Okta will require.
1. Access Identity Provider Settings:
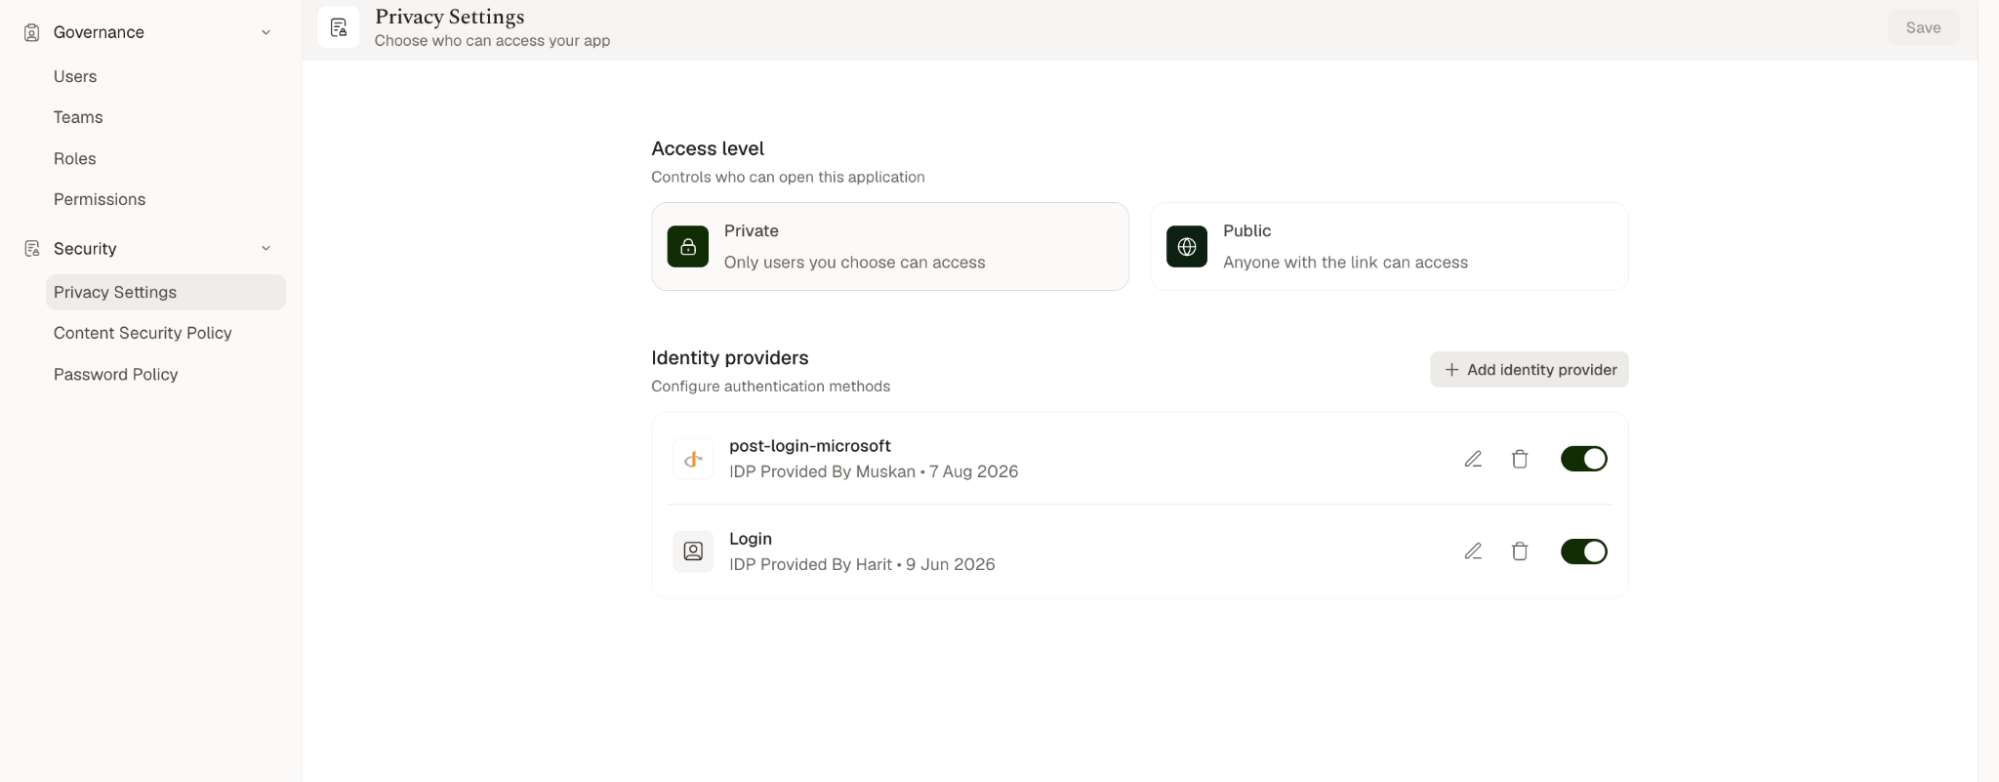
Navigate to
Platform Tools.Select
Securityfrom the platform tools menu.Under the
Identity Providerssection, click on+ New Identity Provider

2. Basic Details & Service Provider Information:
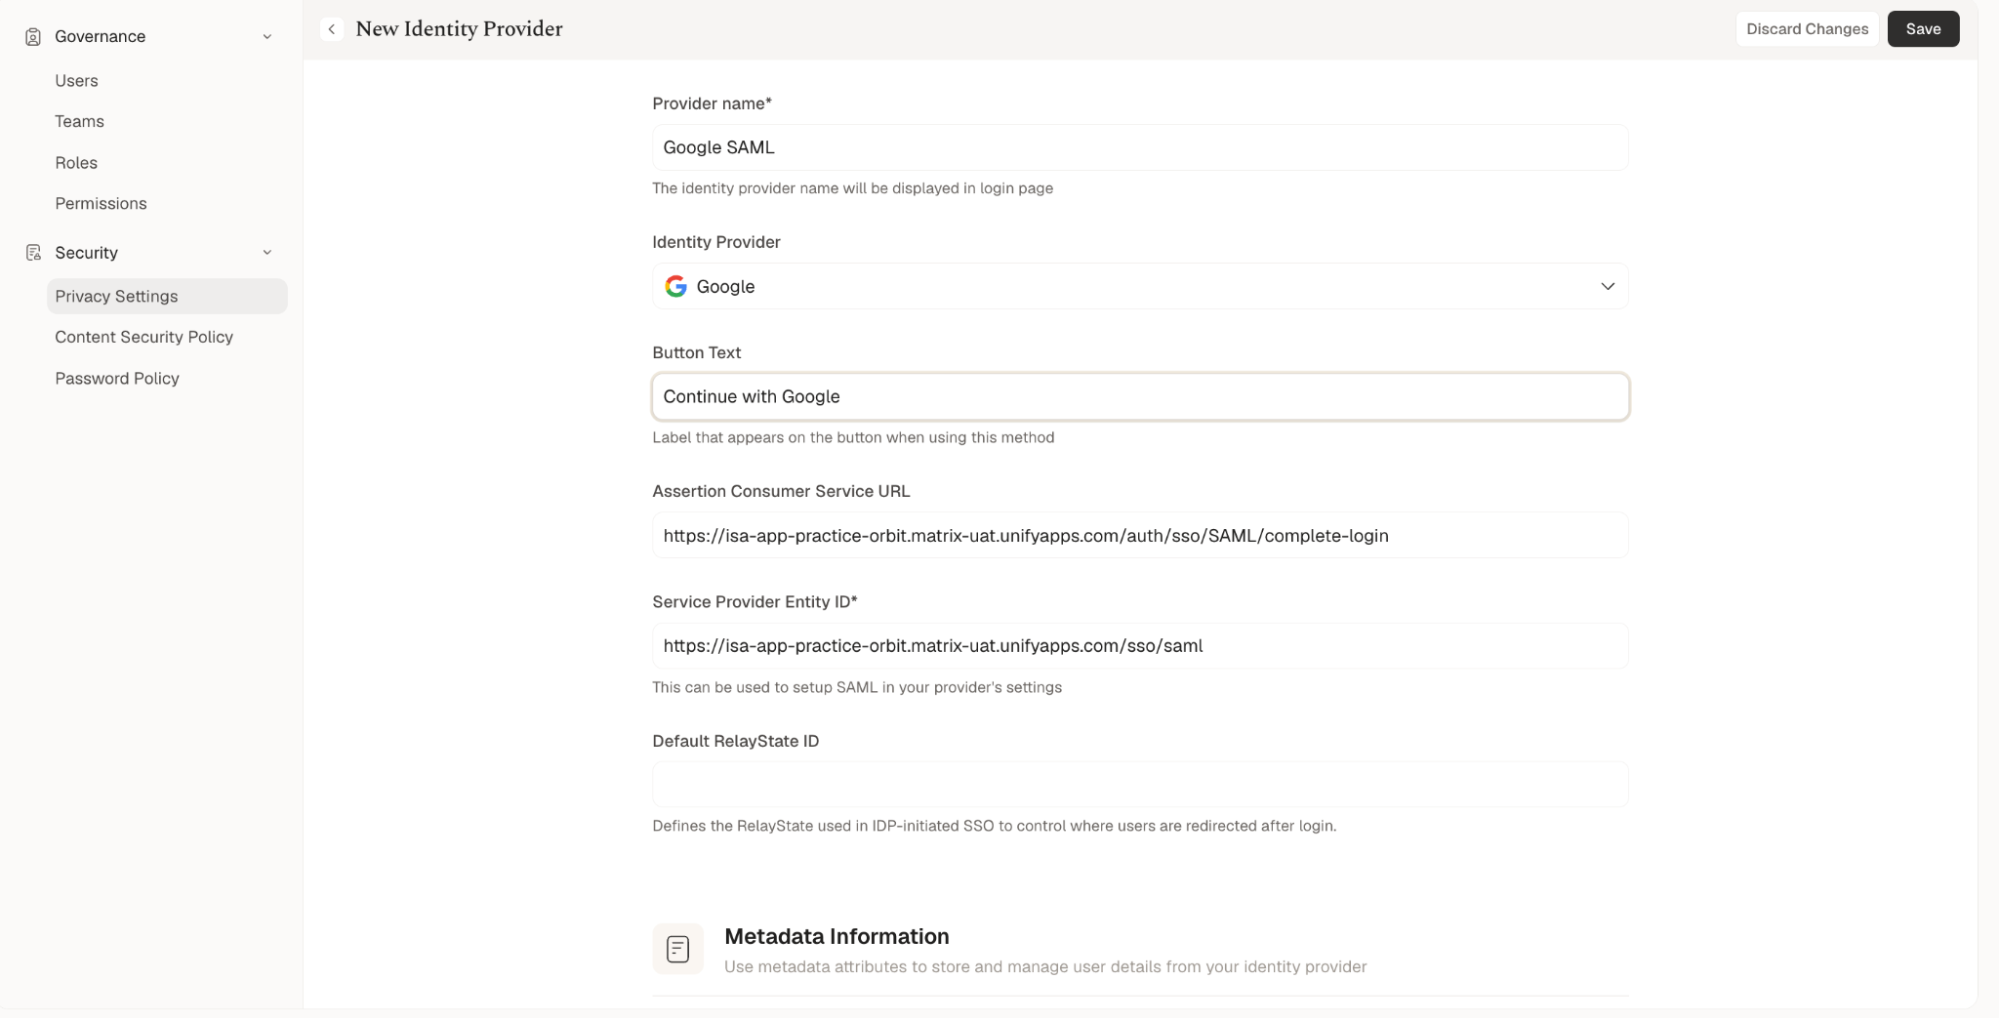
Provider Name:Enter a name for this identity provider.Identity Provider:Select Google from the dropdown.Button Text:Enter "Continue with Google."Important: Note the following URLs.
You will need these for Google Admin Console in Step 2.
Assertion Consumer Service URL (ACS URL):This is the endpoint on UnifyApps where Google will send the SAML assertion. (Example: https://demo.uat.unifyapps.com/auth/sso/SAML/complete-login)
Service Provider Entity ID (SP Entity ID): This is the unique identifier for UnifyApps as the Service Provider. (Example: https://demo.uat.unifyapps.com/sso/saml)

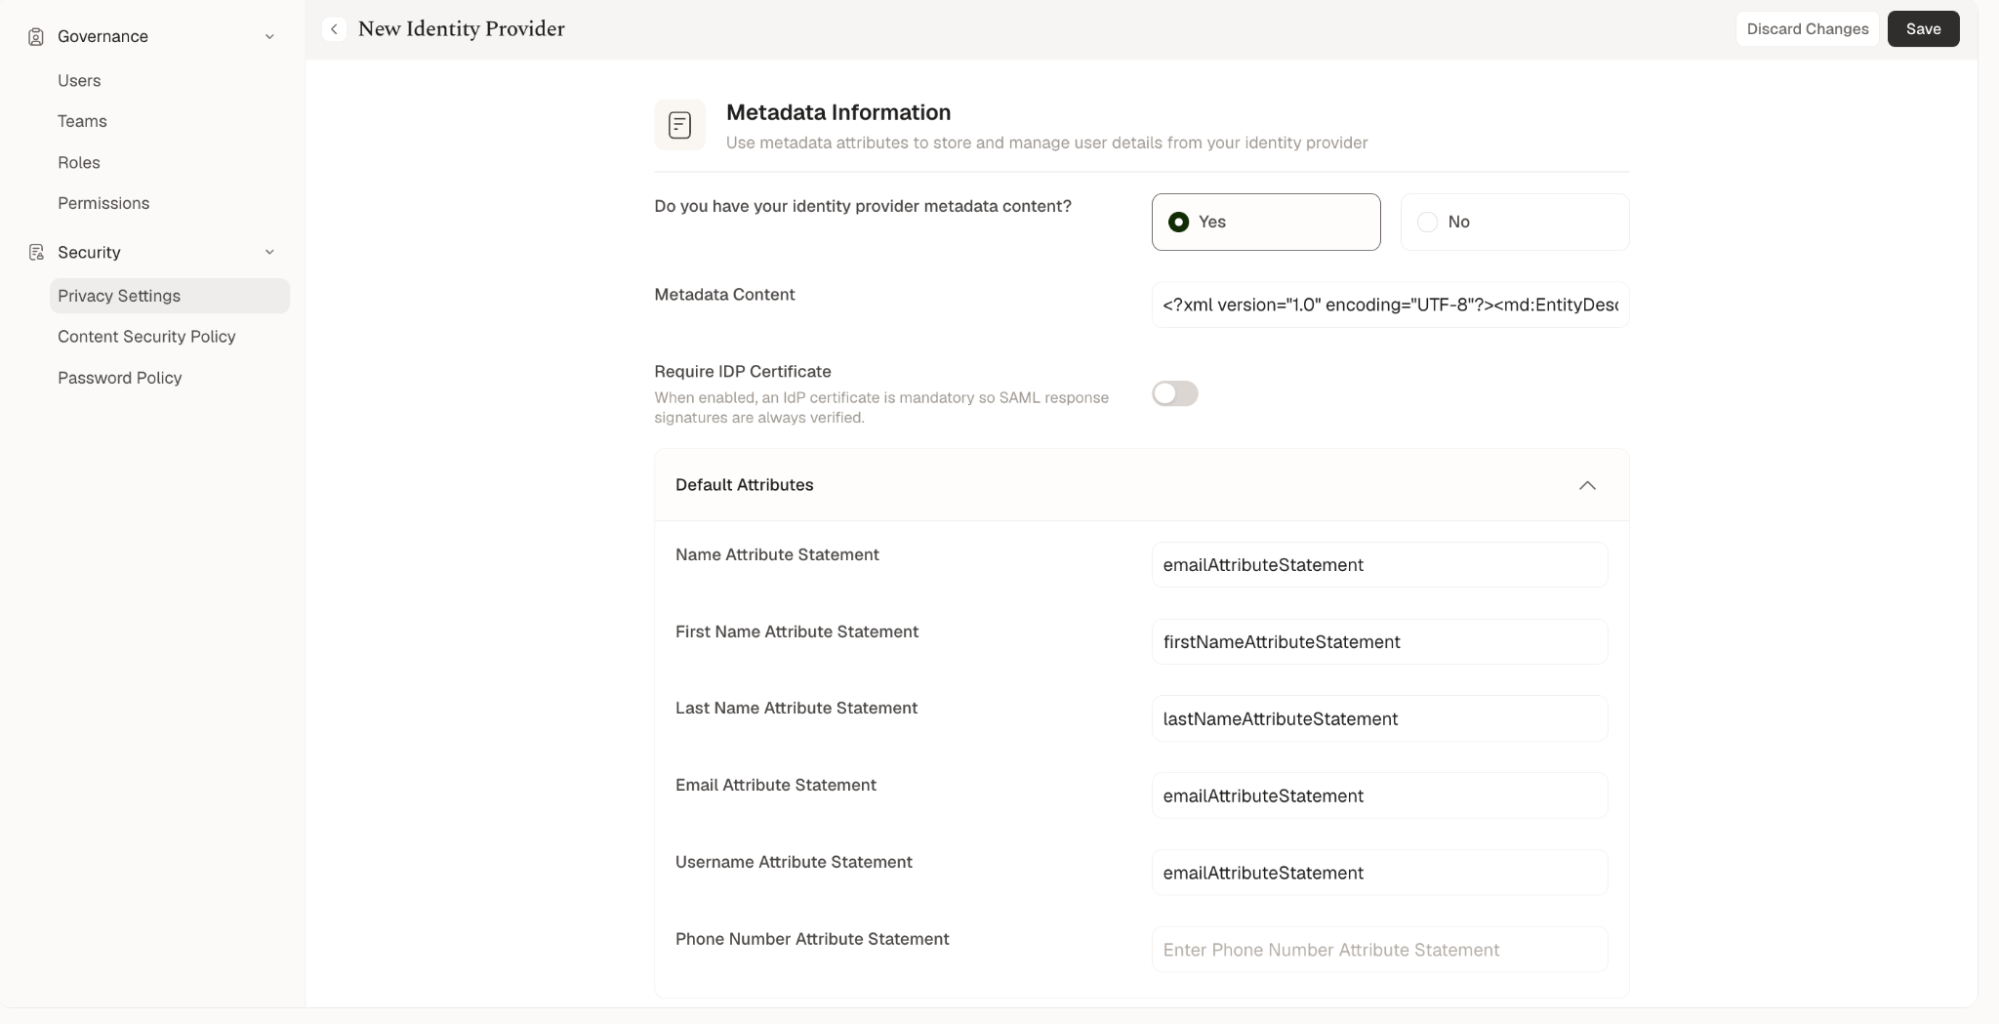
3. Prepare for Metadata & Define Attributes:
For
"Do you have your identity provider metadata content?",you'll selectYesand paste Google's metadata later (Step 3).Review the
Default Attributessection (emailAttributeStatement, firstNameAttributeStatement, lastNameAttributeStatement, etc.) — these are the attribute names you'll map on the Google side.
Note: Keep the UnifyApps configuration page open. You'll return to it after configuring Google. Do not save changes yet.

Step 2: Configuring the SAML Application in Google Admin Console
1. Create a New Custom SAML App:
Log in to the
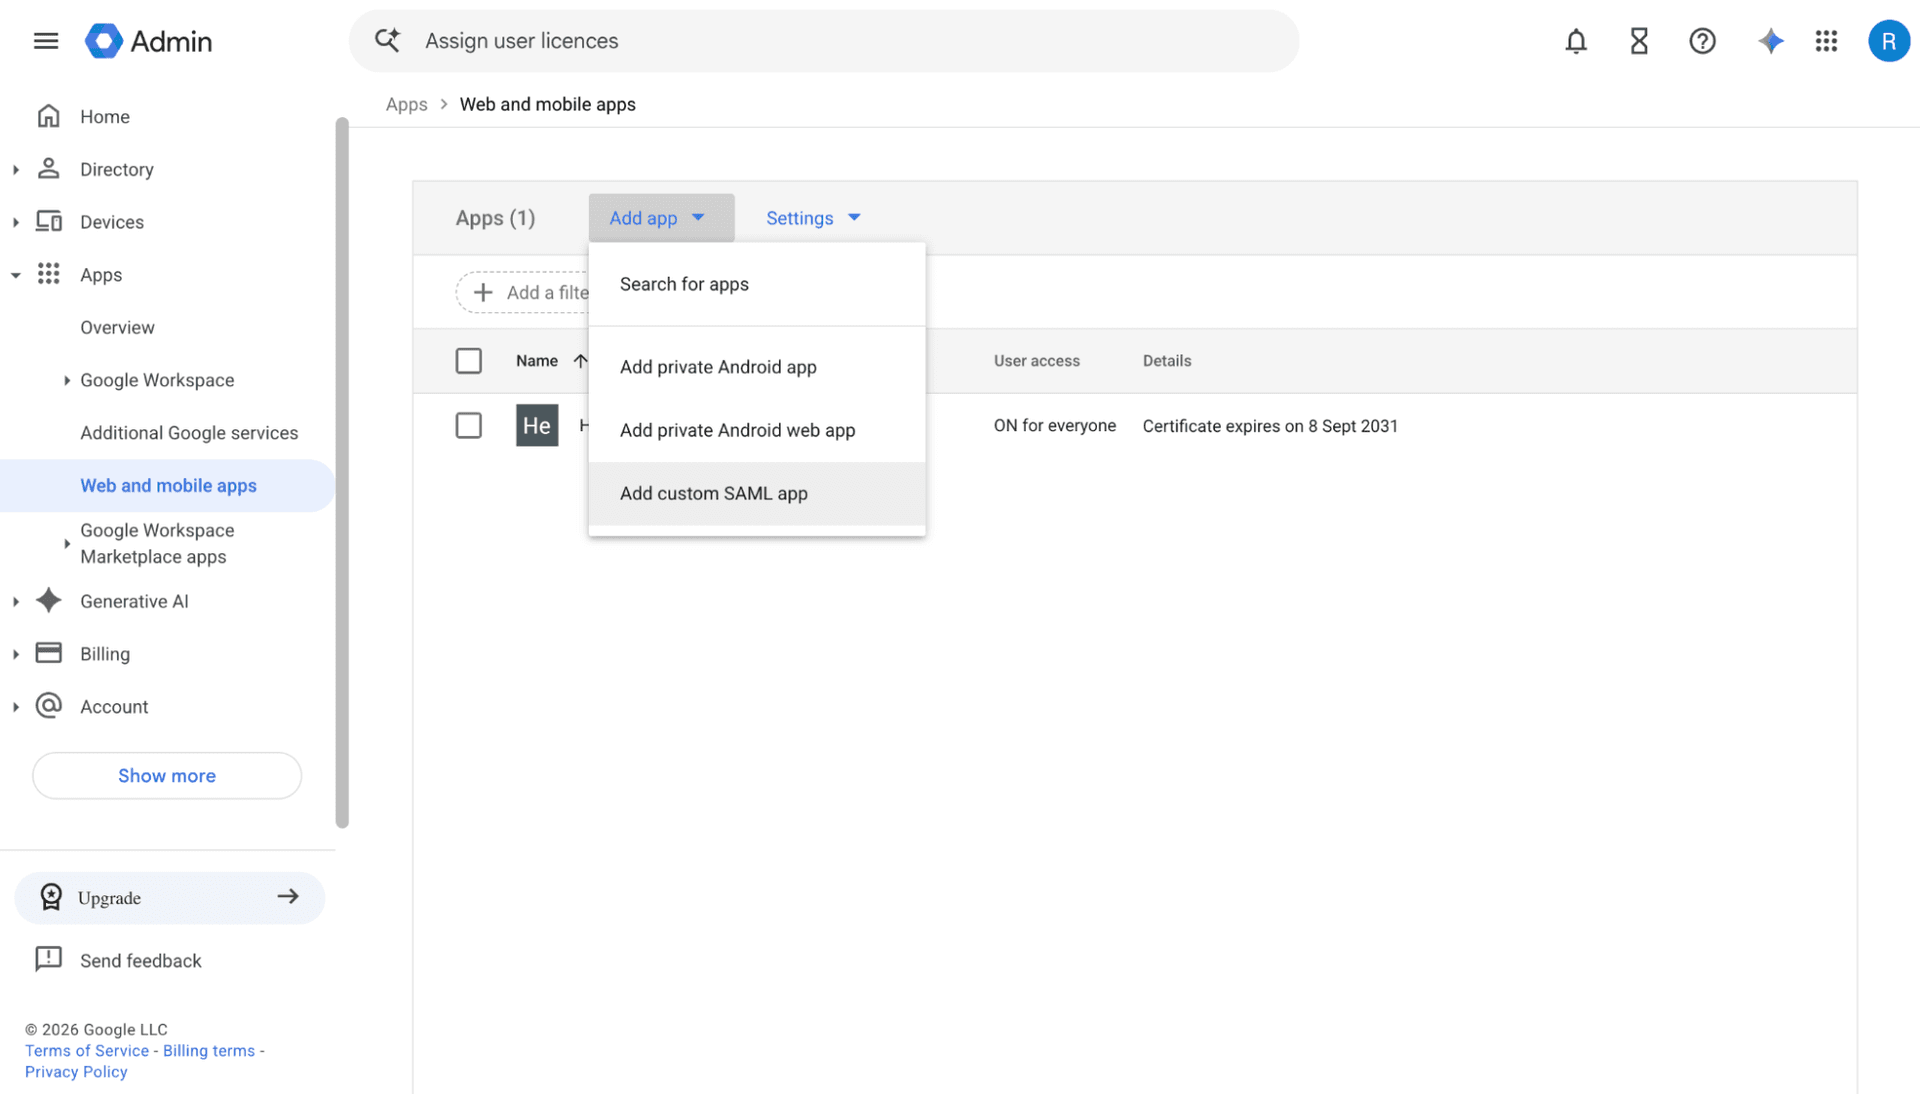
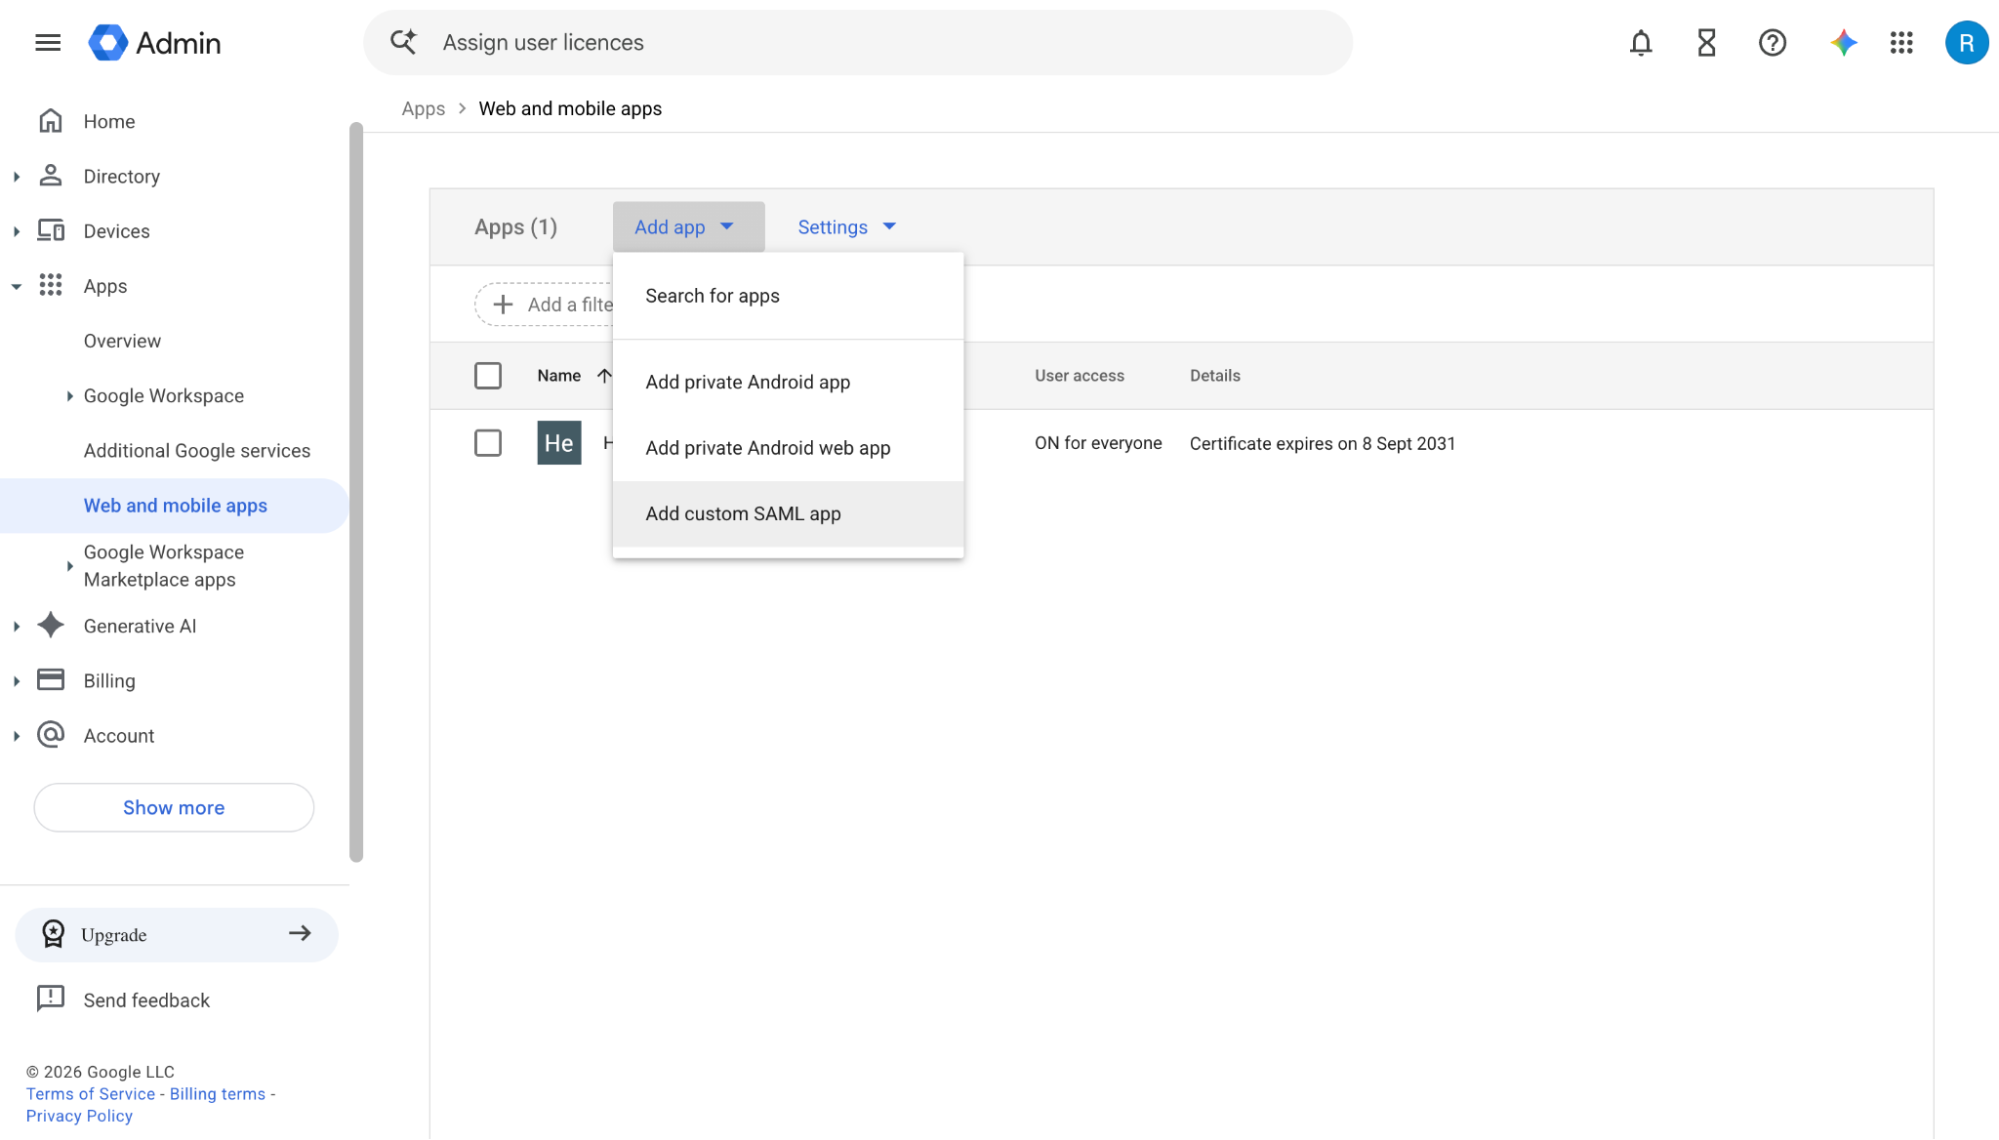
Google Admin console.Navigate to Apps → Web and mobile apps → Add app → Add custom SAML app.
2. App Details:
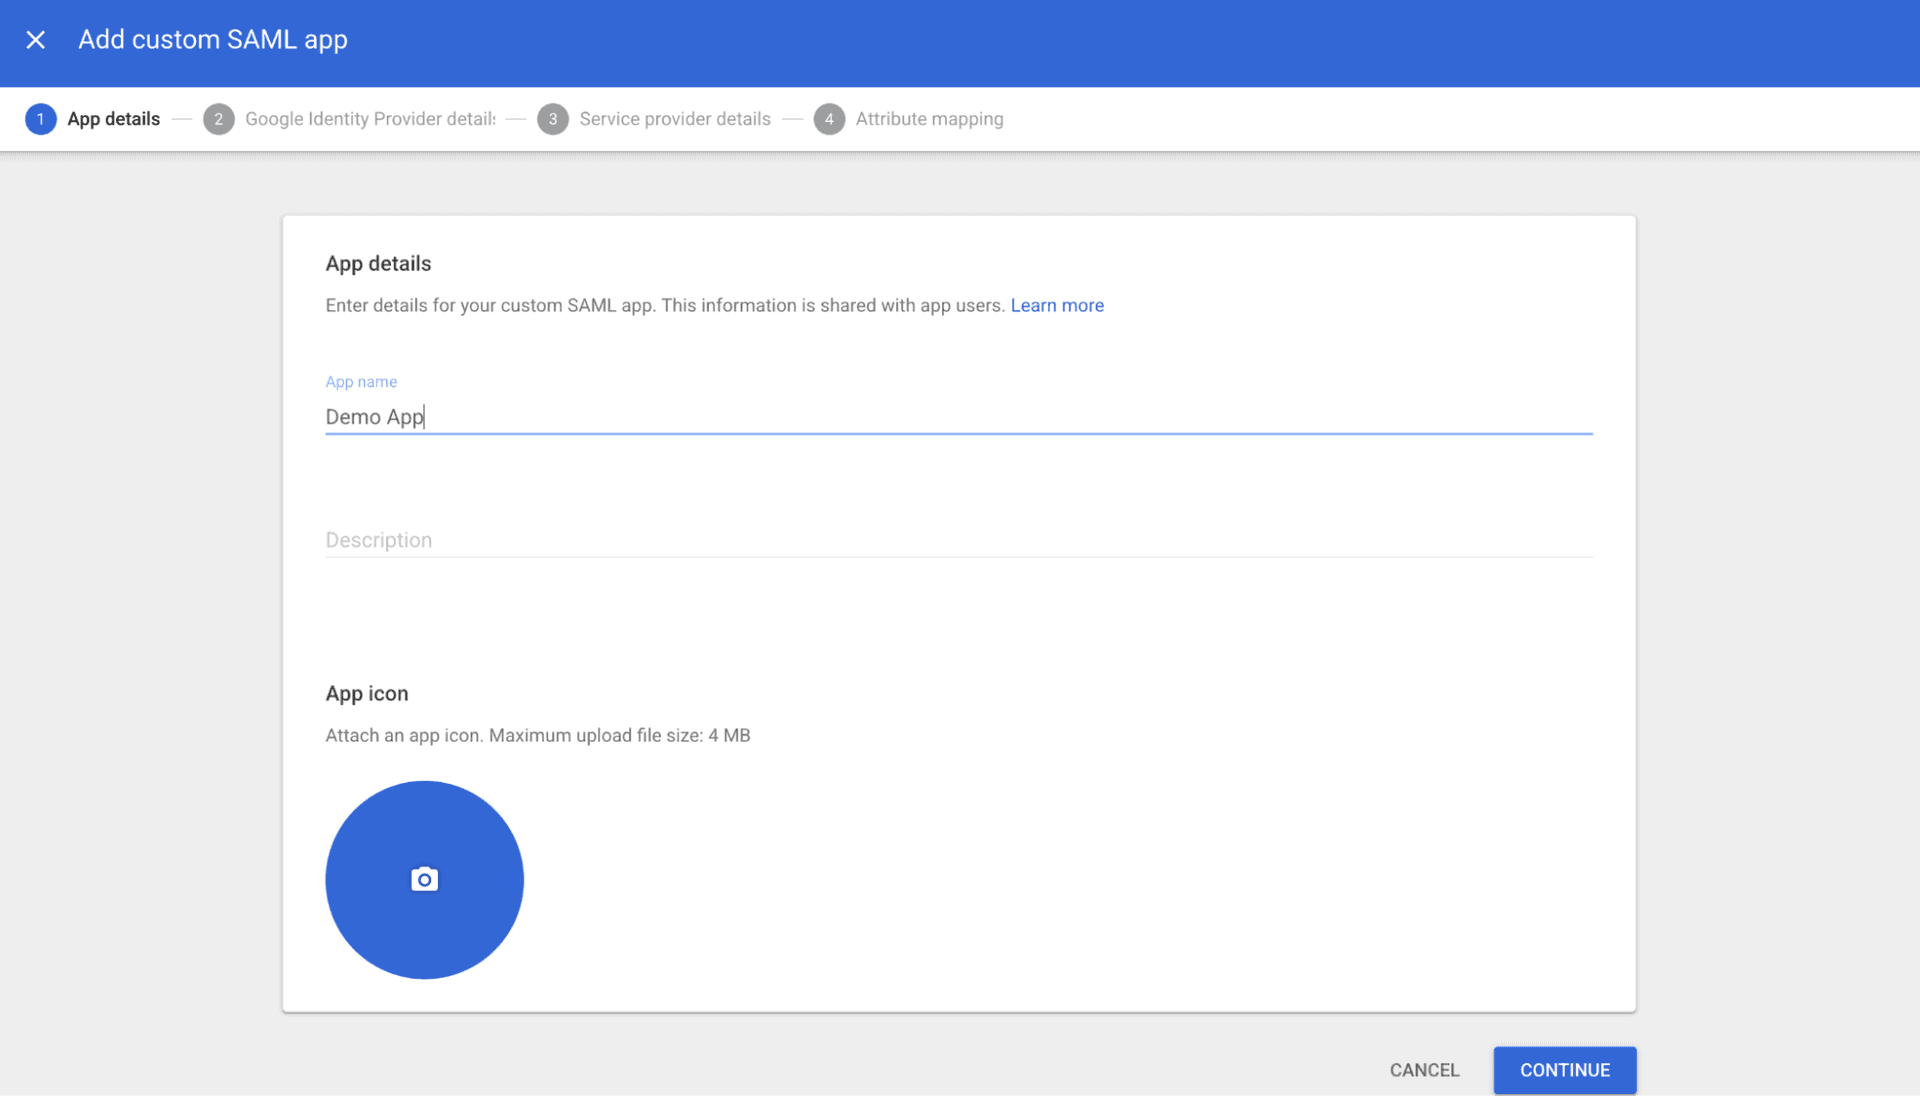
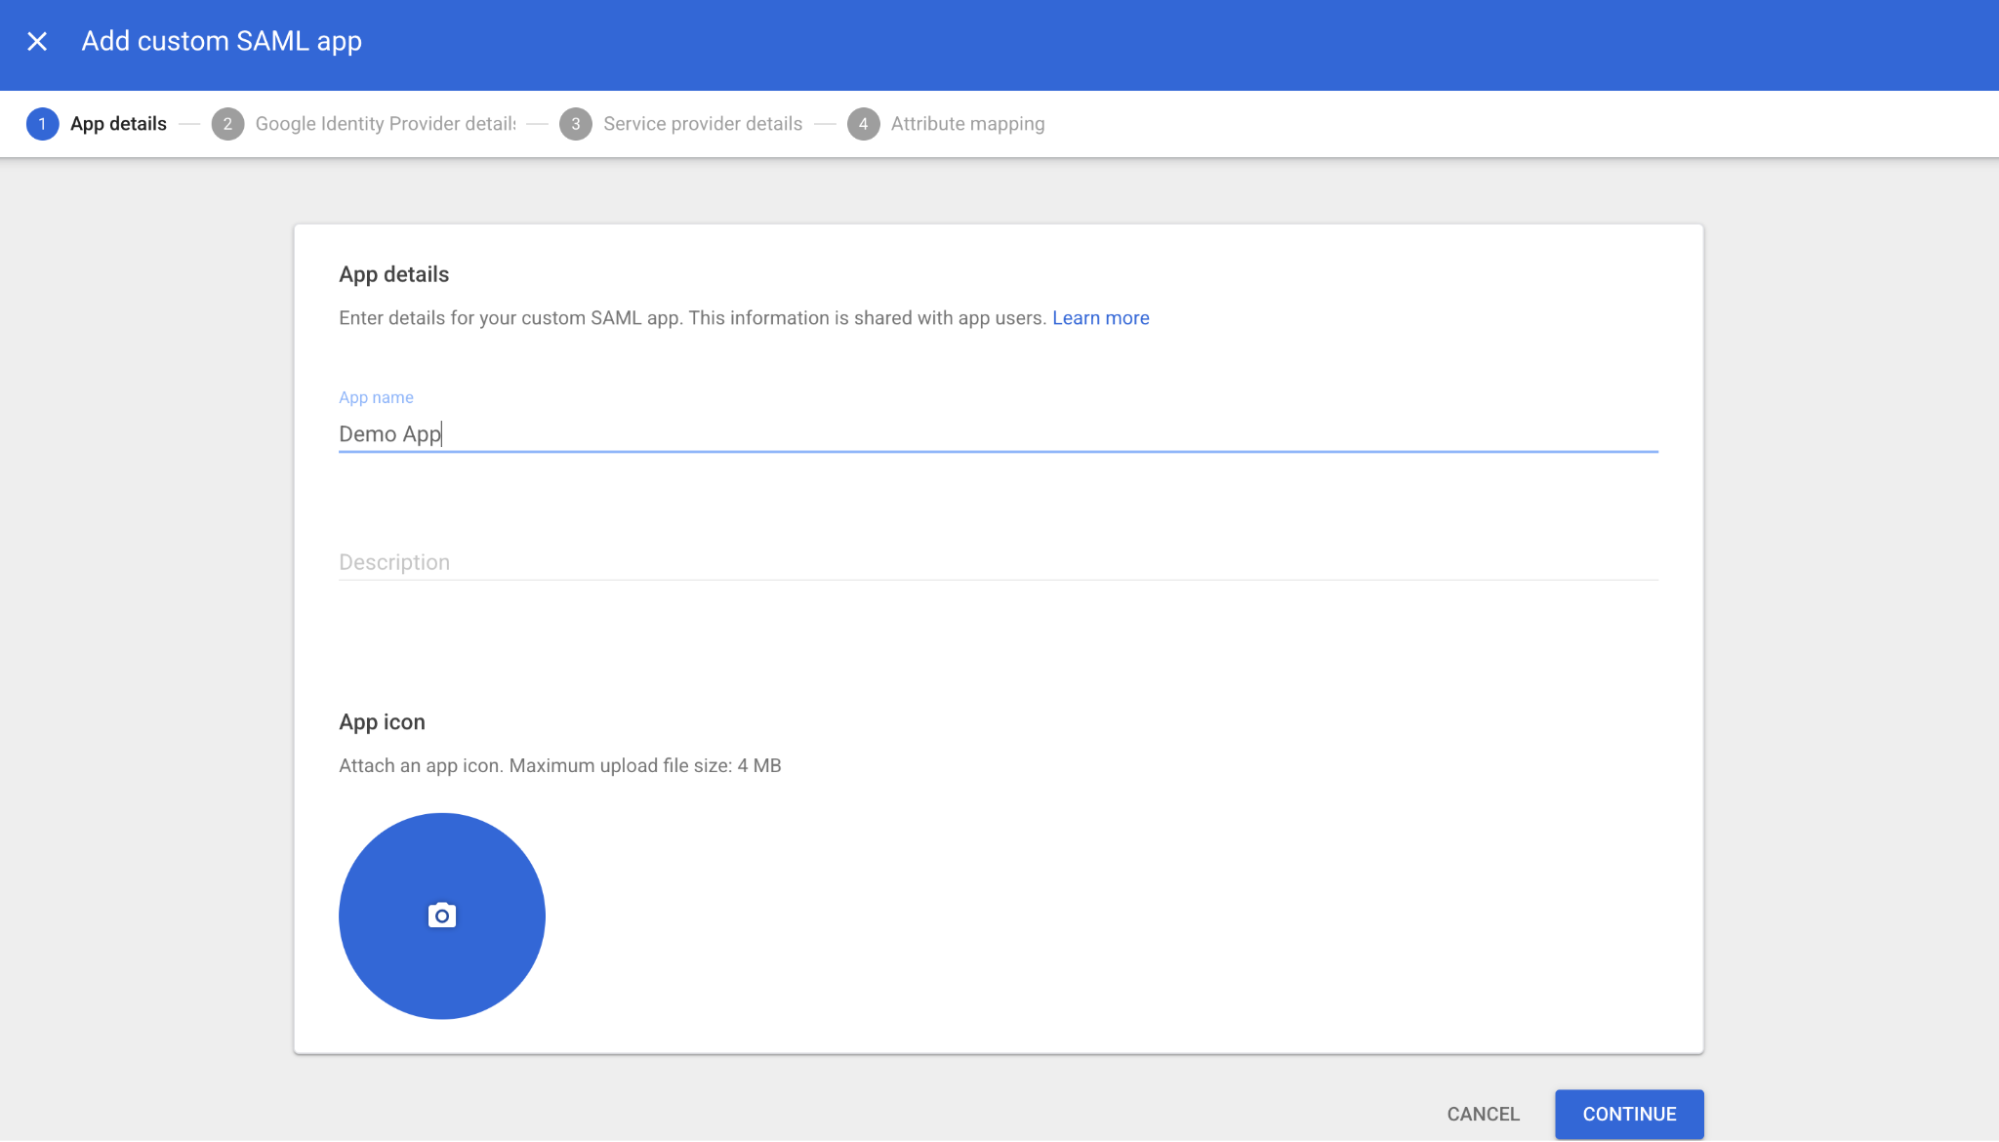
Name the app as per your requirement (e.g., "Demo App") and click Continue.
3. Google Identity Provider Details:
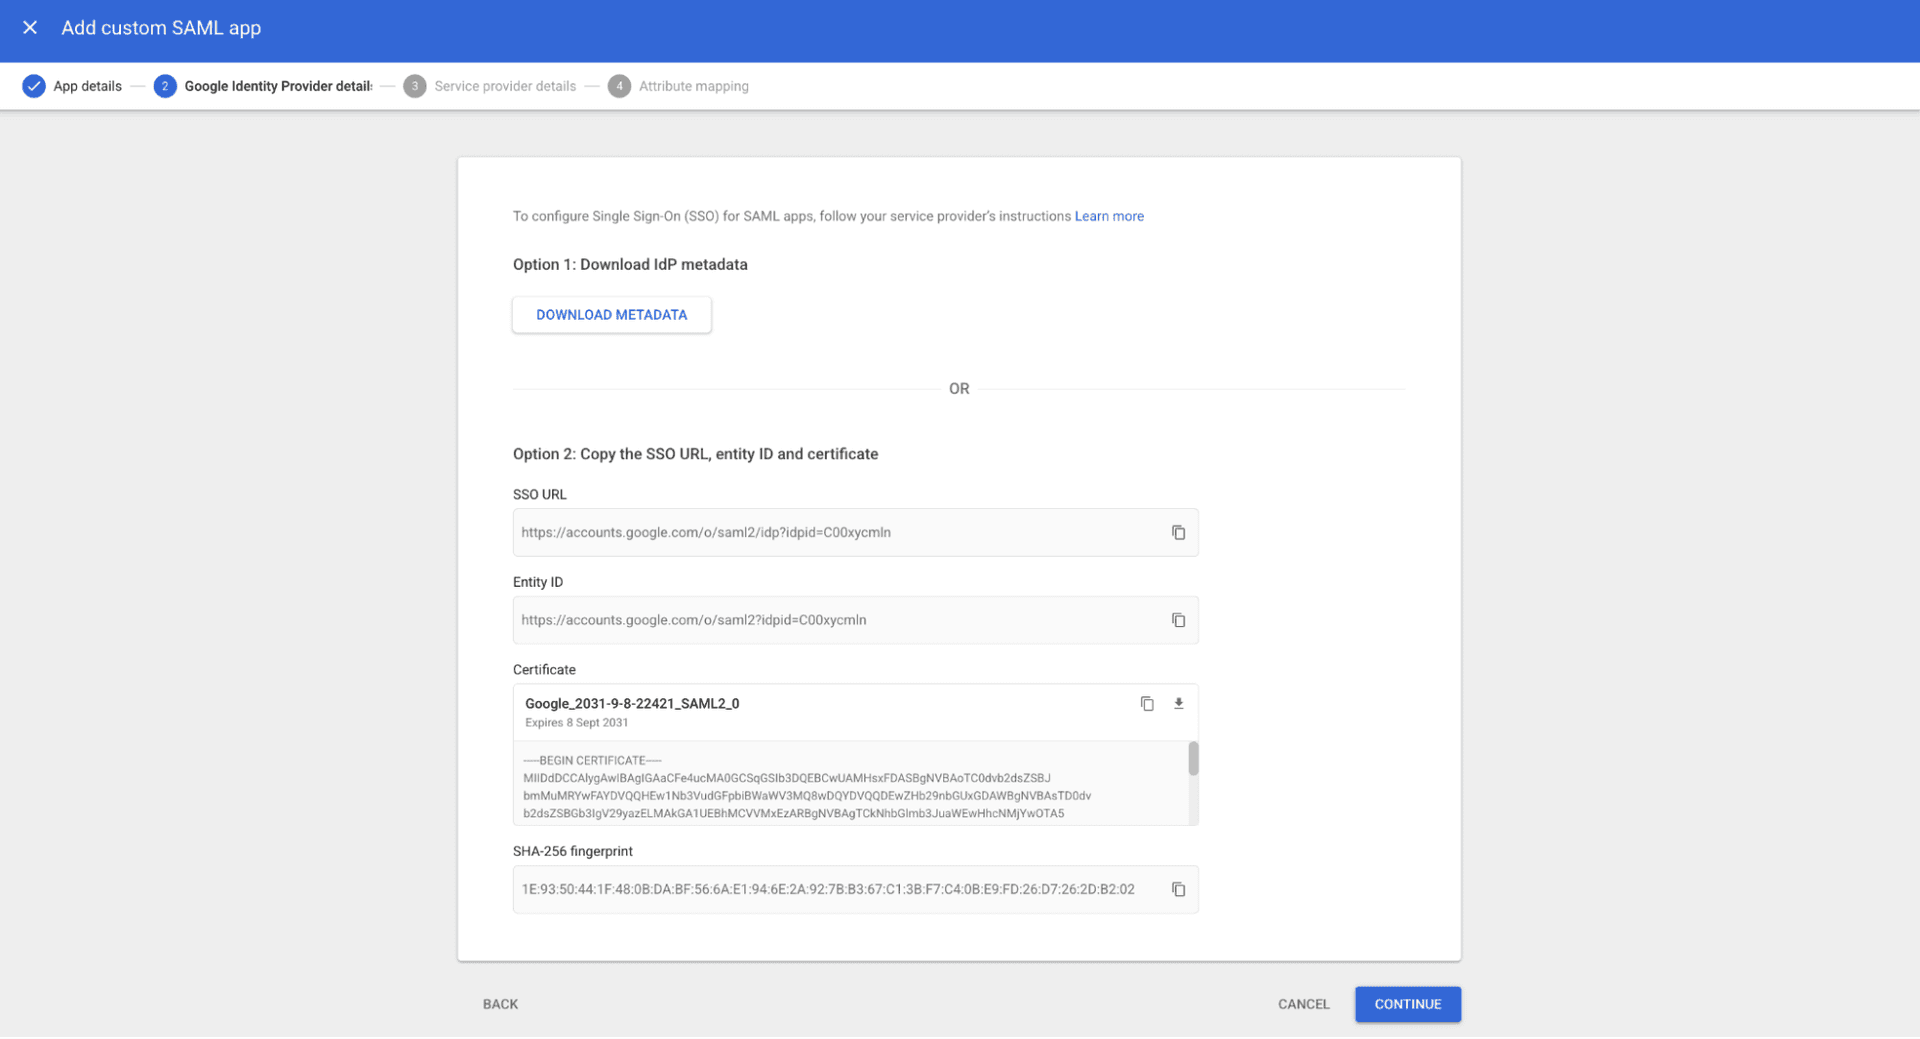
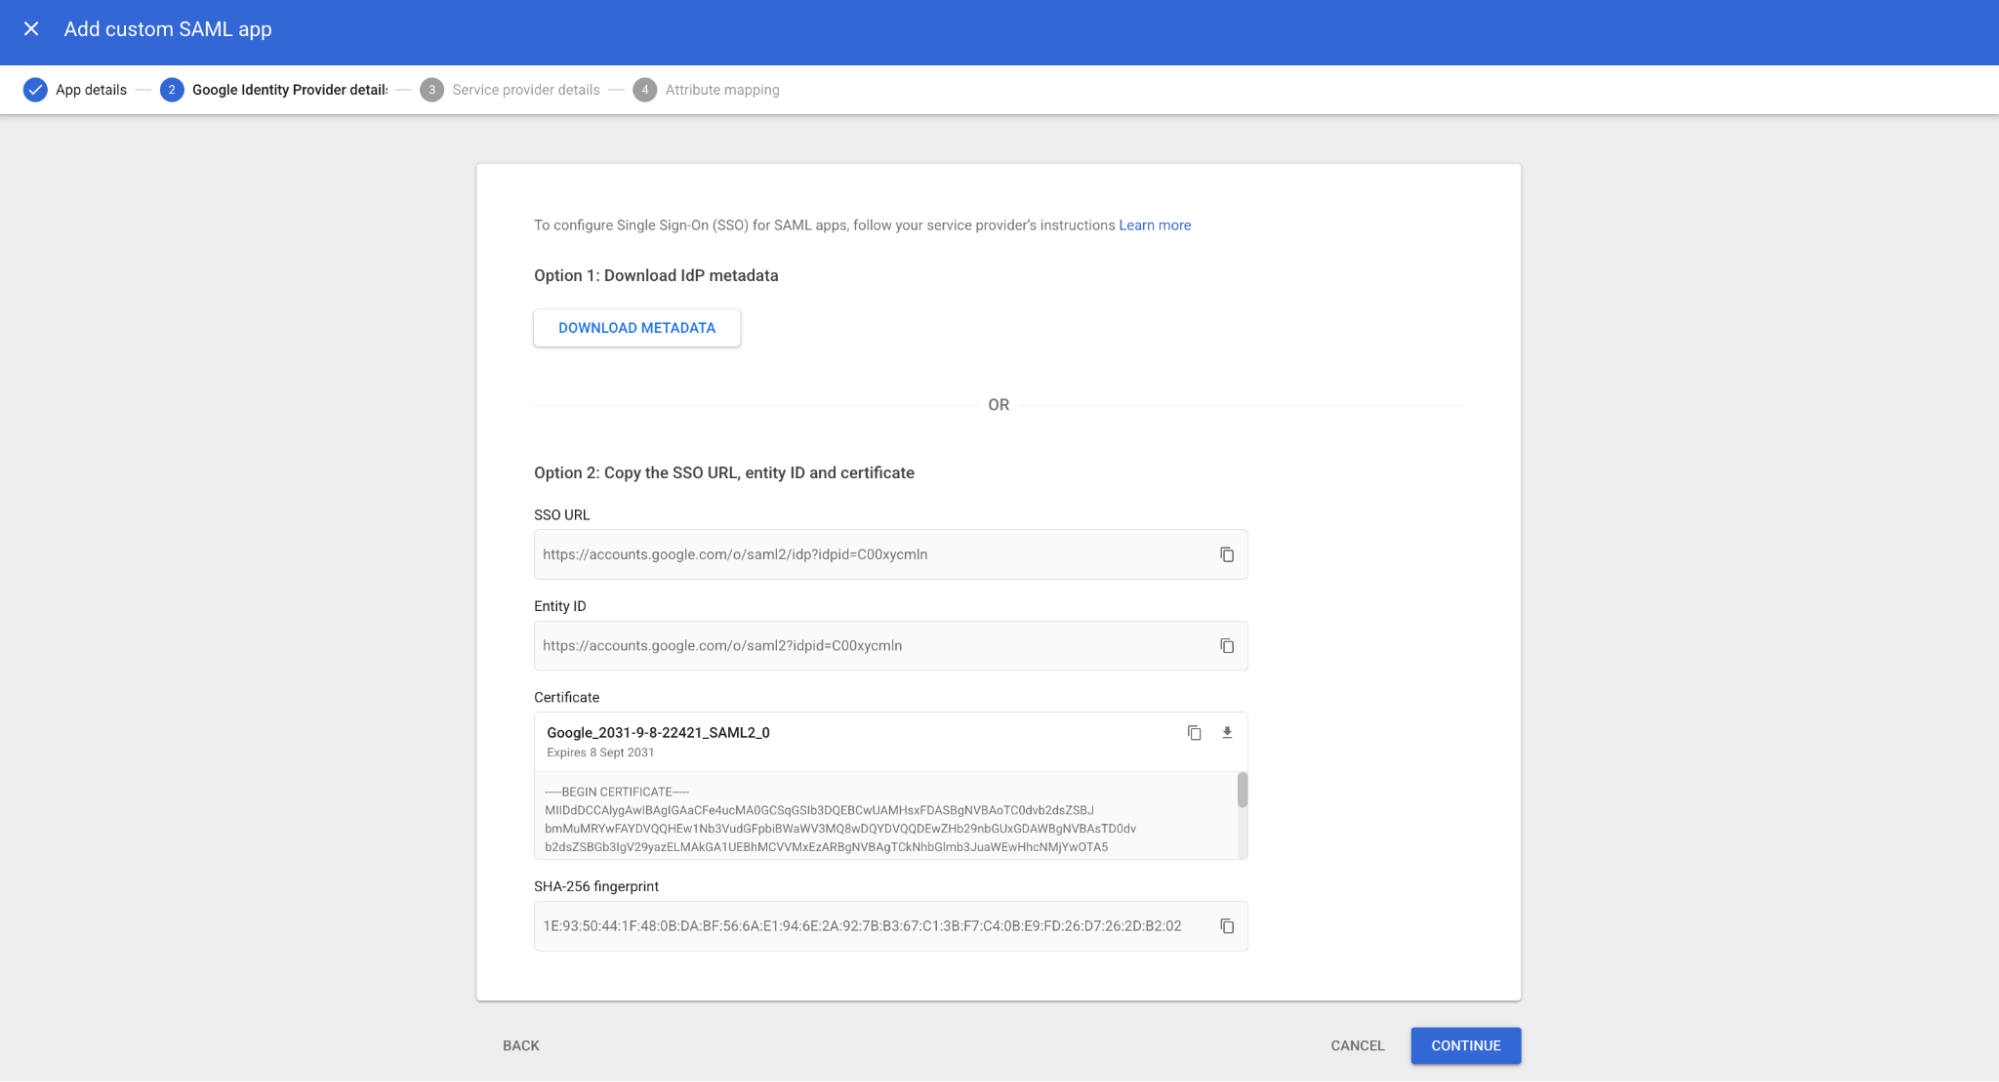
Leave the Google IdP details as default and click Continue.
4. Service Provider Details:
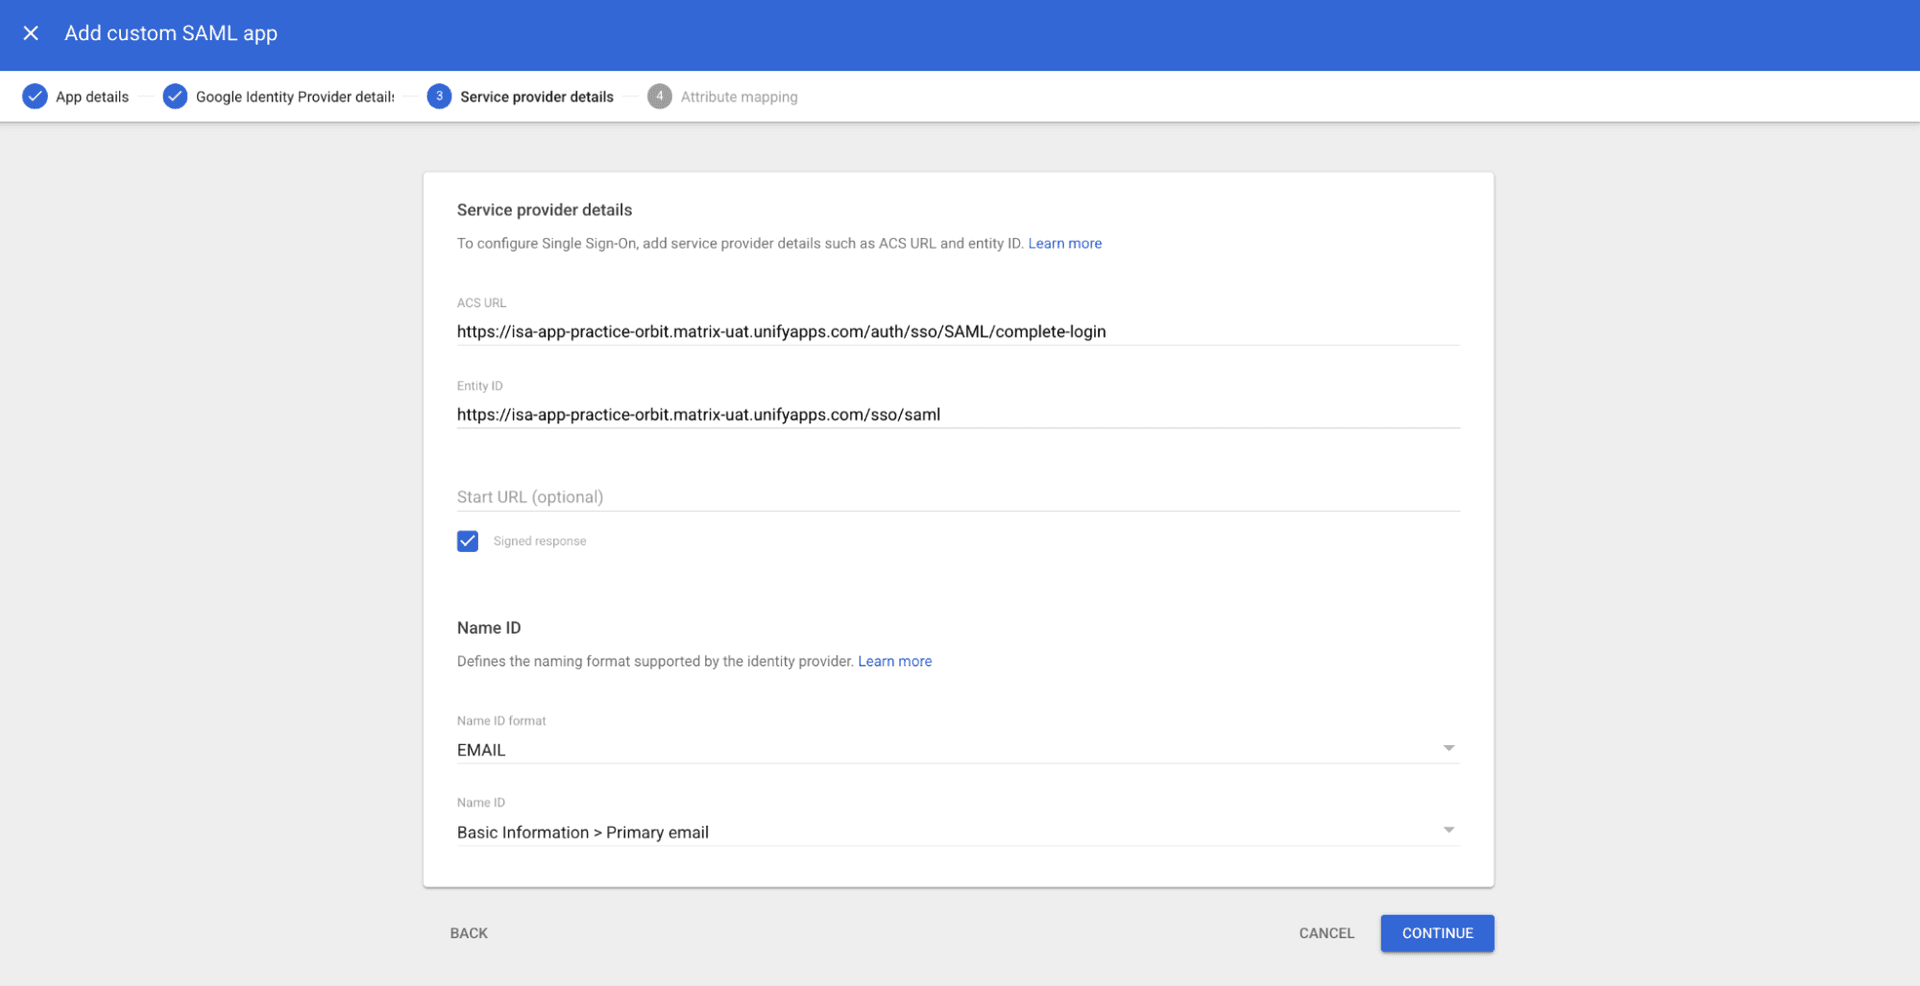
Paste the ACS URL and Entity ID (copied from the UnifyApps configuration in Step 1) into the corresponding fields here.
Check the Signed response box.
Click Continue.
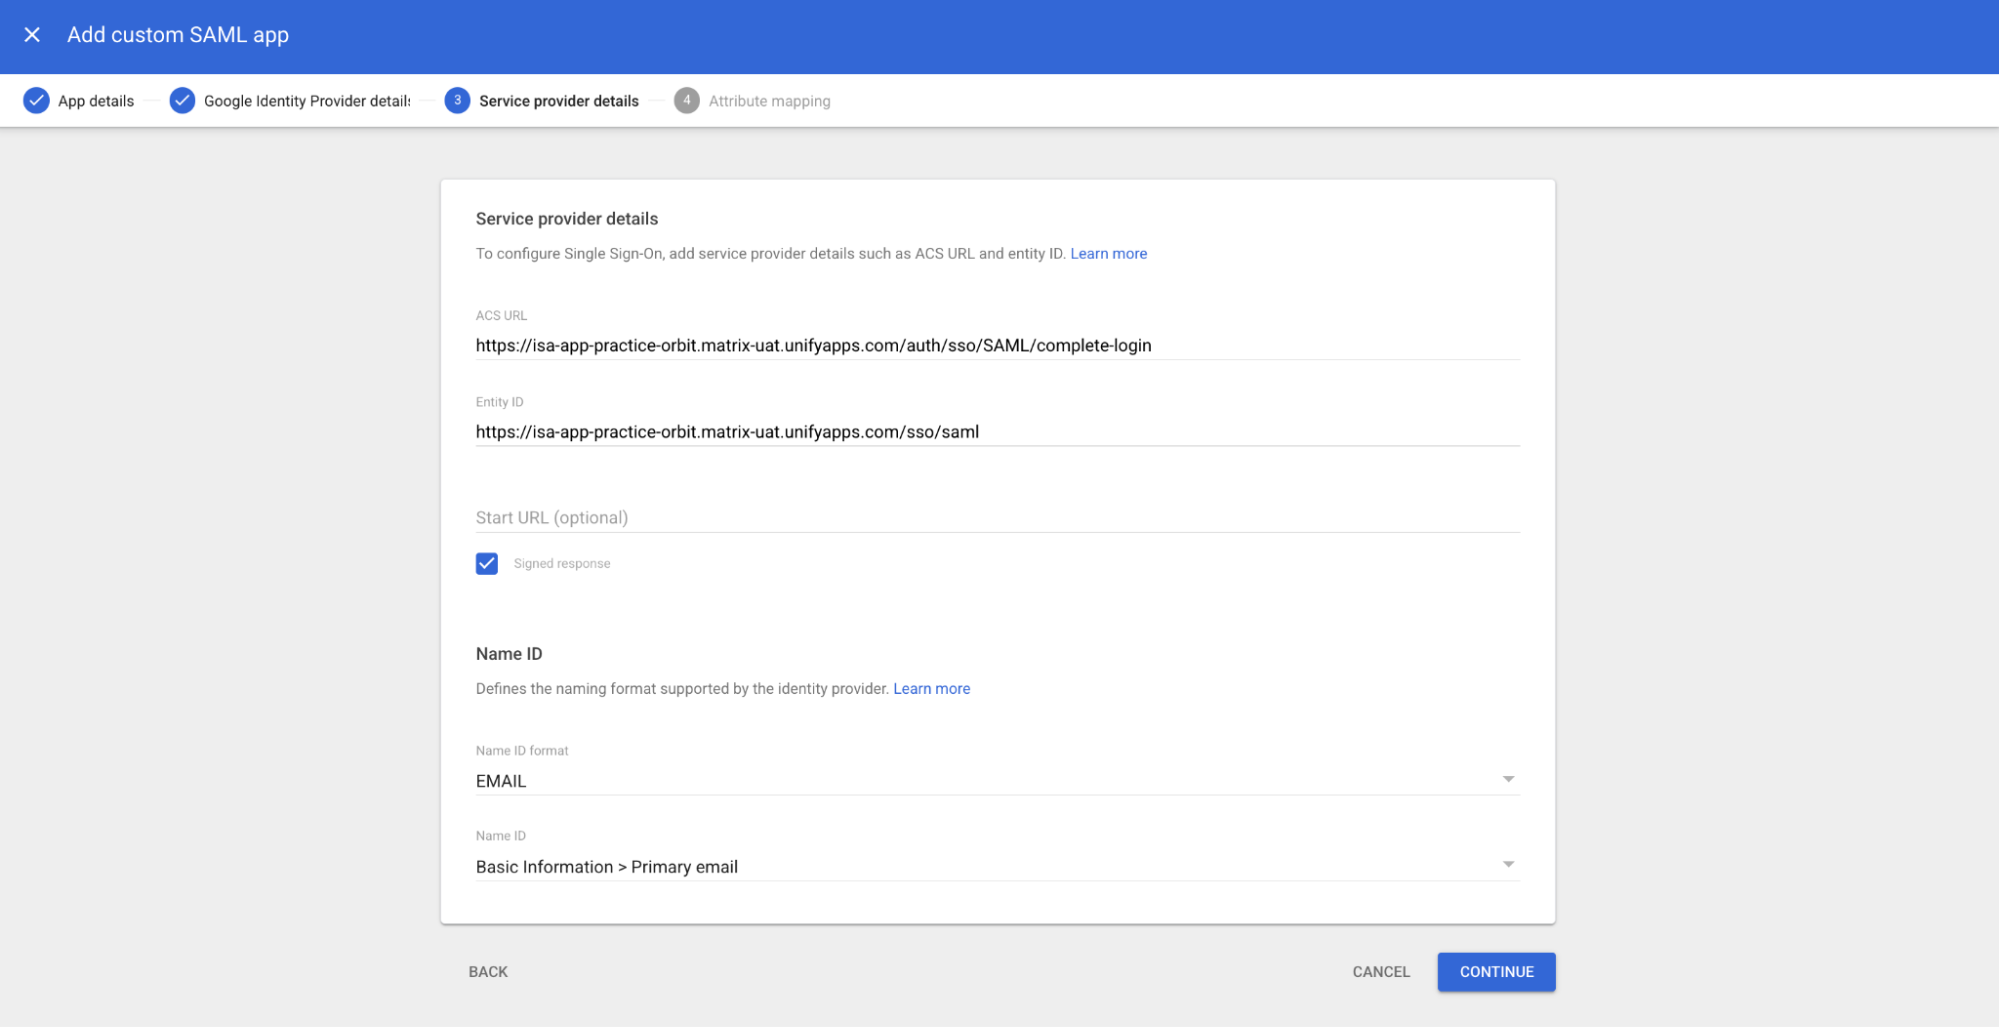
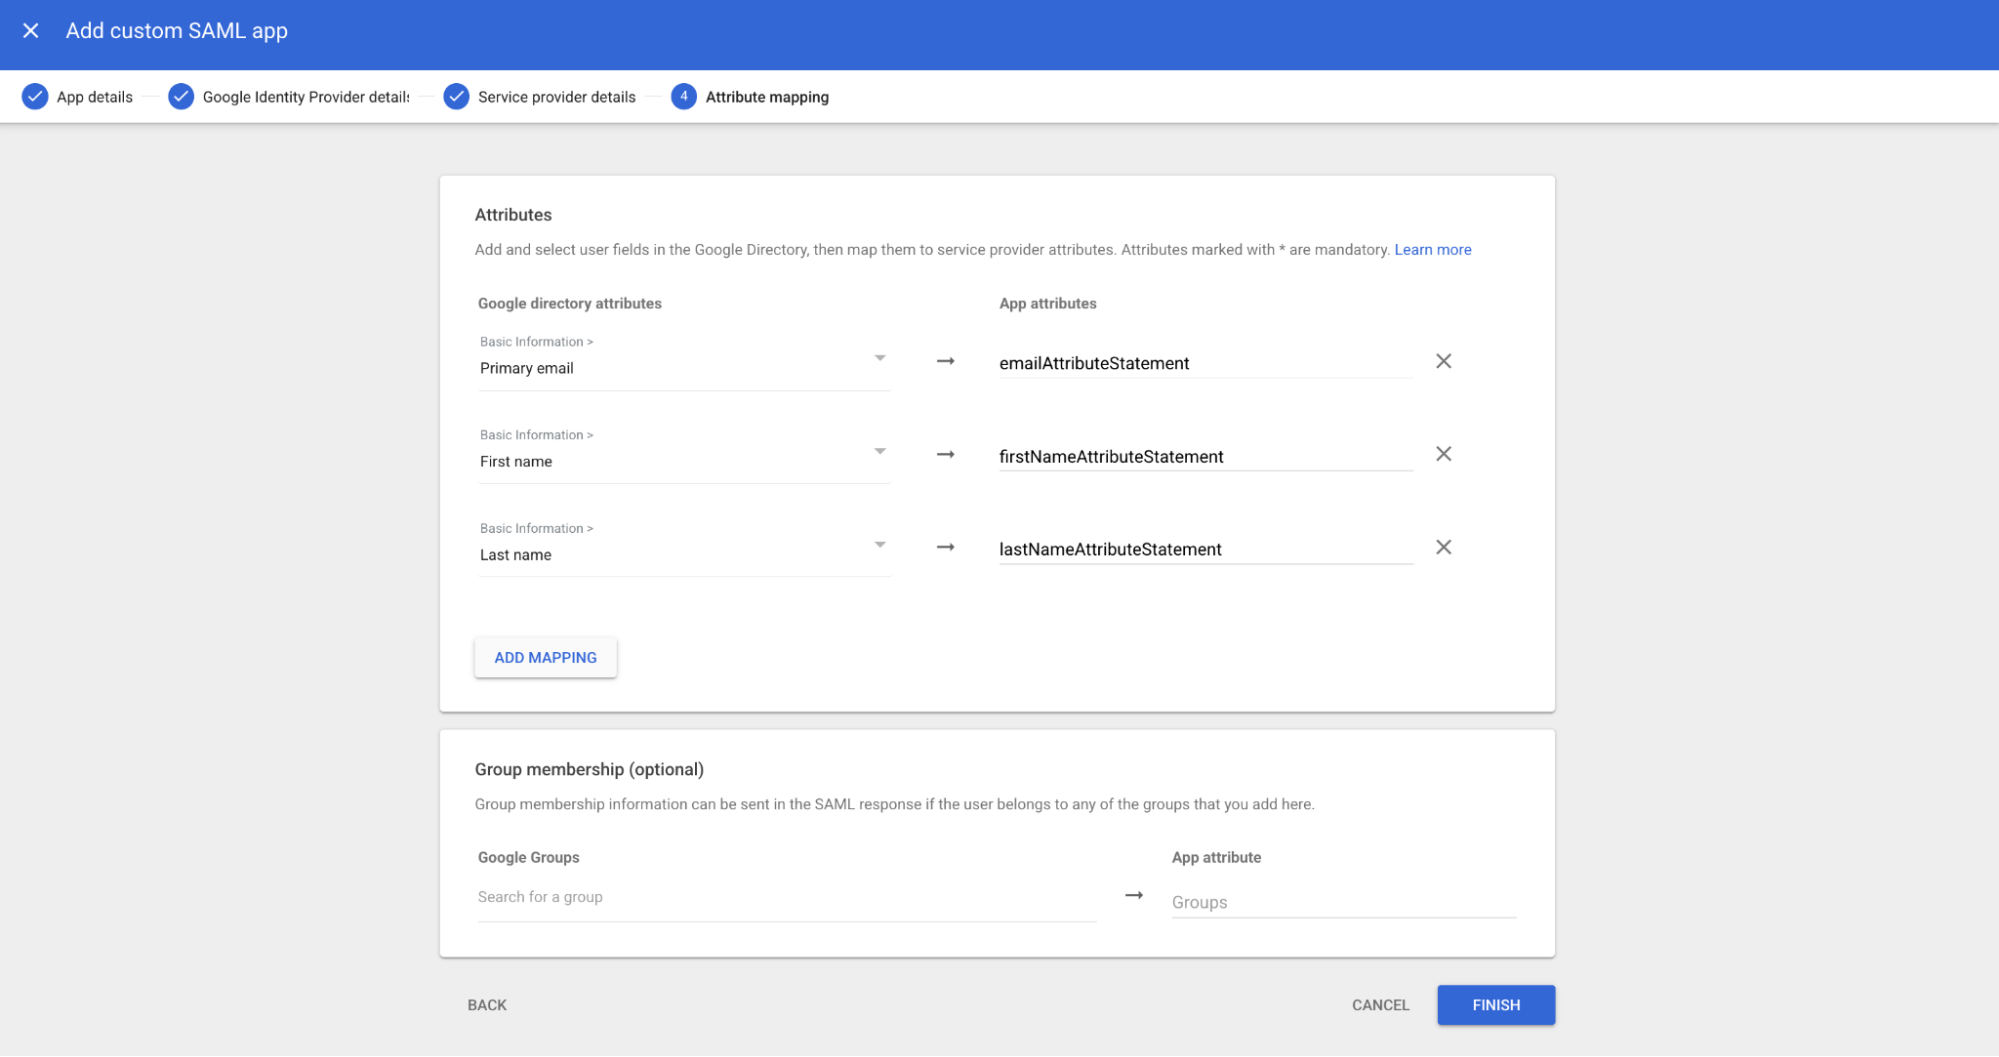
5. Attribute Mapping:
Map the following:
emailAttributeStatement → Primary email
firstNameAttributeStatement → First name
lastNameAttributeStatement → Last name
Click Finish.

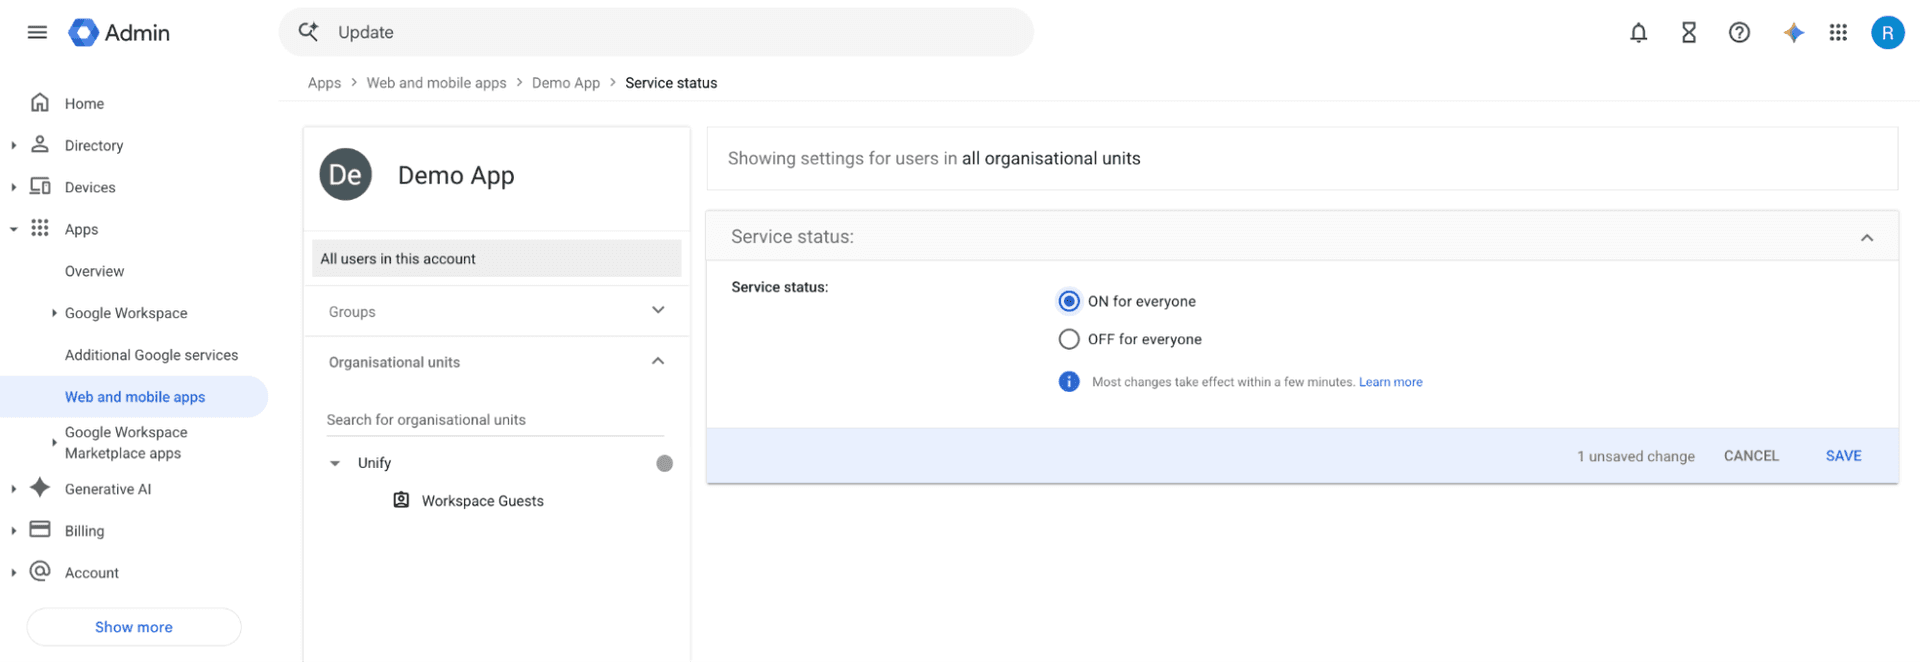
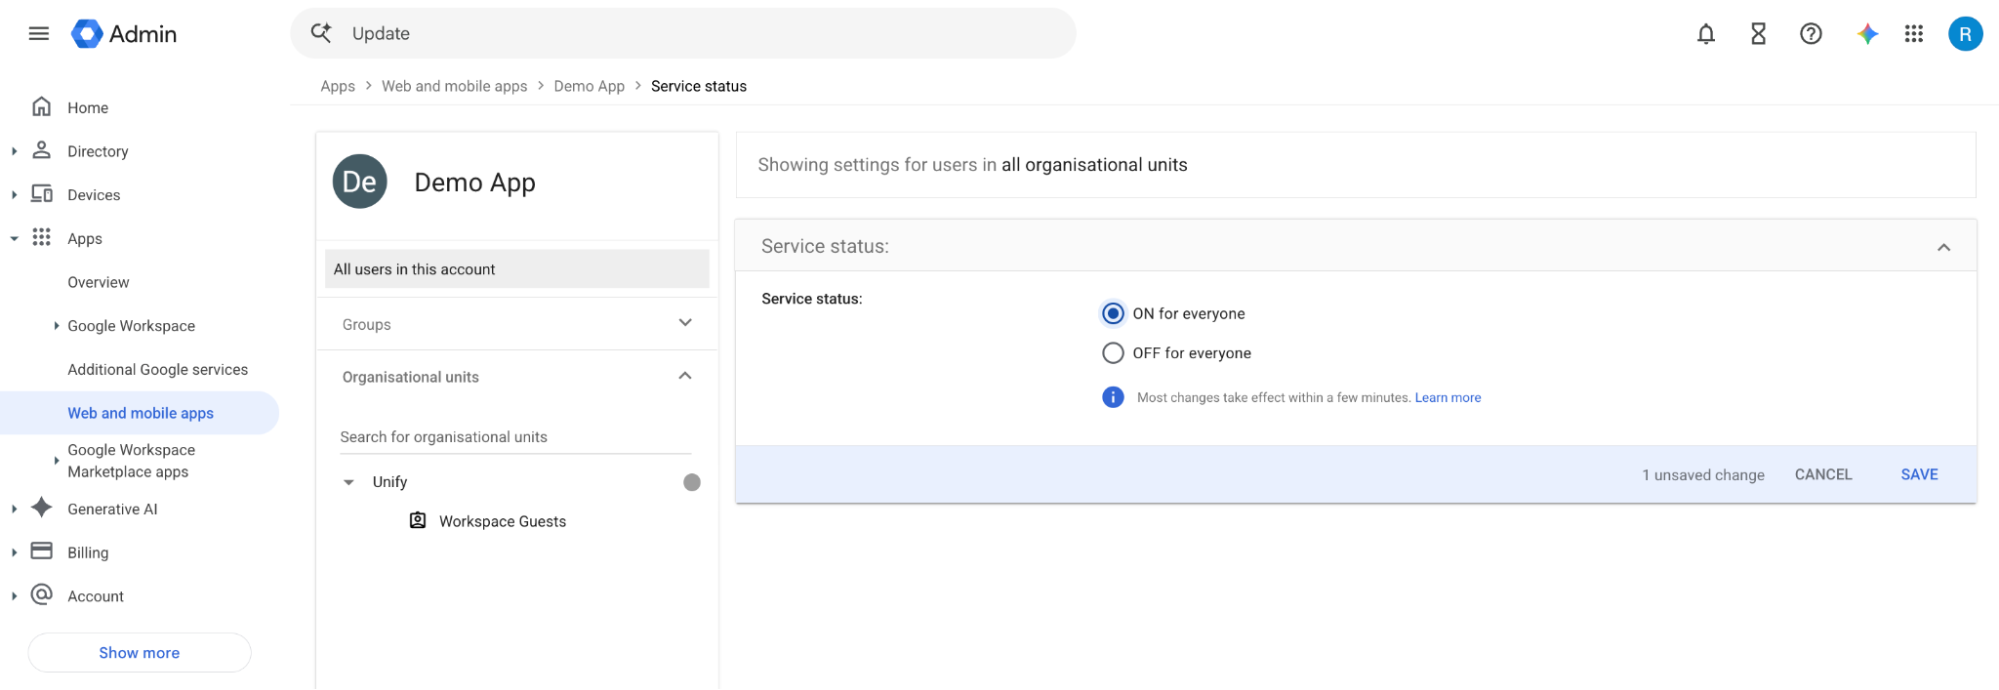
6. Configure User Access:
The service status defaults to OFF for everyone.
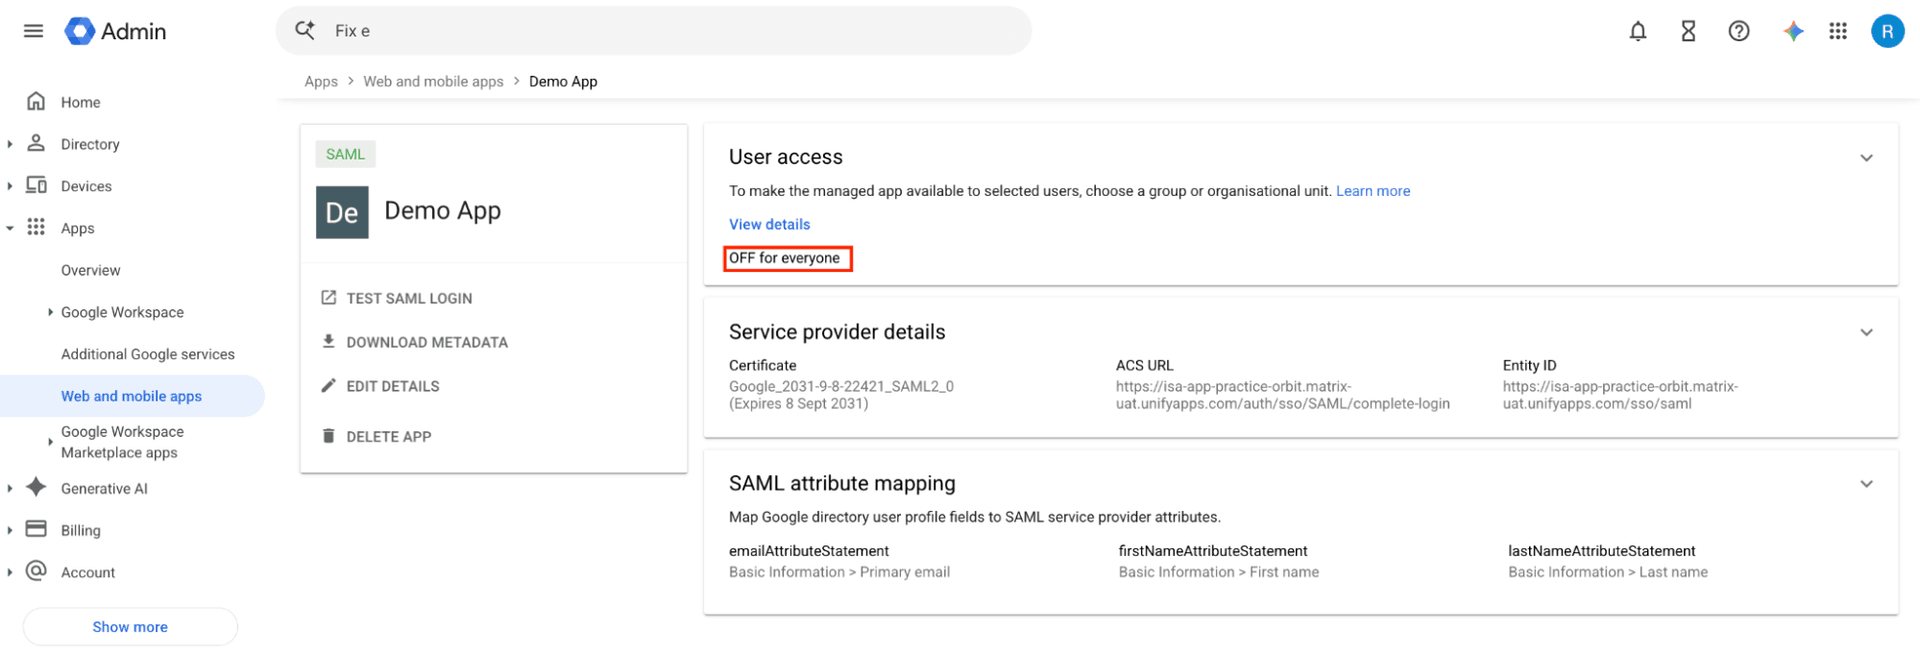
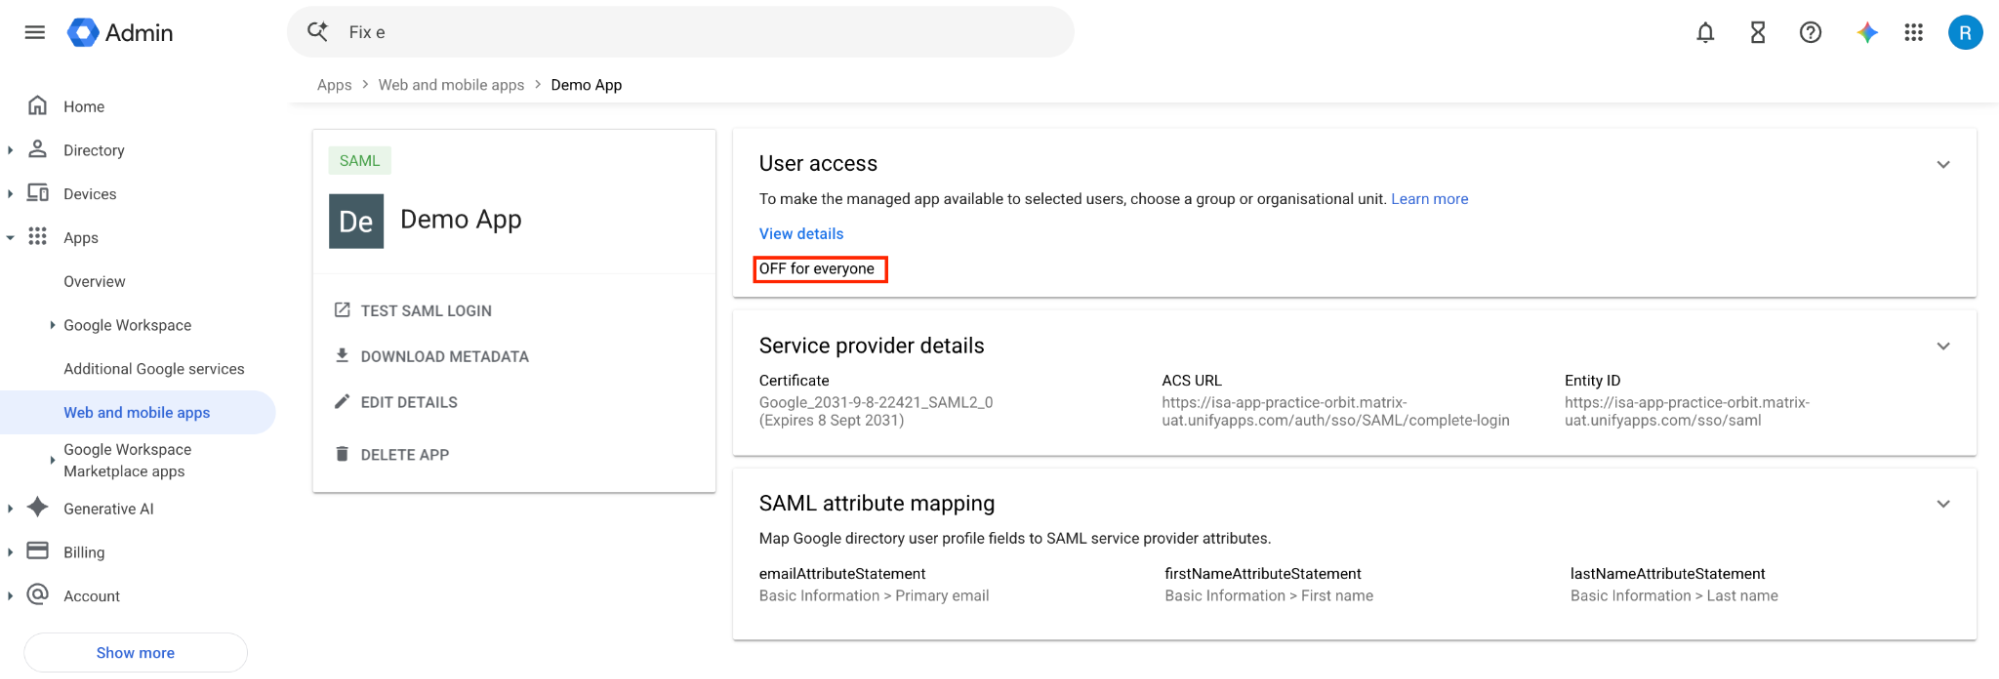
Select ON for everyone and click Save.
7. Obtain Google Identity Provider Metadata:
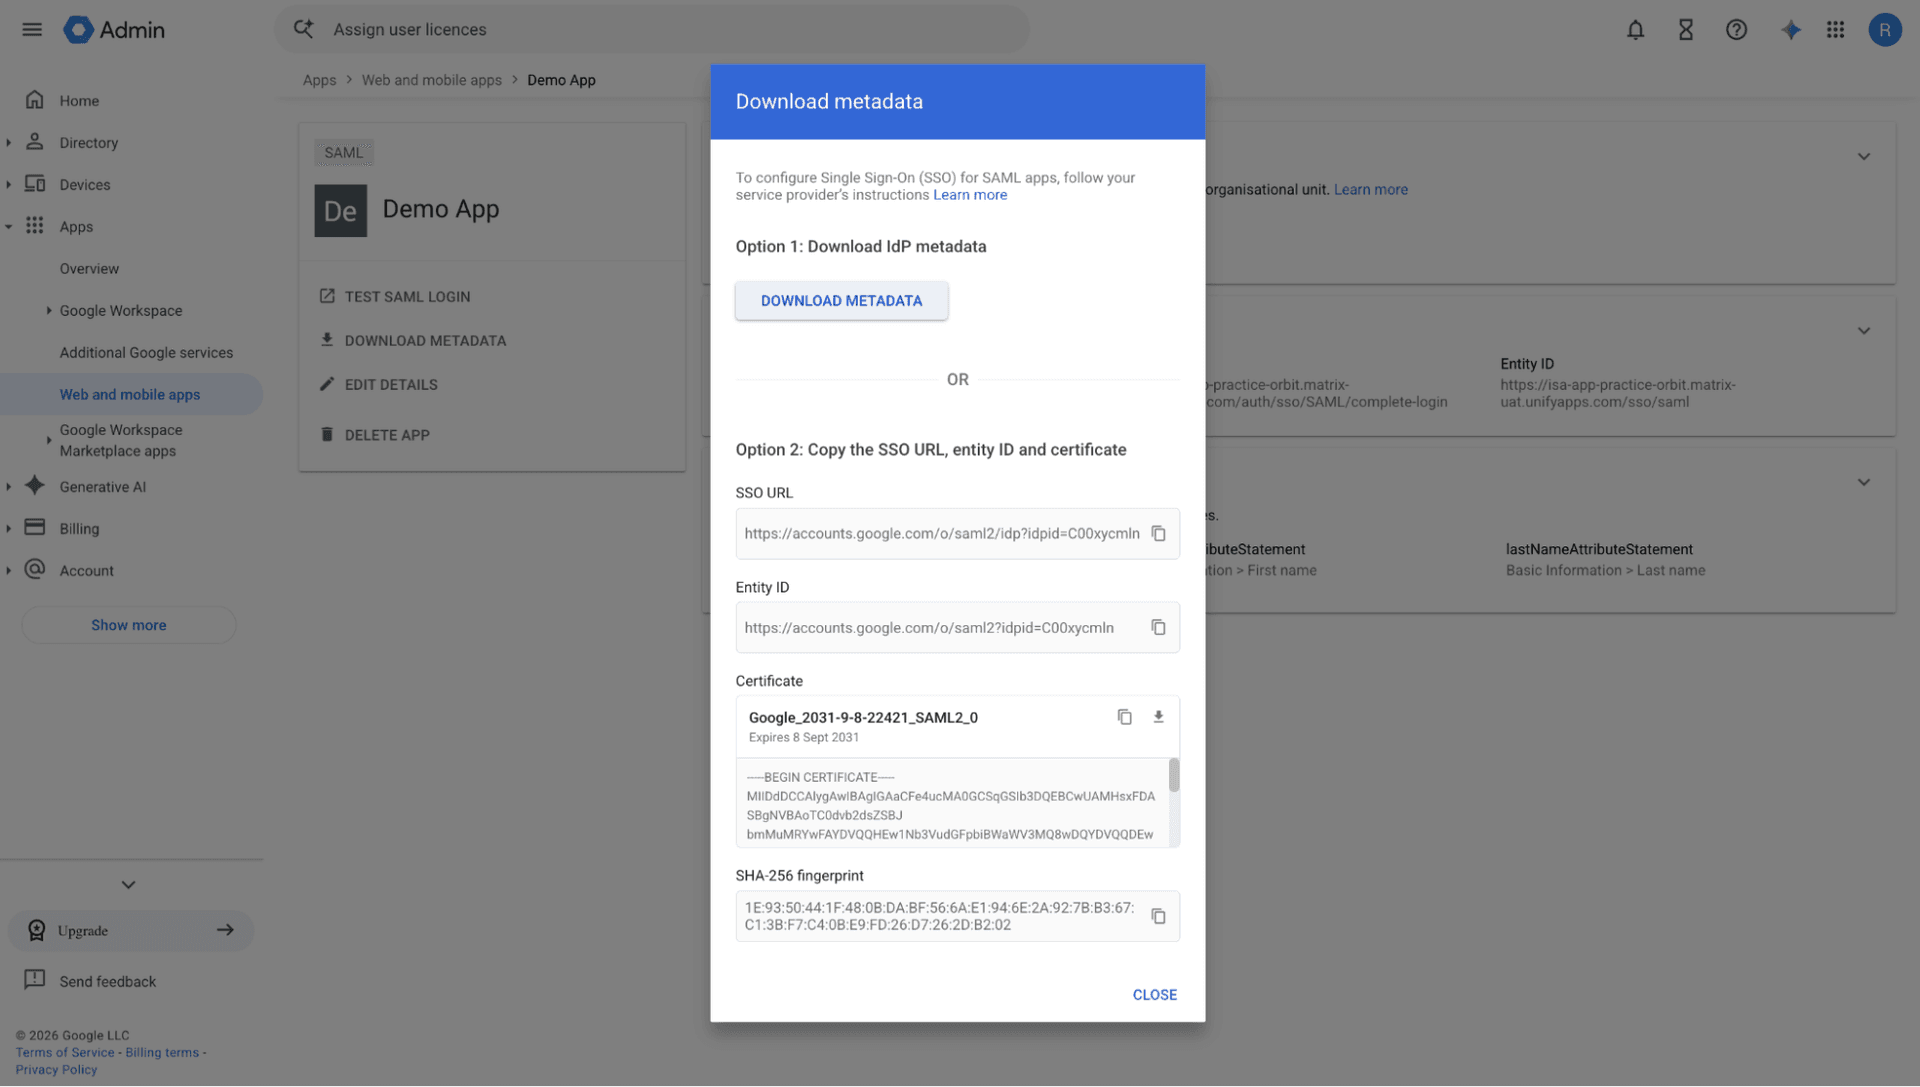
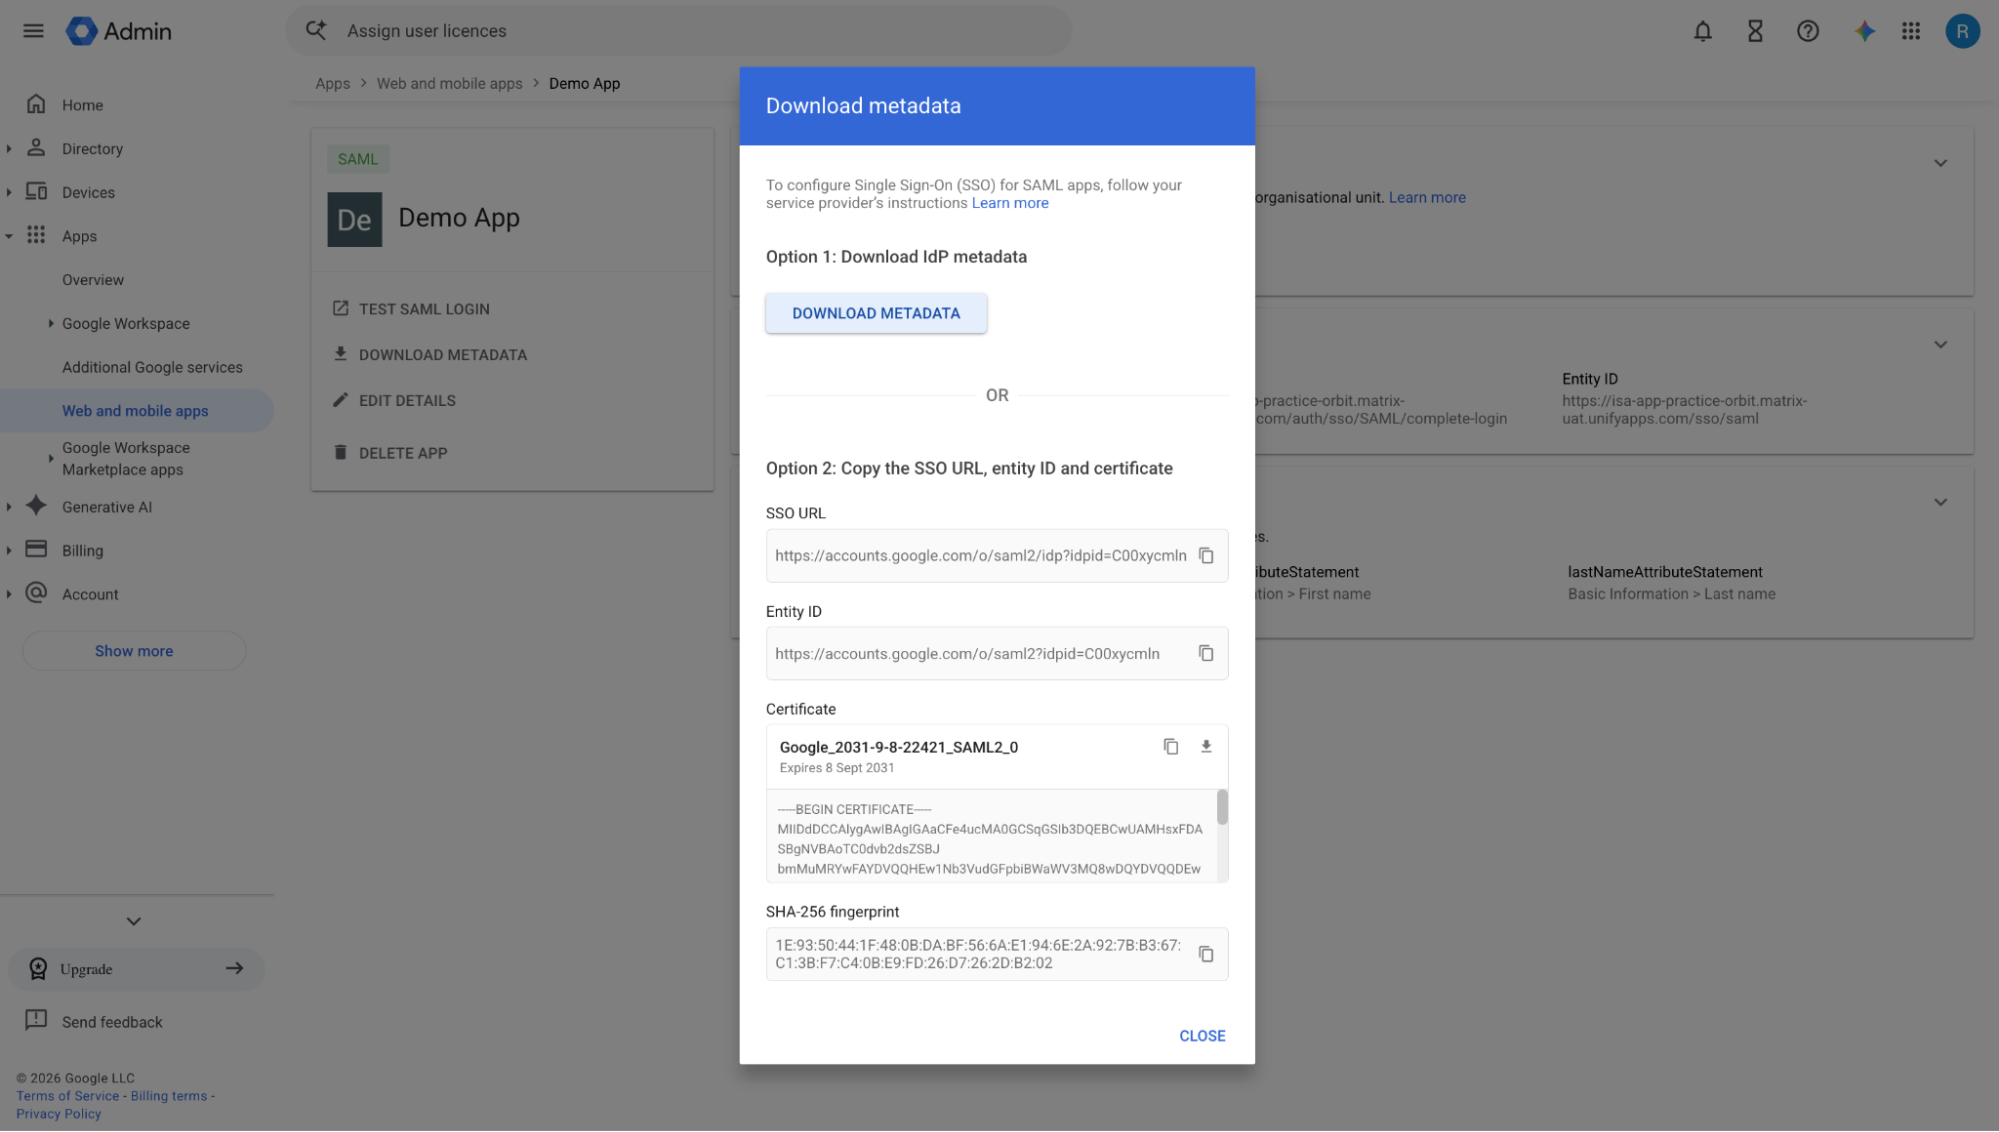
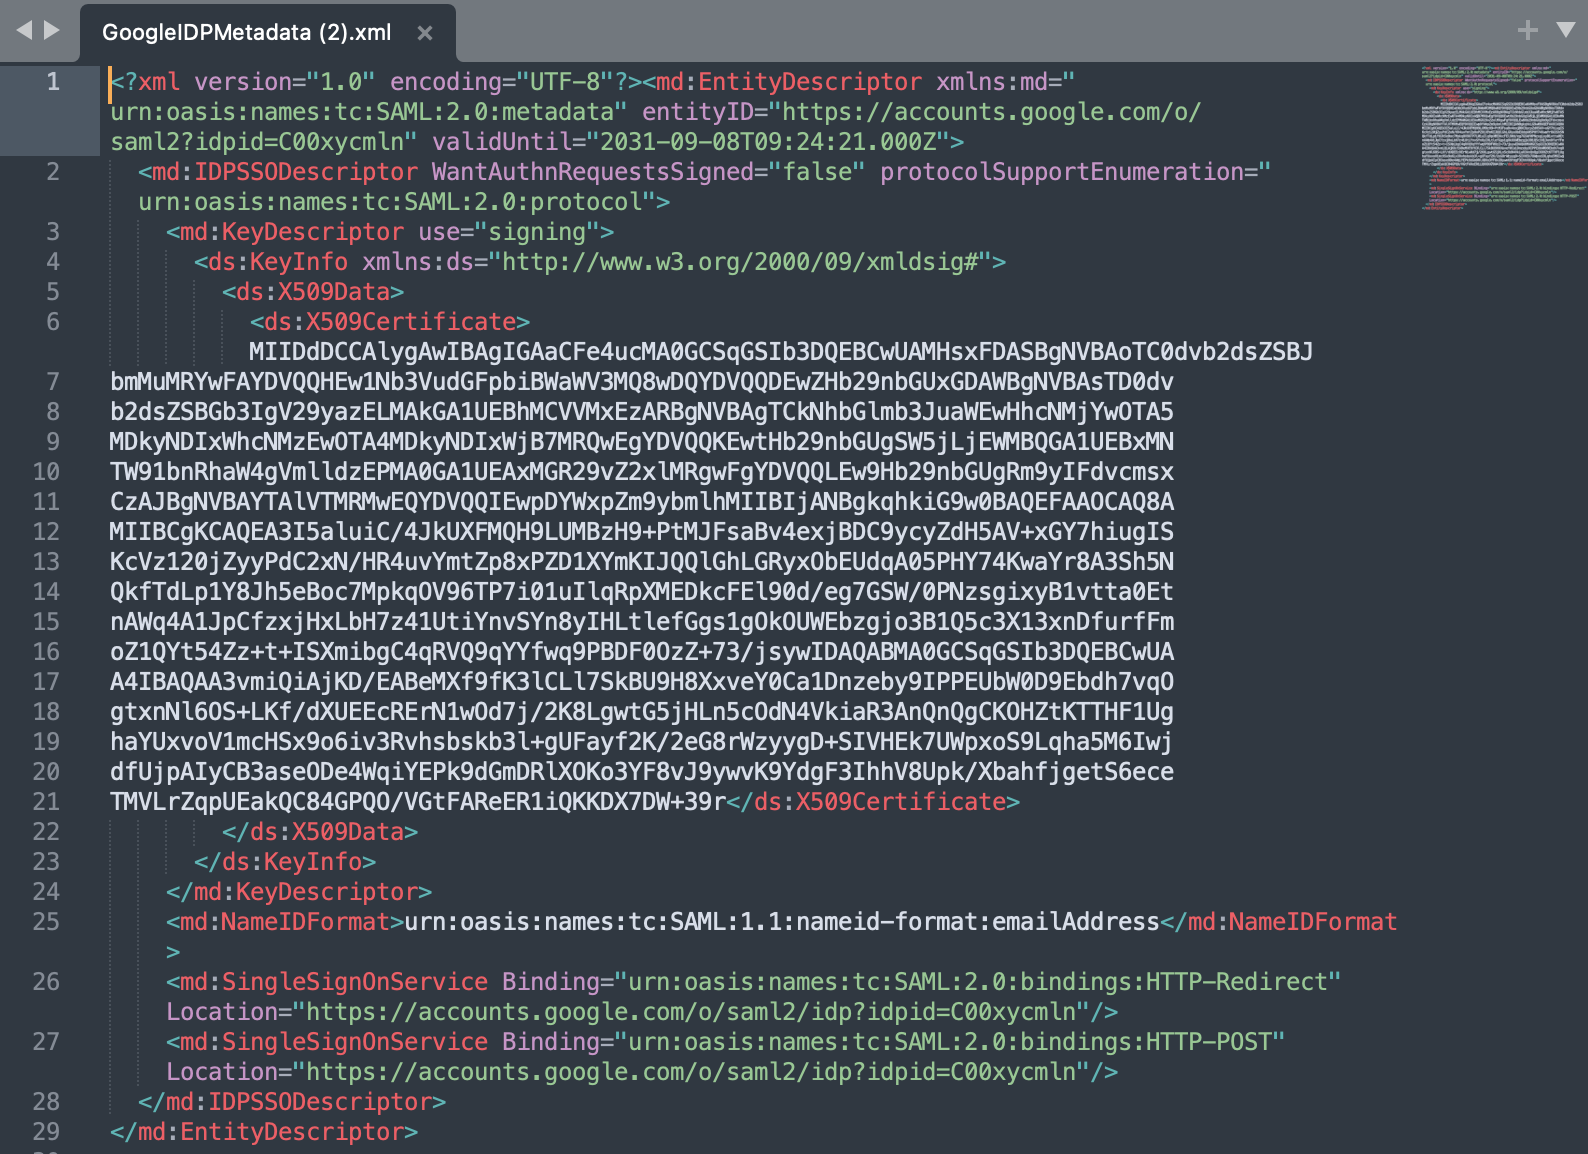
Click Download Metadata to save Google's SAML metadata XML file.

Step 3: Finalizing Configuration in UnifyApps
1. Paste Google Metadata:
Return to the UnifyApps IDP configuration page.
Open the downloaded metadata file, copy its entire contents, and paste it into the Metadata Content field.
2. Enable Provisioning:
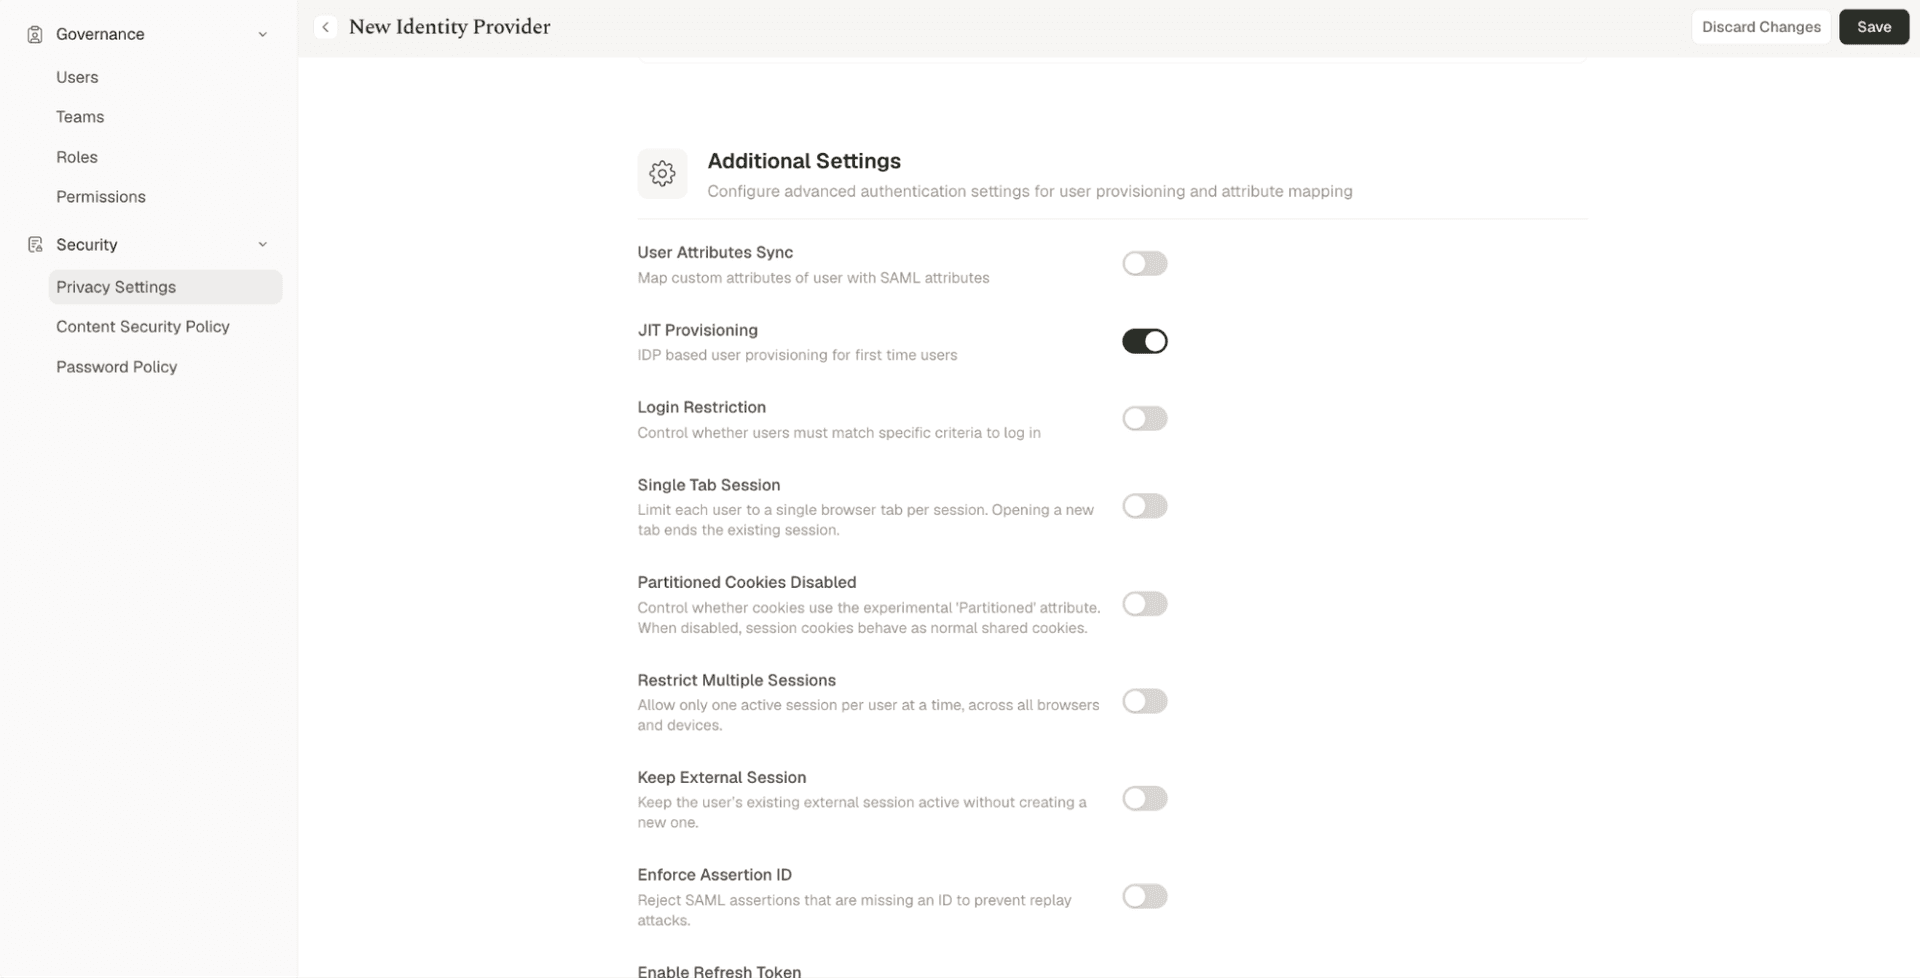
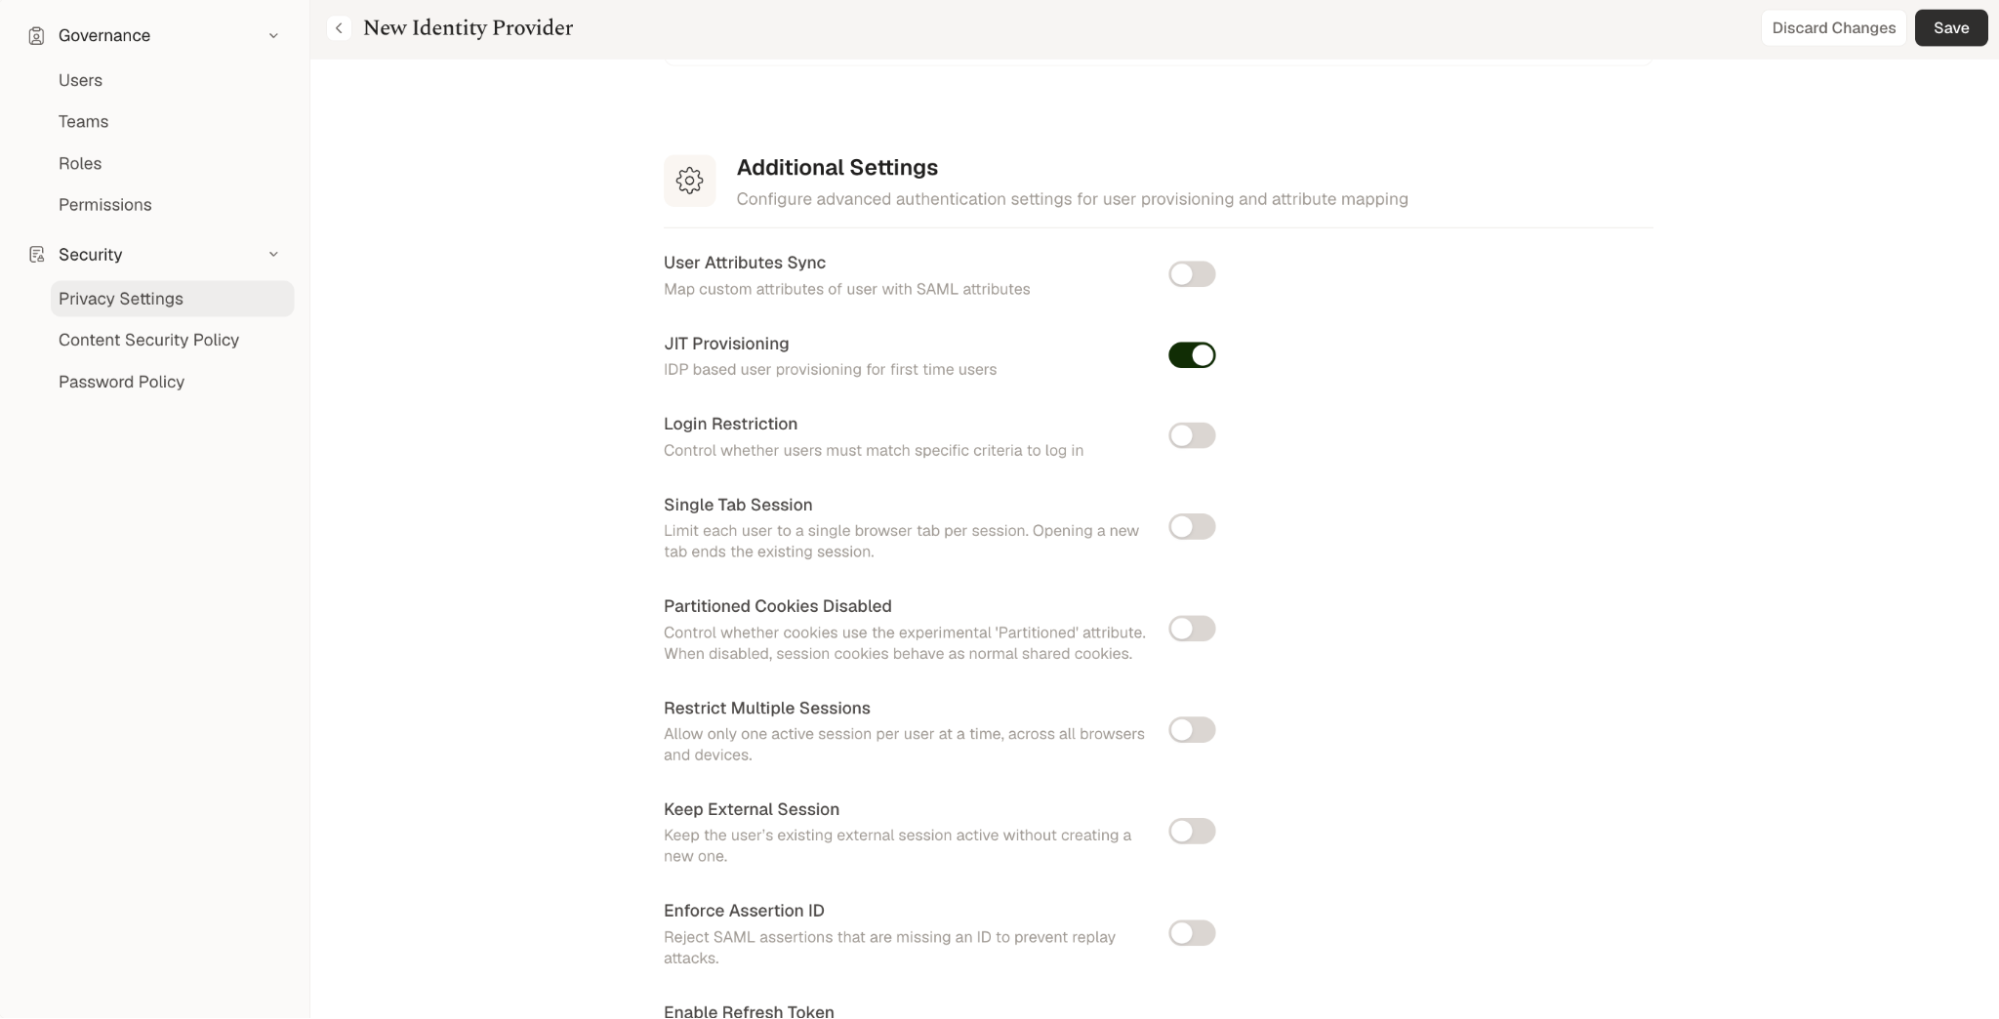
Turn on JIT Provisioning and click Save.
3. Activate the IDP:
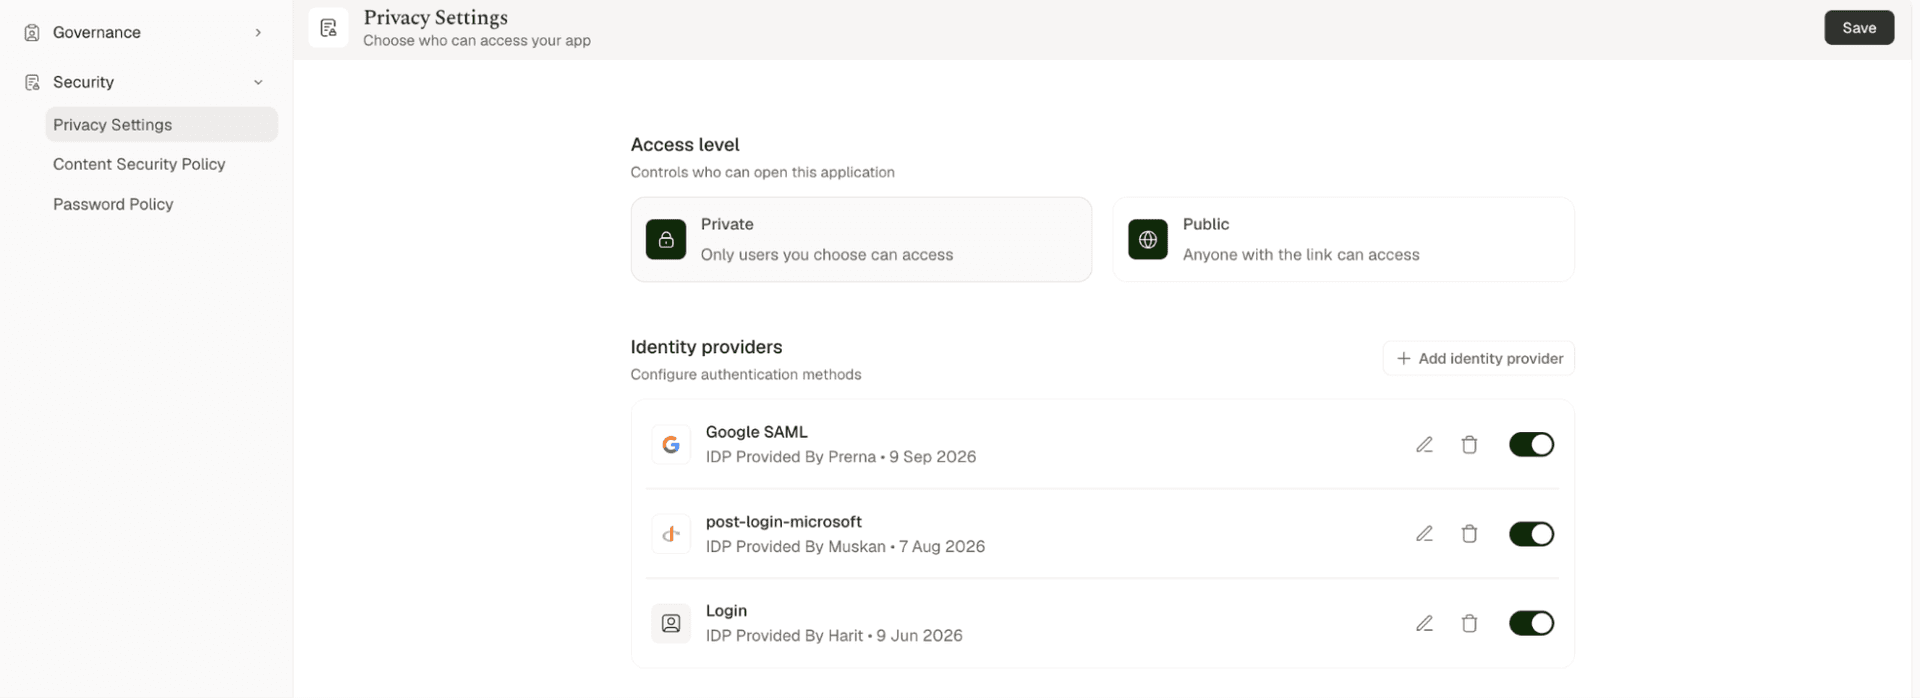
Turn on the Google SAML toggle and click Save.