


The properties panel is the side panel that opens when you select a step on the canvas. It shows that step's full configuration — its action, connection, inputs, outputs, and per-step options. Every setting you make for a step lives here, and selecting a different step on the canvas swaps the panel to that step's configuration.
Overview
When you click a step on the flow builder canvas, the properties panel slides in from the right (or opens as an inline side panel). The panel header shows the step's app icon and an editable name — click the name to rename the step inline. The X button closes the panel and deselects the step.
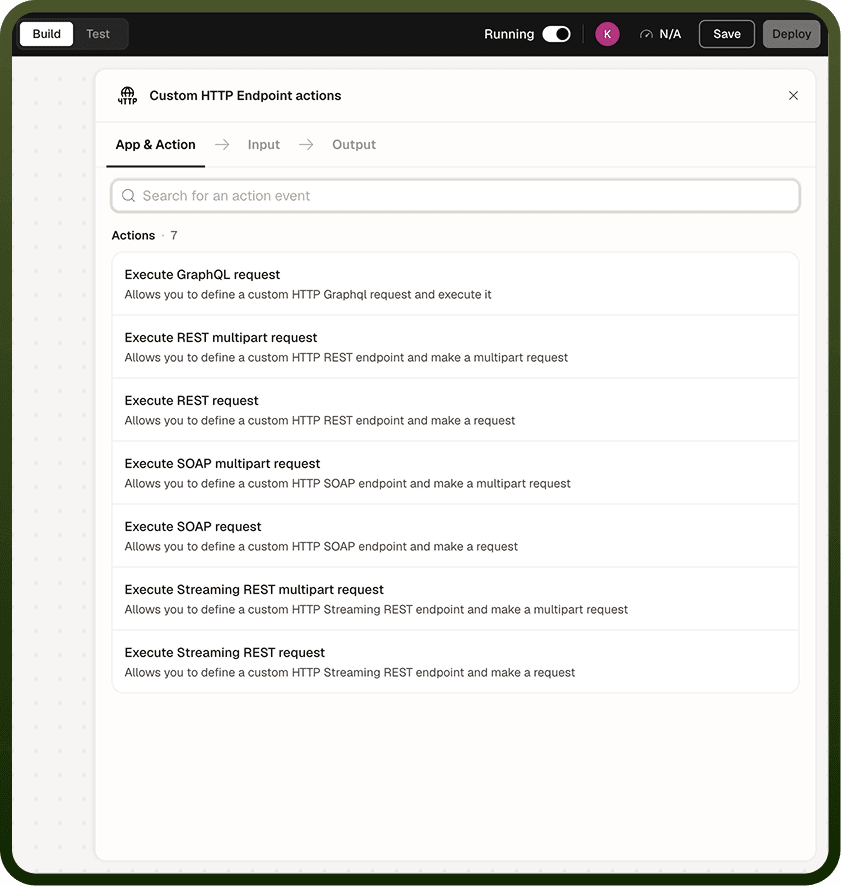
Panel Tabs
The settings are organized into tabs you move through left to right. For a standard app step, those tabs are:
App & Action — choose which app and which action this step performs.
Connection — select the authenticated connection to use.
Input — fill the fields the action requires, including any data pills from earlier steps.
Output — inspect the result tree once the step has run or been tested.
The trigger step shows App & Event and Setup instead. Selecting a different step on the canvas swaps the panel; the X closes it.
App & Action
This is always the first tab. Search the catalog of apps and actions and select one — the panel labels your current pick as the selected action. For the trigger, this tab is labeled App & Event and lets you choose the event that starts the automation. Until an action is chosen, the Connection, Input, and Output tabs remain locked.
Connection
For steps that call an external app, the Connection tab lists the authenticated connections available for that app. Your selected connection appears at the top, with other active connections below and a search box to filter them. If the connection you need is not listed, Add new connection opens the connection setup without leaving the step. A step will not run until it has a valid connection selected.
Input
The Input tab is where you fill the step's fields. Required fields must be filled before the step can run; optional fields can be added via Manage optional fields. You can type fixed values or insert data pills — references to outputs from earlier steps. An Autofill option auto-maps fields from a chosen upstream step. At the bottom of the Input tab, an expandable strip gives per-step Caching, Retry, and Error handling settings.
Output
The Output tab shows the result of the step as a searchable tree. After you test the step, real output populates the tree and you can copy field references (data pills) from it to use in downstream steps. Before a test run, the Output tab shows the expected output schema.
Notes
Keep the following in mind when working with the properties panel:
Renaming a step in the panel header updates its label on the canvas immediately.
Per-step caching, retry, and error handling settings override the automation-wide defaults for that step only.
For HTTP or API actions, the Input tab may include an option to import or export the request as a cURL command.
The properties panel covers one step only; automation-wide settings (timeout, logging, circuit breaker) live in the separate automation settings screen.
Familiarizing yourself with the panel's tabs and per-step override settings makes configuring and debugging individual steps significantly faster.