
Configure an Advanced Agent
Let’s create your first AI Agent by following these easy steps:
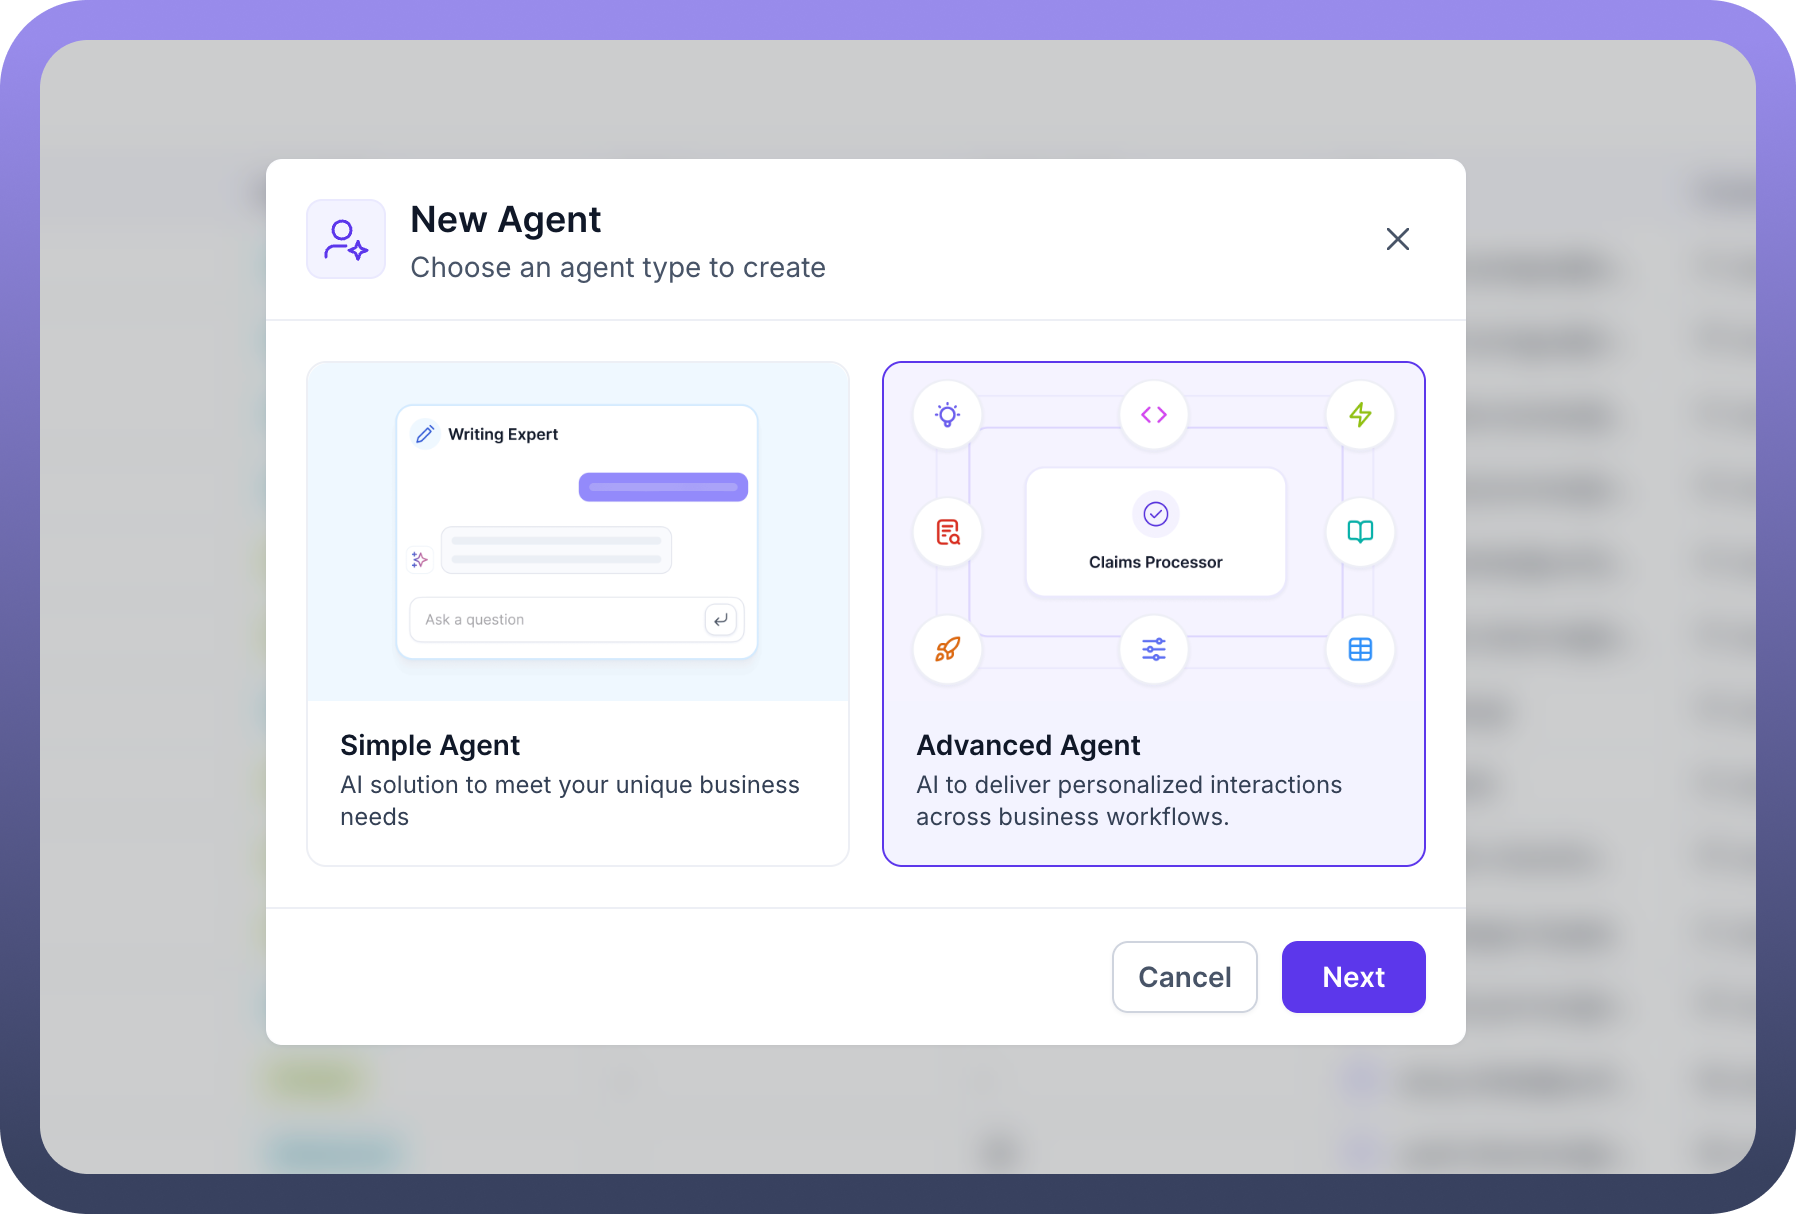
Click on the
Agentsoption in the left sidebar of your UnifyApps dashboard in the Unify AI category.On the Agent page, click on the
+ New Agentbutton on the top right. This will prompt you to create a new AI Agent.
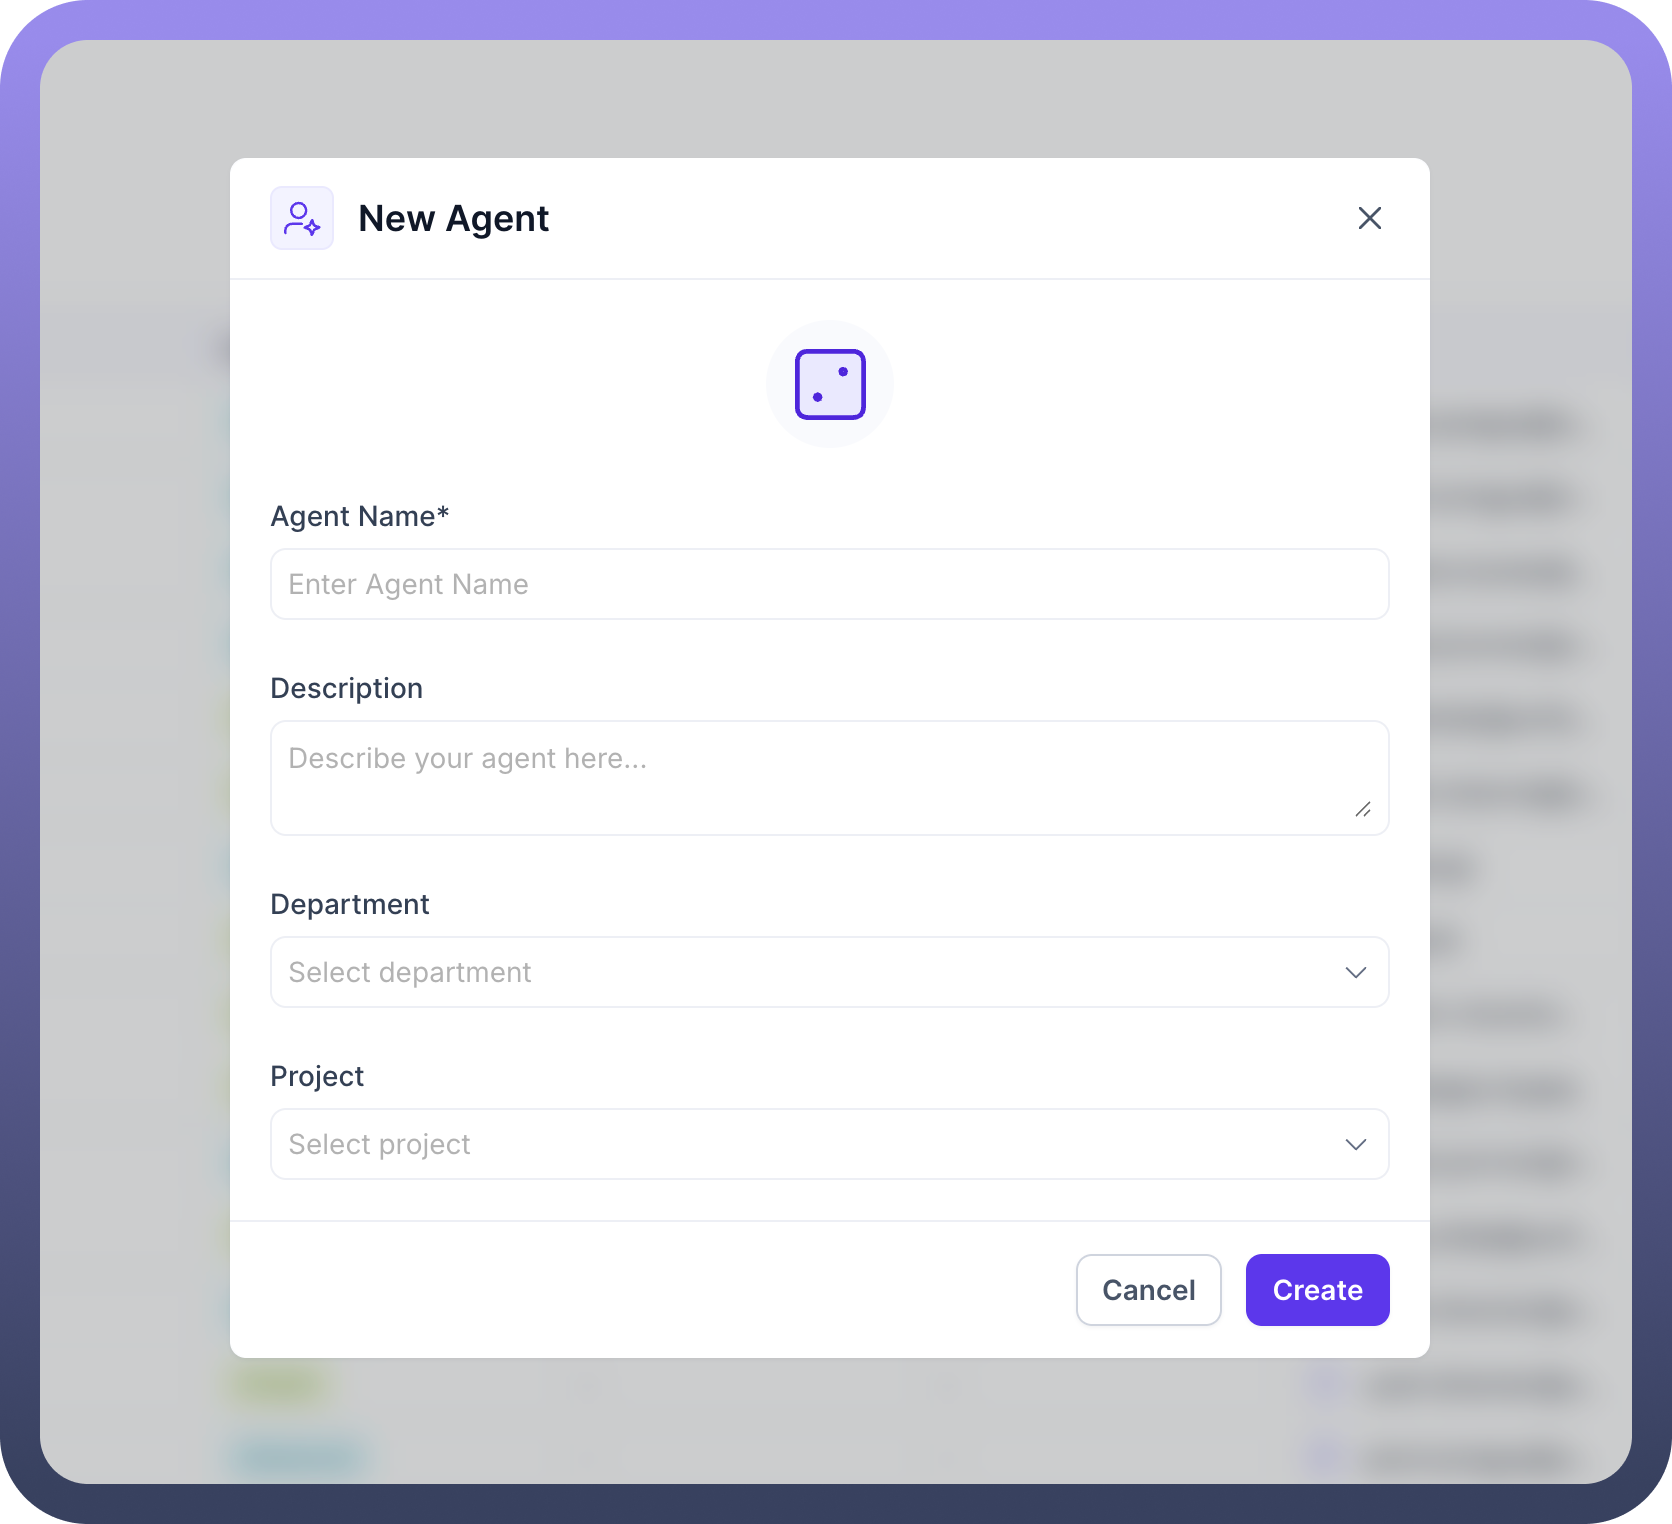
Give a name to your agent and assign it to a certain department if you have any and click on the
Createbutton.
Here’s how your AI Agent's landing page will look like.
.png&w=1080&q=75)
.png)
Configure
Role: Define the agent's primary function and responsibilities (e.g., 'UI/UX Designer', 'Content Strategist', 'Research Analyst'). This helps set expectations for the agent's scope of workDefine
Goal: Specify what the agent aims to achieve in their role and outline key results This helps to define the success criteria for agent task’s.Set Up
Instructions: Provide background context and instructions related to your agent's expertise..png&w=1080&q=75)
.png)
Configure
Tasks: Tasks define different journeys allowing you to structure different flows your agent can execute.
Refer
You can refer to Setup Task article to know more about it.
Set Up
Knowledge Base: Navigate to Knowledge section and add your data sources (documents, databases, APIs) to your agent.Refer
You can refer to the Knowledge Base Configuration article for detailed configuration.
Configure
Tools: Go to Tools section and connect required external tools and APIs.Refer
Refer to the Tools article for detailed configuration steps.
Set Up
Guardrails: Navigate to Guardrails section and configure safety controls and quality thresholds.Refer
You can refer to the Guardrails Configuration article for comprehensive setup guidance.
Click on
Settingsin the left sidebar and configure:Indexing: Set up data indexing and search optimization.
Pre Processing: Configure input data cleaning and preparation.
Response Generation: Adjust output formatting and generation parameters.
Prerequisite Actions: Set up required actions before agent execution.
Refer
You can refer to Advanced Settings documentation to know more about it.
You can also add multiple users as collaborators to the AI Agent by clicking on
Share Symbolwhere you will get an option to provide Admin, Viewer or Editor access to the users..png&w=1080&q=75)
.png)
You can publish the agent with your changes by clicking on the
Publish.You can control version using version history by clicking on the 3 dots on the top right and selecting your desired version from
Version history..png&w=1080&q=75)
.png)