This guide outlines configuring Okta as a SAML 2.0 Identity Provider (IDP) for Single Sign-On (SSO) with UnifyApps. You will need administrator access to your Okta organization.
The configuration process involves three main stages:
Step 1: Initial Configuration on UnifyApps
In this section, you will start the SAML configuration process on UnifyApps and obtain the necessary URLs that Okta will require.
Access Identity Provider Settings:
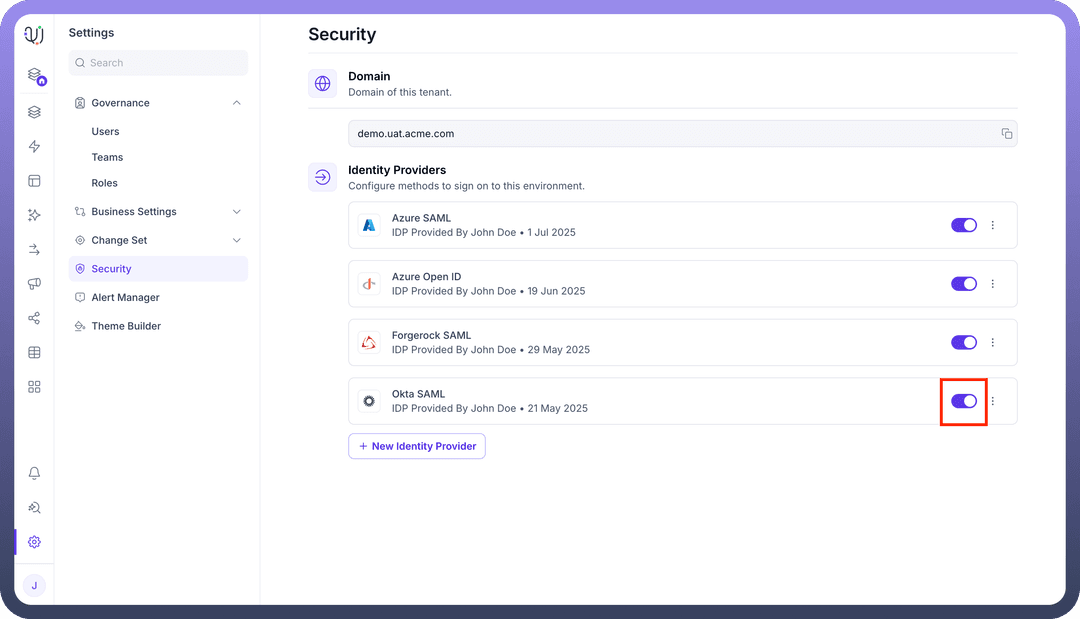
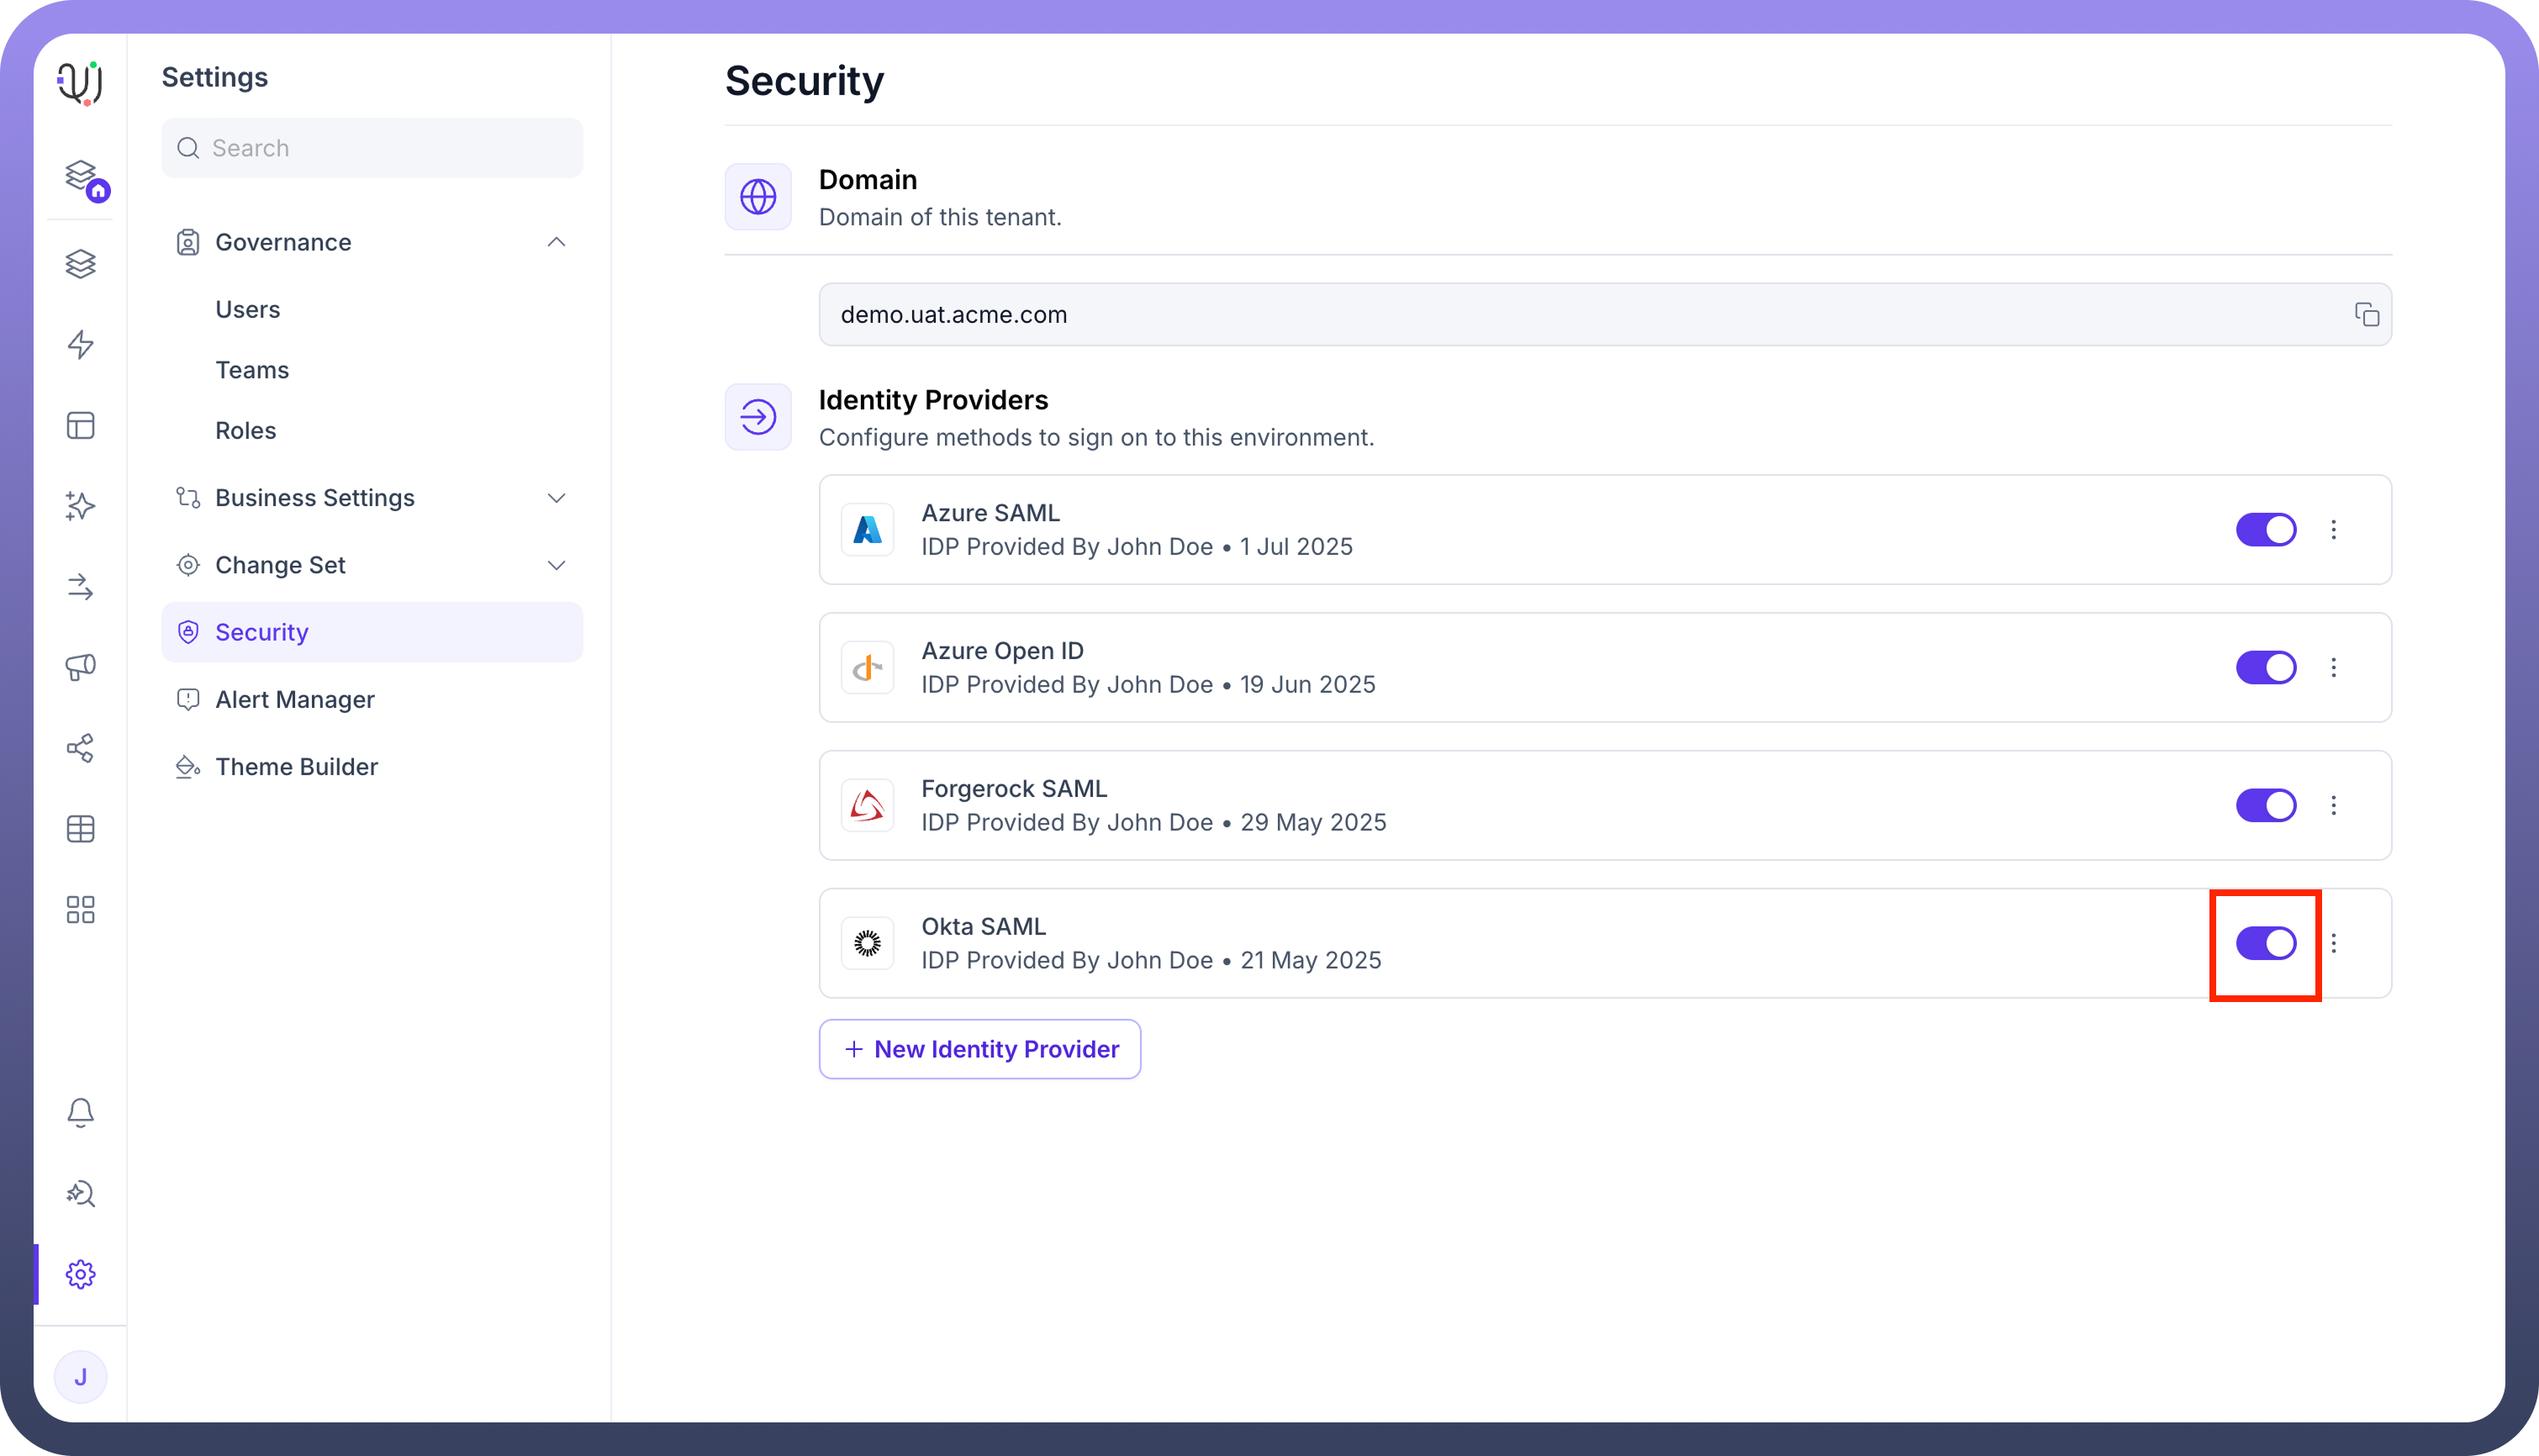
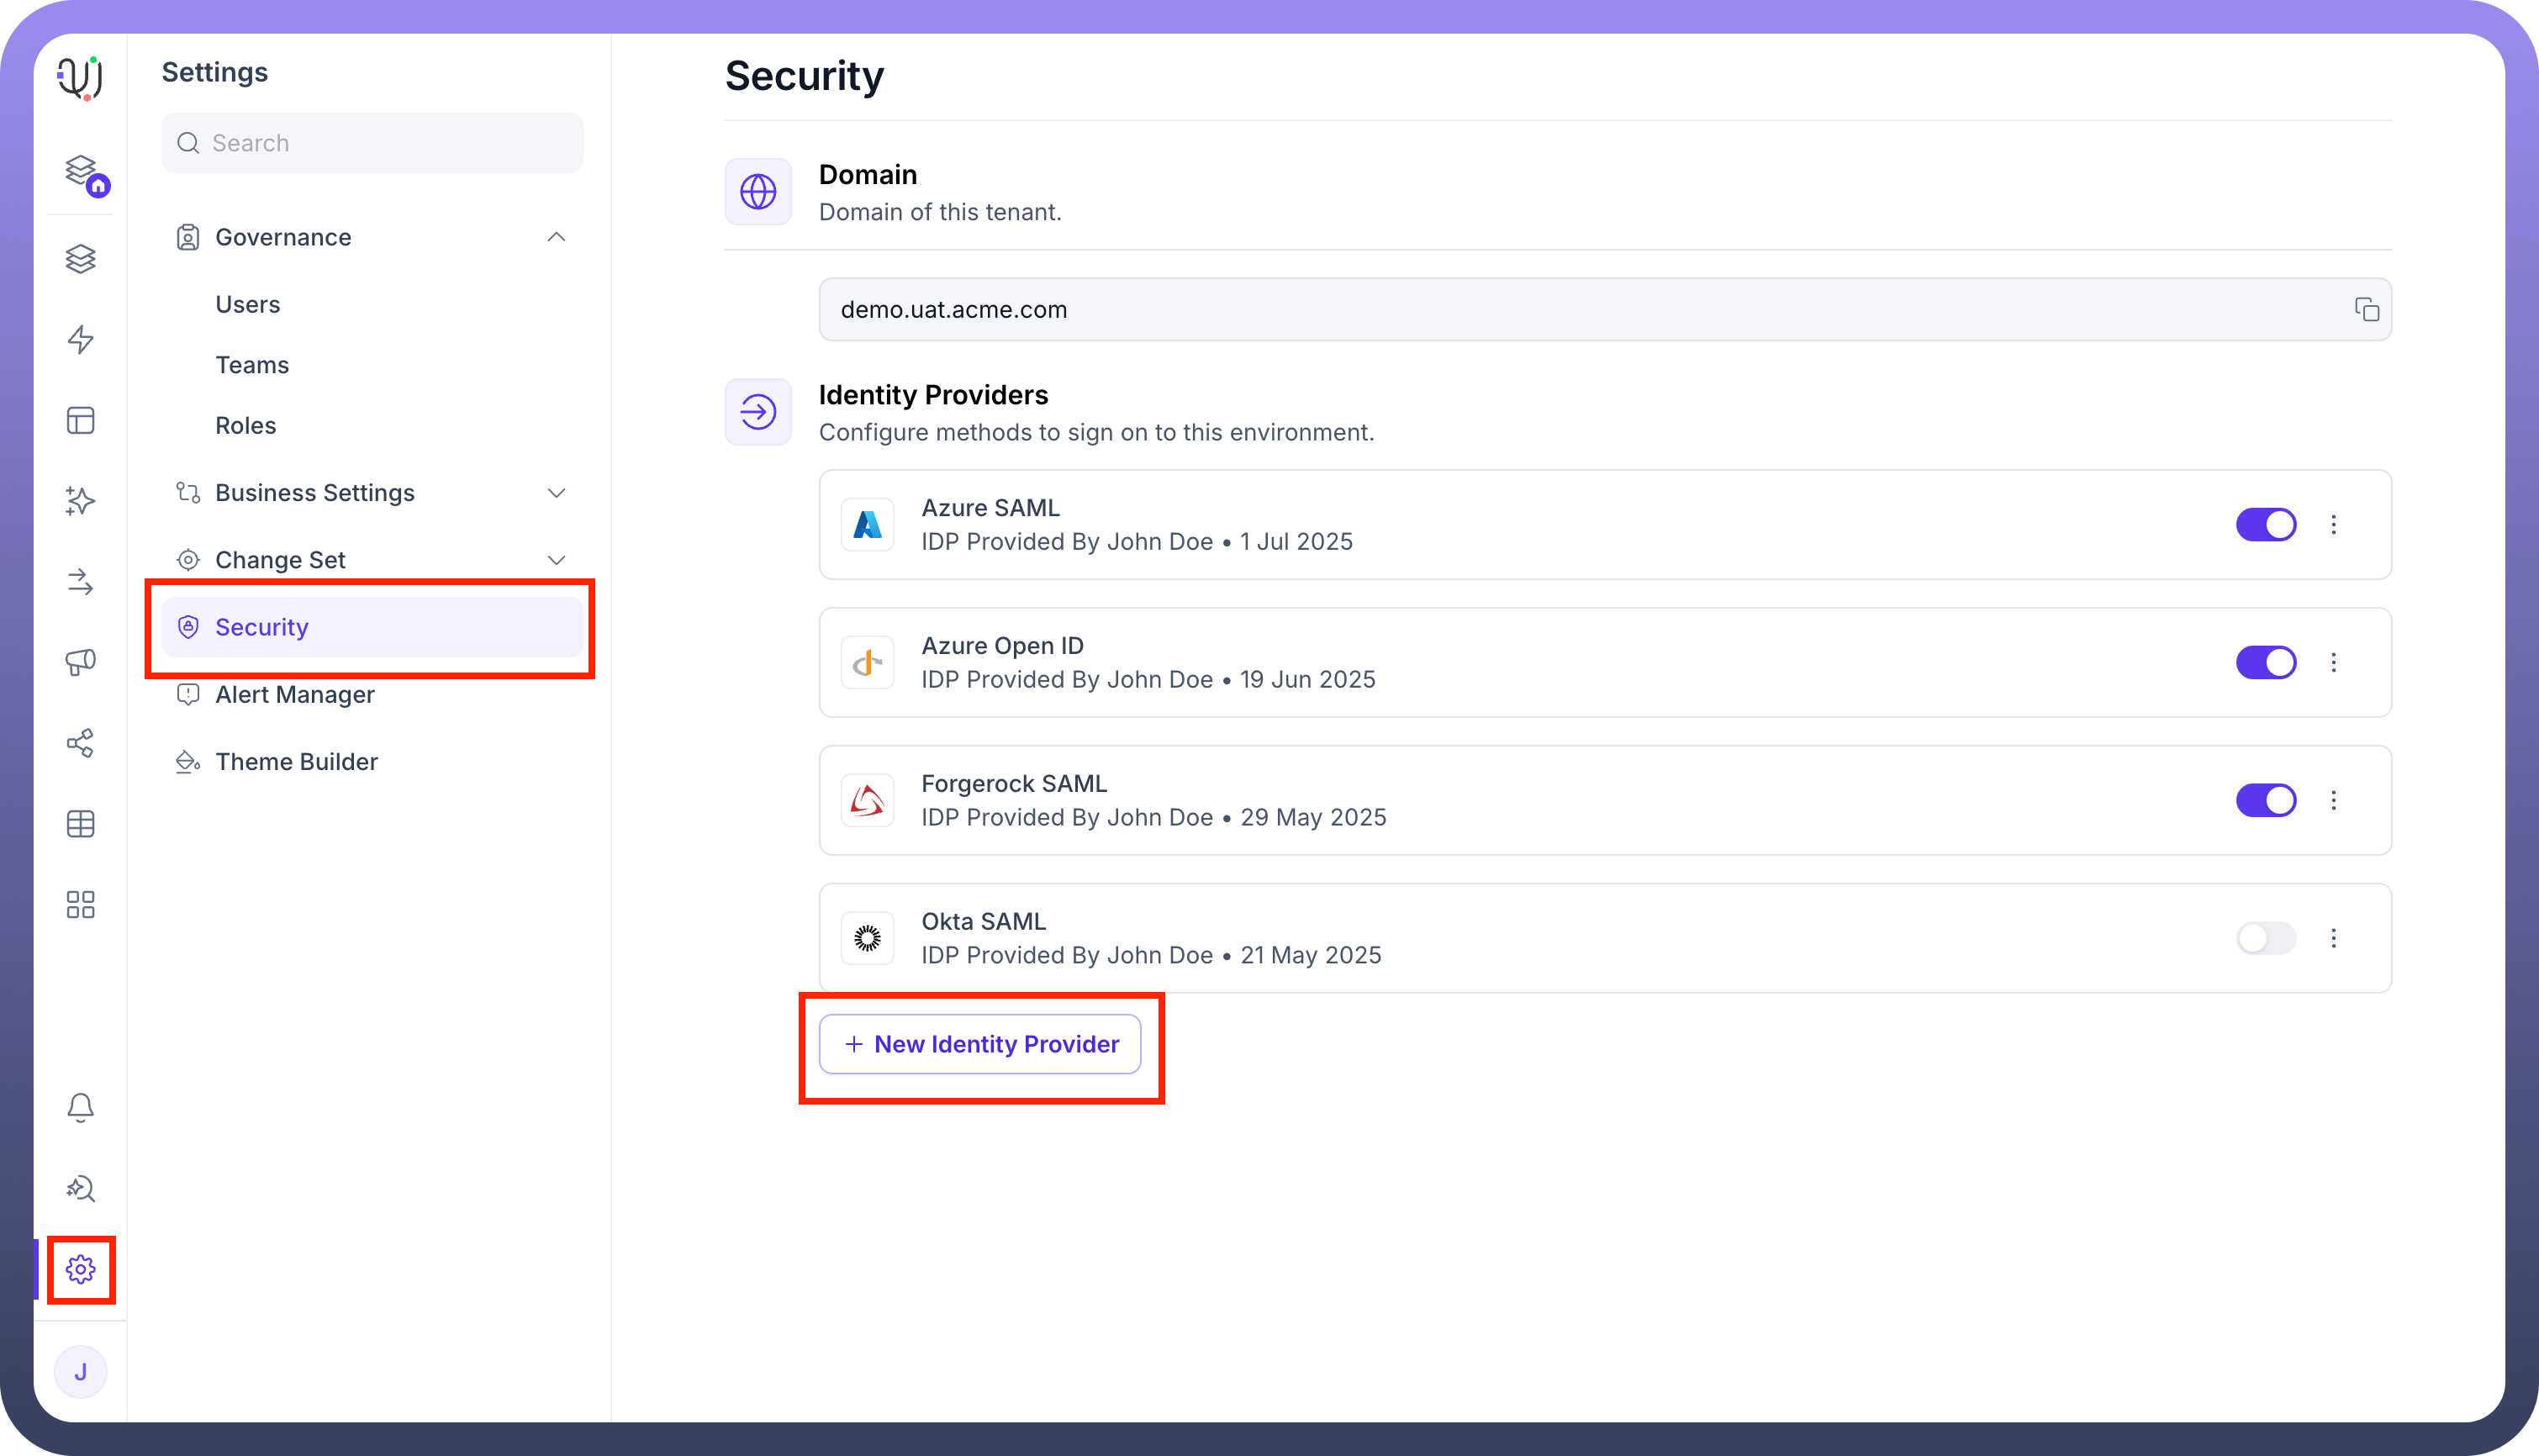
Navigate to
Settings.Select
Securityfrom the settings menu.Under the "
Identity Providers" section, click on+ New Identity Provider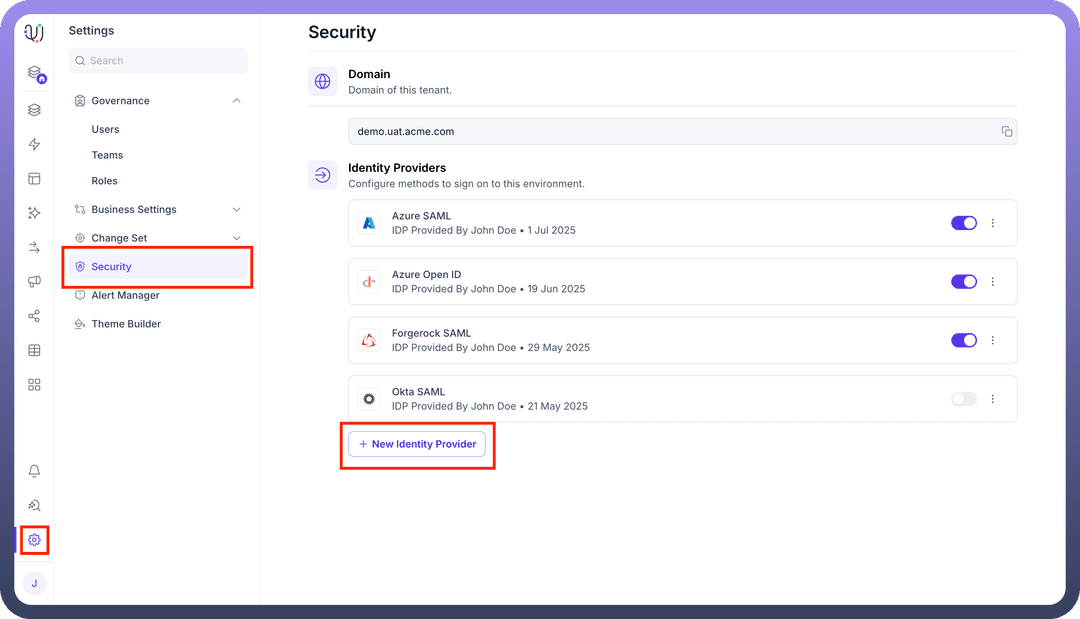
Basic Details & Service Provider Information:
Provider name: Enter a descriptive name for this configuration (e.g., Okta SAML).Identity Provider: Select Okta from the dropdown list.Button Text: Specify the text that will appear on the SSO login button (e.g., Login using Okta).Important: Note the following URLs. You will need these for the Okta
Assertion Consumer Service URL (ACS URL): This is the endpoint on UnifyApps where Okta will send the SAML assertion. (Example: https://demo.uat.unifyapps.com/auth/sso/SAML/complete-login)Service Provider Entity ID (SP Entity ID): This is the unique identifier for UnifyApps as the Service Provider. (Example: https://demo.uat.unifyapps.com/sso/saml).png&w=1080&q=75)
.png)
Prepare for Metadata & Define Attributes:
For the question, "
Do you have your identity provider metadata content?*", selectYes. This will reveal aMetadata Contenttext field where you will paste Okta's XML metadata later.Review the
Default Attributessection. The attribute names listed here (e.g., emailAttributeStatement, usernameAttributeStatement, firstNameAttributeStatement, lastNameAttributeStatement, phoneNumberAttributeStatement, nameAttributeStatement) are what are expected to receive from Okta..png&w=1080&q=75)
.png)
Additional Settings (Optional):
User Attributes Sync: Enable if you wish to map custom attributes from Okta to user fields within UnifyApps.JIT Provisioning (Just-In-Time Provisioning): Enable to automatically create user accounts when they first log in via Okta.Enable Refresh Token: Configure according to your organization's session management requirements.If you enable
User Attributes Sync, proceed to theAttribute Mappingsection. Here, you will mapUser Fieldsto theSAML Attributesthat will be sent by Okta (e.g., mapping a userType_custom_attribute field to a SAML attribute named persona)..png&w=1080&q=75)
.png)

Note
Keep the UnifyApps configuration page open in your browser. You will return to it after configuring Okta. Do not save changes yet.
Step 2: Configuring the SAML Application in Okta
Now, you will create and configure a new SAML 2.0 application in your Okta admin console.
Create a New SAML App Integration:
Log in to your Okta admin dashboard.
In the side navigation menu, go to
Applications>Applications.Click the
Create App Integrationbutton.In the "
Create a new app integration" dialog, selectSAML 2.0as the sign-in method.Click
Next..png&w=1080&q=75)
.png)
General Settings:
App name: Provide a recognizable name for the application and clickNext.
Configure SAML Settings:
Single sign on URL: Paste the Assertion Consumer Service URL (ACS URL) and ensure the checkbox "Use this for Recipient URL and Destination URL" is selected.Audience URI (SP Entity ID): Paste the Service Provider Entity ID.Default RelayState: This can usually be left blank unless your application requires a specific post-login redirect within its own context.Name ID format: Select an appropriate format. EmailAddress is a common and recommended choice.Application username: Choose how Okta usernames are determined for this application. Email or Okta username are typical selections..png&w=1080&q=75)
.png)
Attribute Statements (Crucial for User Data):
This section defines which user attributes Okta will include in the SAML assertion sent to UnifyApps.
The
Nameof each attribute statement configured here must exactly match the corresponding attribute name expected.Configure the attributes based on the UnifyApps attributes.
.png&w=1080&q=75)
.png)
For any custom attributes (e.g., persona mapped to userType_custom_attribute on your platform):
Click
Nextafter configuring all the necessary attributes.
Feedback:
Okta will ask for feedback on the integration. Select "I'm an Okta customer adding an internal app" and click
Finish.
Obtain Okta Identity Provider Metadata:
Once the application is created, you will be on its configuration page in Okta.
Navigate to the
Sign Ontab for this application.In the "
Settings" or "SAML 2.0" section, locate the link labeled "Identity Provider metadata" or a field showing a "Metadata URL".Click the "
Copy" button and open the URL in a new browser tab which will display an XML document..png&w=1080&q=75)
.png)
Copy the entire content of this XML page. This is Okta's SAML metadata.
.png&w=1080&q=75)
.png)
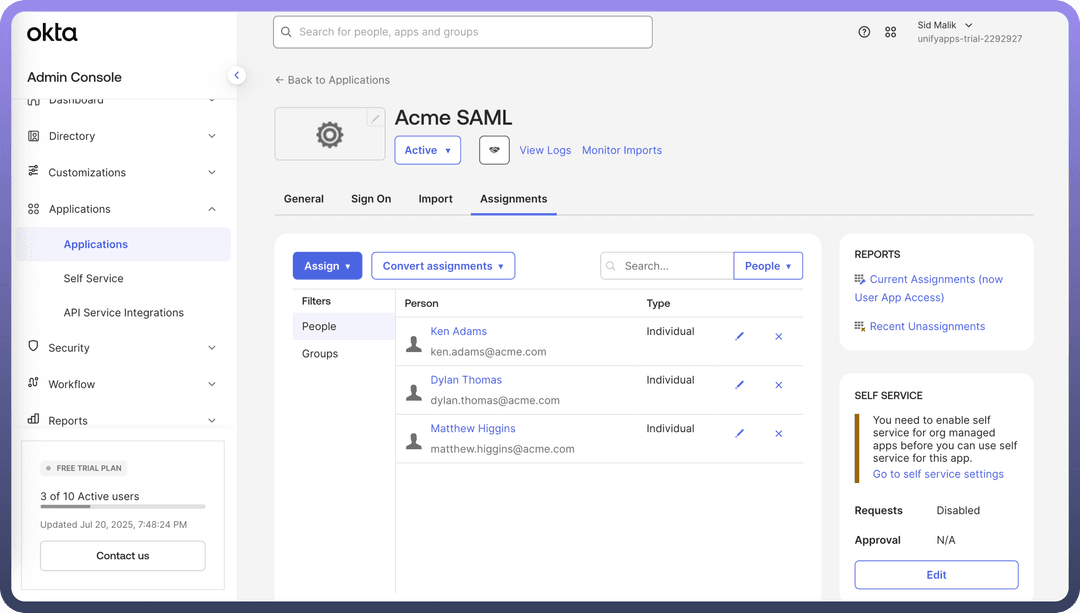
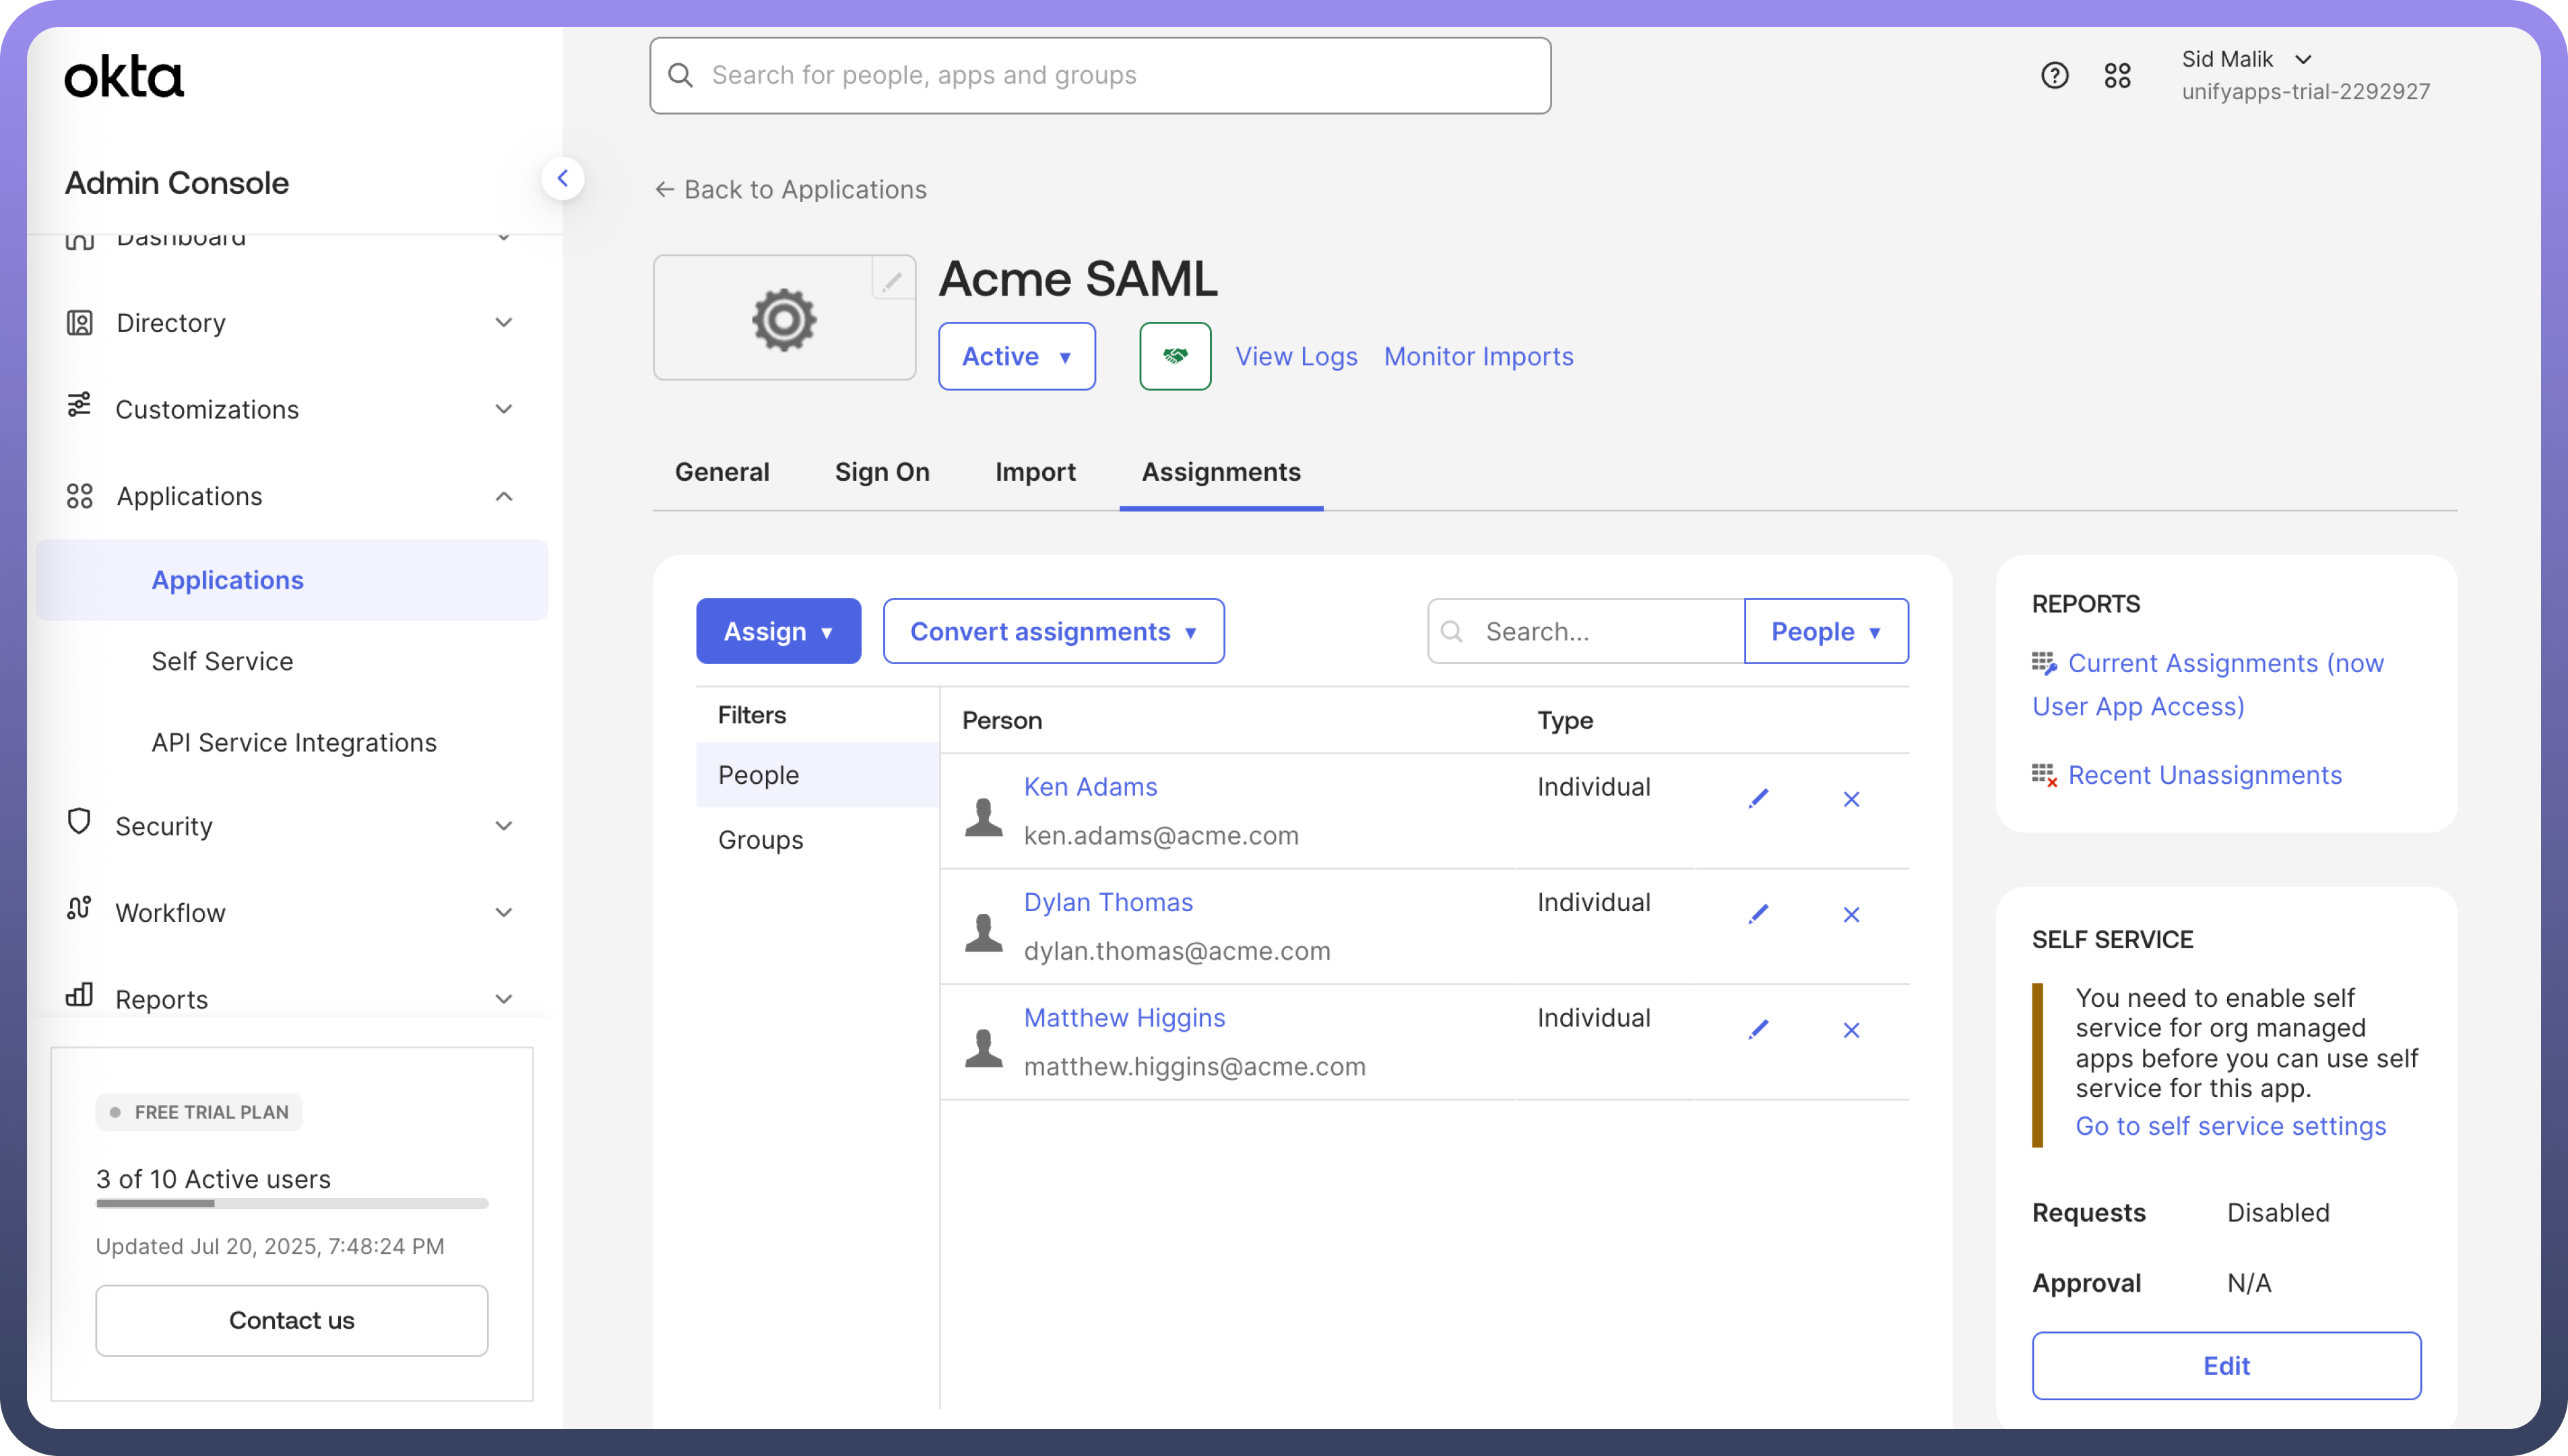
Assign Users and Groups (Essential for Access):
While still in the Okta application settings, navigate to the
Assignmentstab.Assign the relevant Okta users or groups who should be granted access to UnifyApps via this SSO configuration. Users not assigned here will be unable to log in.
Step 3: Finalizing Configuration in UnifyApps
Return to the UnifyApps IDP configuration page you left open.
Paste Okta Metadata:
Paste the entire Okta XML metadata in the
Metadata Contentfield.Click the
Saveand turn on the toggle for the IDP.