This guide details how to configure OpenID Connect (OIDC) to enable robust Single Sign-On (SSO) for any application within the UnifyApps platform, supporting integrations with Identity Providers like Azure AD, Okta, and other OIDC-compliant services.
The configuration process involves three main stages:
Step 1: Initial Configuration on UnifyApps
In this section, you will start the OIDC configuration process on UnifyApps and obtain the necessary URLs that your IdP will require.
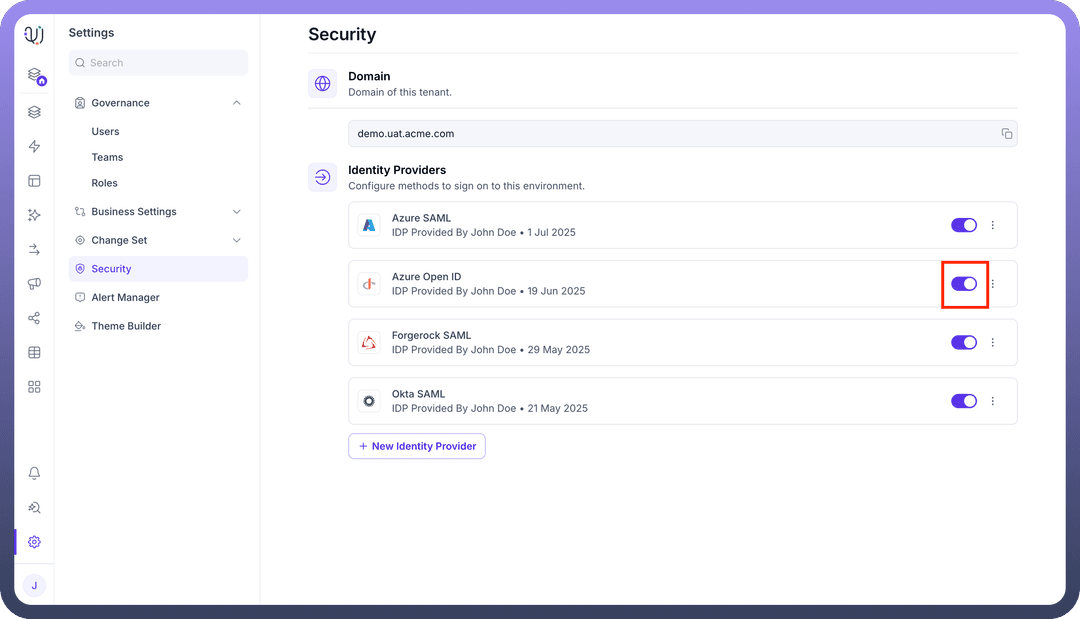
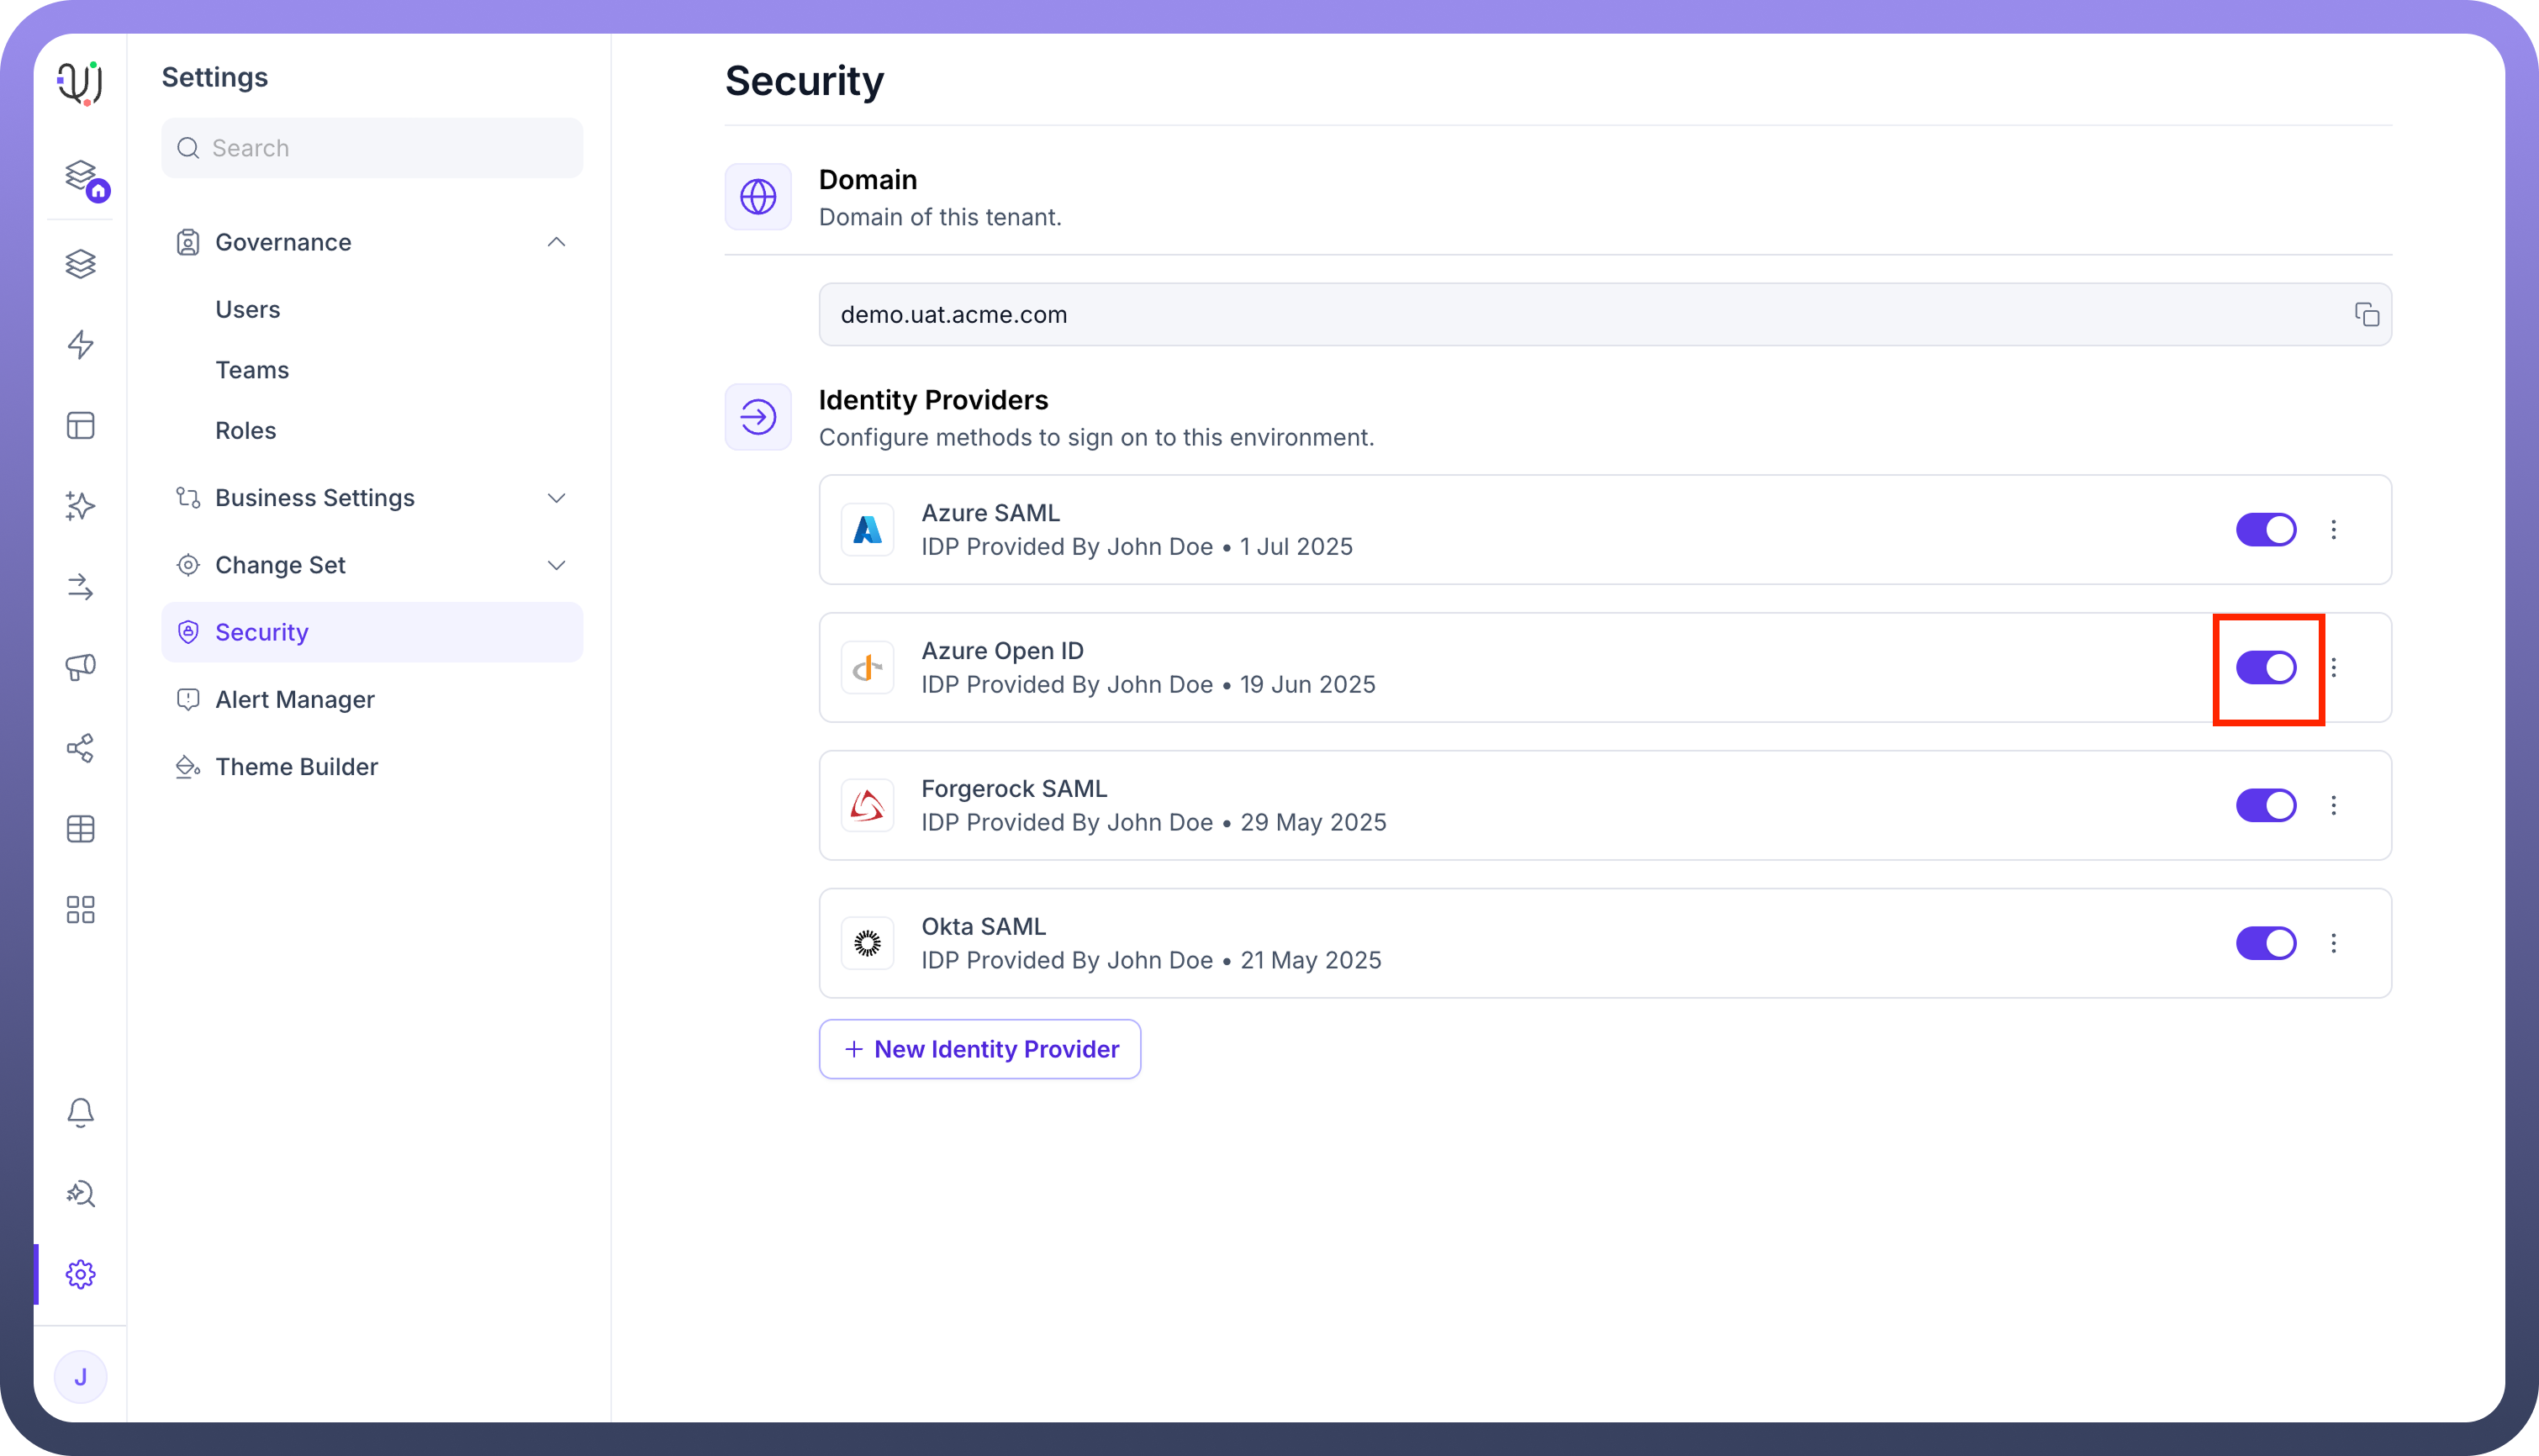
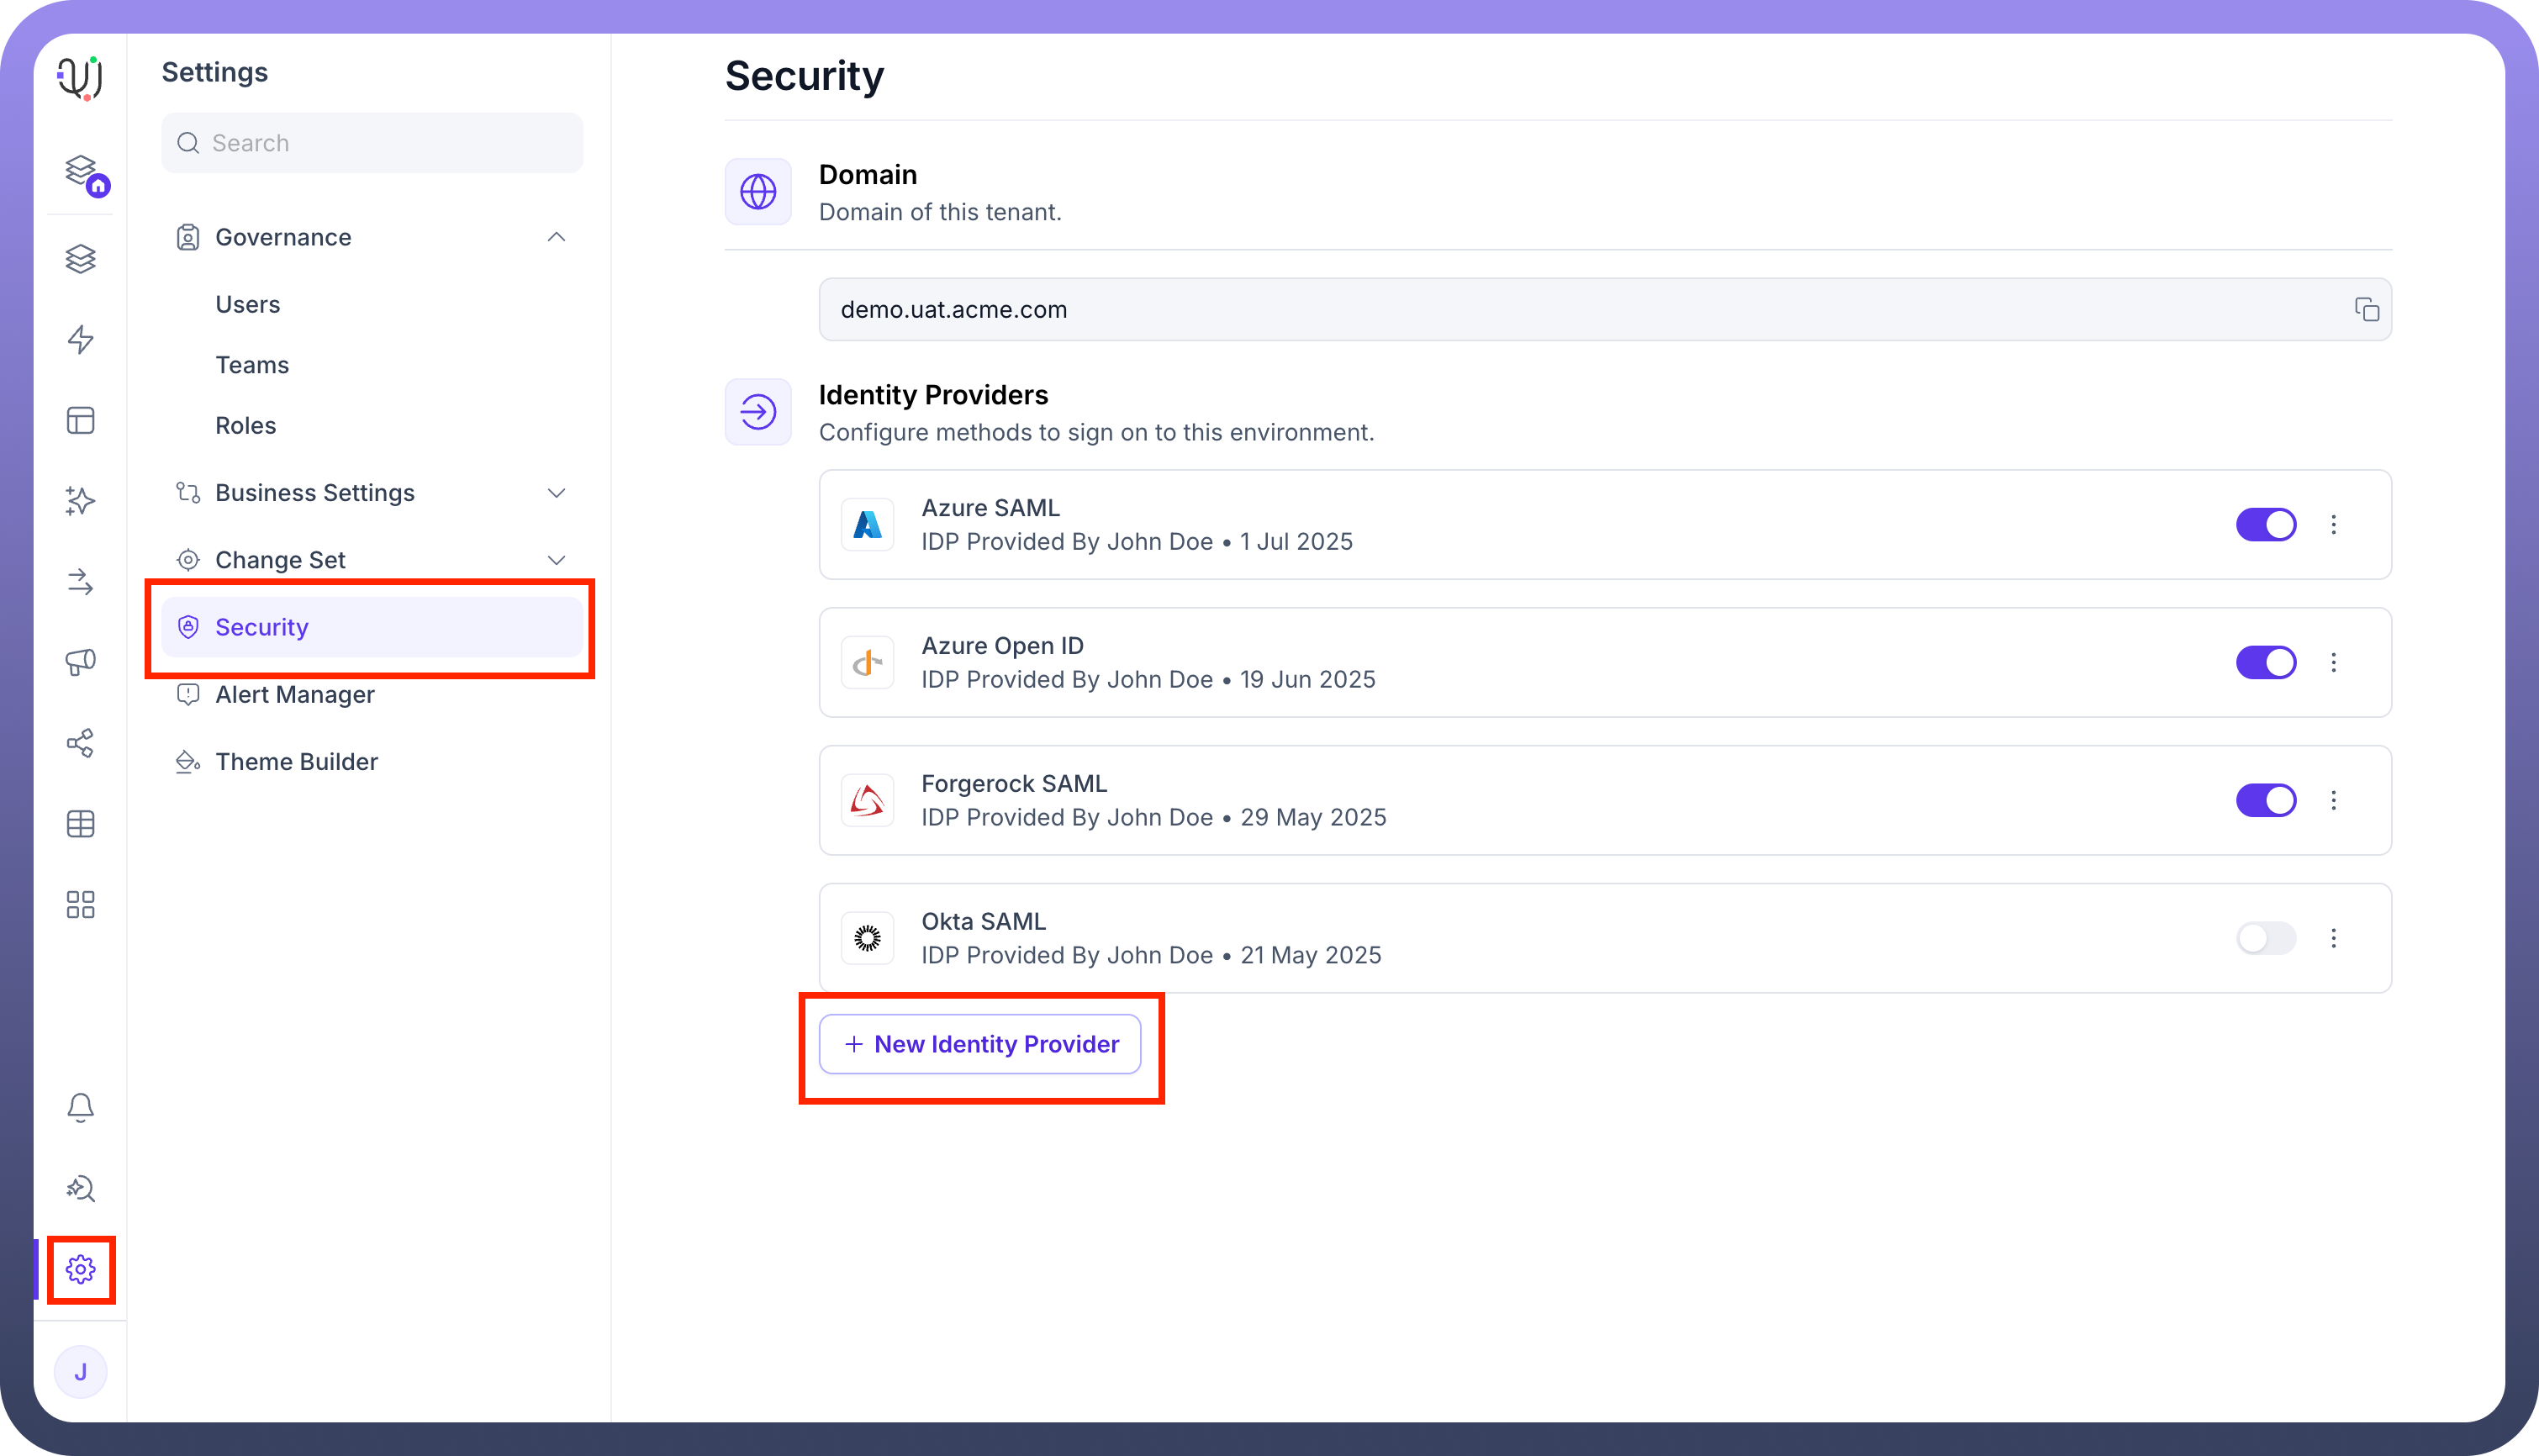
Access Identity Provider Settings:
Navigate to
Settings.Select
Securityfrom the settings menu.Under the "Identity Providers" section, click on
+ New Identity Provider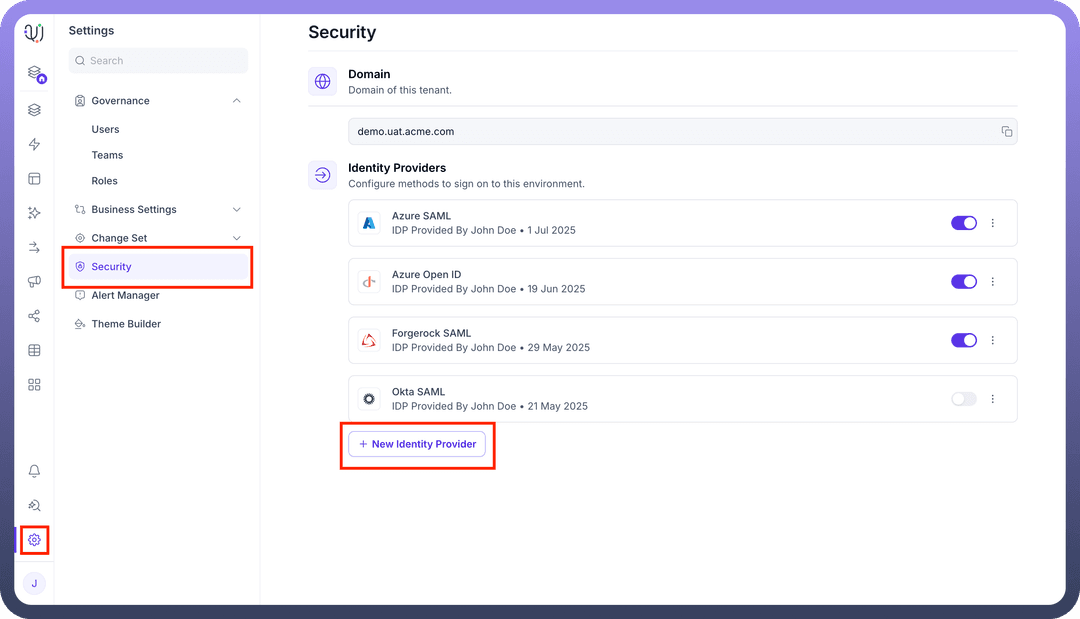
Basic Details & Service Provider Information:
Provider name: Enter a descriptive name for this configuration (e.g., Azure Open ID).Identity Provider: SelectOpen IDfrom the dropdown list.Button Text: Specify the text that will appear on the SSO login button (e.g., Login using Open ID).Important: Note the following URL. You will need these for the Open ID application setup in Part 2.
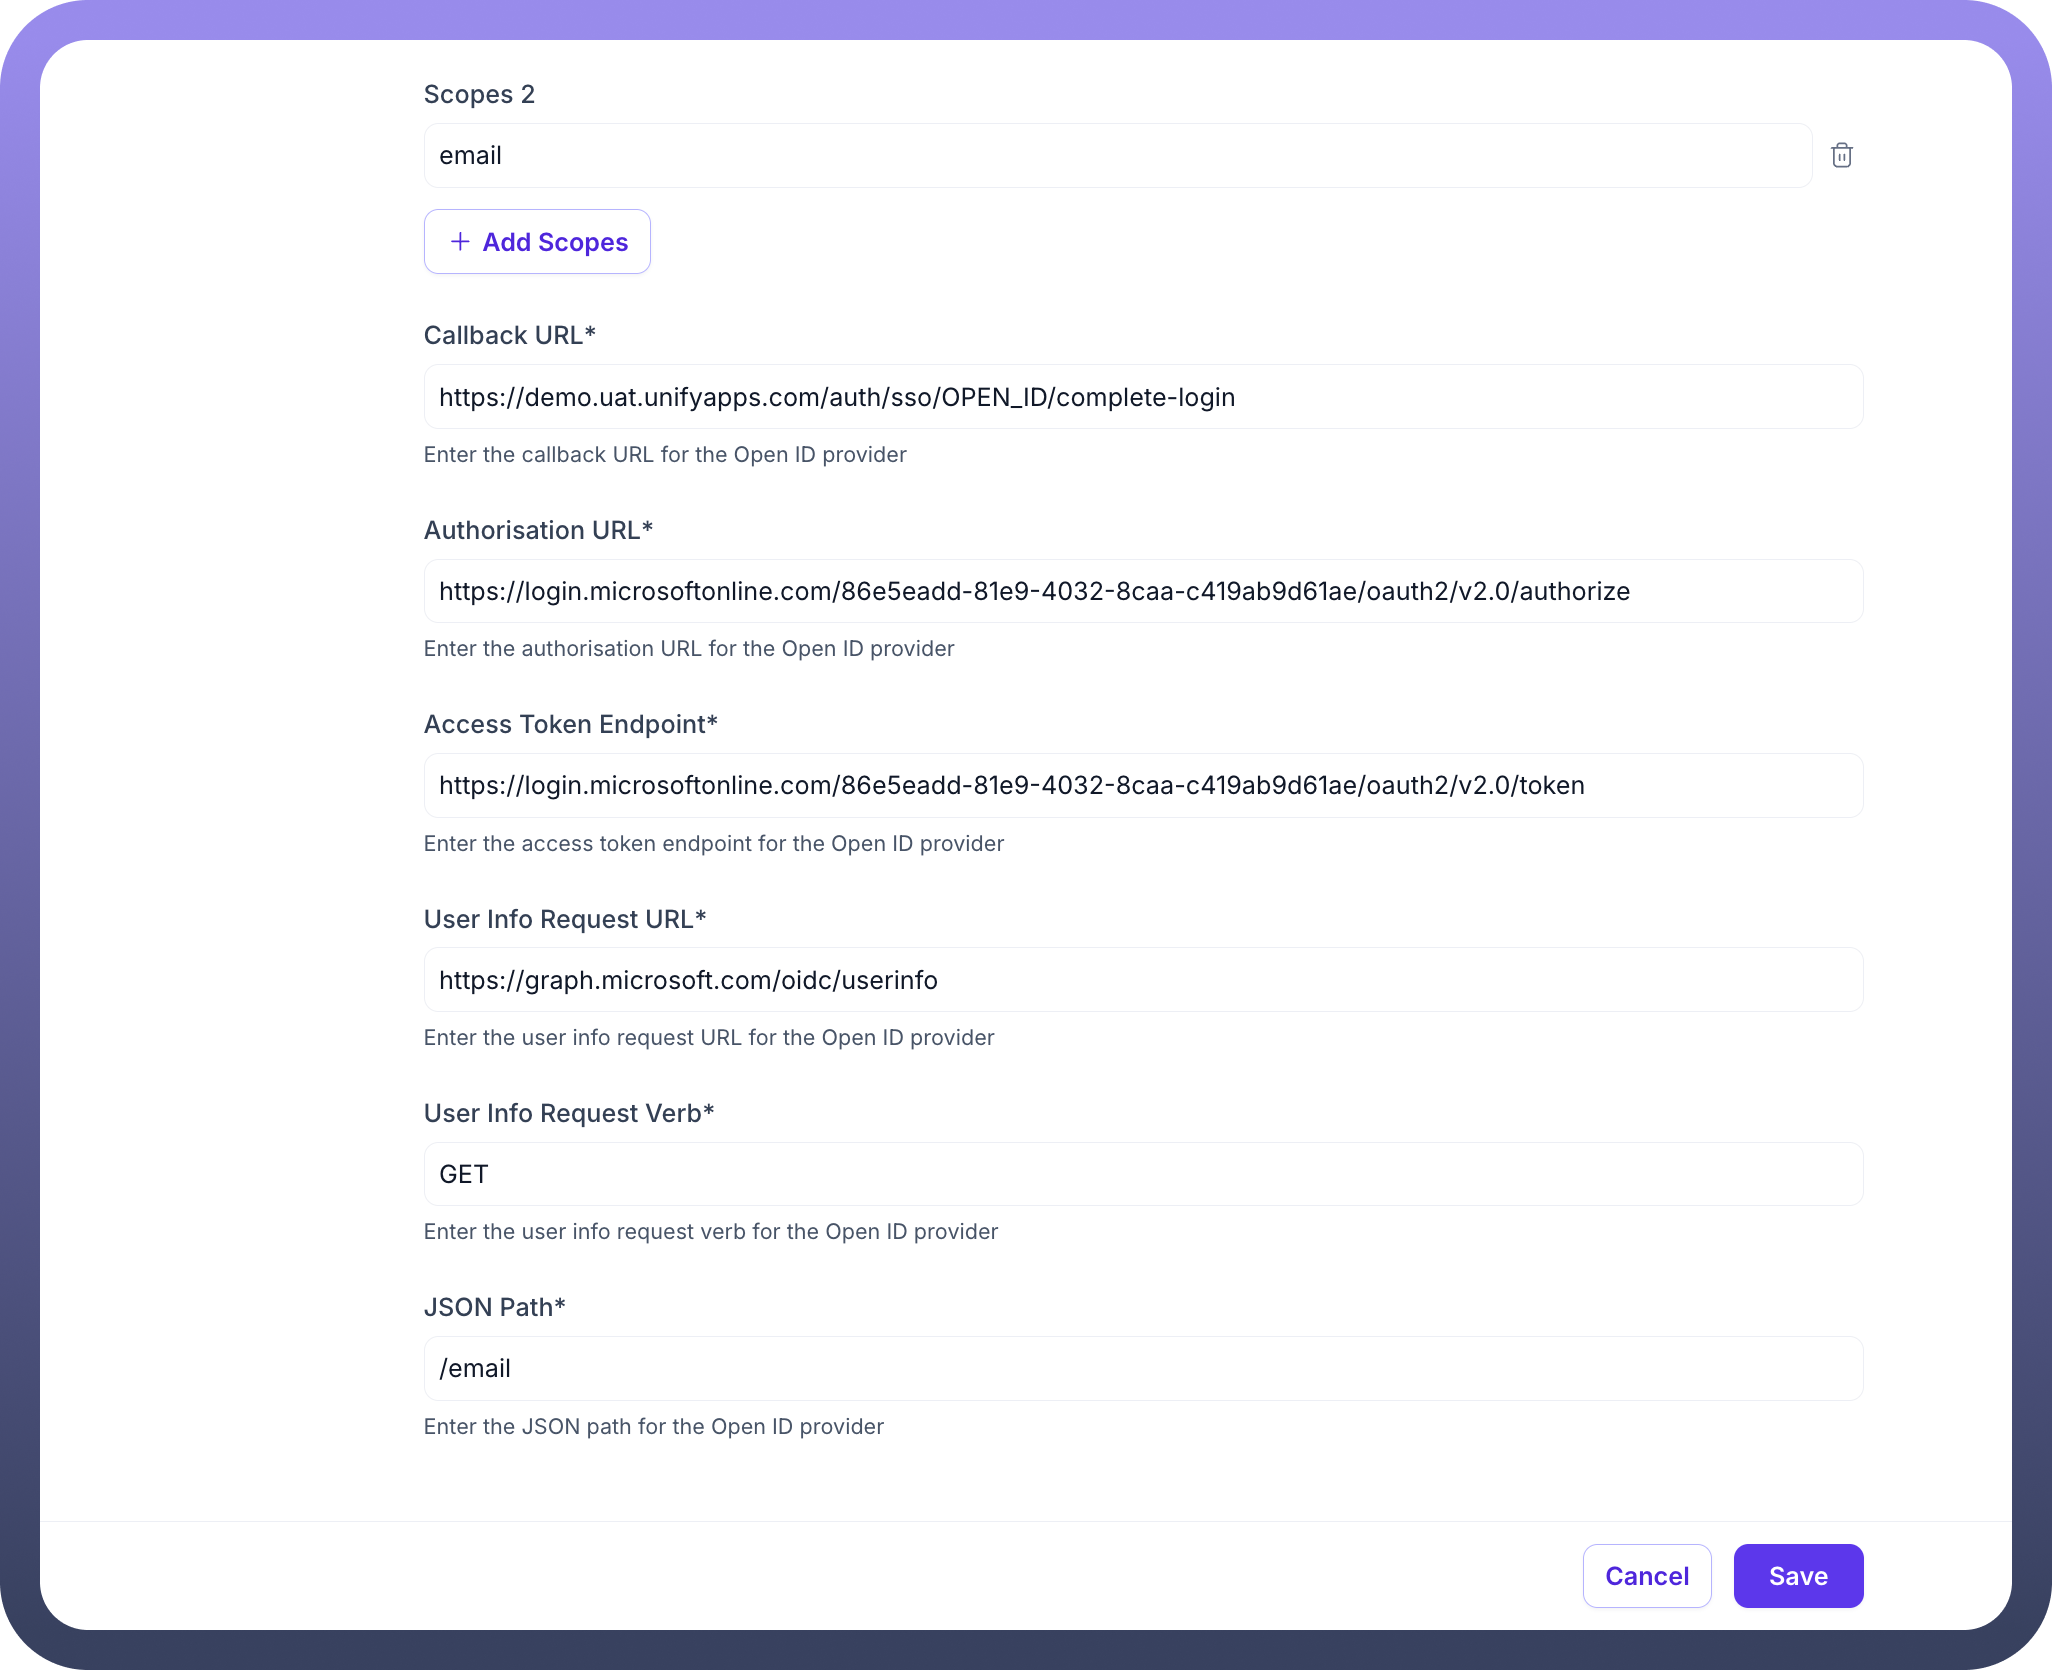
Callback URL: This is the redirect URI, it should be like: https://{your-domain}/auth/sso/OPEN_ID/complete-login (Example: https://demo.uat.unifyapps.com/auth/sso/OPEN_ID/complete-login)
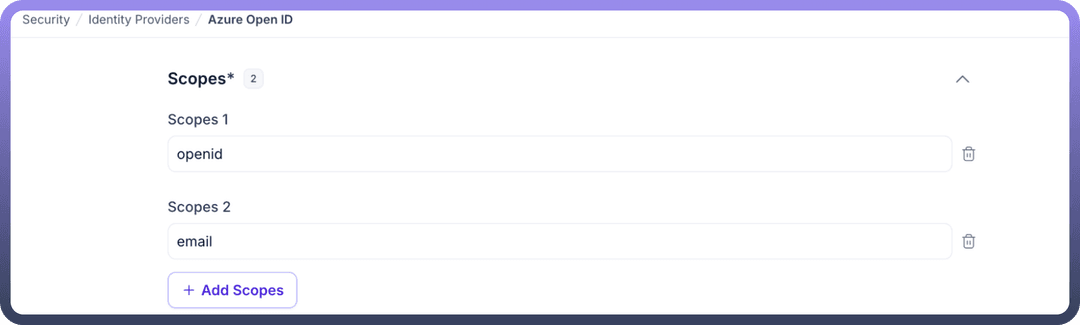
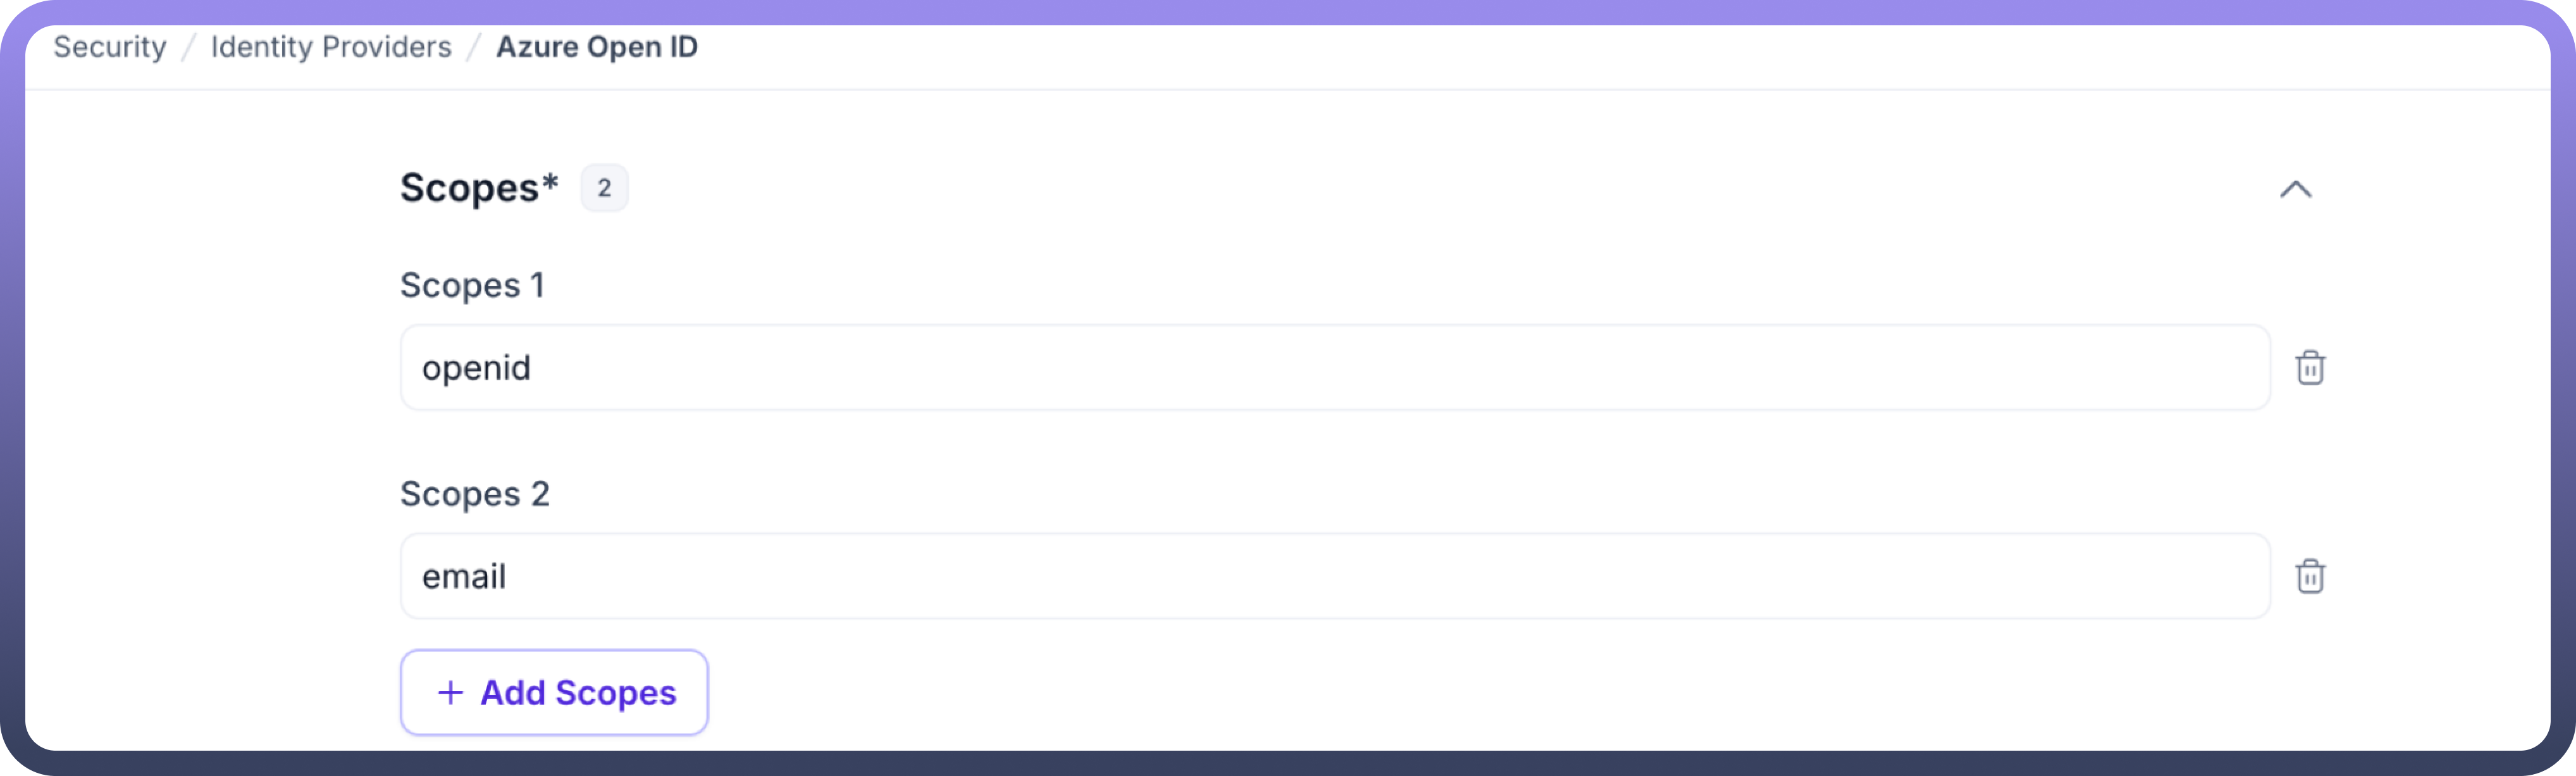
Define the Scopes:
For this you need to define the OAuth scopes to request (must include at least "email" and "openid").
Step 2: Configuring the OpenID Connect
Now, you will create and configure a new registration in your admin portal.
Create a New OpenID Integration.
Configure Settings:
Consume the
Callback URL(The URL where the identity provider should redirect after authentication).Also add the required scopes(if needed).
Generate the
Client ID, and theClient Secret Key.
Step 3: Finalizing Configuration in UnifyApps
Return to the UnifyApps IdP configuration page you left open.
Paste the required details from your OpenID provider configuration page:
Client ID: The OAuth client ID provided by your identity provider.Client Secret Key: The OAuth client secret provided by your identity provider.Authorization URL: The OAuth authorization endpoint URL.Access Token Endpoint: The OAuth token endpoint URL.User Info Request URL: The endpoint URL to retrieve user information.User Info Request Verb: HTTP method for retrieving user details (typically "GET").JSON Path for email.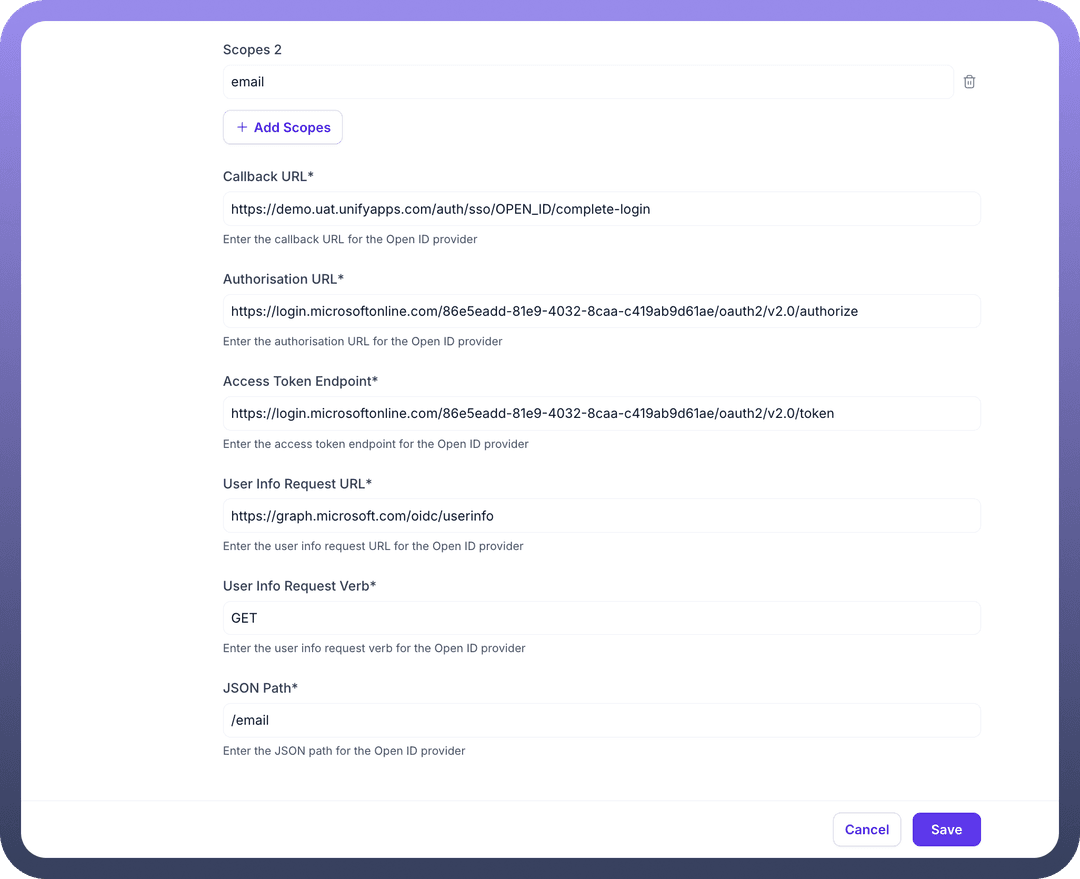
Additional Settings (Optional):
User Attributes Sync: Enable if you wish to map custom attributes from your IdP, access token, or query params to user fields within UnifyApps.
JIT Provisioning (Just-In-Time Provisioning): Enable it if you want to automatically create user accounts when they first log in via Custom IdP.
Enable Refresh Token: Configure according to your organization's session management requirements.

Note
If you enable
User Attributes Sync, proceed to theAttribute Mappingsection. Here, you will mapUser Fieldsto theAttributesthat will be sent by your IDP, Access Token, or Query Params (e.g., mapping a userType_custom_attribute field to an attribute named persona).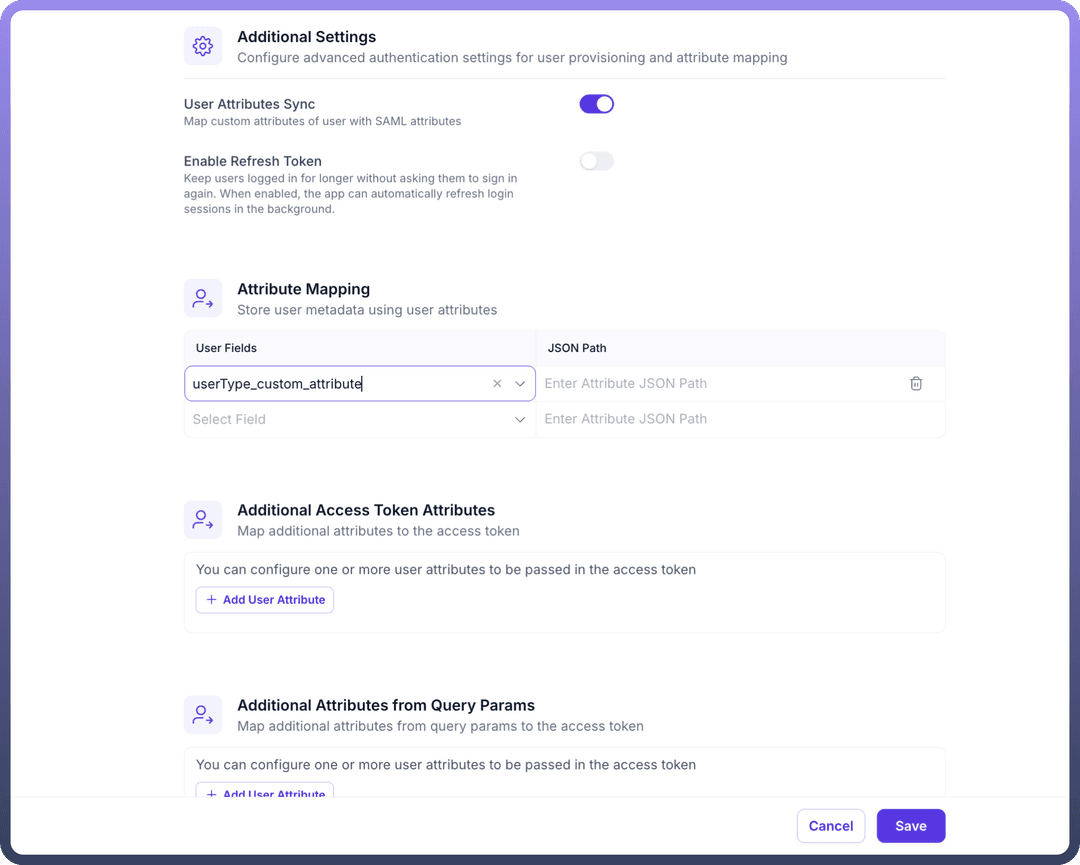

Click the
Saveand turn on the toggle for the IDP.