Contents

Cancel

Recommended Articles

  1. unify-apps

    Indexing

    Unify AI

    Transform raw content into searchable knowledge through AI-powered indexing and vector embeddings

  2. unify-apps

    Snowflake as Destination

    Unify Data

    Load and transform your data seamlessly into Snowflake's cloud data warehouse with UnifyApps' native connectivity and flexible staging options.

  3. unify-apps

    Quentn

    Unify Integrations

    Integrate your app with Quentn to automate marketing campaigns, manage contacts, and optimize customer engagement.

  4. unify-apps

    Connector SDK

    Platform Tools

    Create custom connectors within the Unify platform to unify workflows

  5. unify-apps

    JobNimbus

    Unify Integrations

    Integrate your application with JobNimbus to manage leads, track jobs, and streamline your workflow processes efficiently

  6. unify-apps

    IMAP

    Unify Integrations

    Integrate your app with IMAP to enable seamless email synchronization, real-time access, and enhanced communication workflows.

  7. unify-apps

    Basin

    Unify Integrations

    Basin transforms form handling from a backend headache into a simple integration—capture submissions, trigger automations, and manage data flows without touching server code, giving you more time to build what matters

  8. unify-apps

    Preview Your Work

    Unify Automations

    Effortlessly review & monitor your automation’s performance

  9. unify-apps

    QuickBooks

    Unify Integrations

    Integrate your app with QuickBooks to streamline accounting, automate invoicing, and manage finances effortlessly

  10. unify-apps

    FTP/FTPS

    Unify Integrations

    Connect your app with FTP/FTPS to automate secure file transfers and streamline data exchange across systems.

  11. unify-apps

    Data-Sync by Avoid Duplicate Operations Setting

    Unify Data

    Prevent infinite loops in bidirectional data synchronization by creating record hashes that ensure one-way data flow across connected systems.

  12. unify-apps

    Filters

    Unify Applications

    Enable users to refine, search, and sort data effortlessly across dashboards and datasets

  13. unify-apps

    Insided

    Unify Integrations

    Integrate your app with Insided to enhance customer engagement, streamline community management, and drive self-service support.

  14. unify-apps

    Reverse Polling

    Unify Data

    Reverse Polling technique efficiently retrieves recent data from APIs that return results in chronological order (oldest first), optimizing pagination and data processing strategies when working with time-ordered data sources.

  15. unify-apps

    Facebook Ads

    Unify Integrations

    Connect your app with Facebook Ads to automate campaign management, optimize ad performance, and track marketing success.

  16. unify-apps

    Duplicate Field

    Unify Integrations

    Create independent copies of your data fields to enable multiple mappings while preserving original values for validation and complex workflows.

  17. unify-apps

    Gainsight

    Unify Integrations

    Integrate your app with Gainsight to enhance customer success, automate engagement workflows, and drive retention

  18. unify-apps

    Simplesat

    Unify Integrations

    Integrate your app with Simplesat to collect real-time customer feedback, measure satisfaction, and improve service quality.

  19. unify-apps

    Livestorm

    Unify Integrations

    Integrate your app with Livestorm to streamline webinar hosting, automate event management, and enhance audience engagement.

  20. unify-apps

    Application Connectors

    Unify Data

    Instantly leverage 30+ pre-built application connectors to extract, transform, and load your business-critical data between systems with UnifyApps' no-code integration platform.

Unify Applications
Logo
Add Data Sources

Add Data Sources

Logo

4 mins READ

Introduction

Data sources are essential for connecting and utilizing various external applications and databases, enabling your app to access and integrate data.

This article will show you how to add, setup, and manage data sources in the interface. It ensures your application gets all the data it needs to work well and offer useful insights.

Compatible Data Sources

UnifyApps supports multiple data sources, each offering different functionalities. You can choose the data source based on where your data resides.

  1. Storage by UnifyApps: If your data is stored within Unify Objects, you can fetch it directly using Storage by UnifyApps.

    "This option provides access to your stored data, allowing for efficient retrieval and usage within your applications."

  2. Analytics by UnifyApps: For performing analytics and querying on top of the data stored in Unify Objects, you can use Analytics by UnifyApps.

    "This option is ideal for obtaining analytical insights and generating reports from your existing data sources."

  3. Direct Application Connectors: If you need to fetch data directly from various external applications.

    "These connectors enable straightforward integration with third-party applications, allowing you to pull in data without additional processing."

    Thumbnail

    Refer

    Please refer to the Connectors in UnifyAutomation section for more details.

  4. Callable by Automations: In cases where you need to fetch data from multiple applications and perform post-processing or use a combination of data sources, Callable by Automations is the ideal choice.

    "This feature lets you write the entire logic within an automation script, which can then be called within the interface. It provides flexibility and control over complex data integration and processing tasks."

Steps to Add Data Sources

  1. Access the Data Sources Panel

    • Open your UnifyApps interface and navigate to the 'Data Sources' section on the left panel.

    • Click on the '+' button to add a new data source.
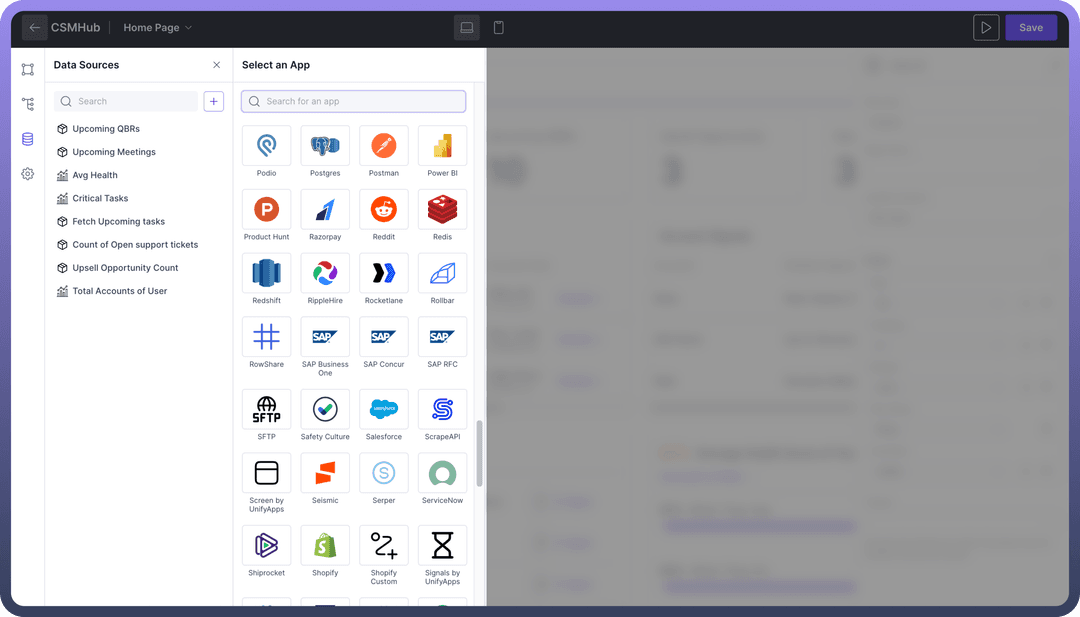
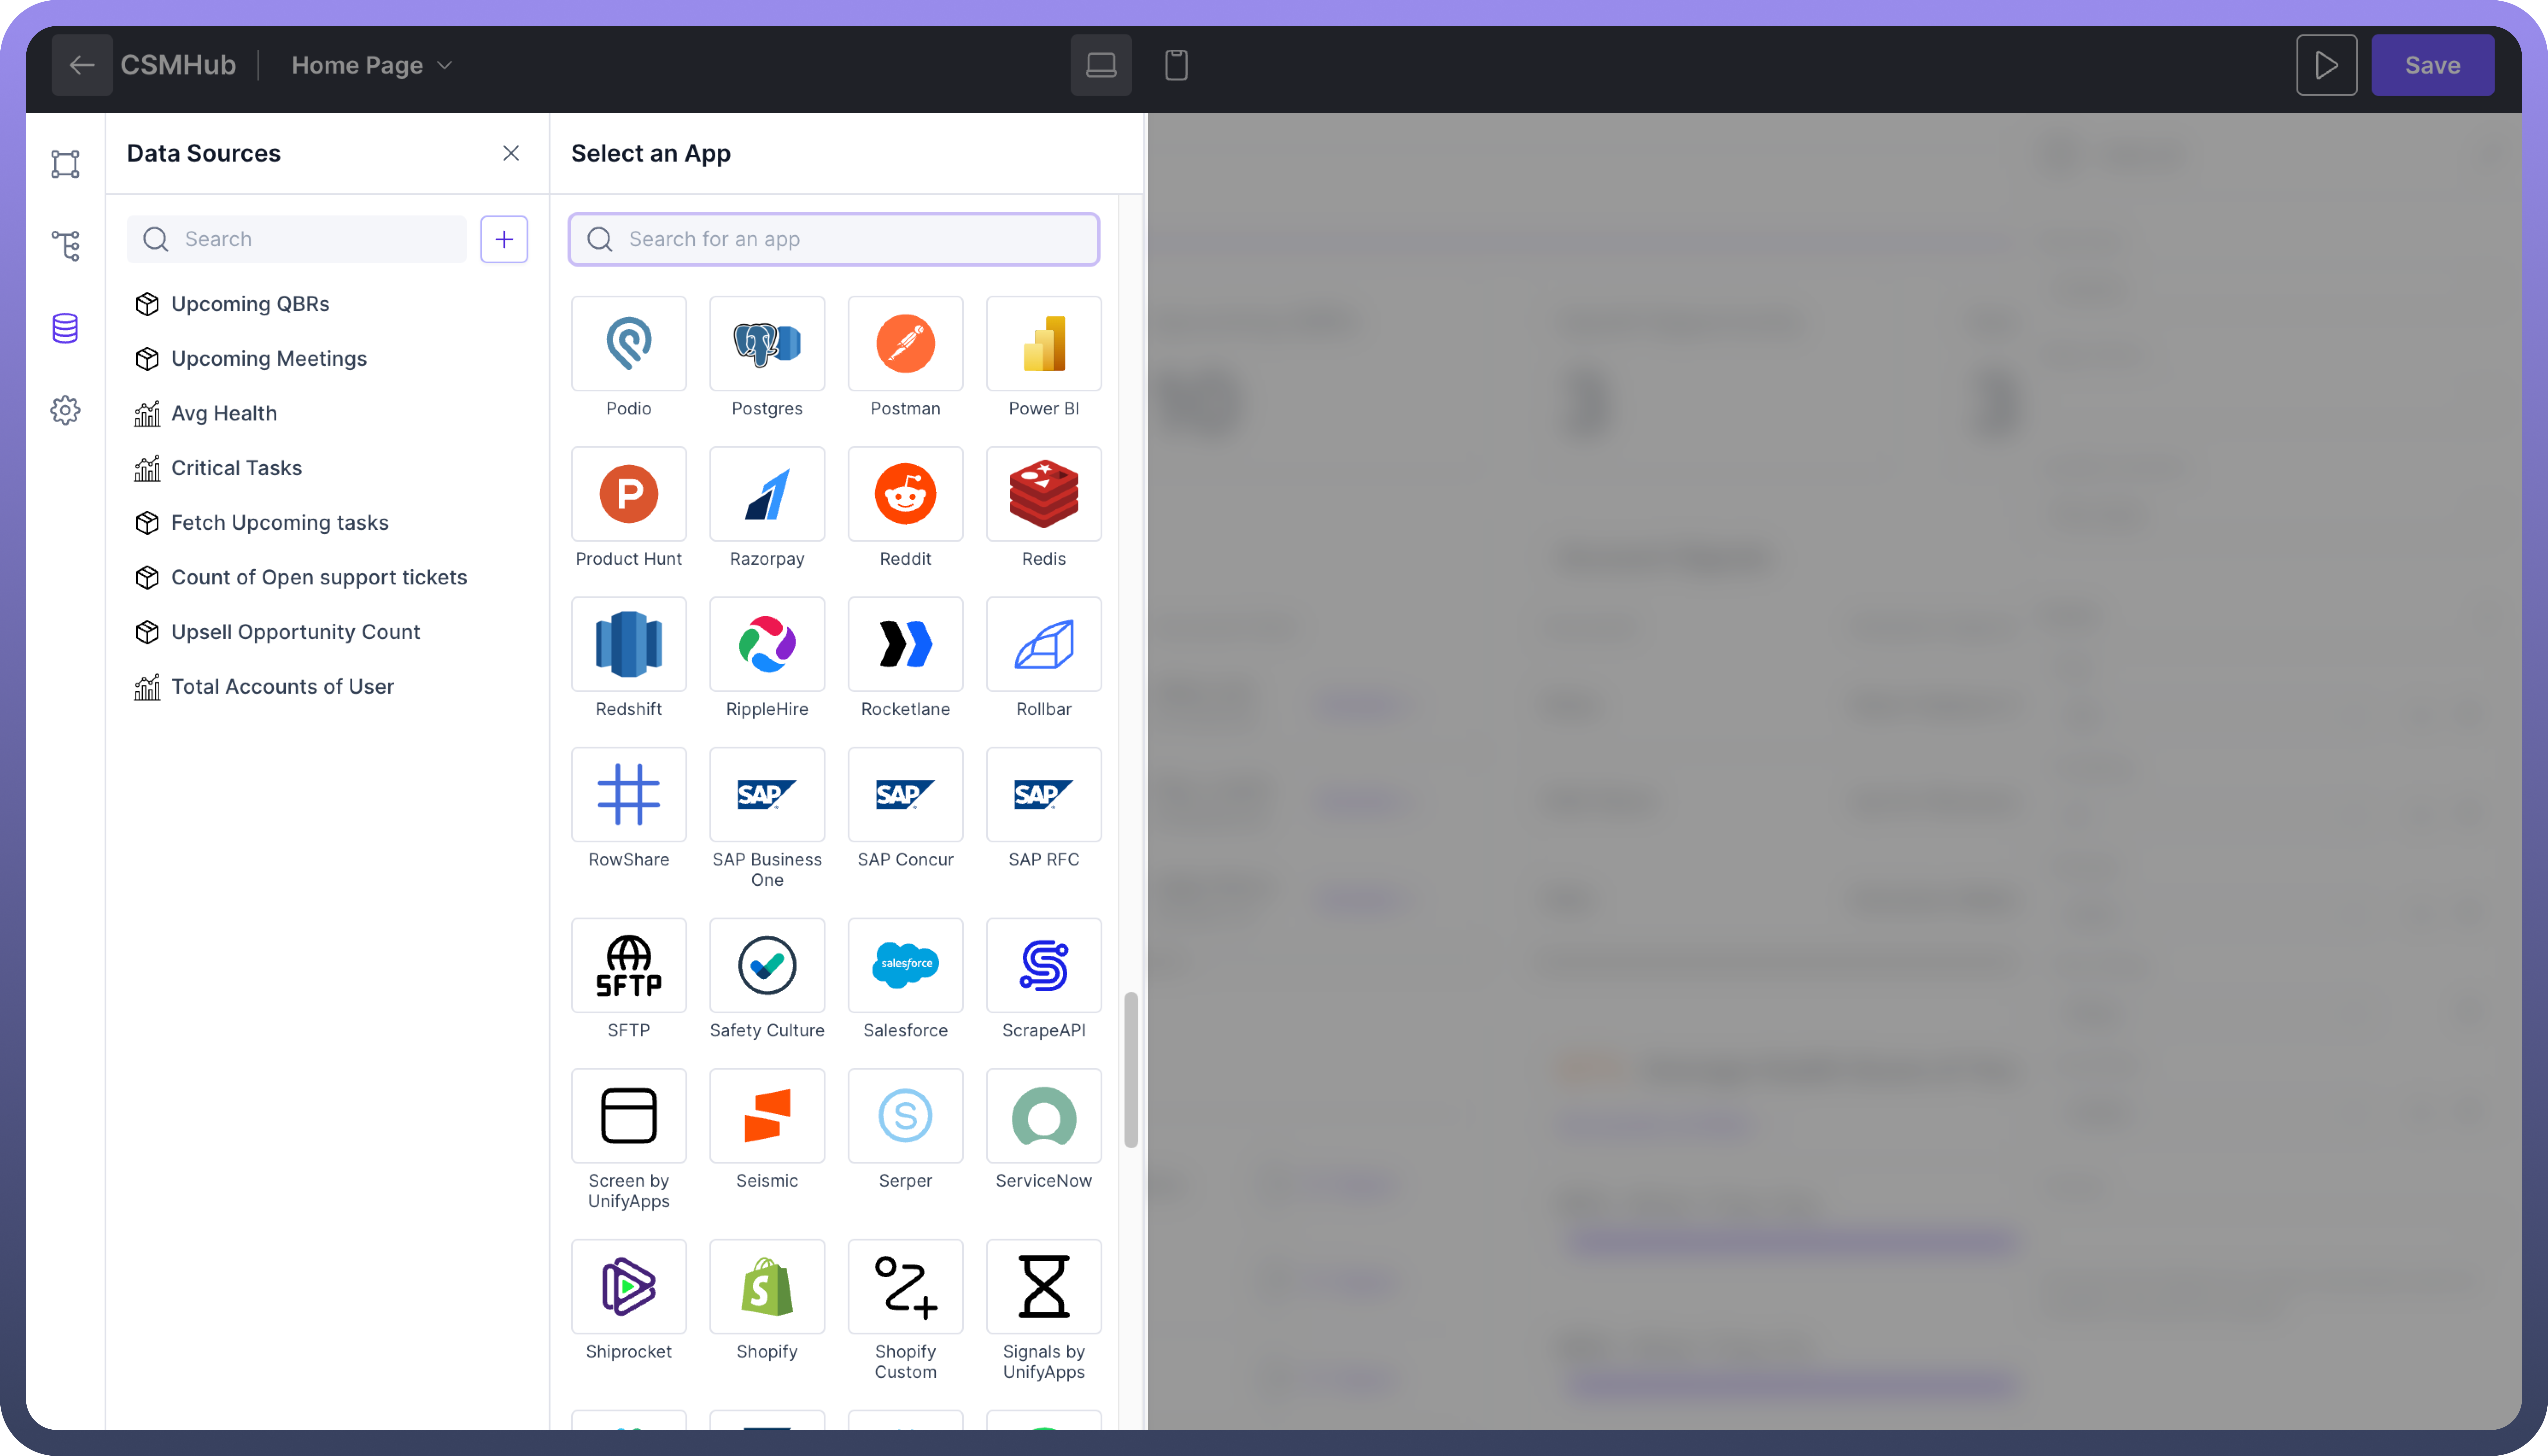
  2. Select an App

    • Browse through the list of available apps or use the search bar to find the specific data source you want to add.

      Image
      Image

  3. Define Actions and Queries

    • Configure the actions you want to perform with your data source.
      For example, you can set up analytics queries or execute SQL queries for data retrieval and manipulation.

  4. Configure the Data Source

    • Once selected, follow the prompts to connect your data source. This may involve entering API keys, authentication tokens, or other credentials.

  5. Save and Test

    • After configuring the data source and actions, save your settings. Test the connection to ensure everything is set up correctly.

For detailed information on writing automations or learning about specific connectors, please refer to the Unify Automations section.

Thumbnail

Tip

Always rename your data connections with clear and descriptive names. This practice helps you easily identify and manage them, especially when you have multiple data connections added.

Best Practices

  1. Plan Your Data Source and Schema: Before implementing data sources in your app, it's recommended to define the data source and its schema. This helps ensure a clear and organized data structure.

  2. Ensure Proper Access for External Data: If you need to fetch data from an external application,

    • Make sure you have developer access and the necessary API keys or admin credentials.

    • Always review the detailed connector guidelines before proceeding. Please refer to the Connectors Section in Unify Automation.

  3. Storing Data in UnifyApps: If your goal is to store data within UnifyApps, you can create an object in Unify Objects with a well-defined schema.

    • As mentioned in point 1, you need to consider your app's design and how different objects will relate to each other. Please refer to the Creating Object section in Unify Automations.

  4. Test Automations Thoroughly: When using automations, always test them thoroughly before integrating them into your interface.
    This ensures they work as expected and prevents issues in your live application. Please refer to the Testing Automations section in Unify Automations.

FAQs

How do I know which data source to use?

Choose the data source based on your needs:

  1. Use Storage by UnifyApps for data stored within Unify Objects.

  2. Use Analytics by UnifyApps for performing analytics and querying on data stored in Unify Objects.

  3. Use direct application connectors for fetching data from third-party apps.

  4. Use Callable by Automations for complex data integration involving multiple sources.

What do I need to fetch data from an external application?

Authentication flows vary across different components.

For example, components like Gmail require login credentials via OAuth, while components like Salesforce may require developer access along with the necessary API keys or admin credentials.

Always review the specific connector guidelines for the application you are integrating with to ensure proper setup and authentication.

Can I store data directly within UnifyApps?

Yes, you can store data within UnifyApps by creating an object in Unify Objects with a defined schema. Plan your data schema and object relationships carefully to align with your app's design.

Can I use multiple data sources in a single interface?

Yes, UnifyApps supports the integration of multiple data sources within a single interface. Plan how these data sources will interact and ensure that their schemas are compatible.