1. Configure Identity Provider in UnifyApps
Follow the steps below to establish a Single Sign-On (SSO) connection using OpenID between UnifyApps and Microsoft Azure.
STEP 1 · Open Identity Provider Settings
Navigate to your specific environment in UnifyApps and go to: Platform Tools → Security → Identity Providers.
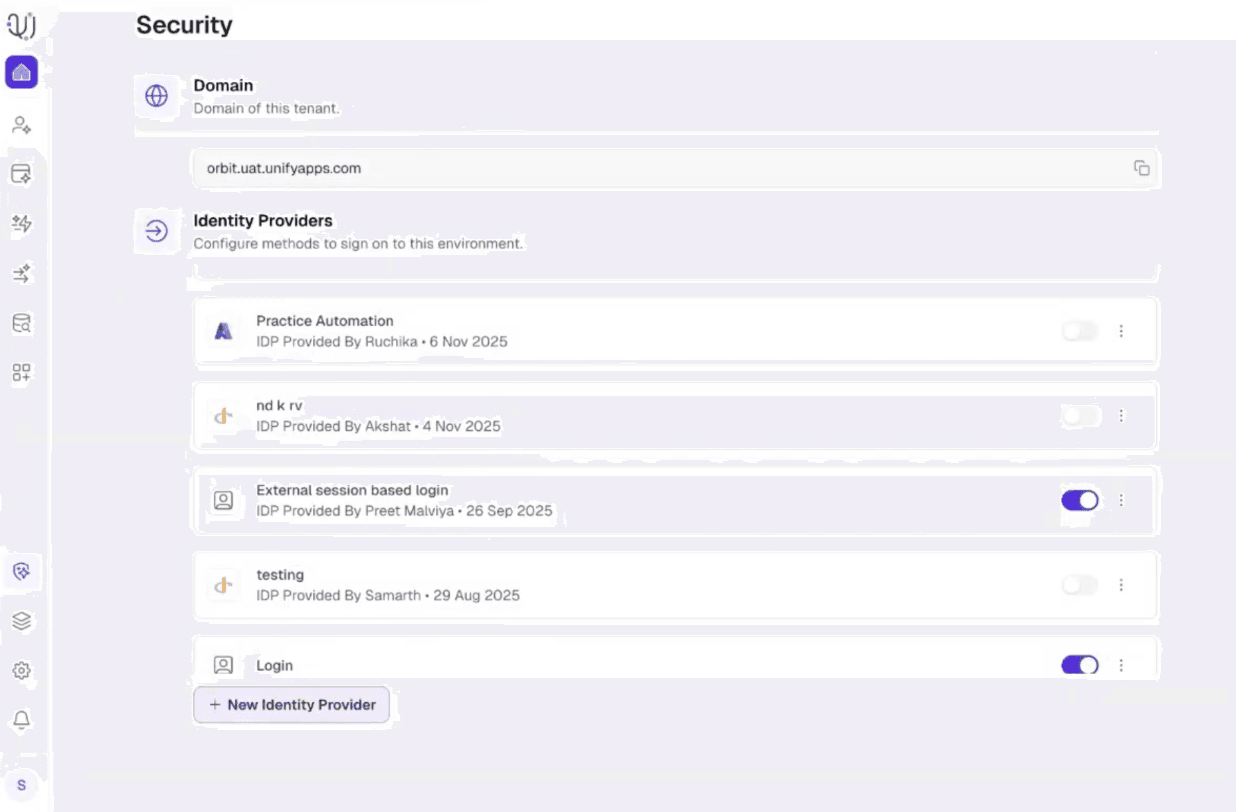
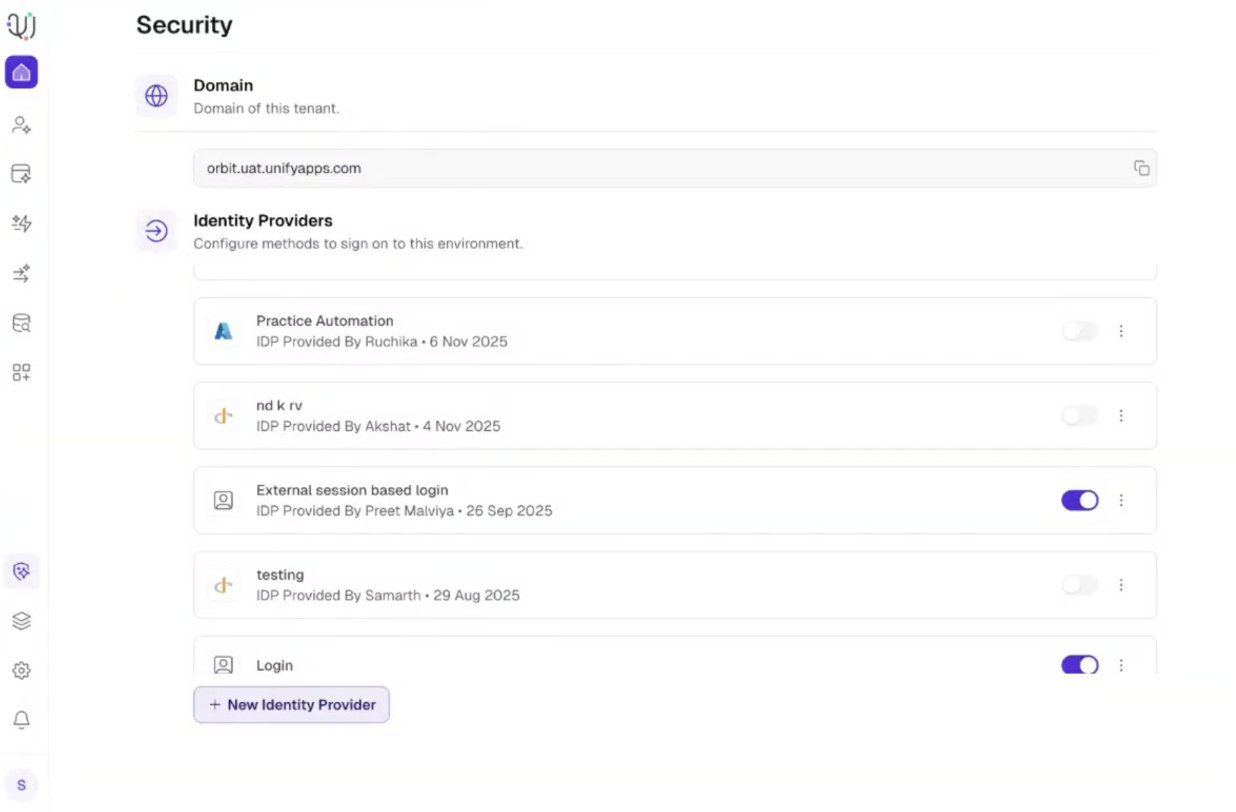
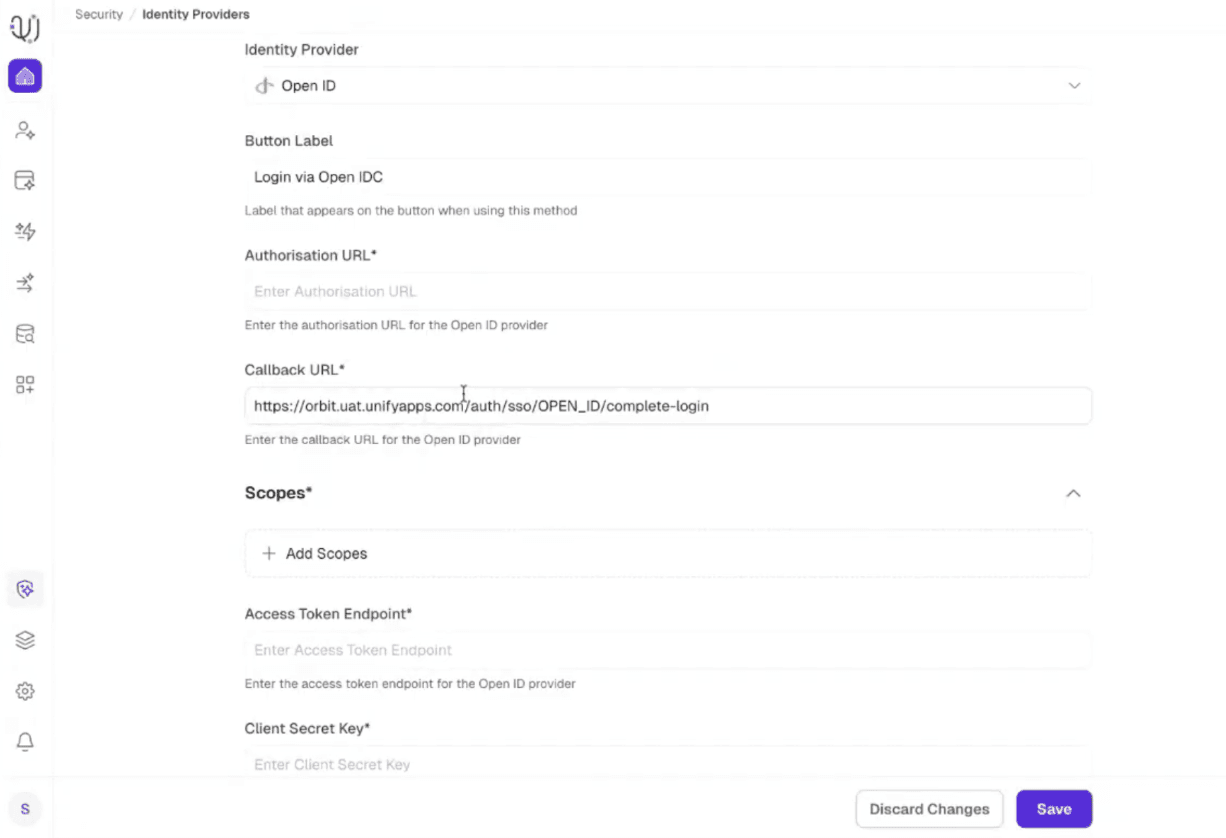
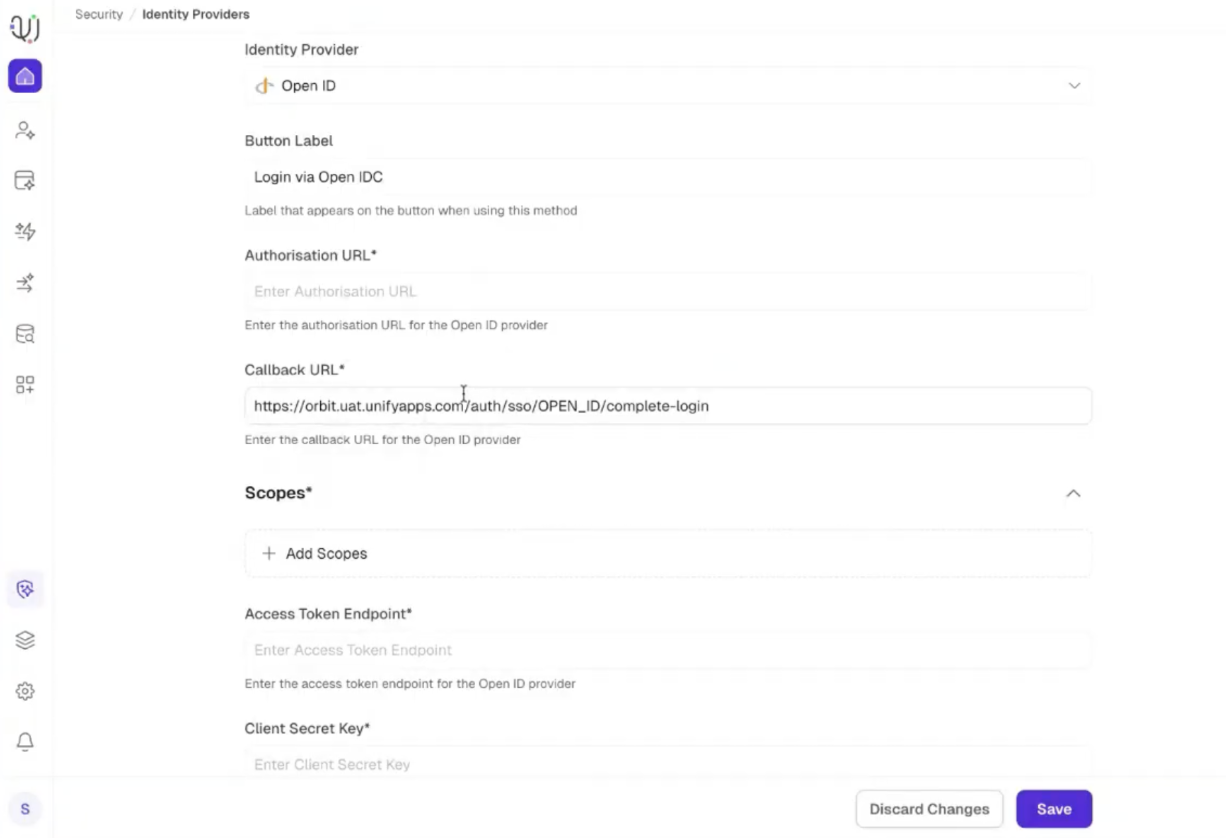
STEP 2 · Select OpenID & Copy Callback URL
Select OpenID from the Identity Provider dropdown menu. Locate the Callback URL generated and copy it to your clipboard.
2. Register Application in Microsoft Azure
STEP 3 · Create a New App Registration
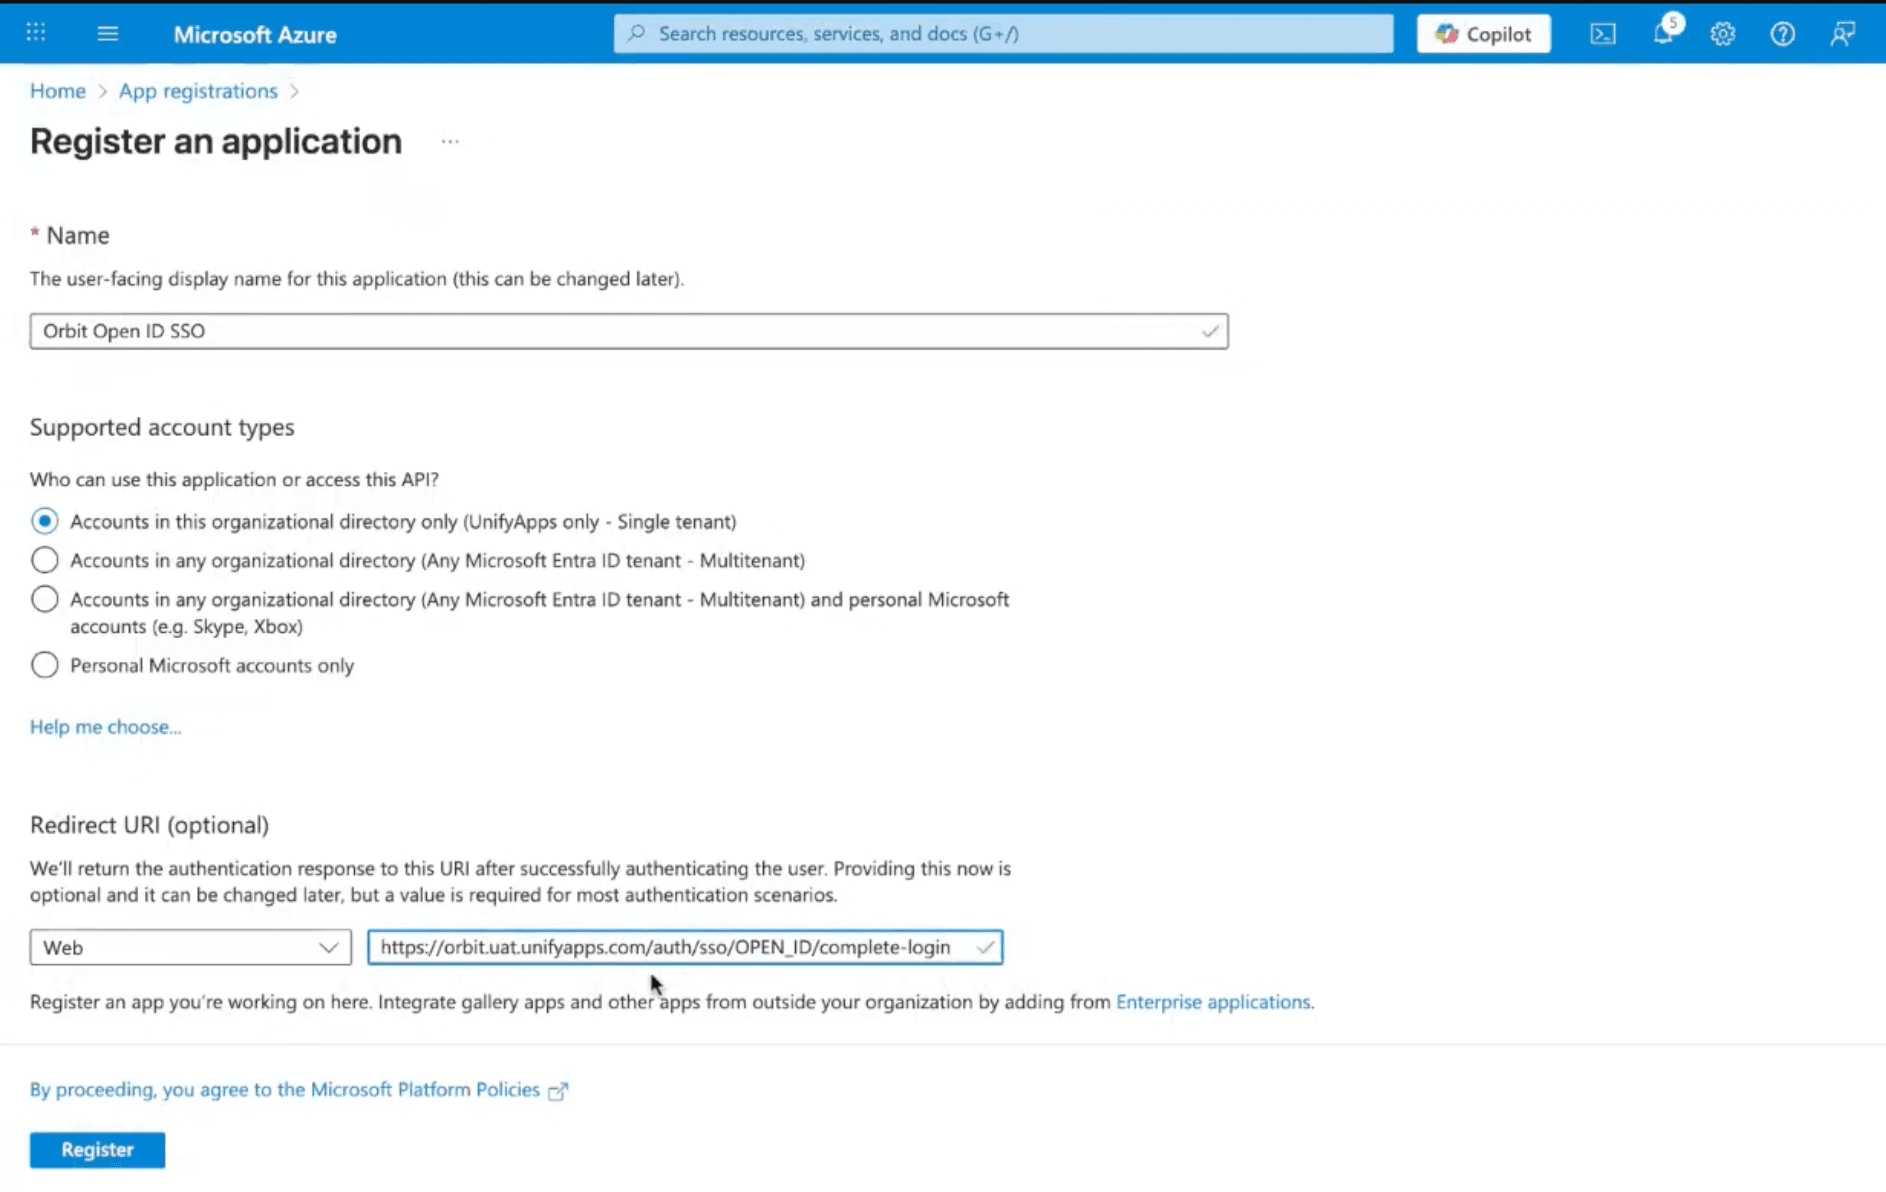
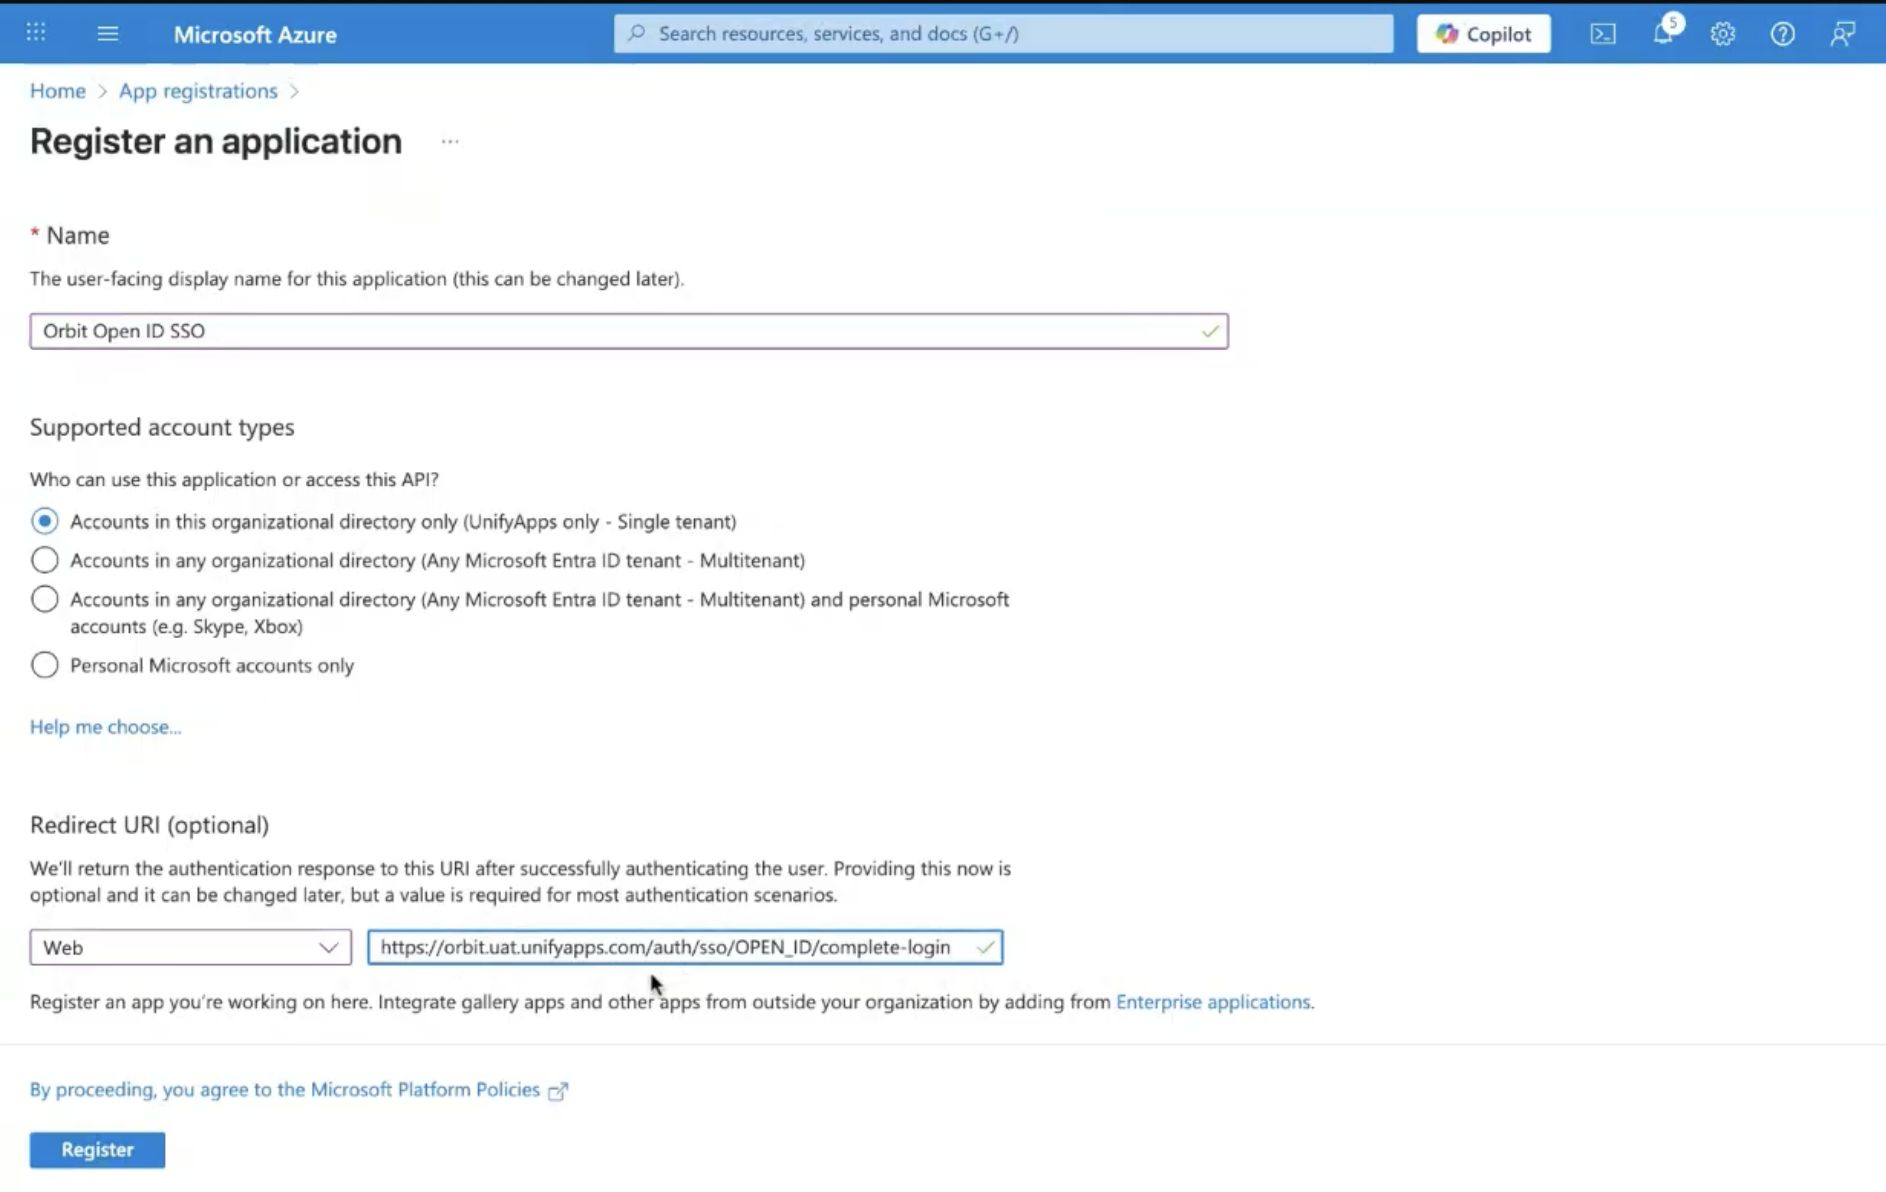
Log into the Azure Portal, go to Microsoft Entra ID (formerly Azure Active Directory), and navigate to App registrations → New registration. Select the appropriate account access level for your organization.
STEP 4 · Configure Redirect URI & Register
In the Redirect URI section, set the platform type to Web and paste the Callback URL you copied from UnifyApps. Click Register.
Sample Redirect URL : https://orbit.uat.unifyapps.com/auth/sso/OPEN_ID/complete-login
STEP 5 · Generate Client Secret
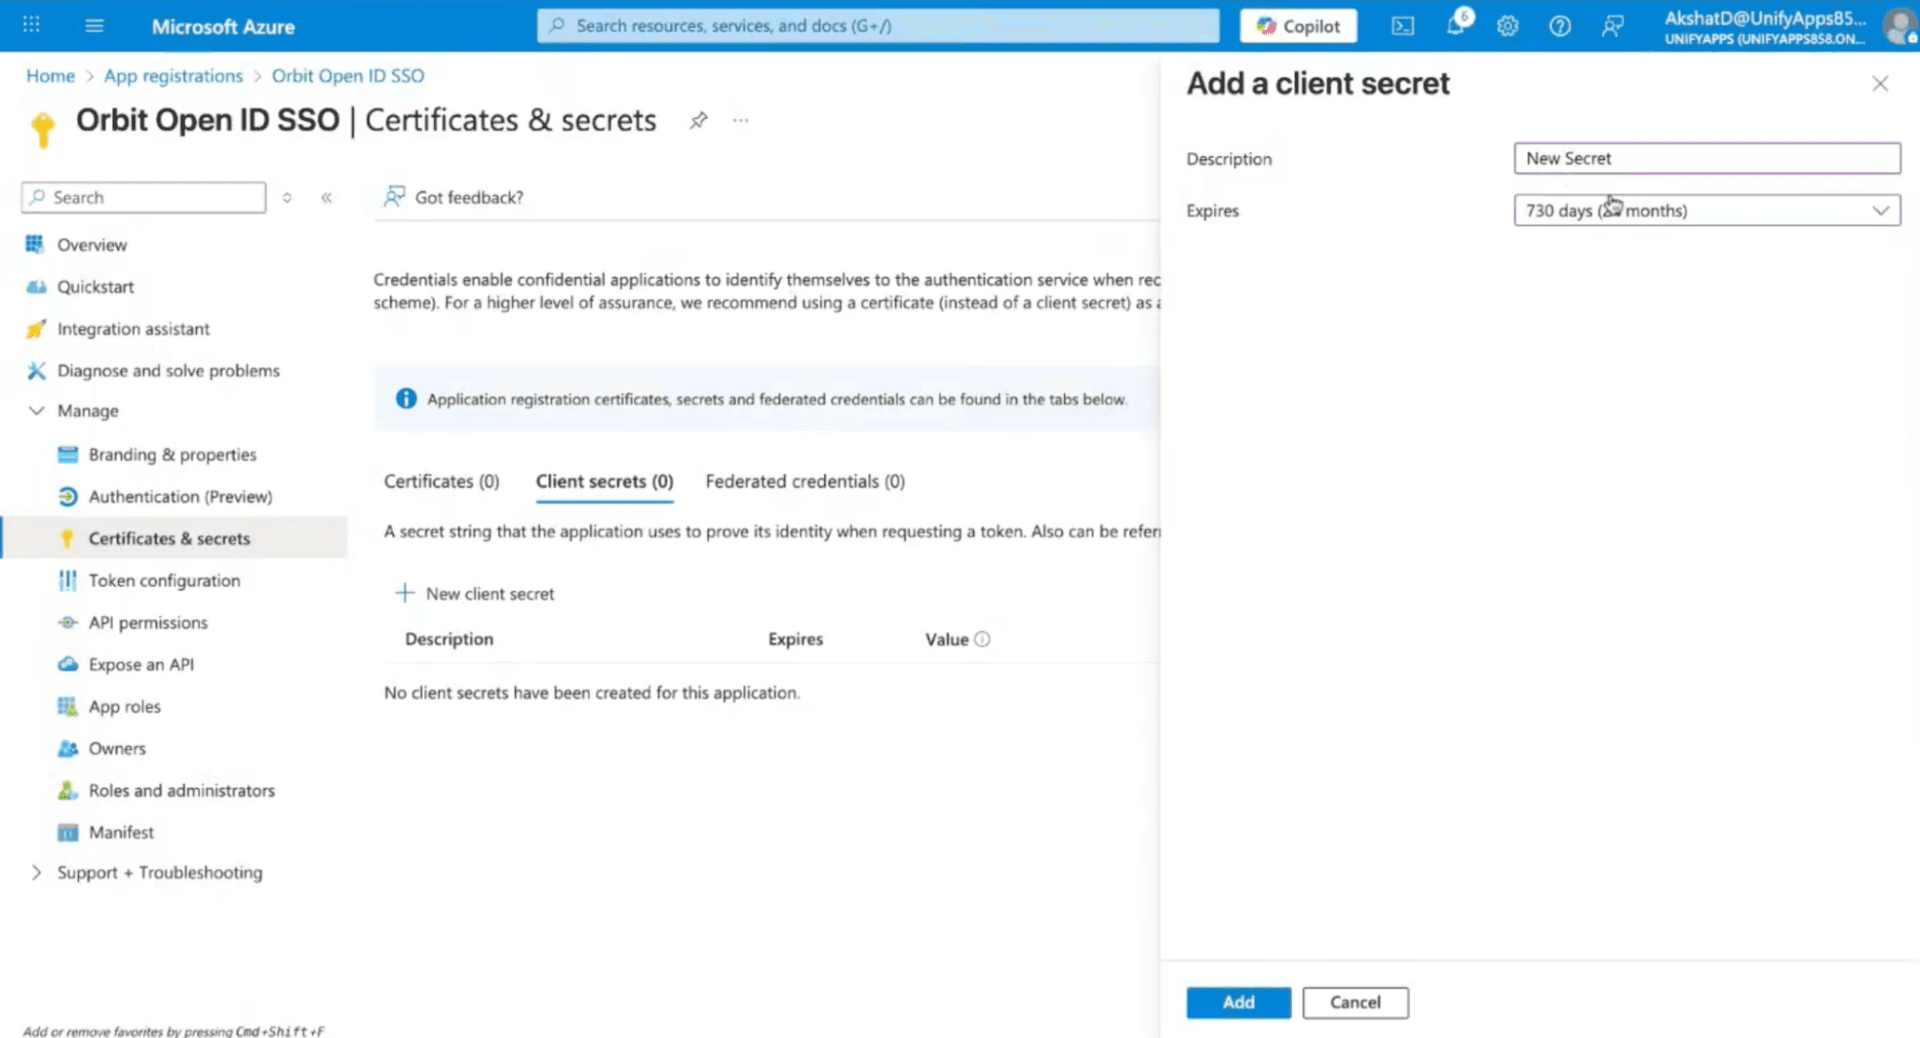
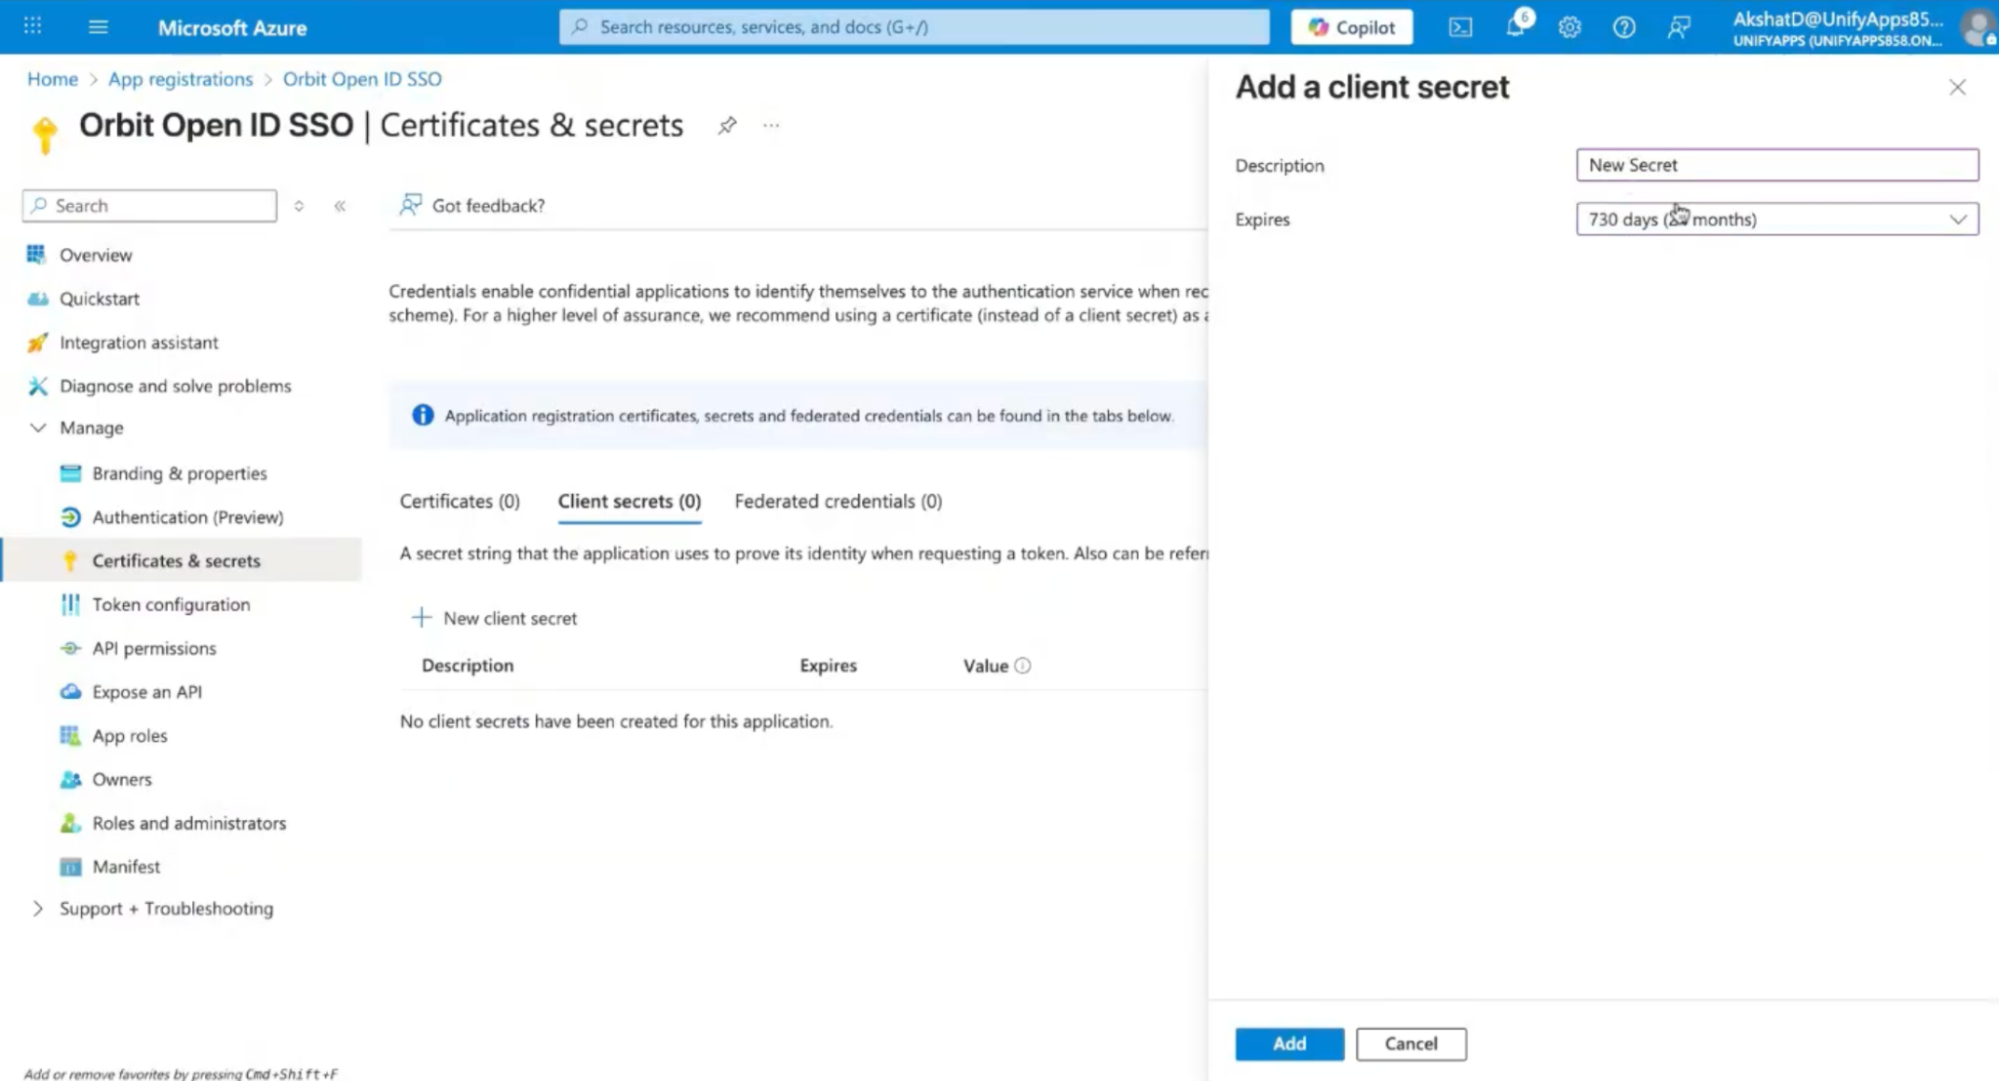
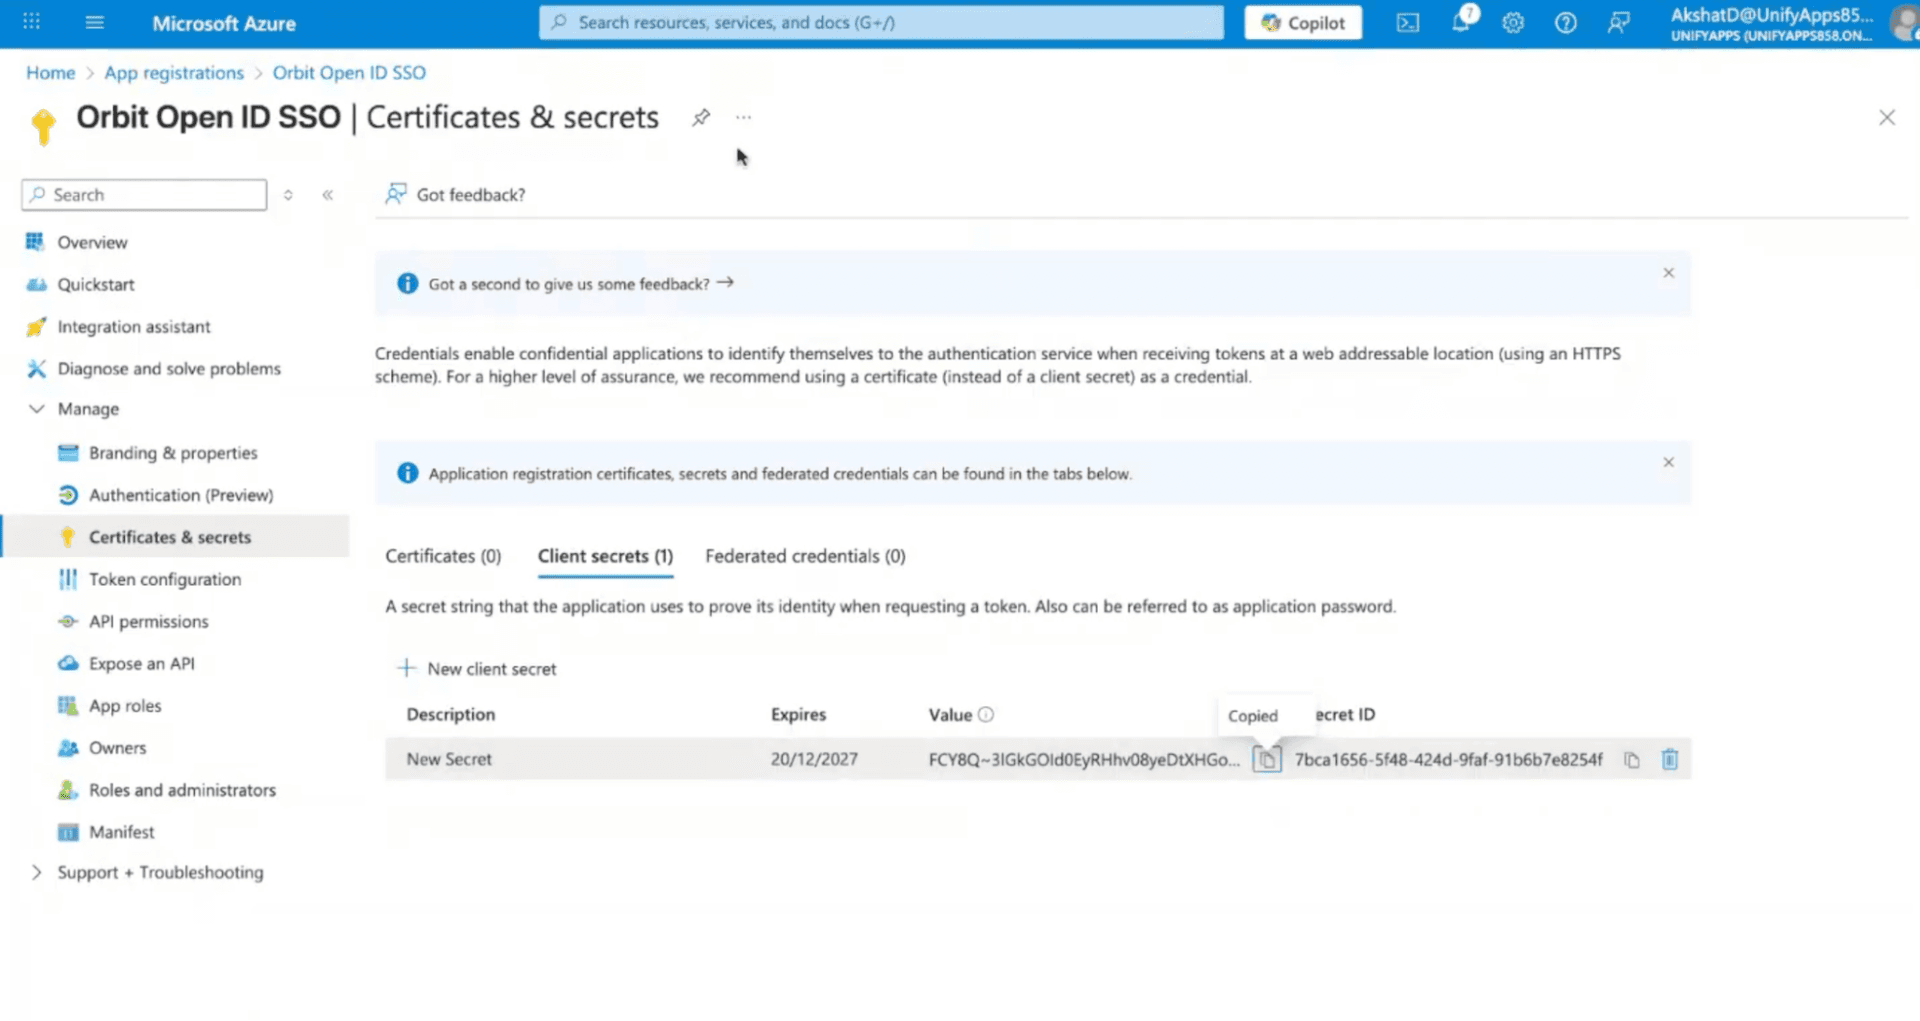
Once registered, navigate to Certificates & secrets → Client secrets → New client secret. Select your preferred expiration duration and click Add.
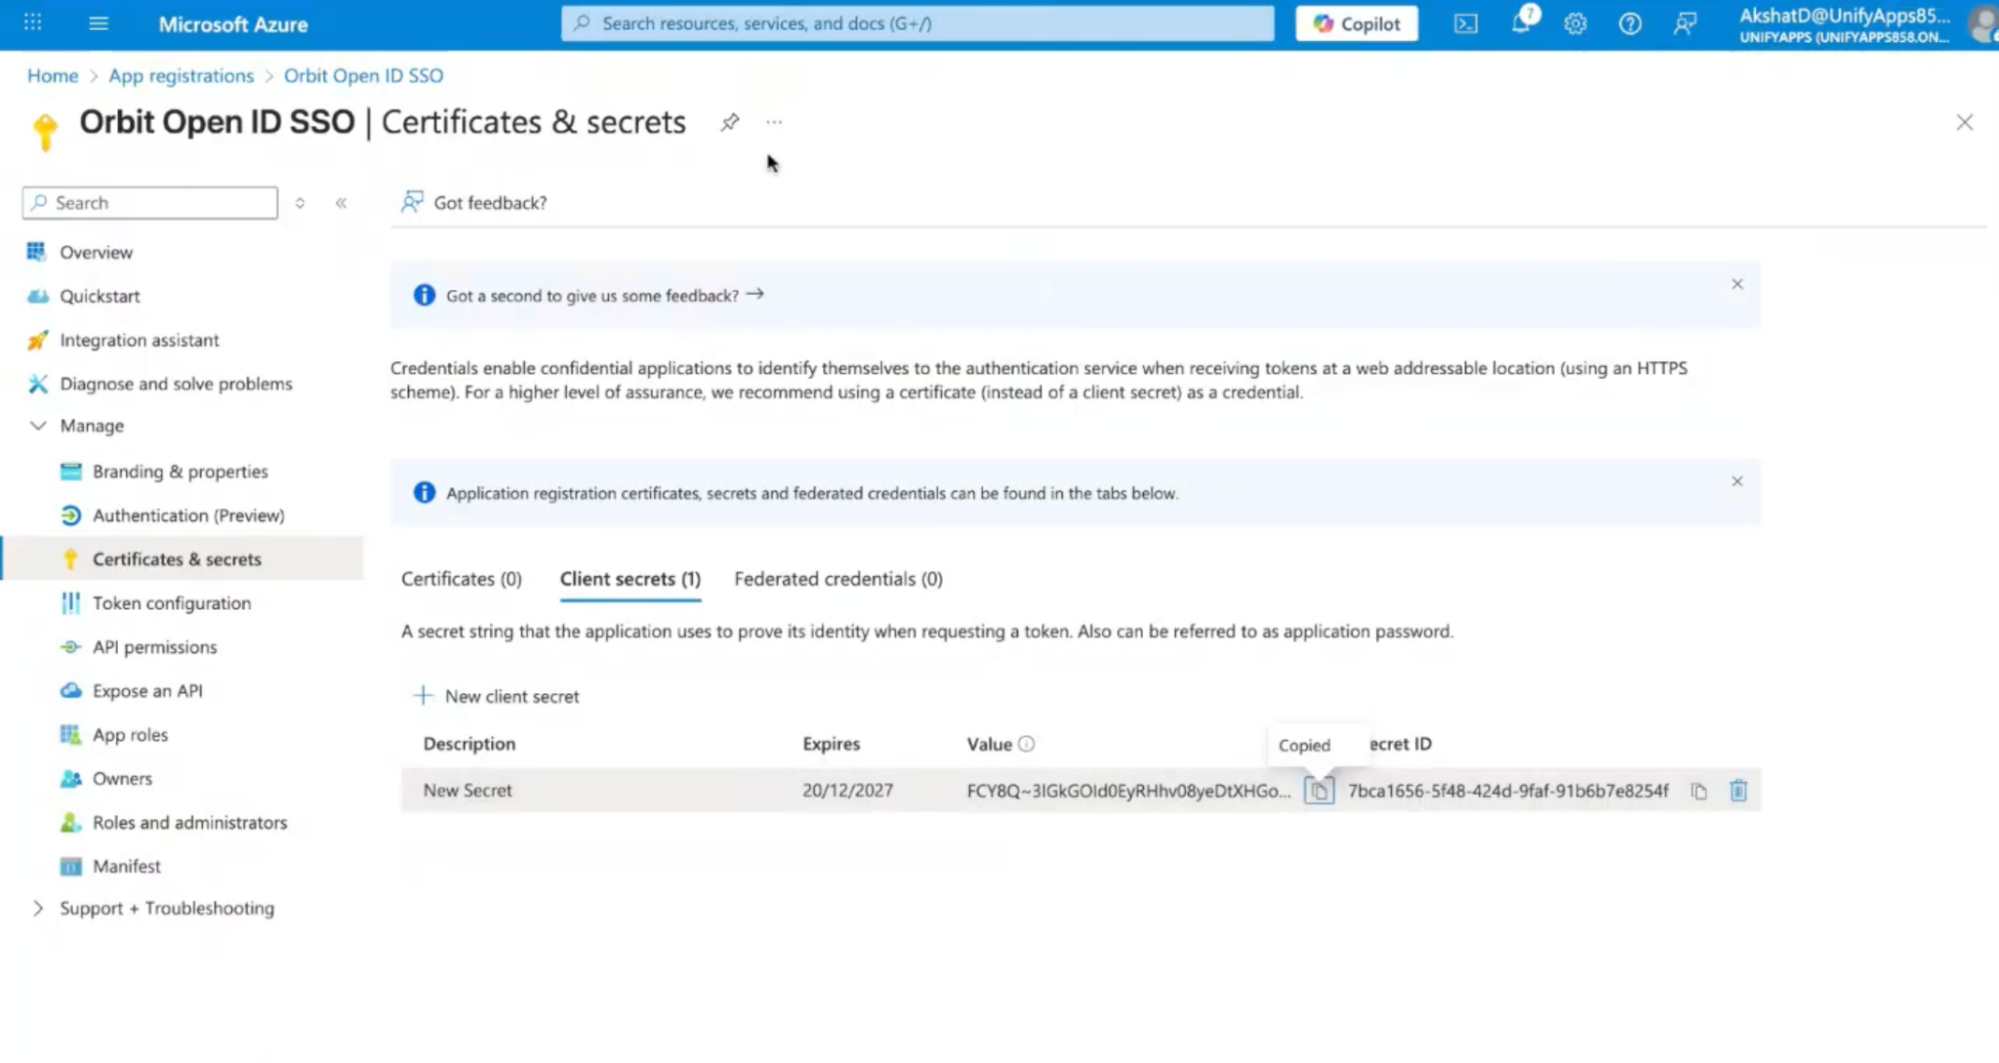
⚠️ Important: Instantly copy the secret Value (not the Secret ID). It will be permanently hidden once you leave the page.
3. Complete Setup & Mapping
STEP 6 · Add Credentials to UnifyApps
Return to the UnifyApps Identity Provider setup page and paste the Azure secret value into the Client Secret Key field.
STEP 7 · Configure Endpoints & Tenant ID
Fill out both the Authorization URL and the Access Token Endpoint using your specific Azure Tenant ID.
Note: Both fields share the same URL structure containing your Tenant ID, which can be found under the Overview tab of your Azure application
Sample Access Token Endpoint : https://microsoftonline.com/{tenant-id}/oauth2/v2.0/token
(Replace the placeholder ‘Tenant-id’ with actual tenant id from Overview tab of Azure application)
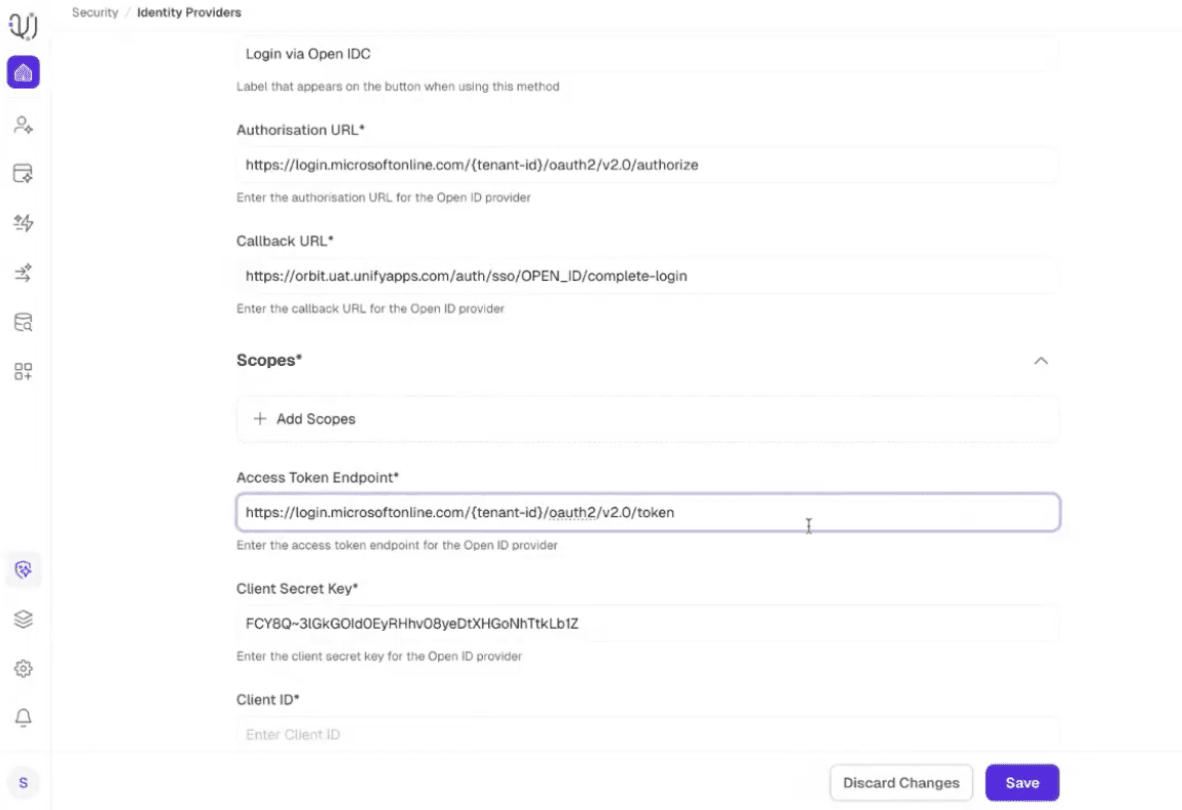
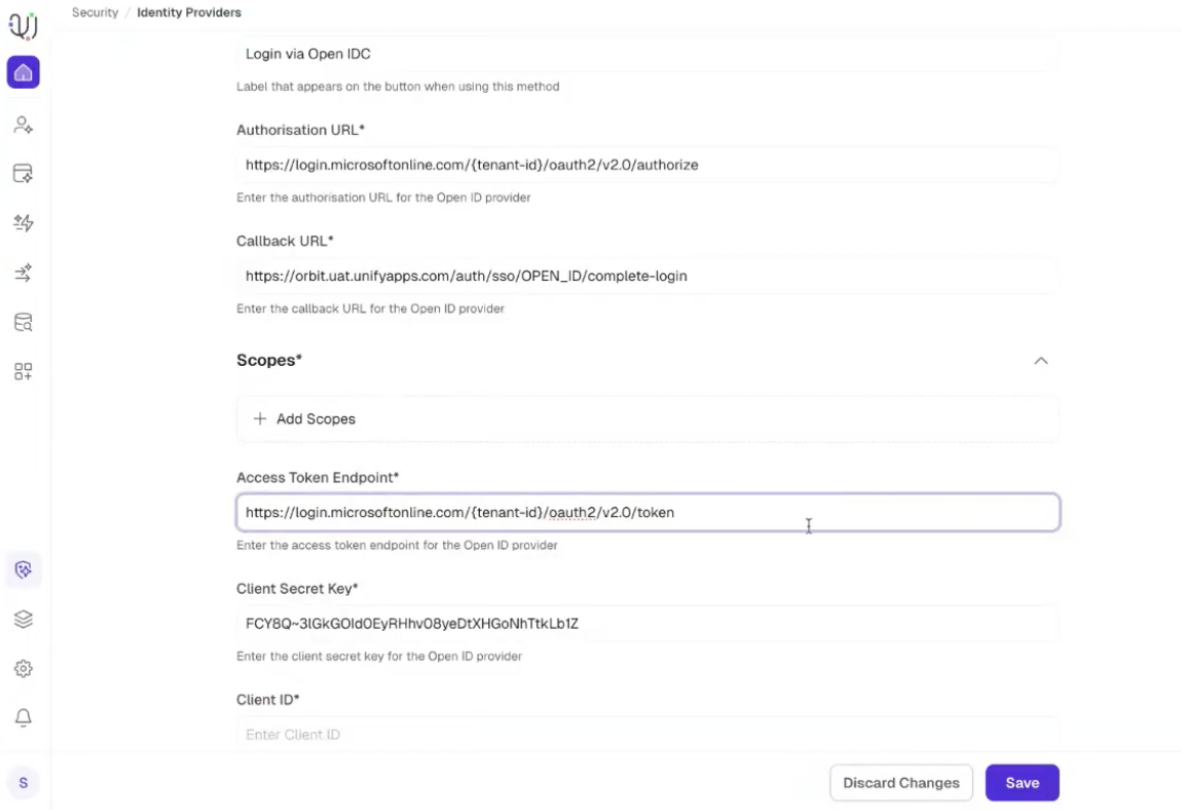
STEP 8 · Define Scopes & Attribute Mapping
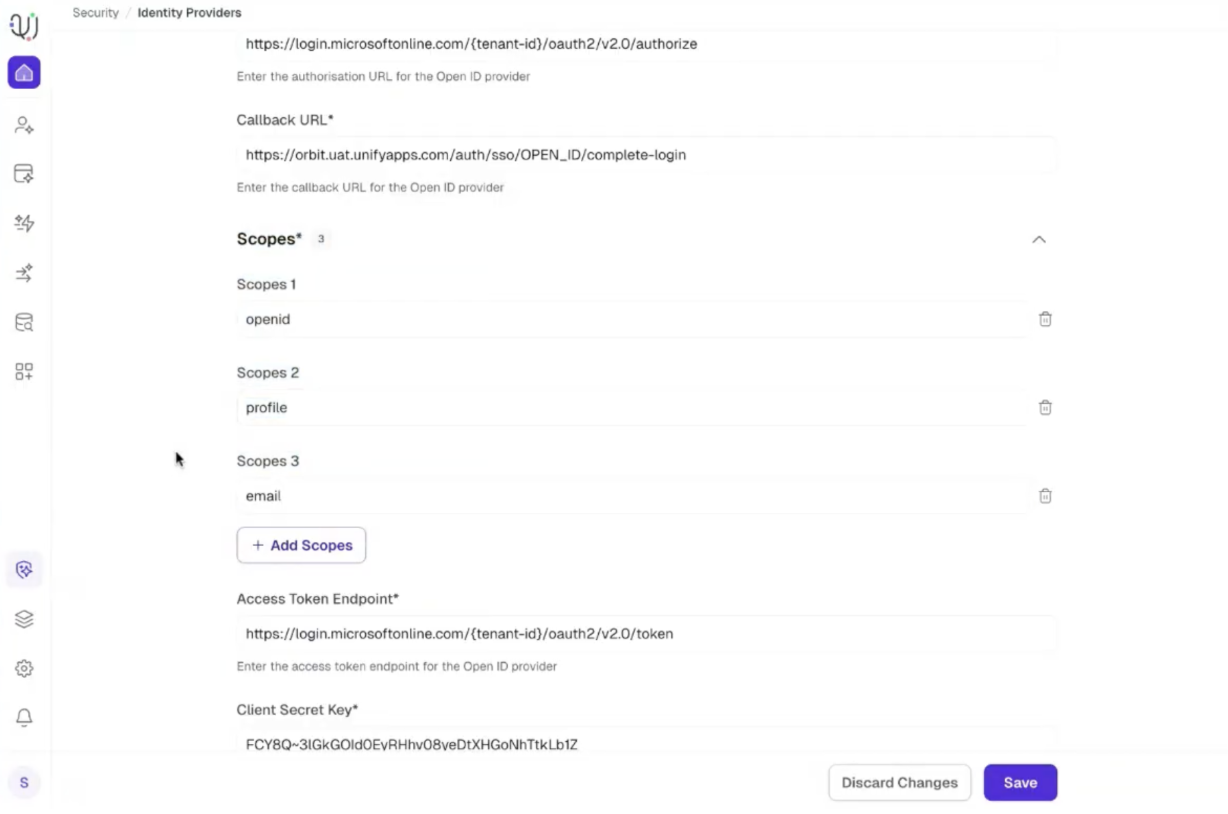
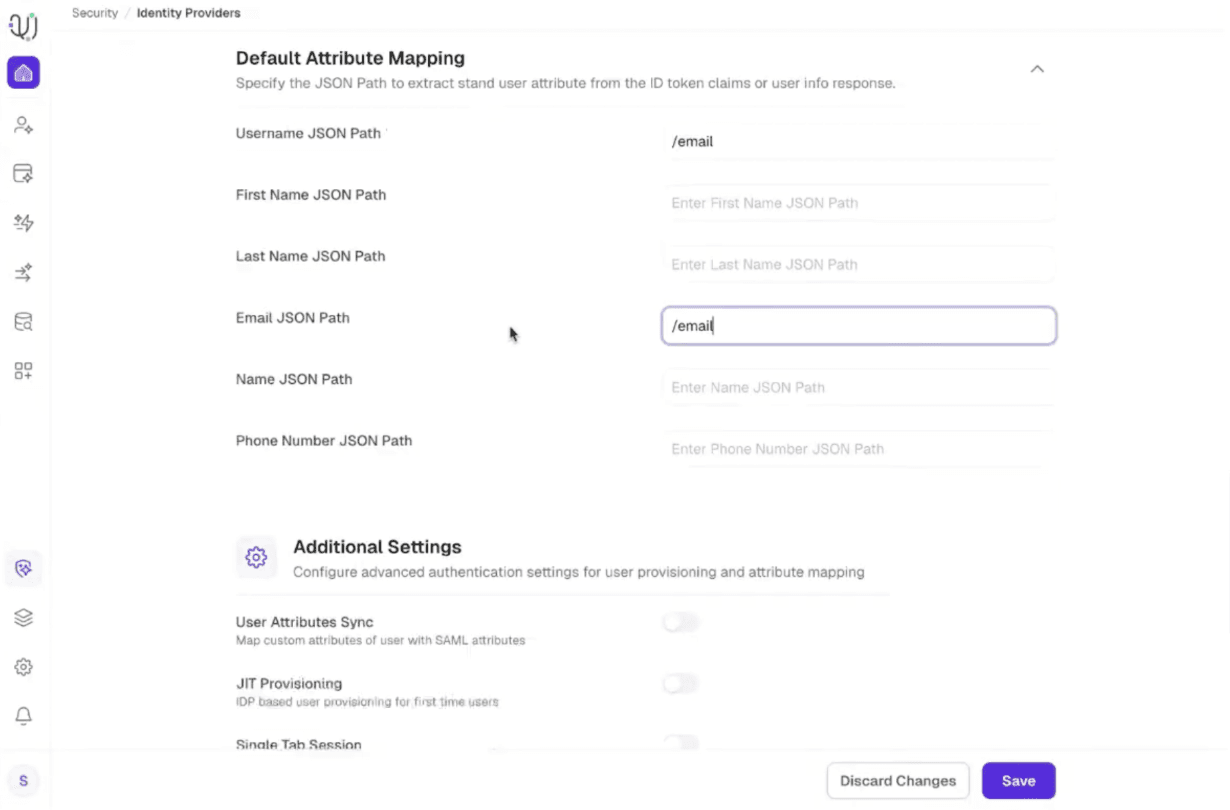
Add the required authentication scopes to specify the level of data access granted to UnifyApps. Next, fill out the Default Attribute Mapping to properly pair Azure user claims with UnifyApps user profiles.
Scopes -
Scopes | Select |
Scope 1 | openid |
Scope 2 | profile |
Scope 3 |
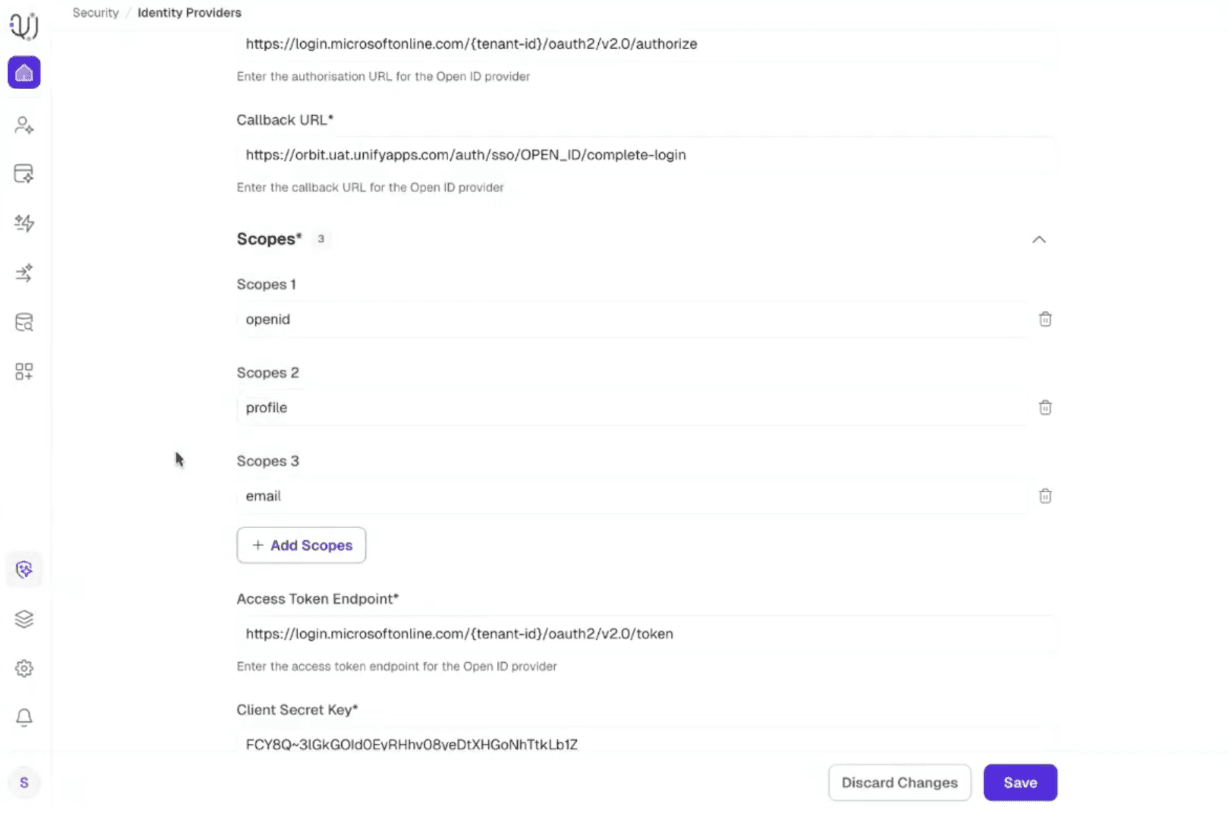
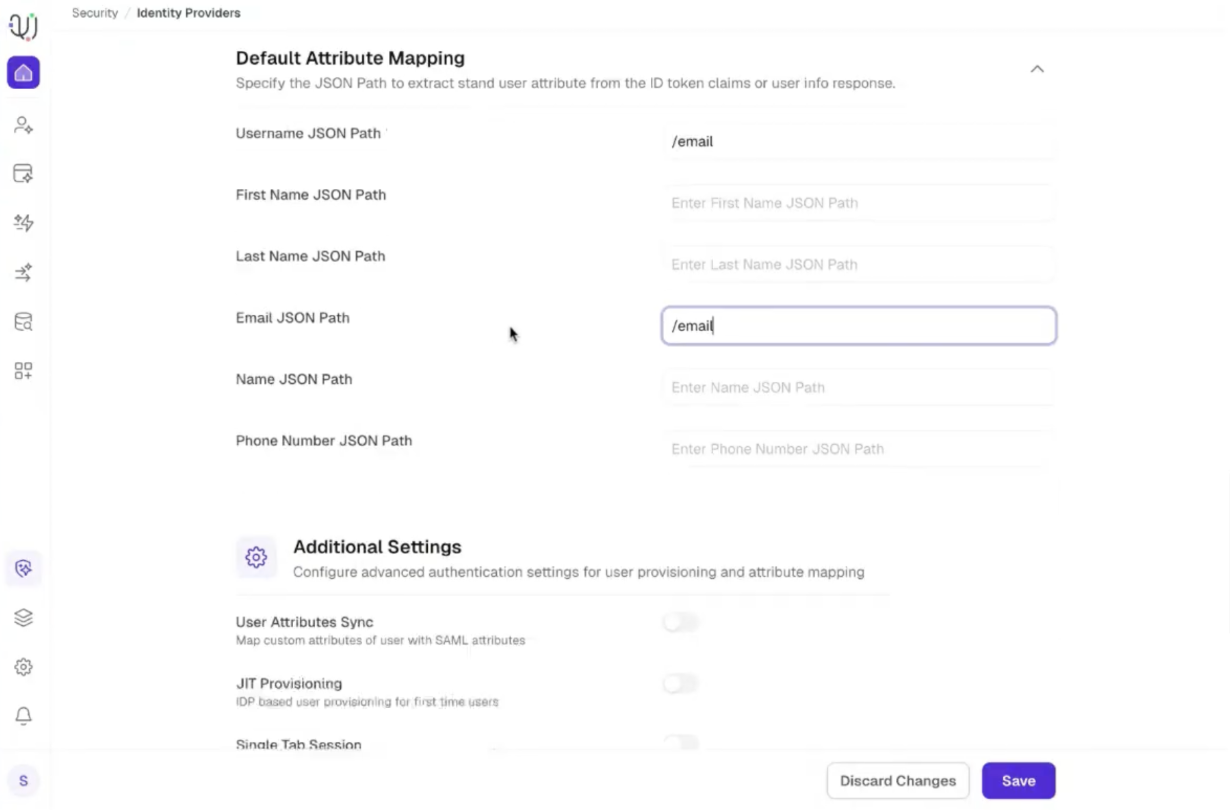
Default Attribute Mapping -
Field | Value |
Username JSON Path | |
Email JSON Path |
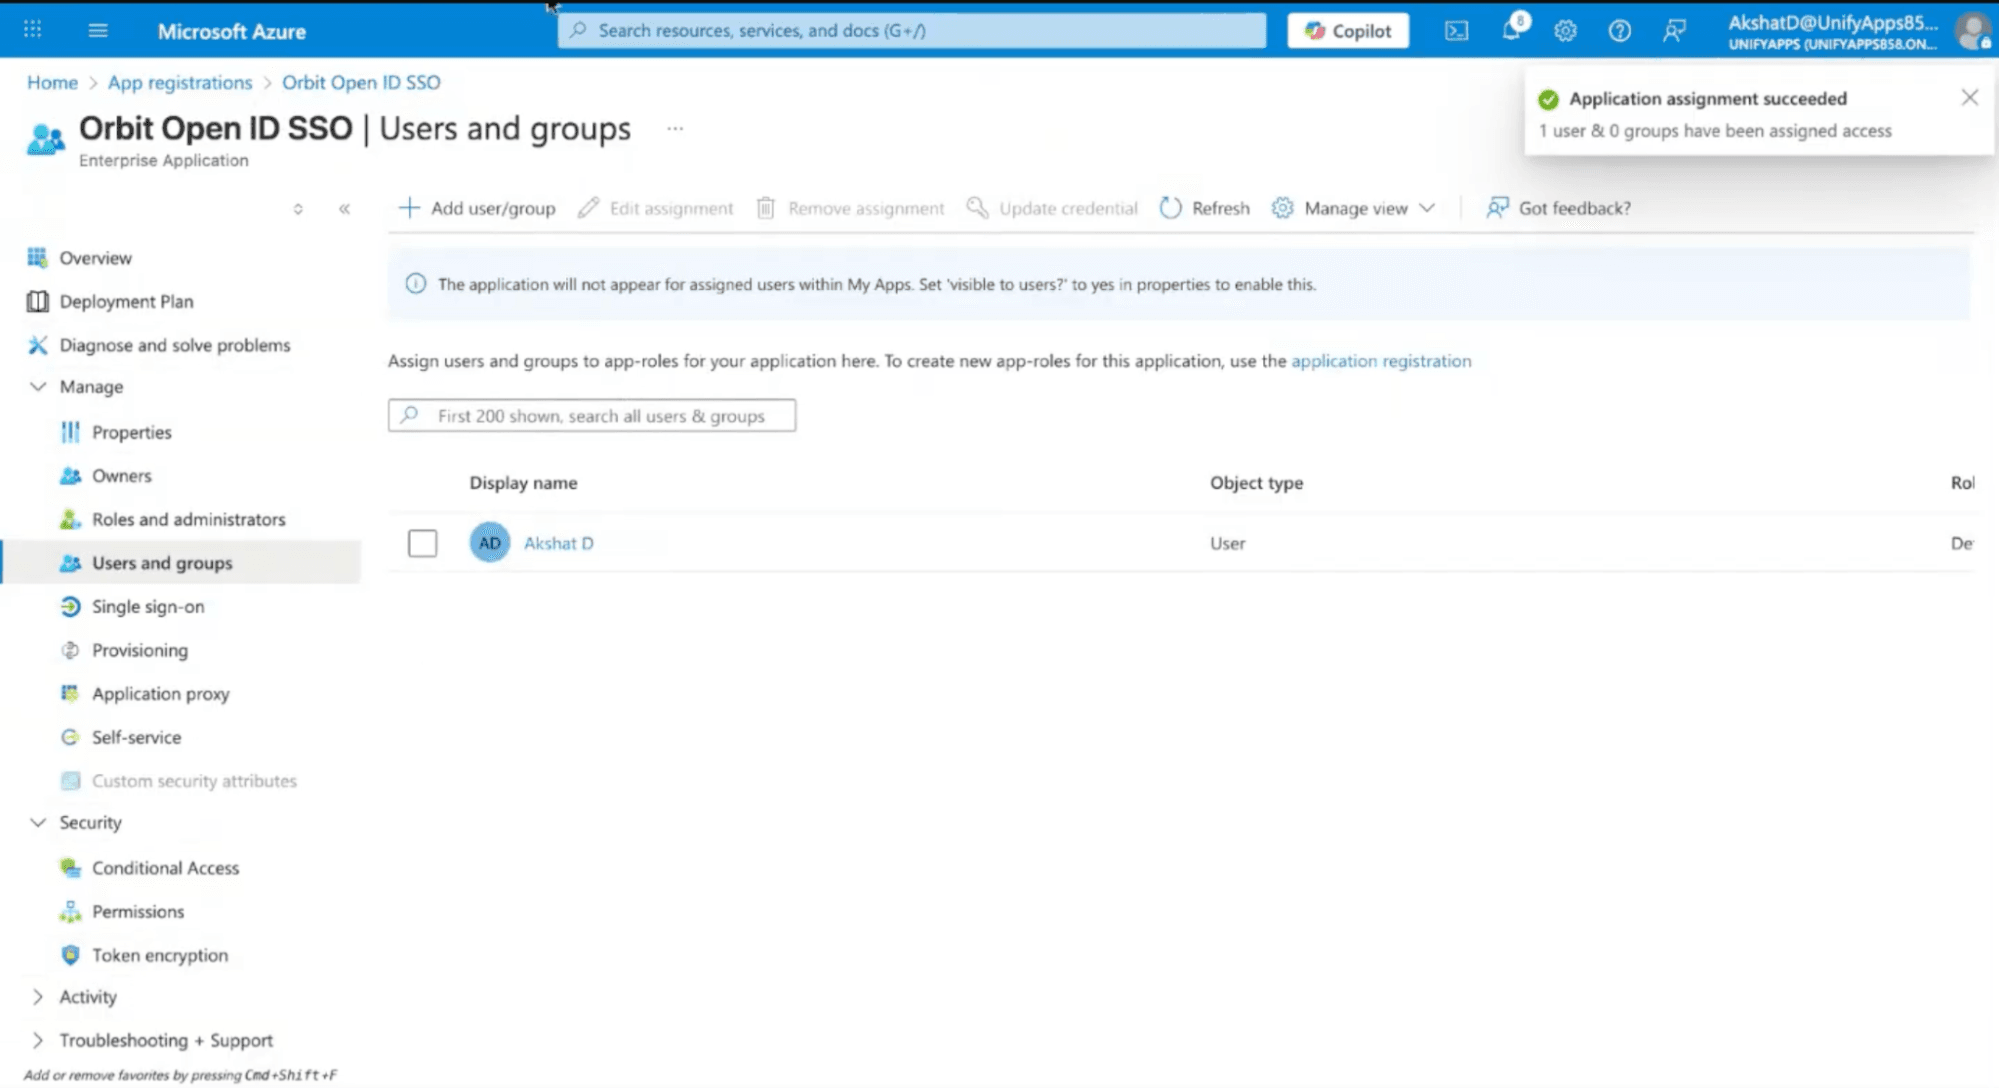
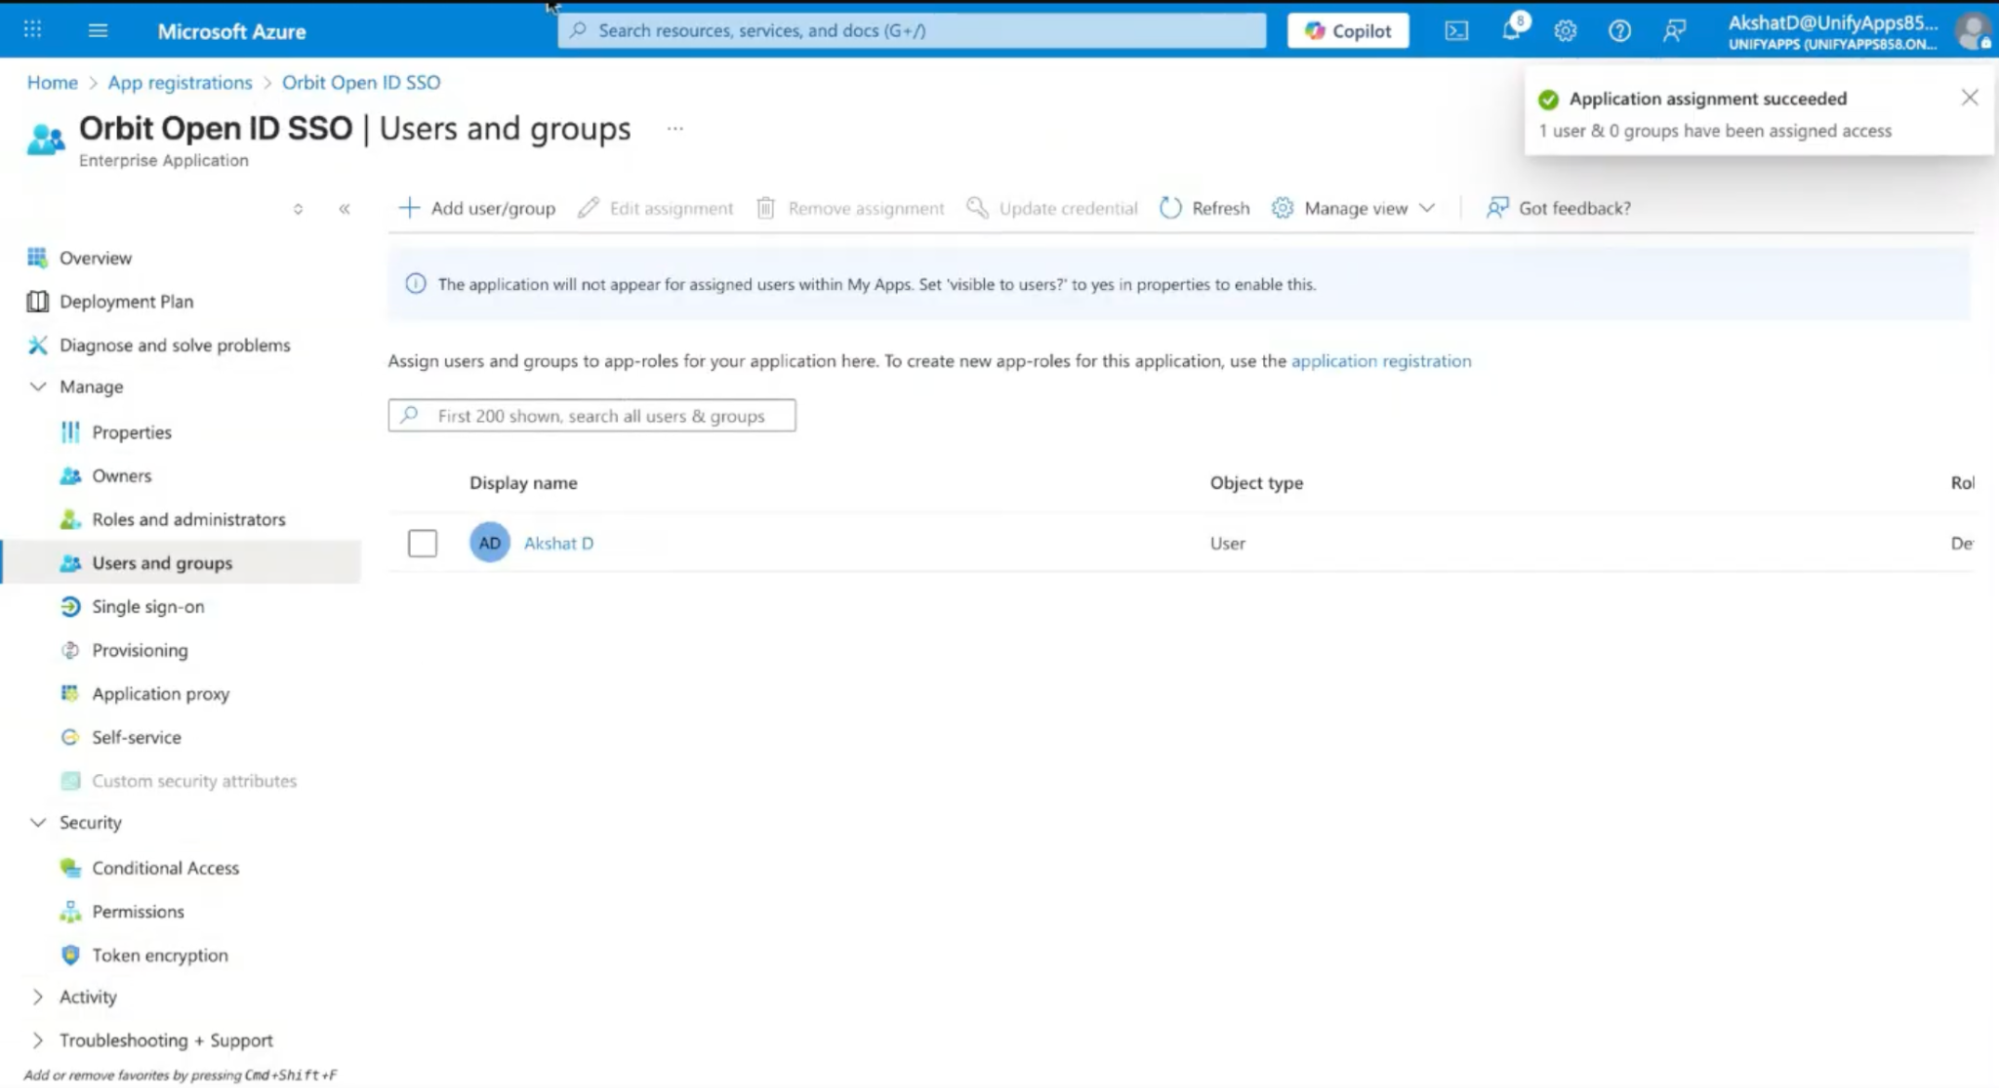
STEP 9 · Assign Users in Azure
Go back to your Azure application dashboard, navigate to Enterprise applications → Users and groups, and assign the specific users or groups who should be allowed to log in via this SSO setup.