1. Create External Session via cURL
Follow the steps below to configure your Identity Provider (IDP) and generate an external login session using a cURL request.
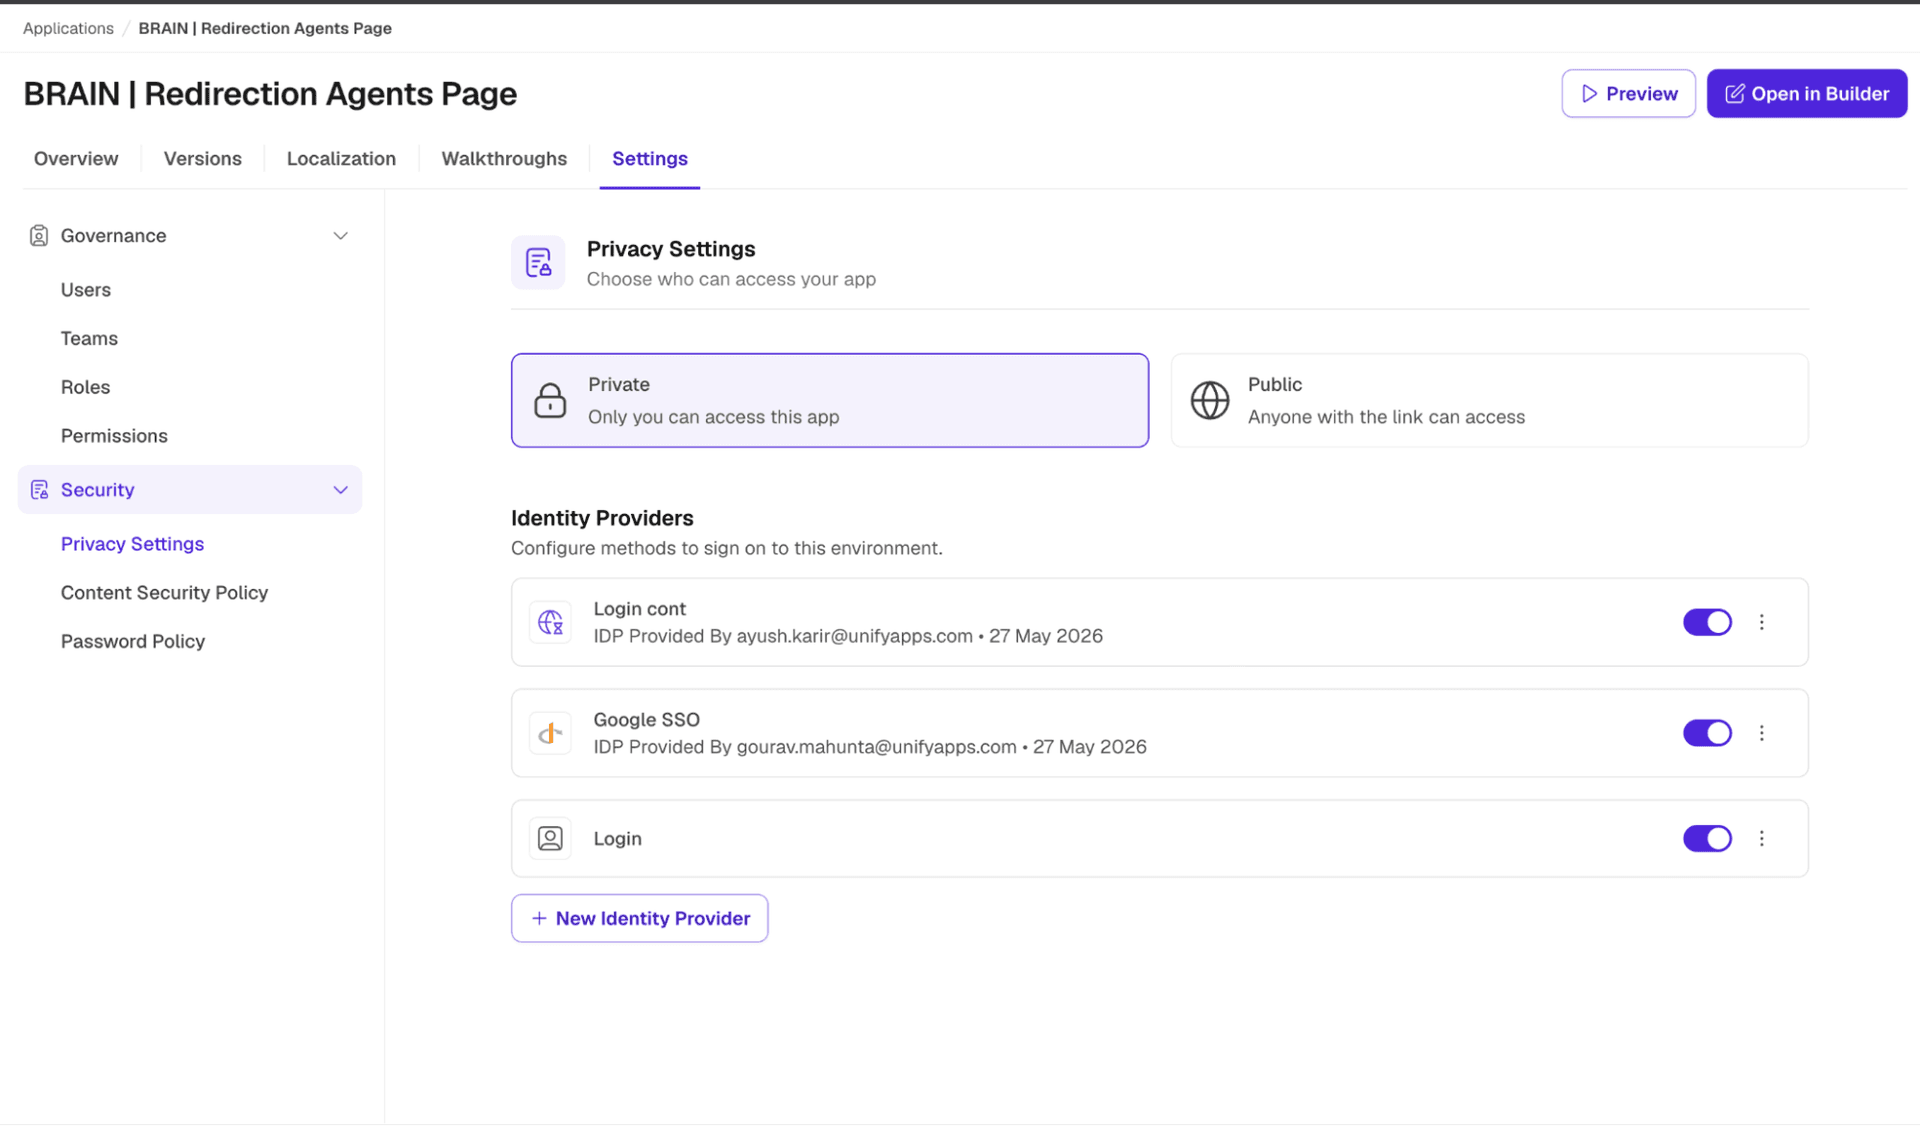
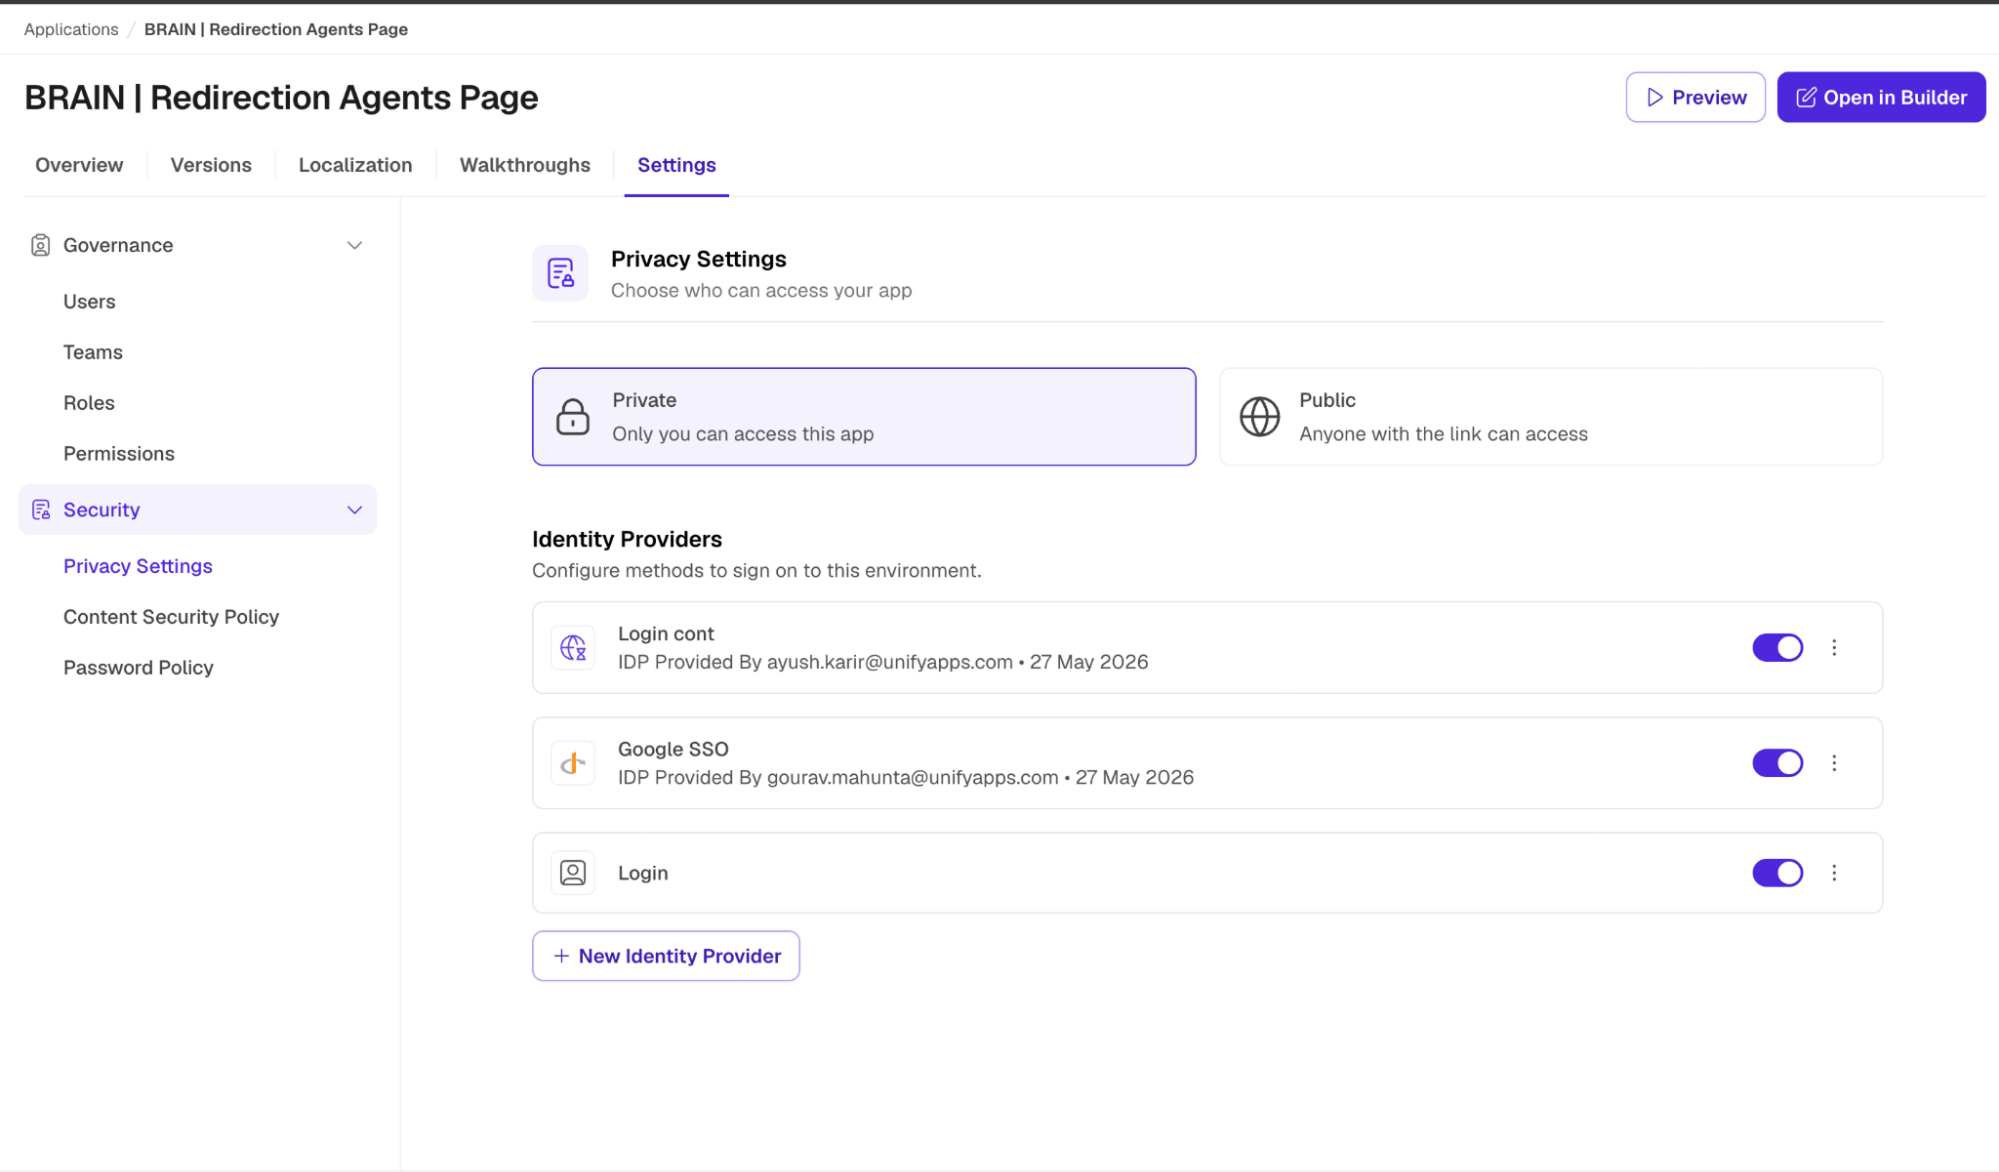
STEP 1 - Open Privacy Settings
Navigate to: Settings → Security → Privacy Setting for your app.
STEP 2 Create a New External Session
Click Create a new external session.
Generate a Fixed Auth Token from the token generator:
Token generator: https://it-tools.tech/token-generator?length=63
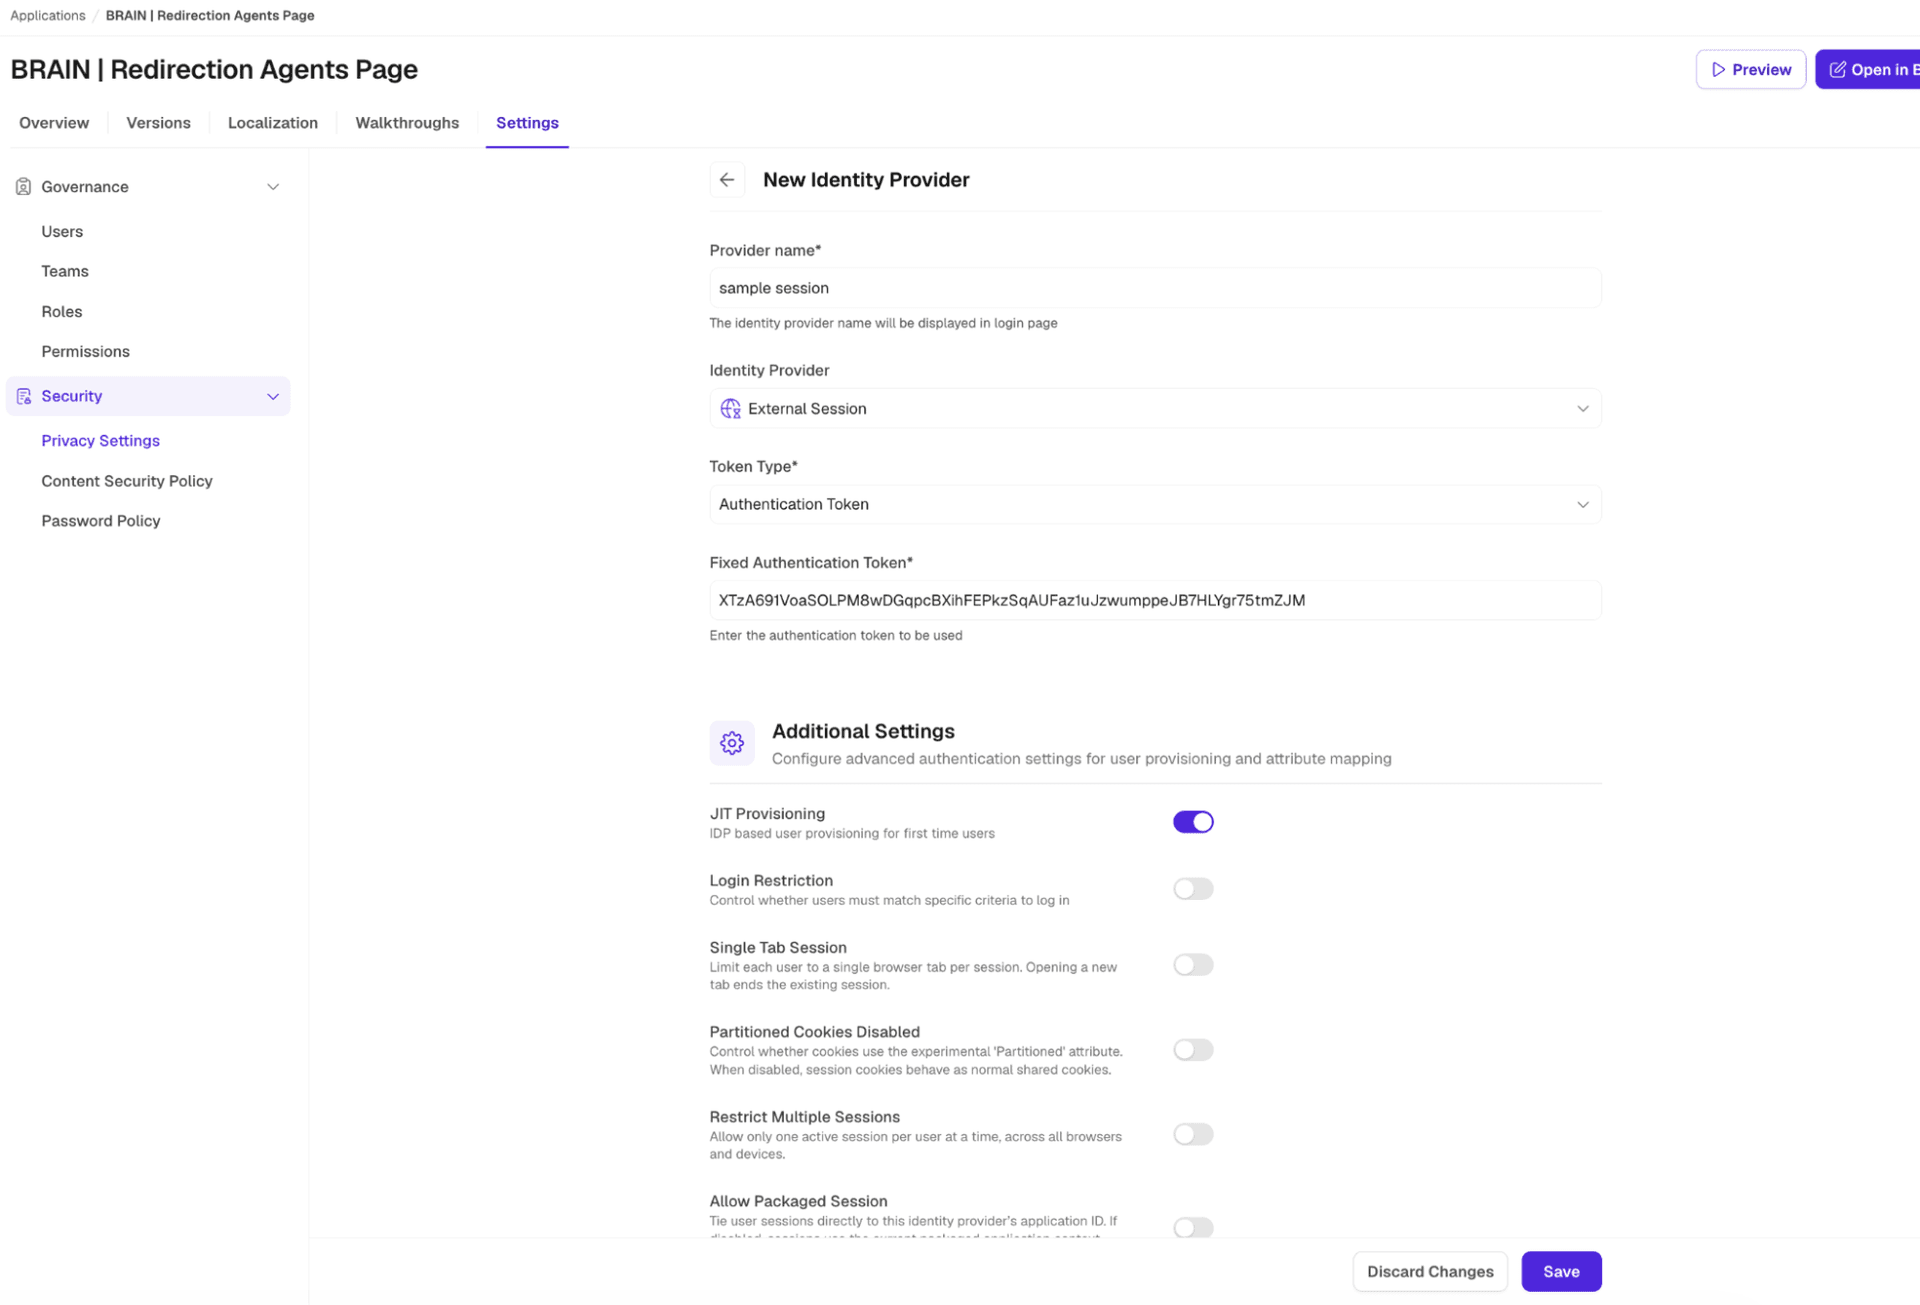
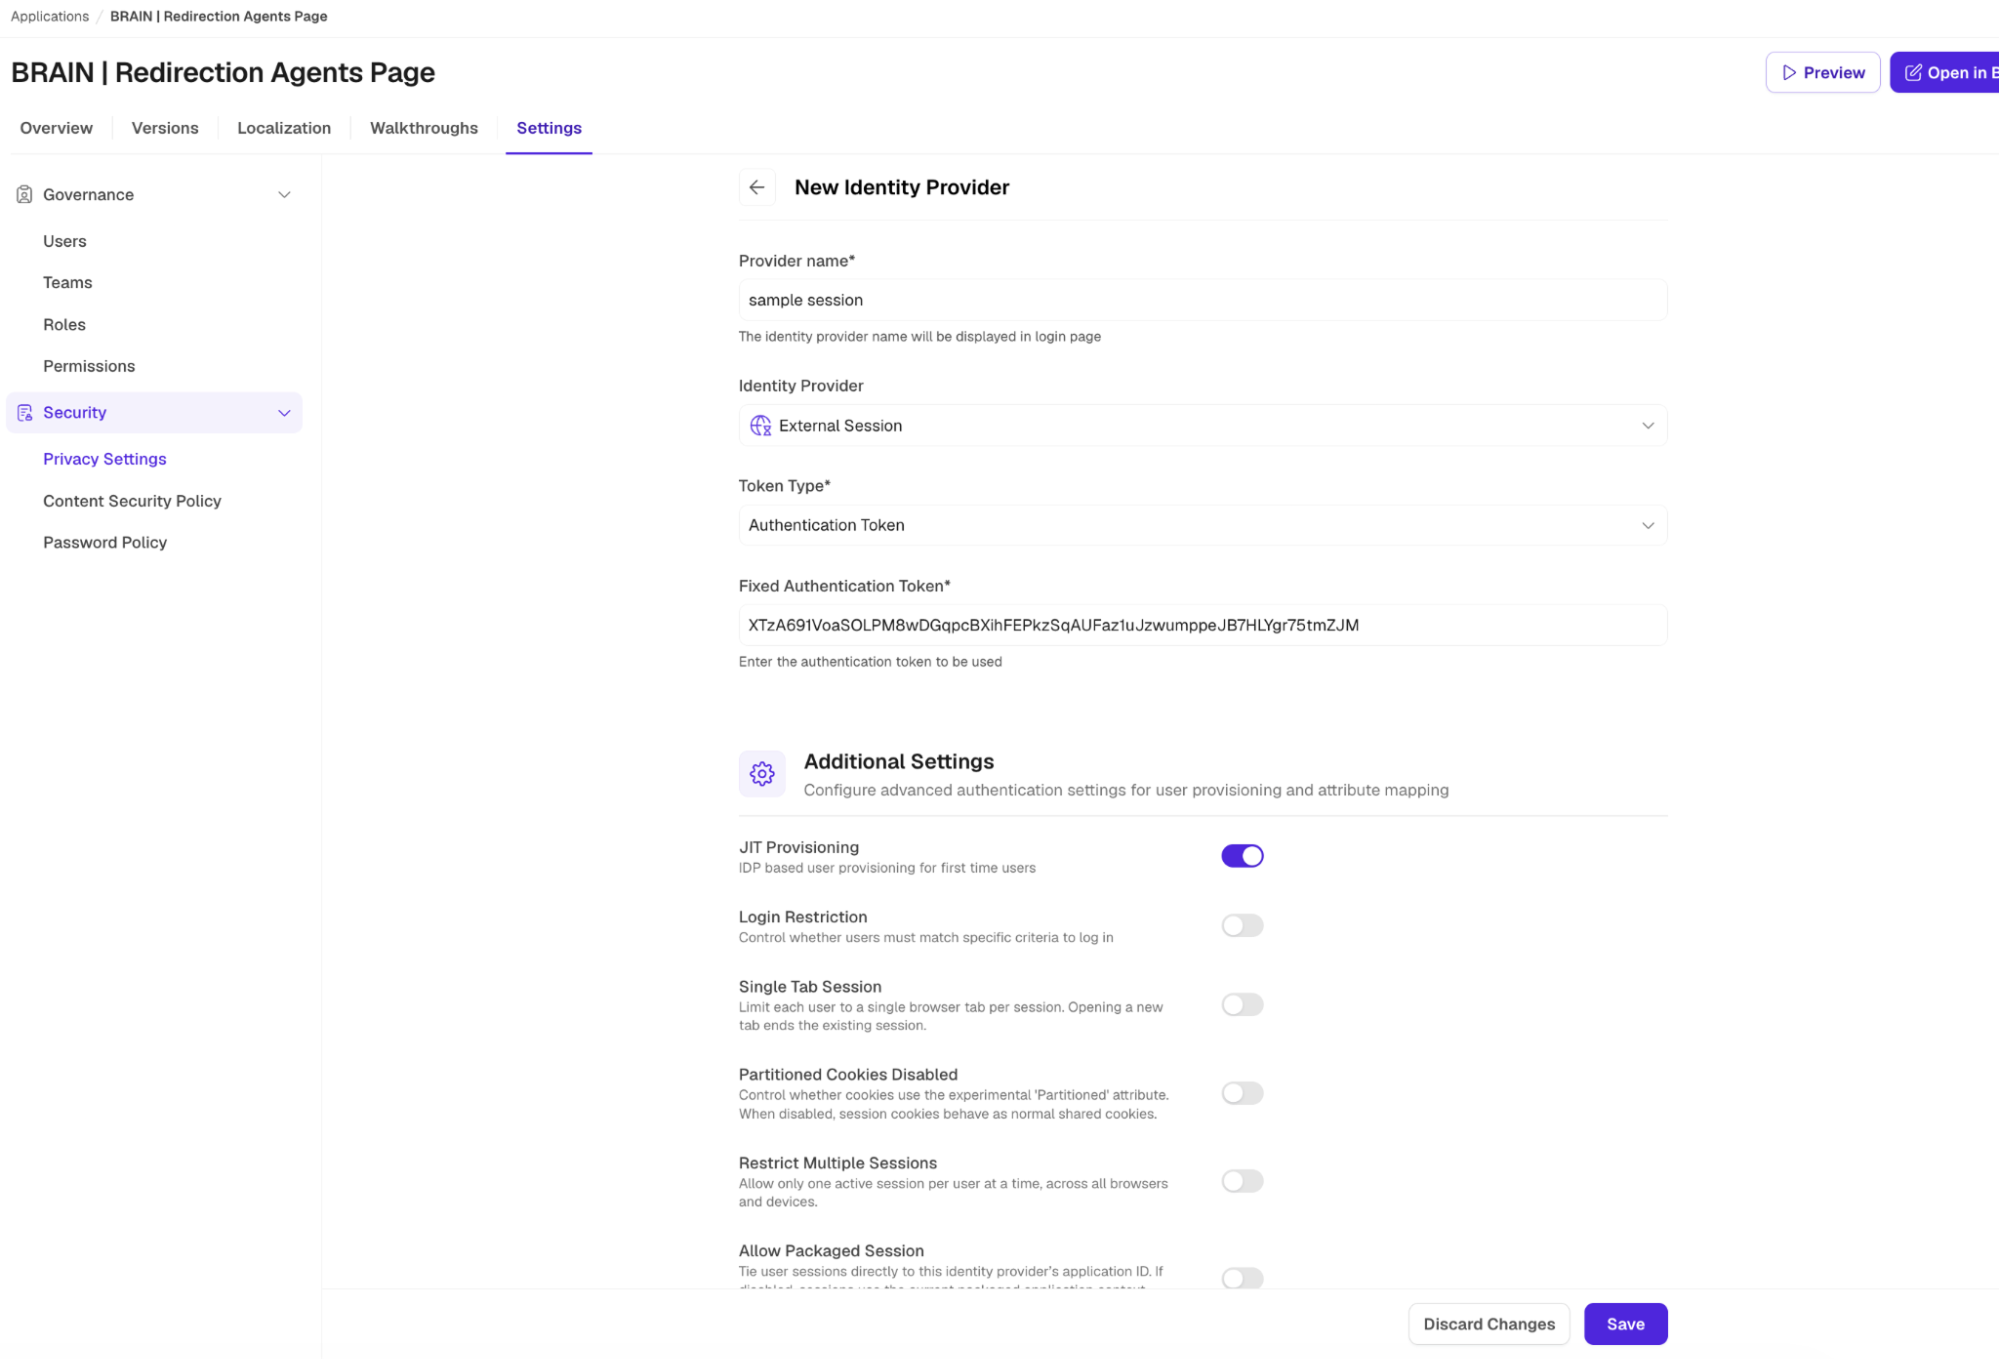
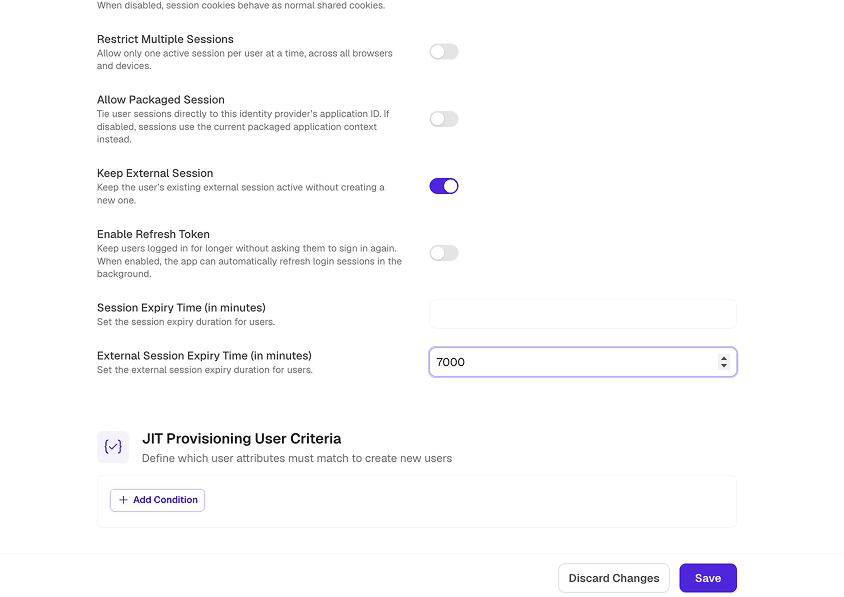
STEP 3 Save and Enable IDP
Once the session is configured, click Save.
Turn on your IDP and click Edit to open its settings.
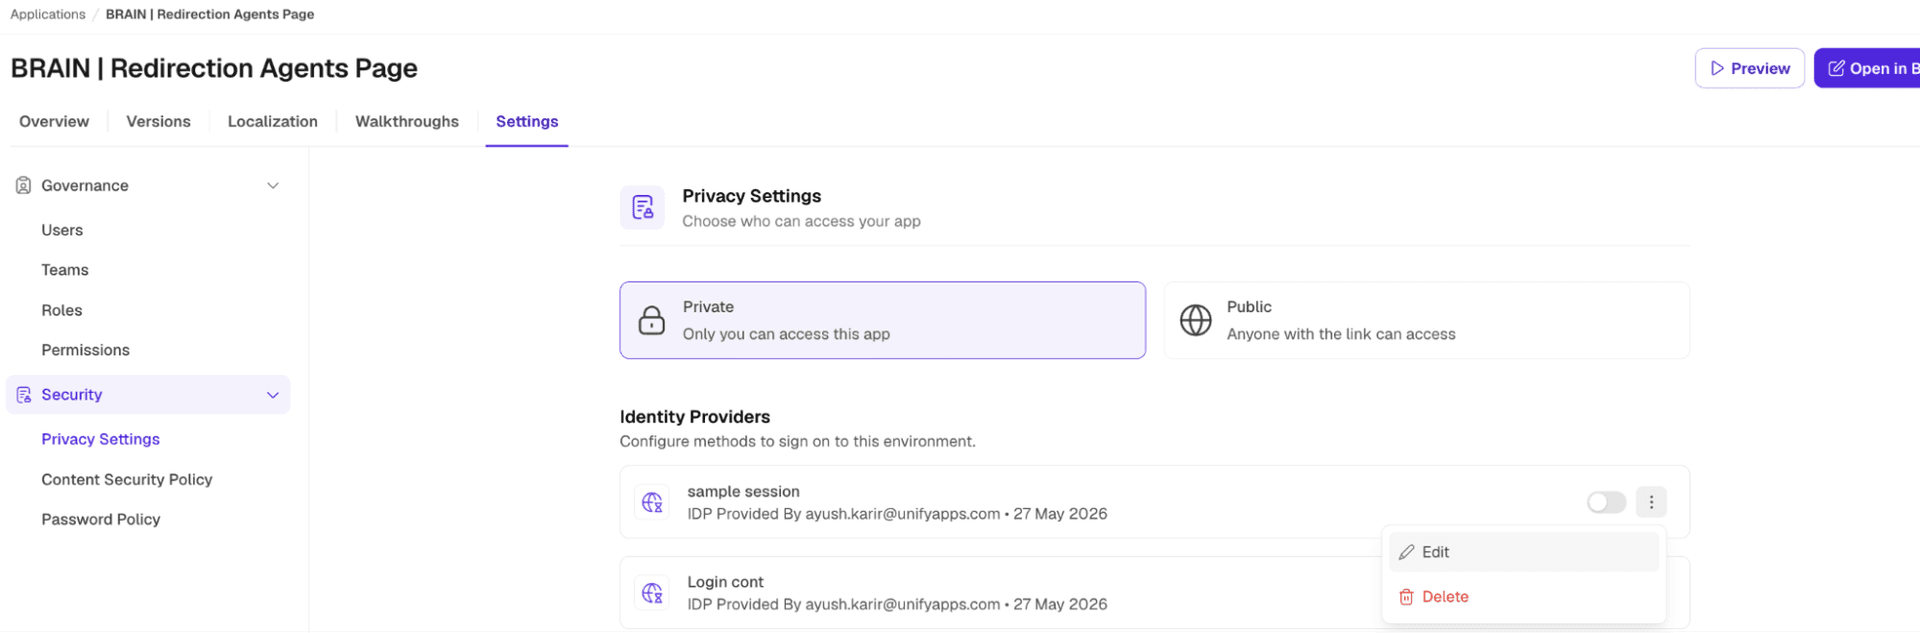
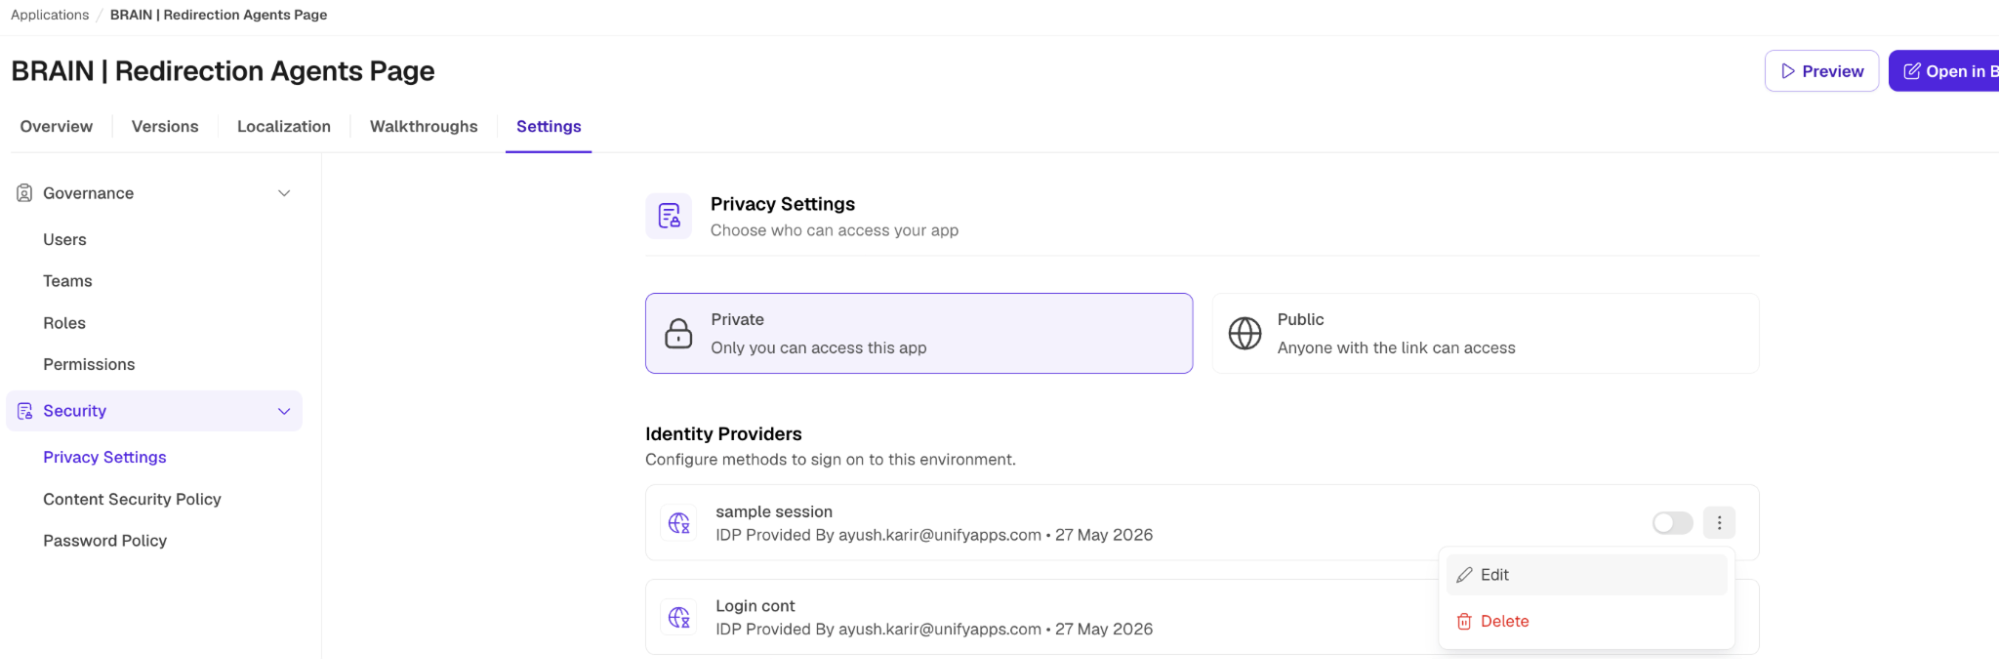
STEP 4 Collect Required Values
Copy the following values from your IDP settings:
Value | Where to find it |
Fixed Auth Token | IDP settings → Fixed Auth Token field |
IDP ID | Extracted from the URL of the IDP settings page |
Matrix App Link | IDP settings → Matrix Link for the application |
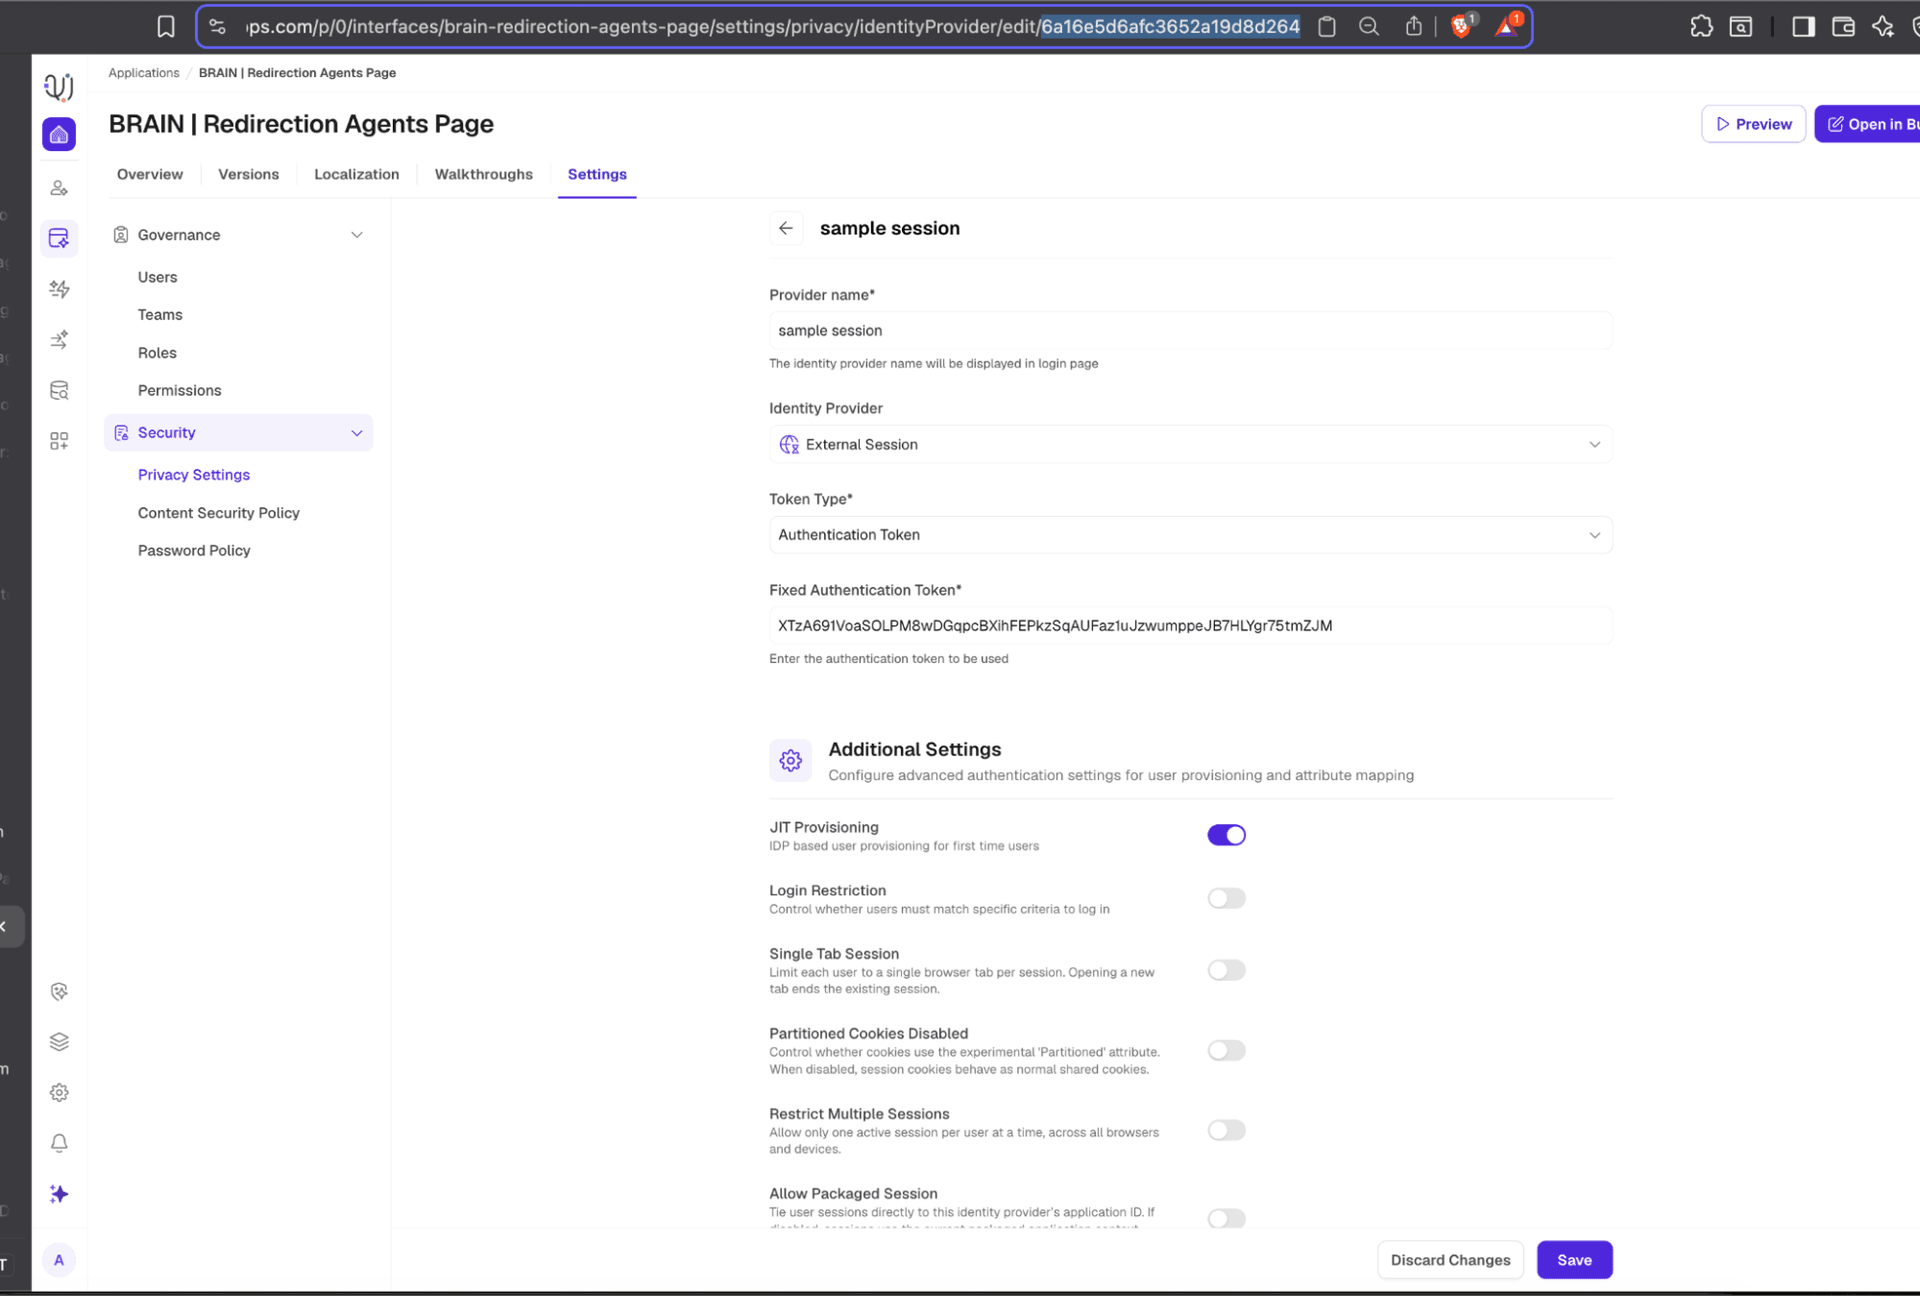
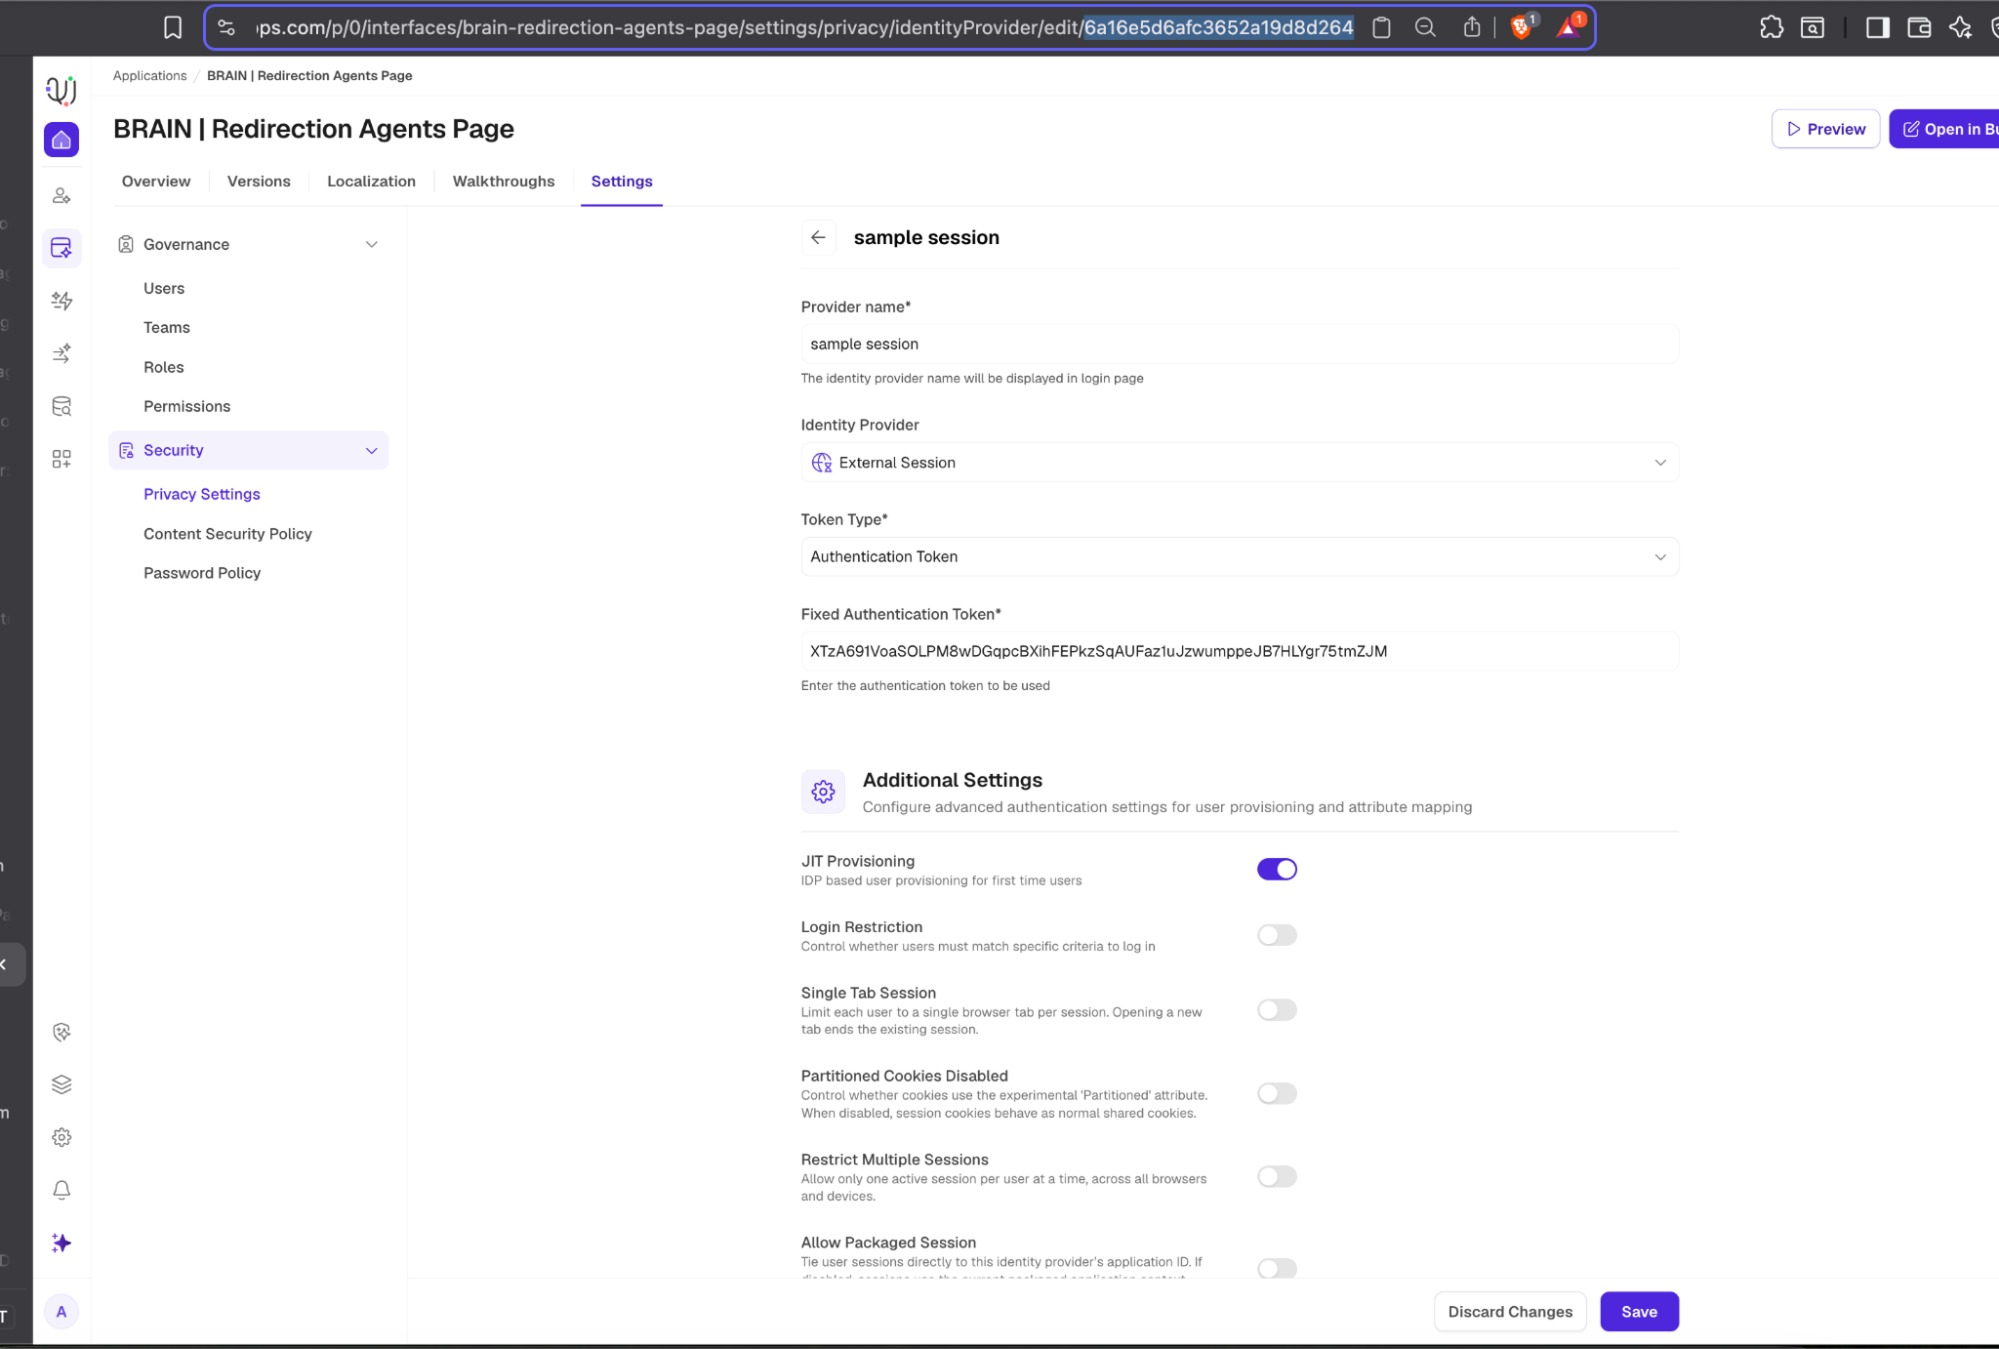
STEP 5 Build & Execute the cURL Request
Replace the placeholders in the cURL template below with your collected values, then run it in Postman or any HTTP client.
curl --location 'https://{matrix app link}/auth/createUserExternalLoginSession' \ --header 'accept: */*' \ --header 'accept-language: en-US,en;q=0.9' \ --header 'content-type: application/json' \ --header 'authorization: Bearer {Fixed auth token}' \ --header 'connection: keep-alive' \ --data-raw '{ "identityProviderId": "{IDP Id}", "formData": { "username": "sample1@mail.com", "name": "TEST1", "email": "sample1@mail.com", "customProperties": {} } }' |
Placeholder | Replace with |
{matrix app link} | Your Matrix app URL (up to /auth) |
{Fixed auth token} | Your Fixed Authentication Token |
{IDP Id} | Your Identity Provider ID |
STEP 6 Get the Redirect URL
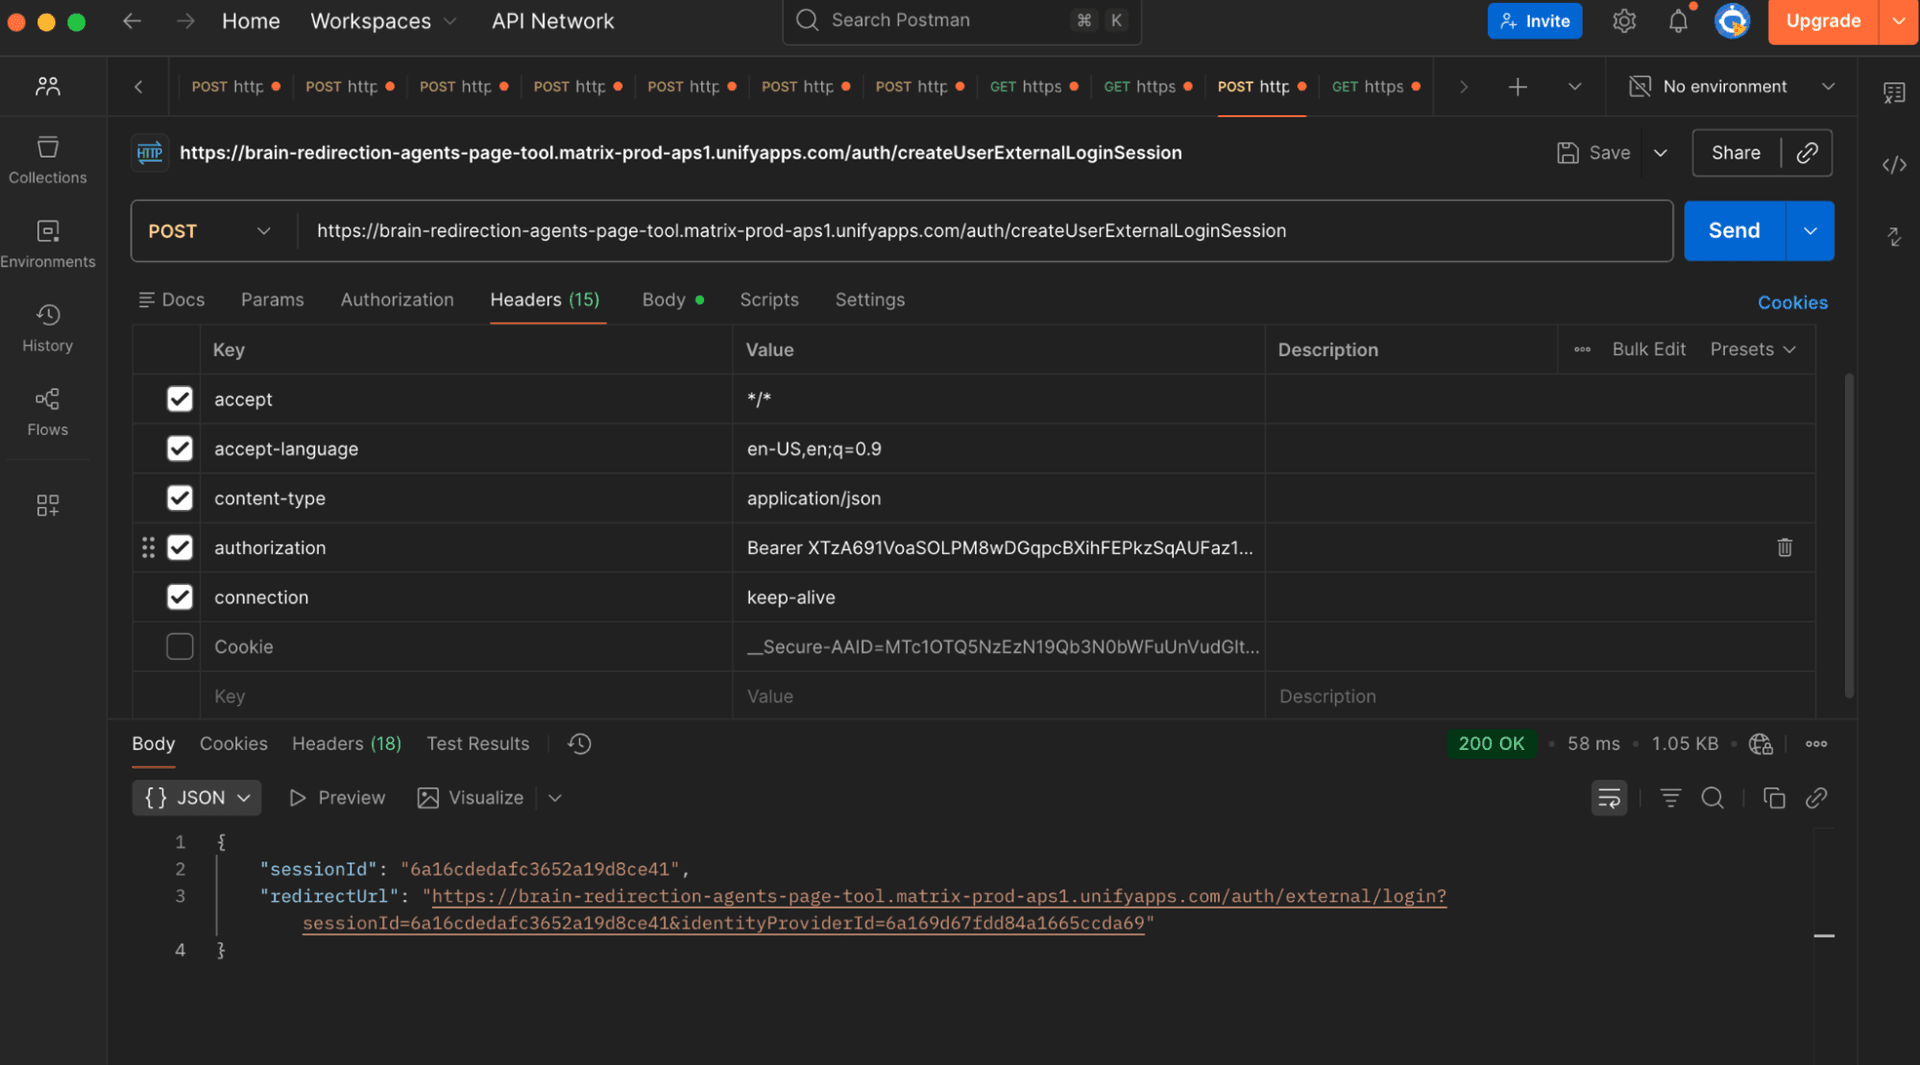
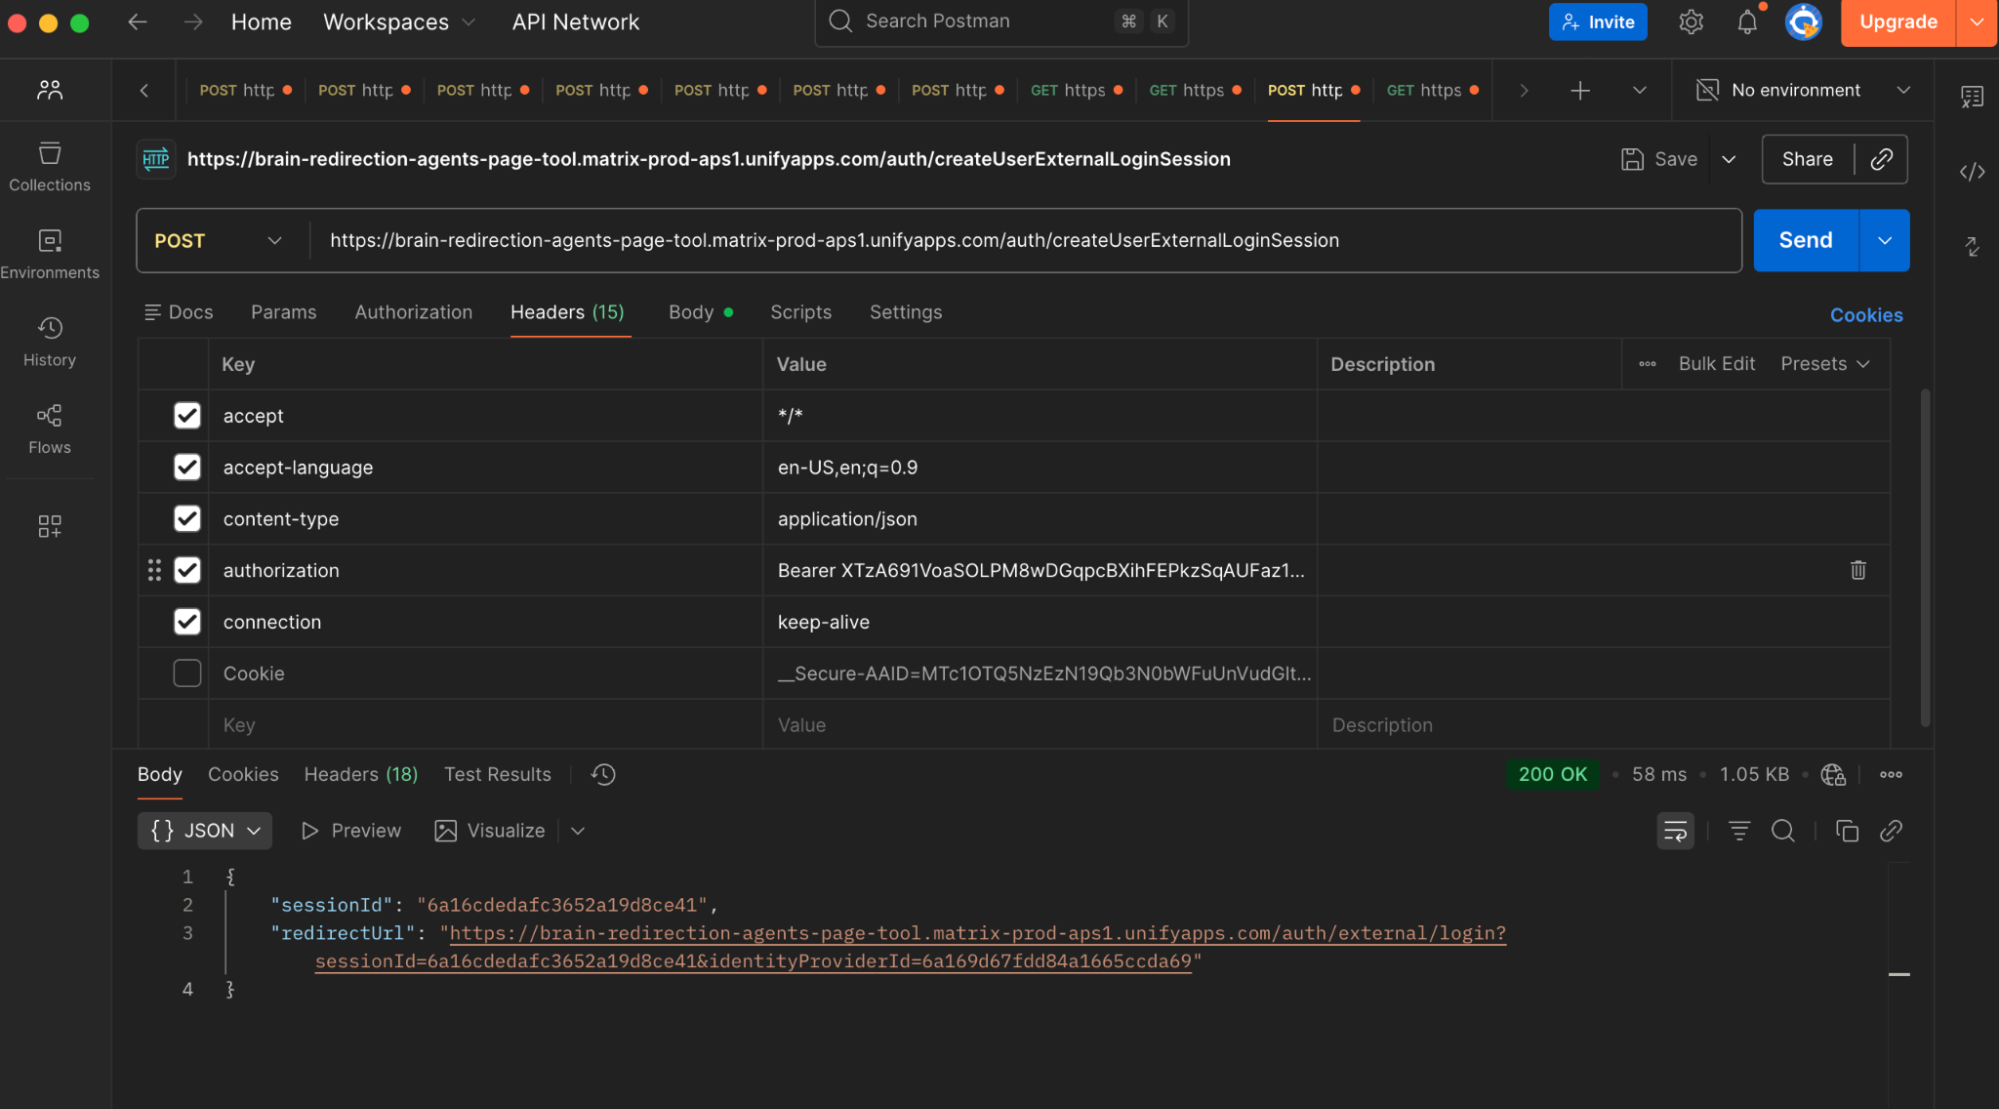
Paste the cURL into Postman and execute the request.
Copy the redirectURL from the JSON response.
STEP 7 Log In to Your Application
Paste the redirect URL into your browser.
You should now be logged in. A new user entry may appear under Settings → Users.
2. Create External Session via Automation
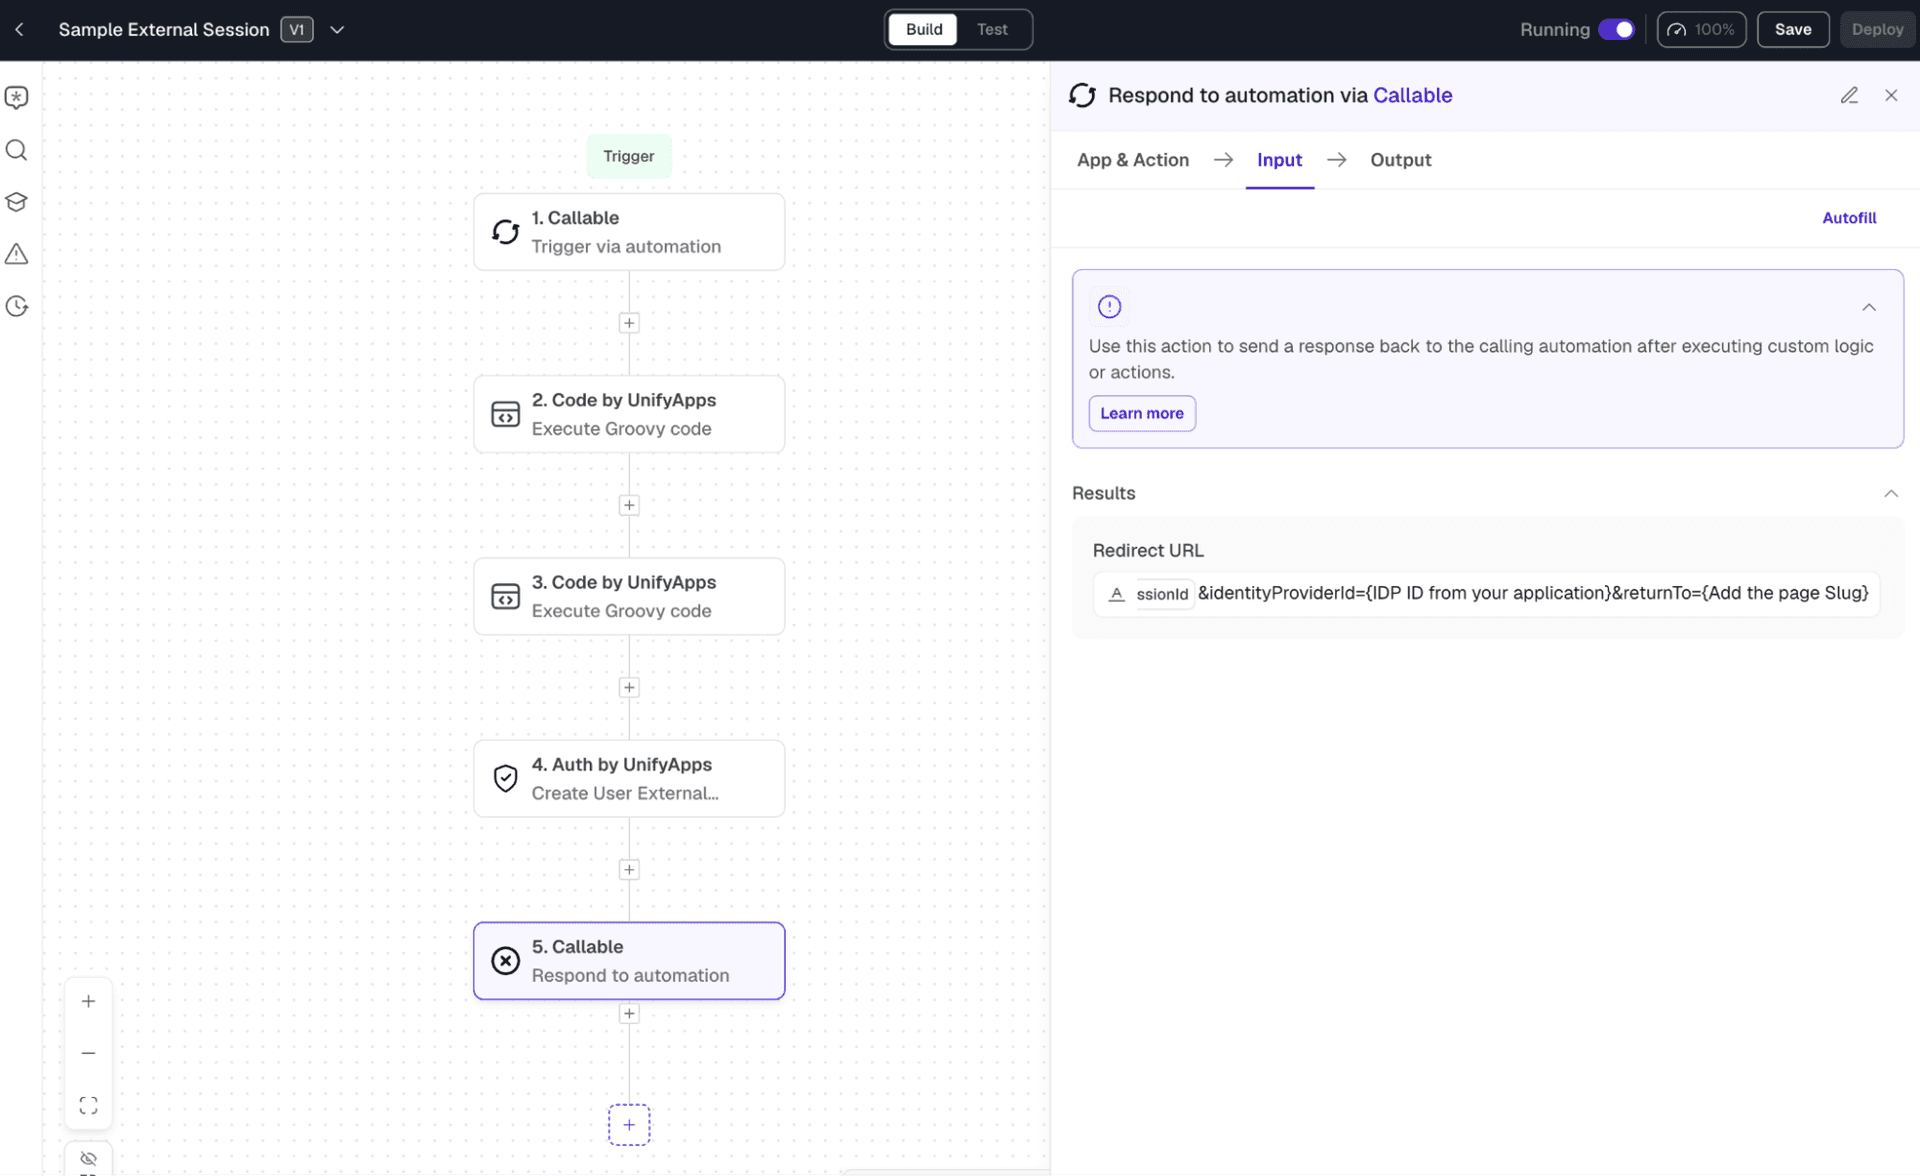
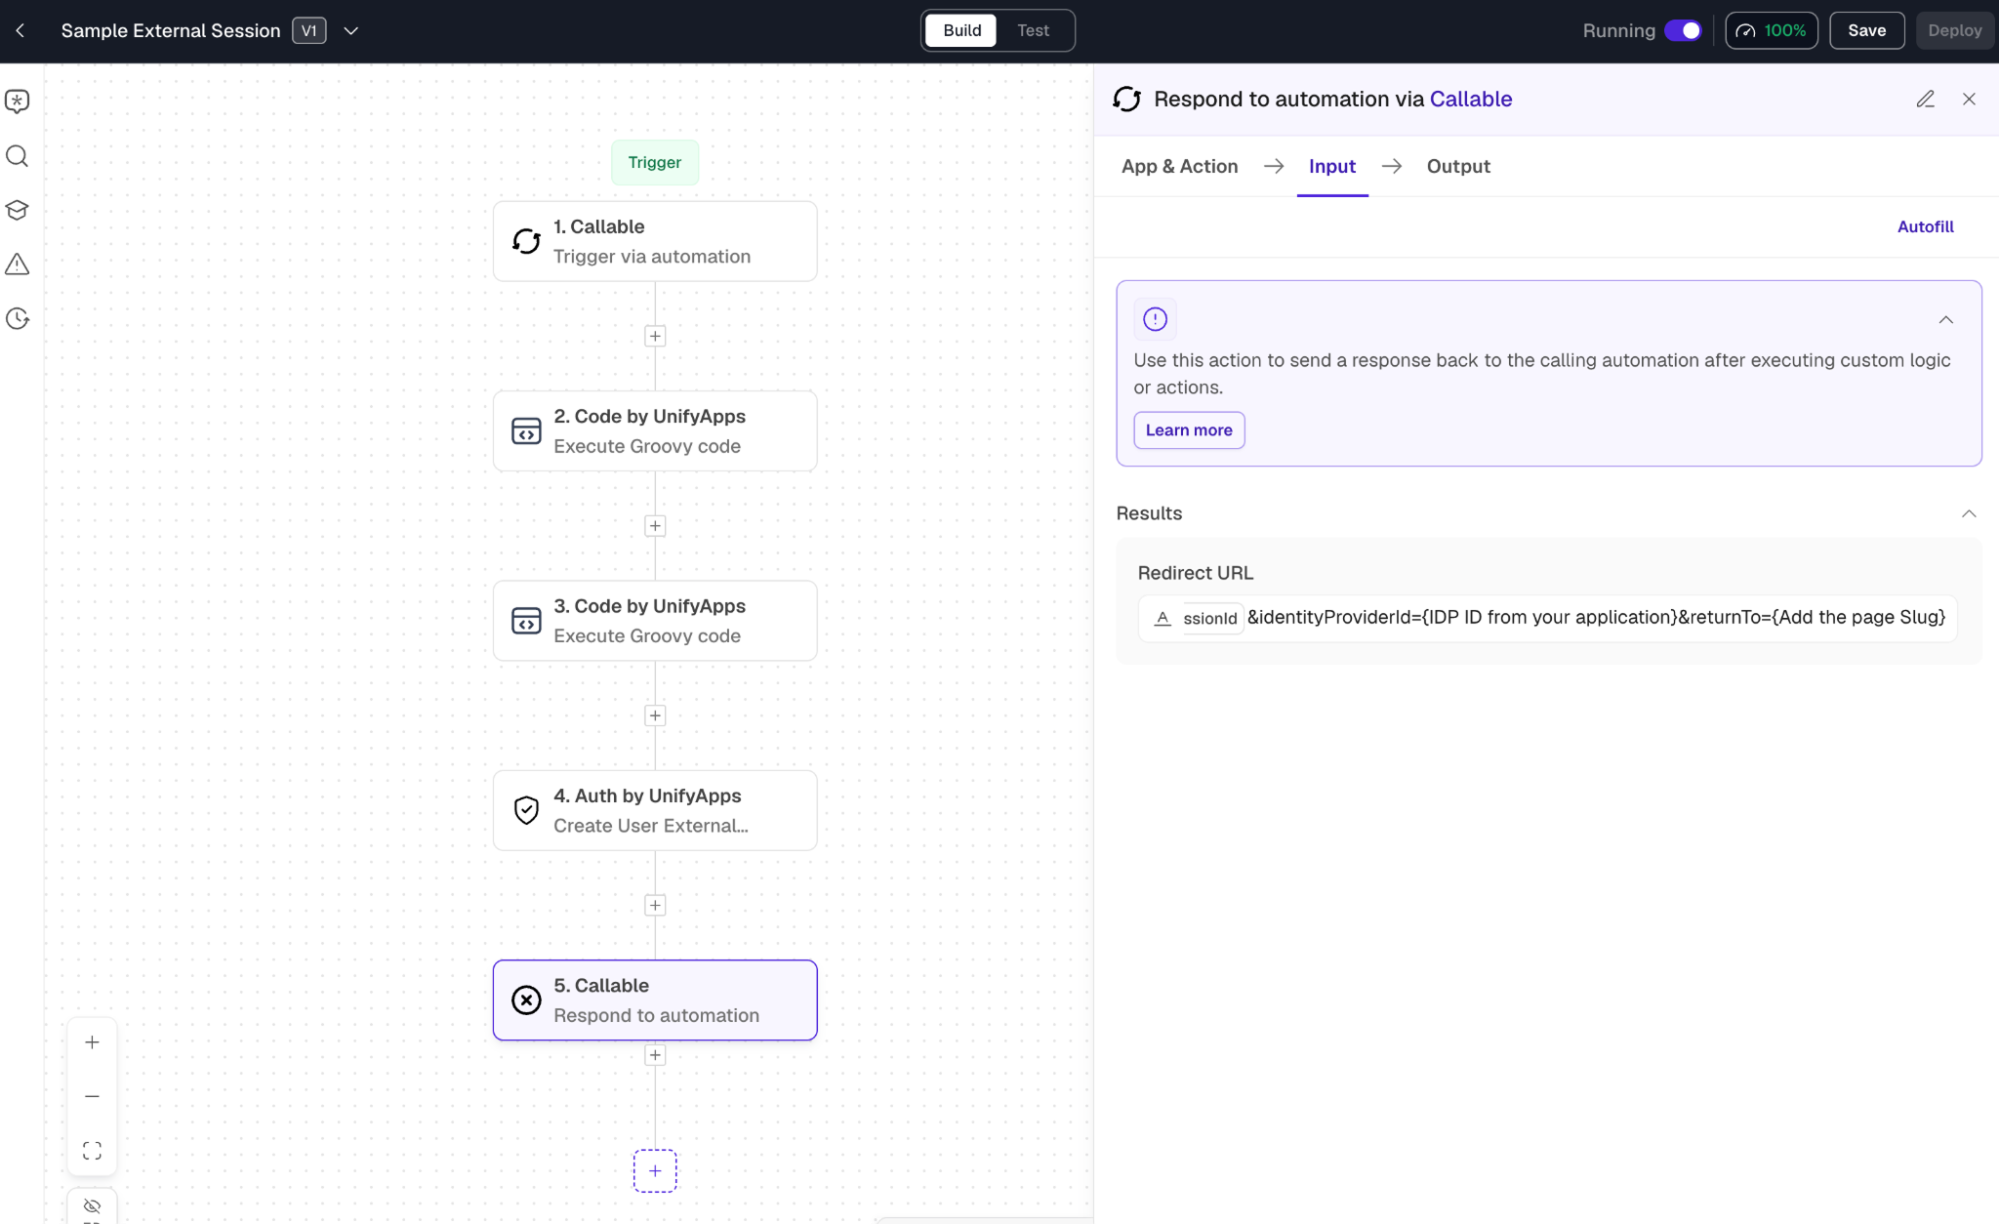
Use the sample automation to generate external sessions within UnifyApps.
STEP 1 Copy the Sample Automation
Open the sample automation from the link below and make a copy into your workspace.
https://orbit.uat.unifyapps.com/p/0/automations/6a16ef1890a87e3b8b5f00ff/builder?activeStep=n_dmZz0
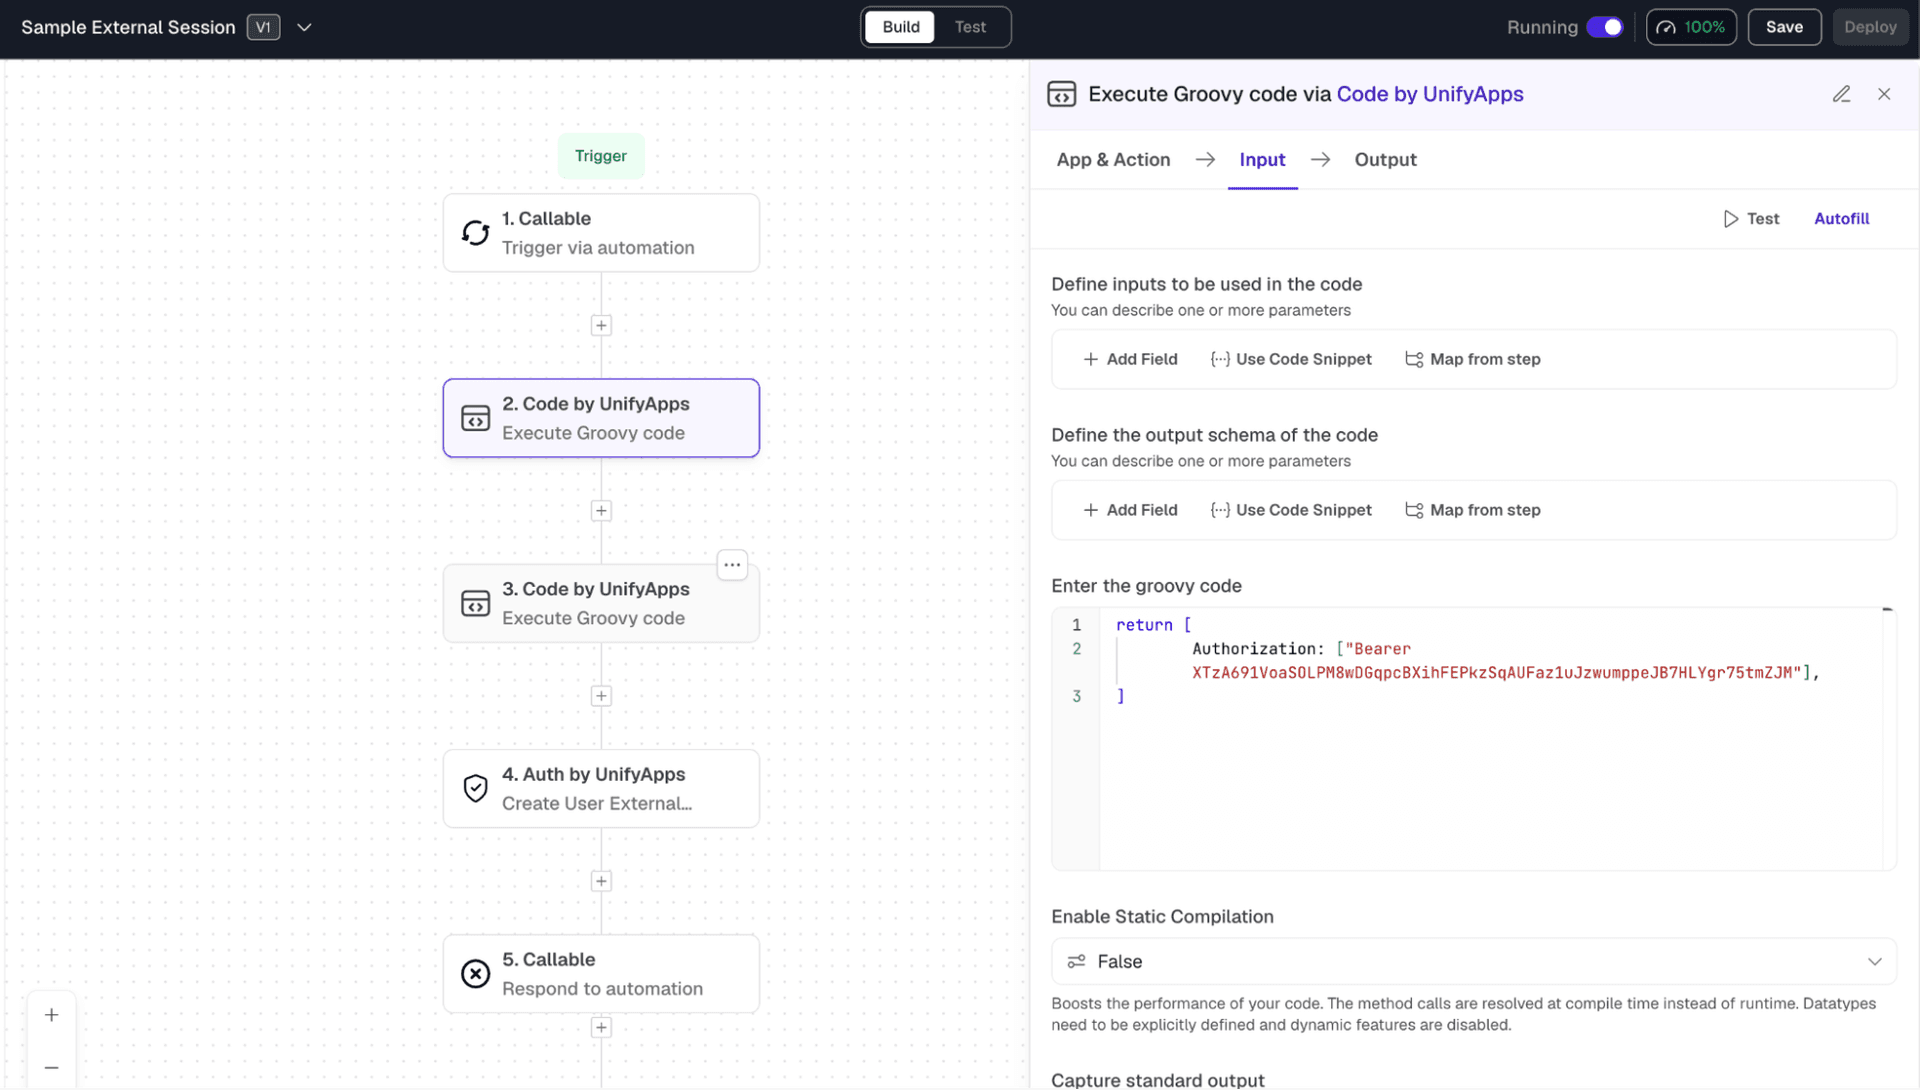
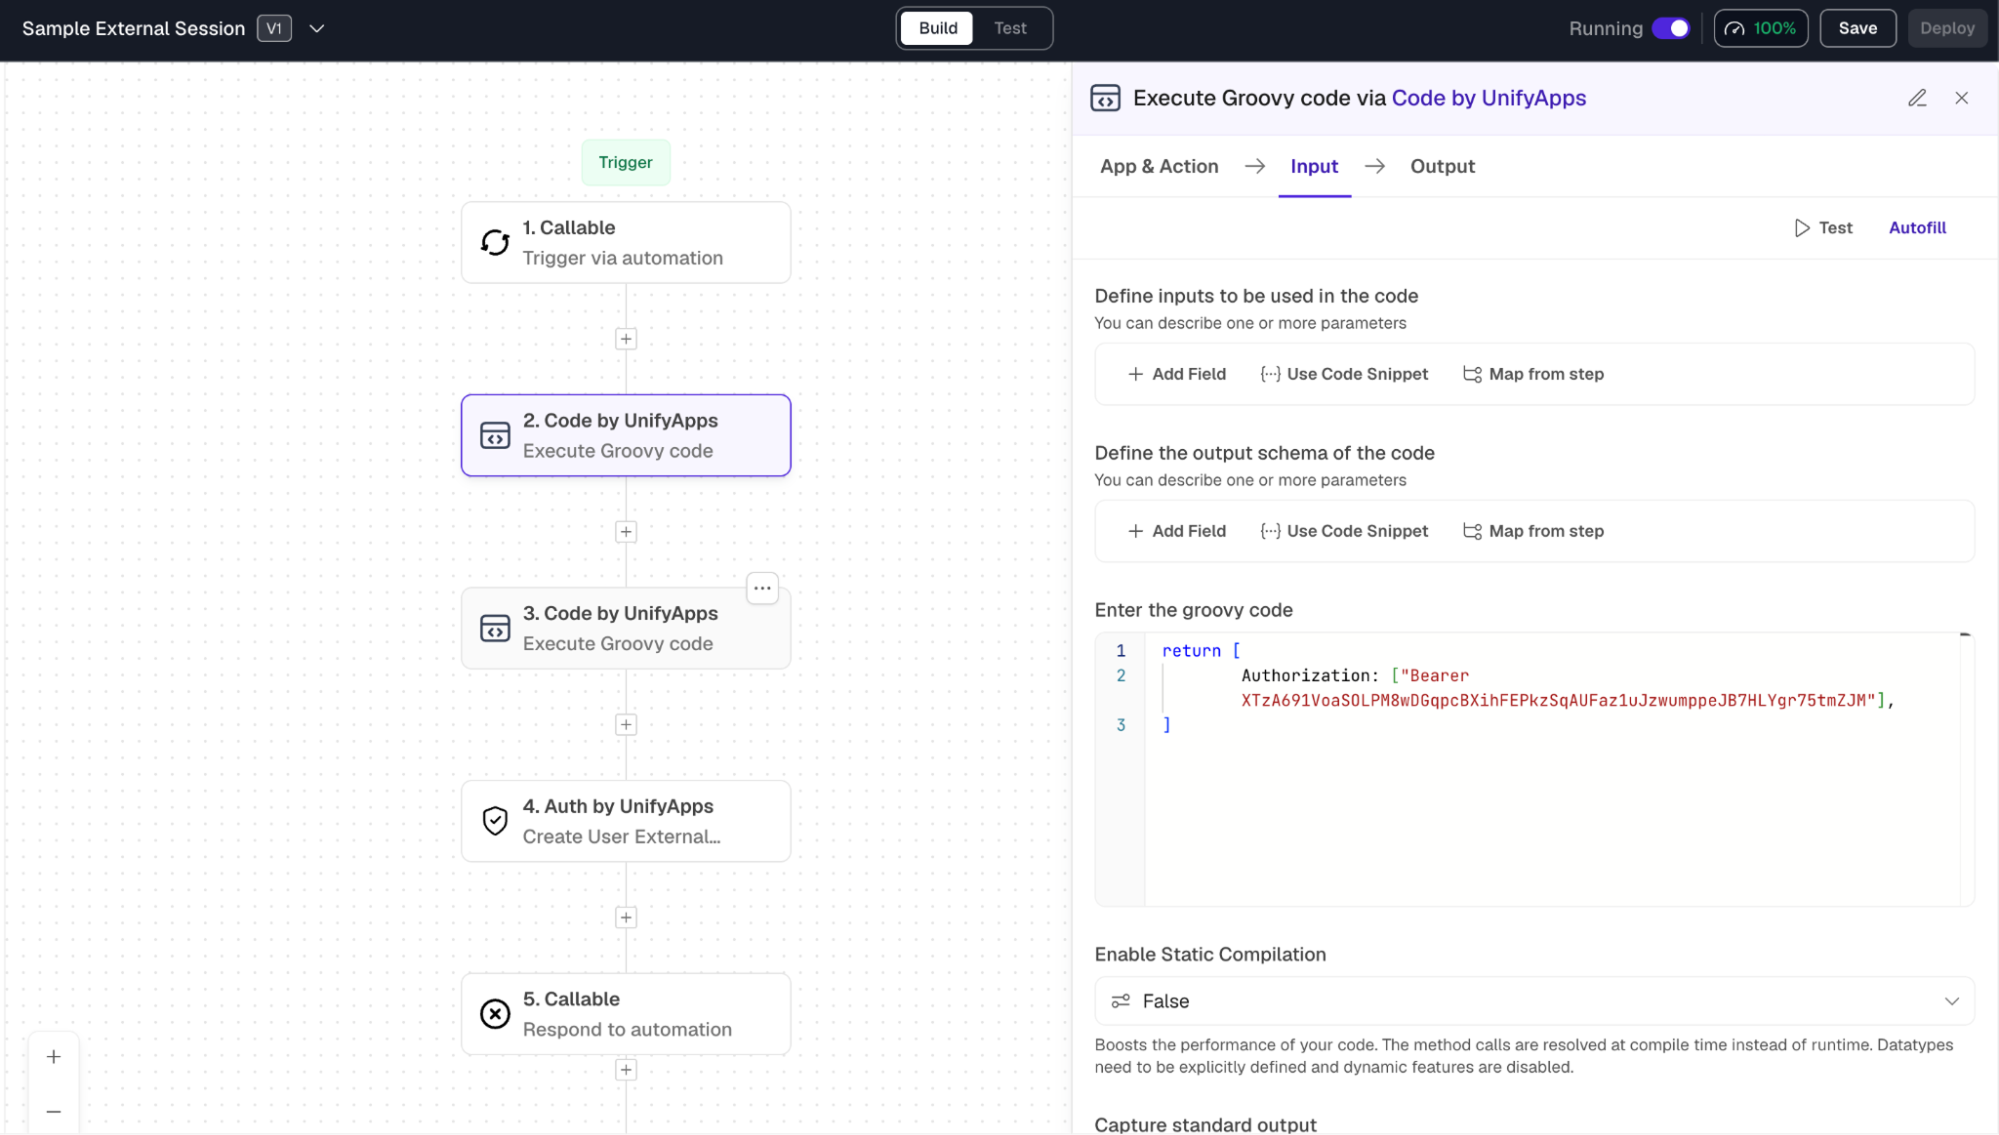
STEP 2 Update the Auth Token
In the automation, locate the auth token field and replace it with the Fixed Auth Token you used for your IDP.
STEP 3 Configure the Automation Logic
Adjust the automation steps to match your use case and user creation logic.
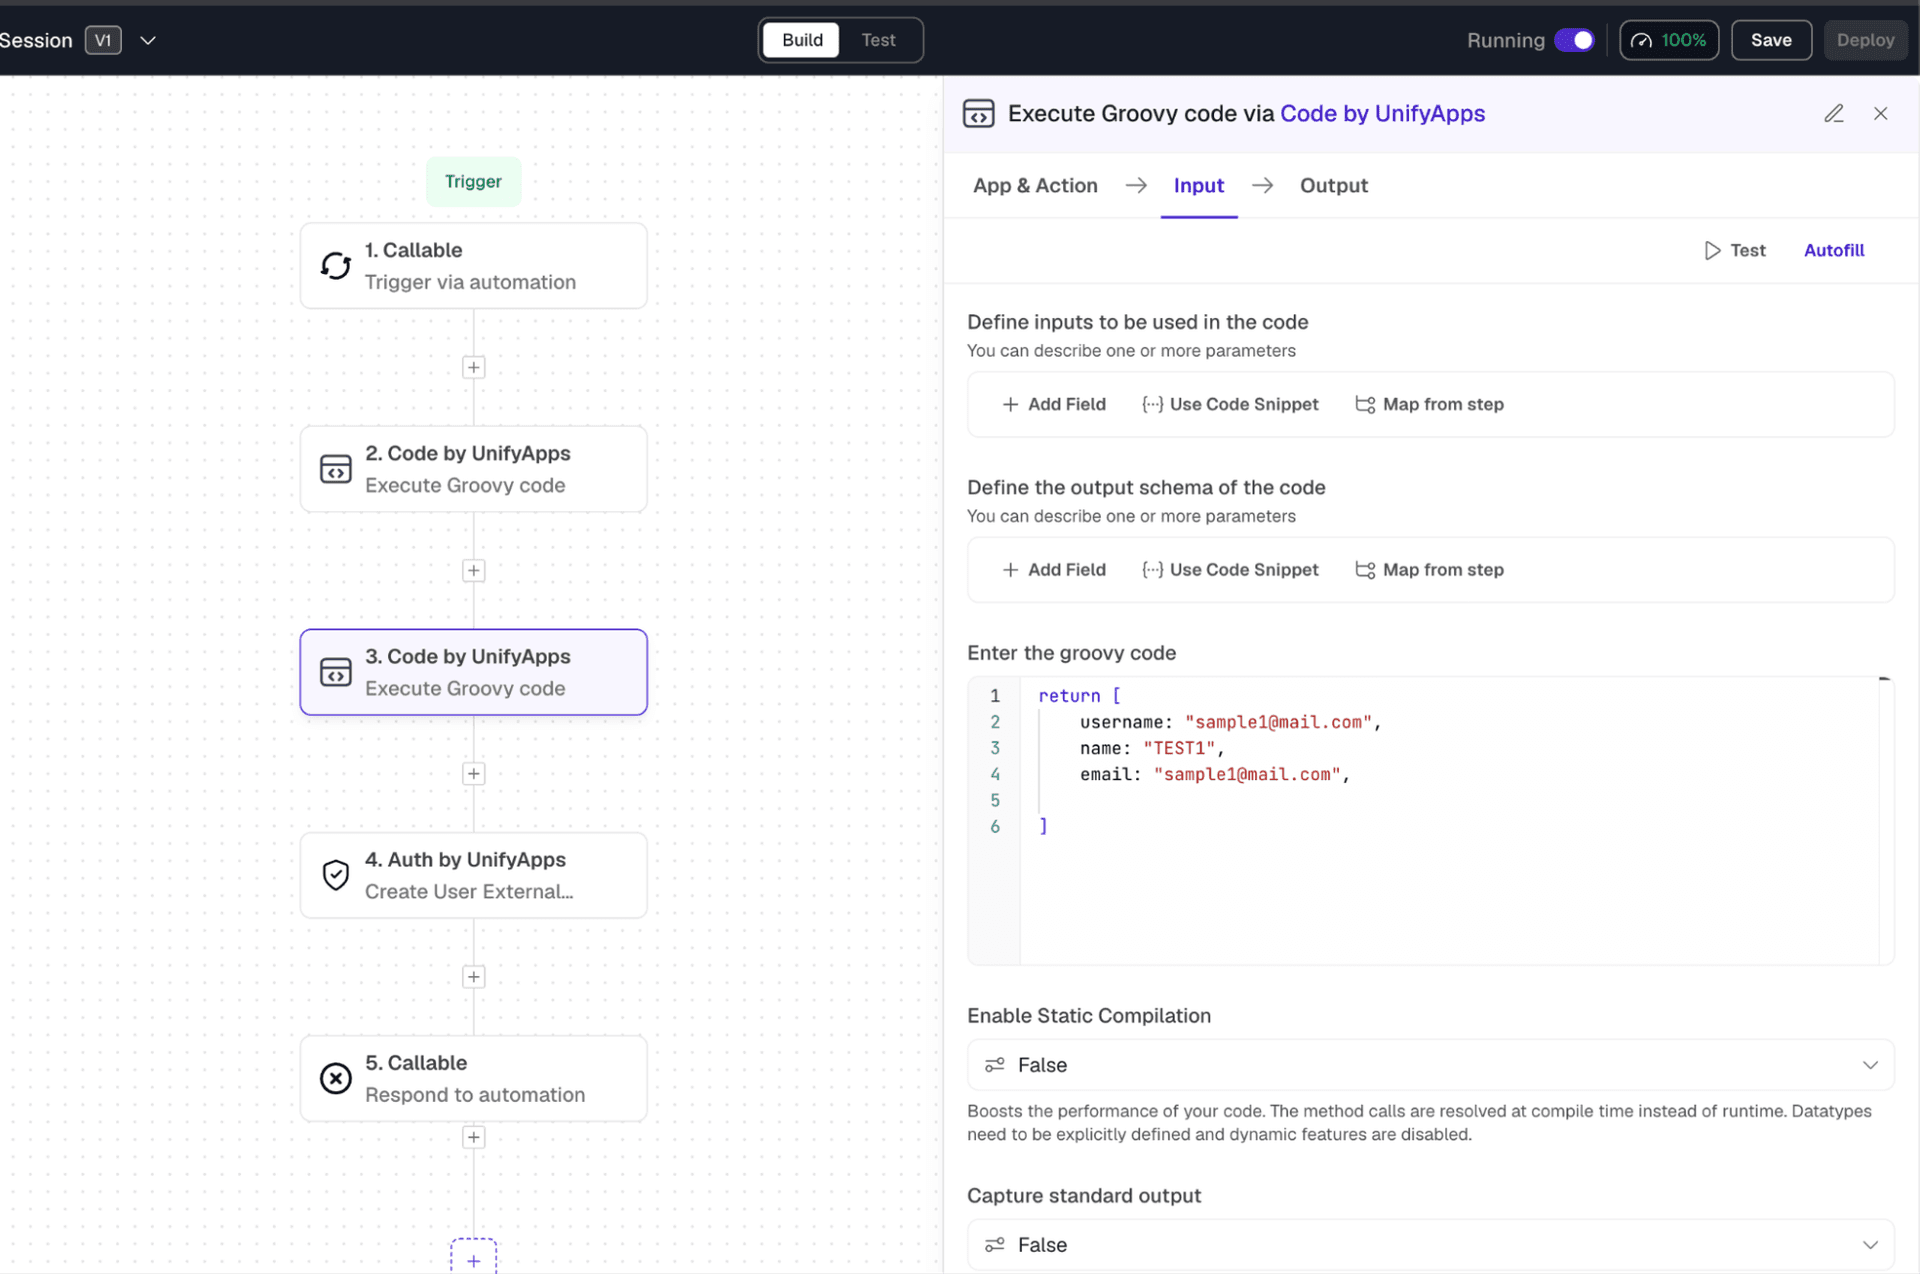
💡 Sample Working URL: Click Here
💡 Note: Only include the returnTo parameter if you want to redirect users to a specific page after login. If you want the default homepage, remove the returnTo field entirely.