

1. Configure Identity Provider in UnifyApps
Follow the steps below to establish a Single Sign-On (SSO) connection using OpenID between UnifyApps and Google Cloud Platform
STEP 1 · Open Identity Provider Settings
Navigate to your specific environment in UnifyApps and go to: Platform Tools → Security → Identity Providers.
STEP 2 · Select OpenID & Copy Callback URL
Select OpenID from the Identity Provider dropdown menu. Locate the Callback URL generated and copy it to your clipboard.
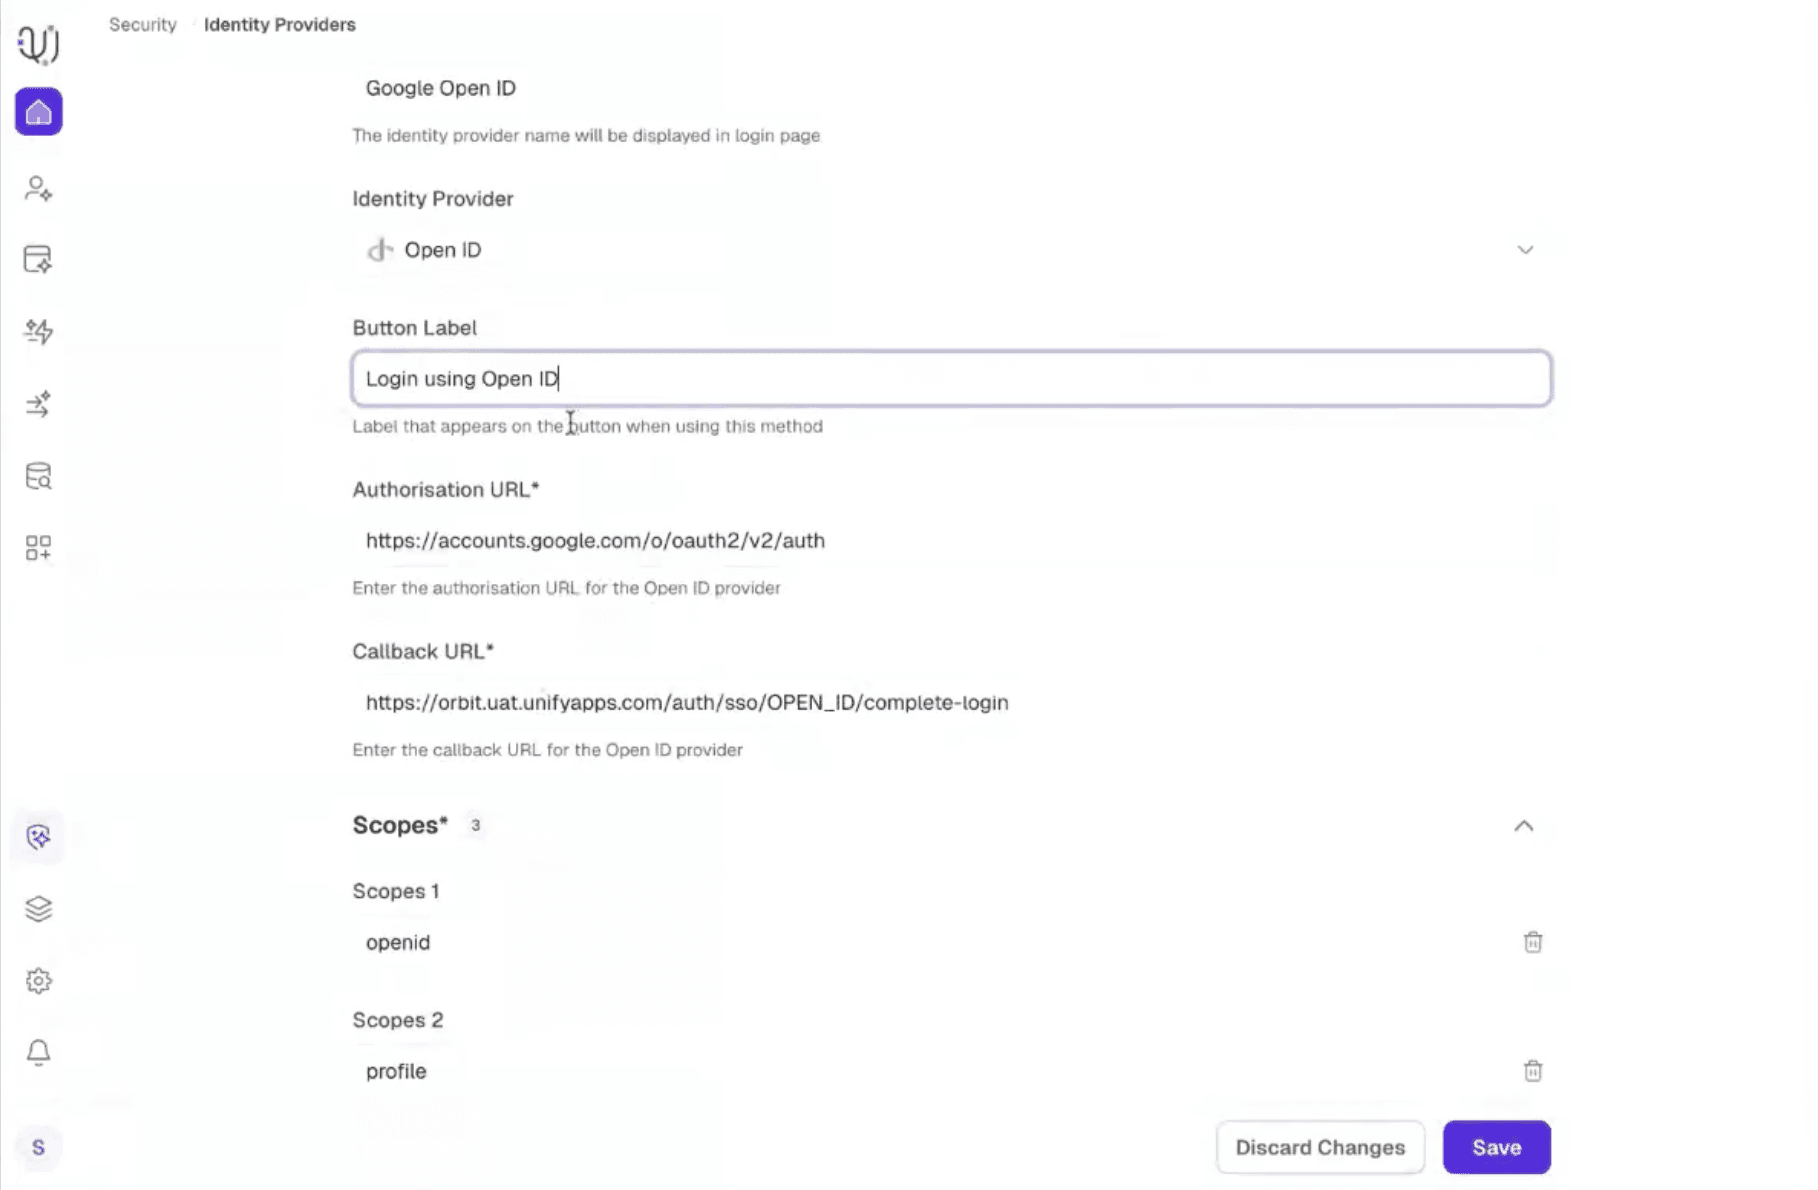
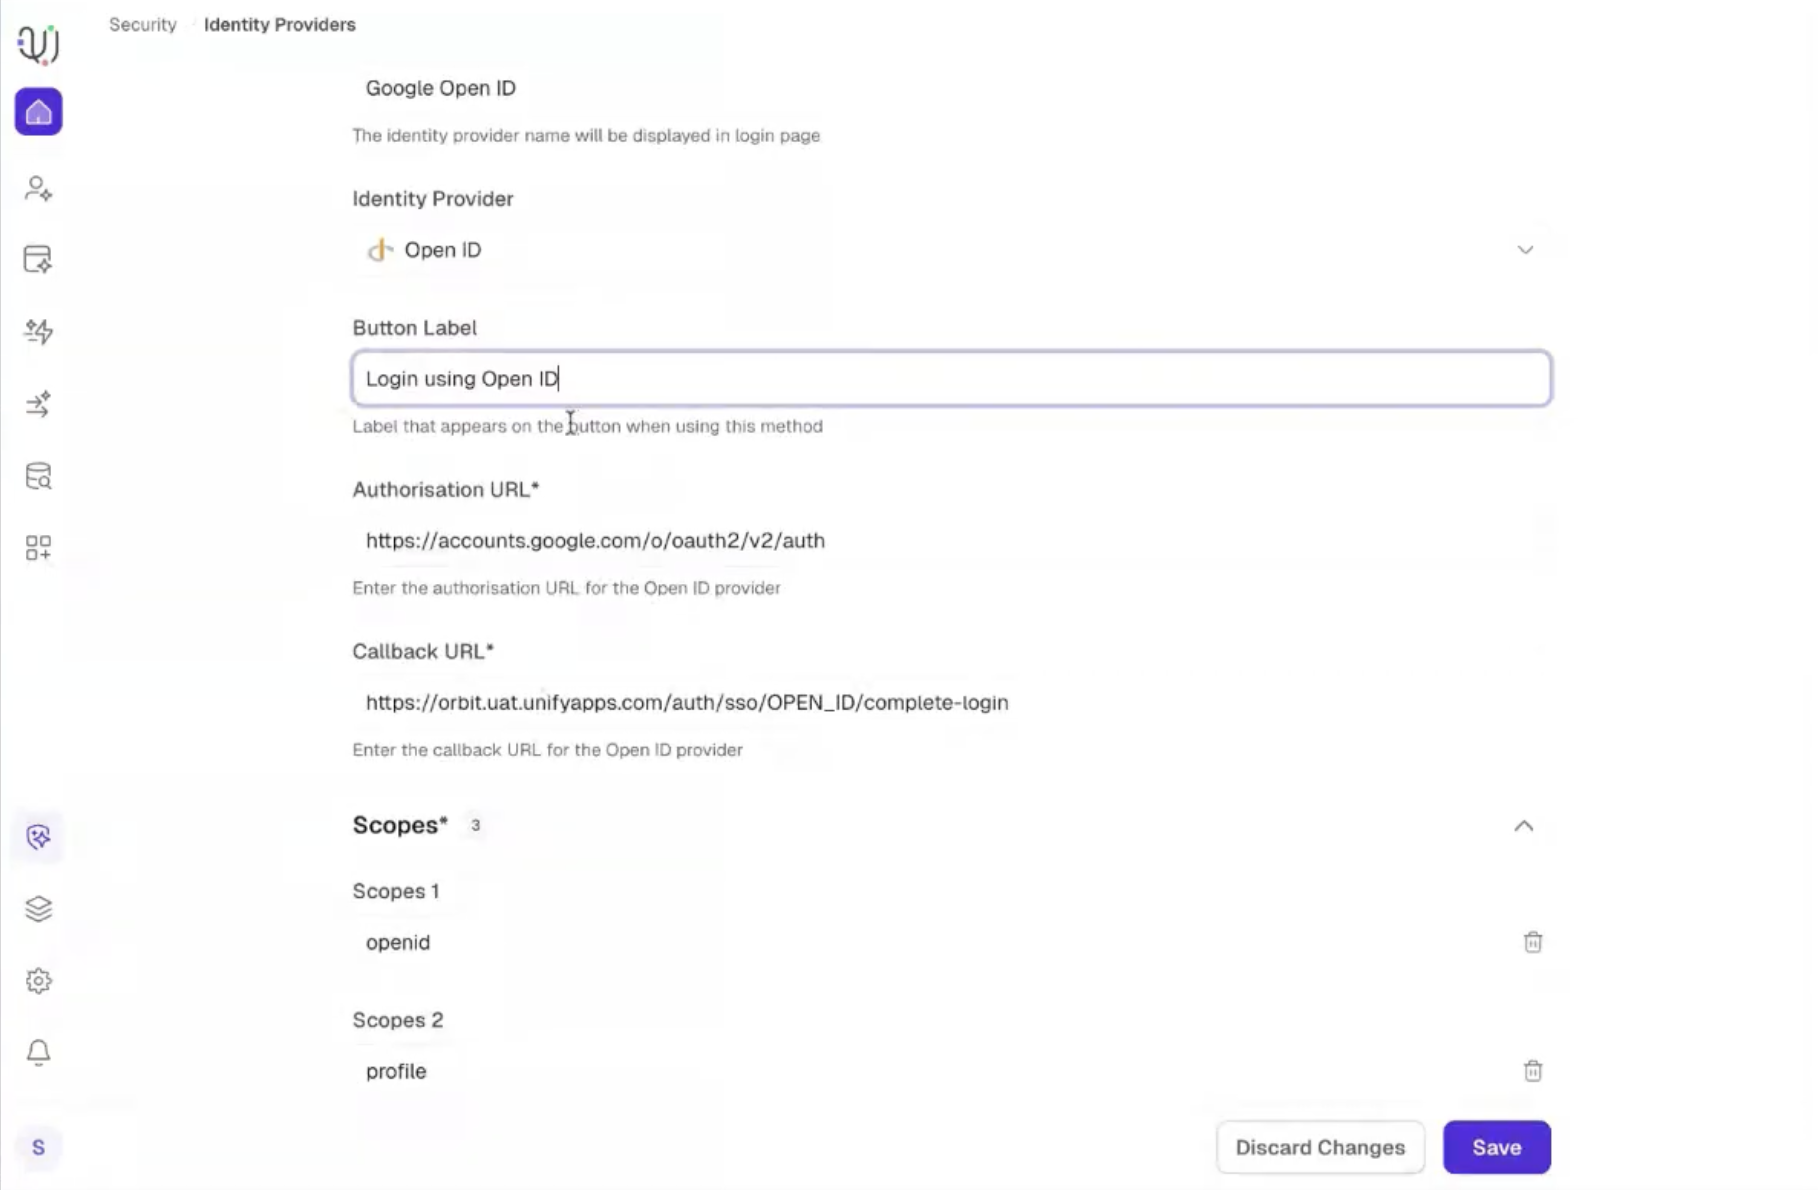
STEP 3 · Configure the Scope and Attribute Mapping
Add the required authentication scopes to specify the level of data access granted to UnifyApps. Next, fill out the Default Attribute Mapping to properly pair Azure user claims with UnifyApps user profiles.
Scopes -
Scopes | Select |
Scope 1 | openid |
Scope 2 | profile |
Scope 3 |
Default Attribute Mapping -
Field | Value |
Username JSON Path | |
Email JSON Path |
2. Generate Credentials in Google Cloud
STEP 4 · Navigate to APIs & Services
Log into the Google Cloud Console, select your organization's project, and navigate to the navigation menu: APIs & Services → Credentials.
STEP 5 · Create OAuth 2.0 Credentials
If you haven't already configured your OAuth consent screen, complete that step first. Then, click Create Credentials at the top of the page and select OAuth client ID. Set the Application type to Web application.
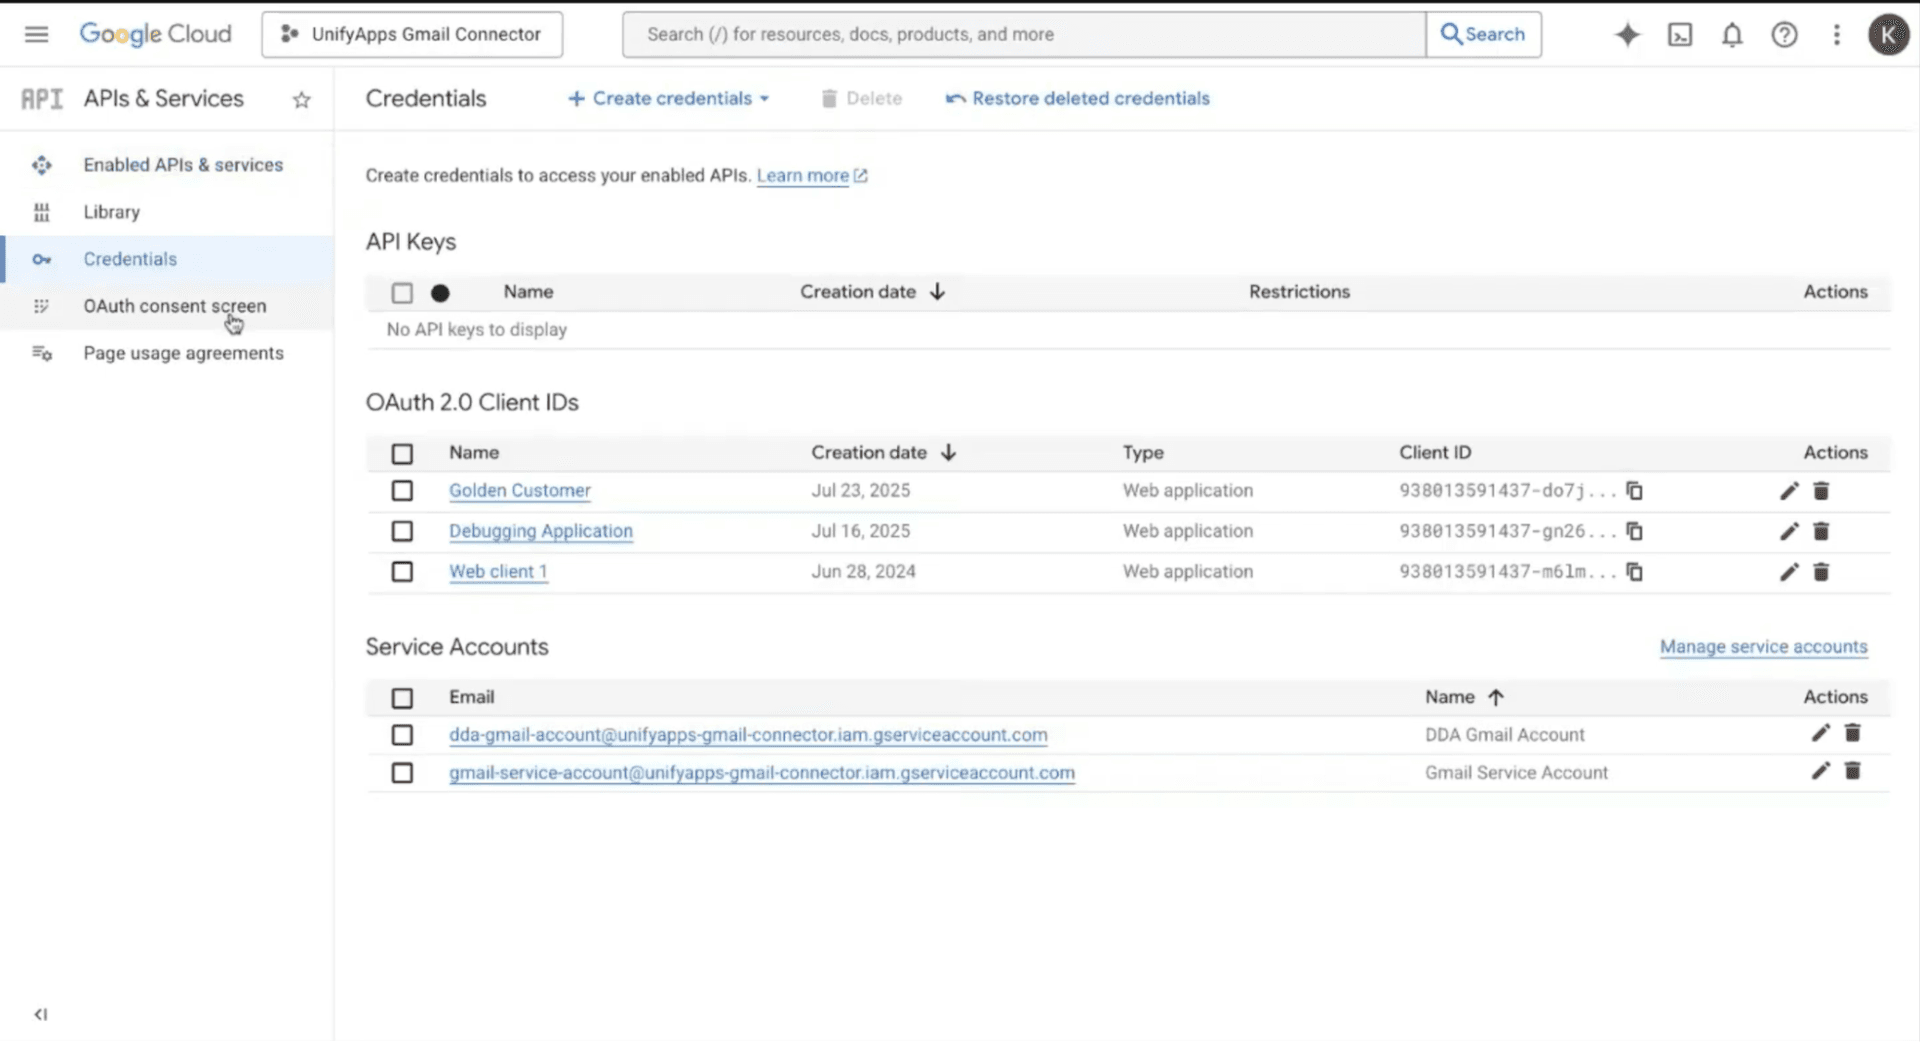
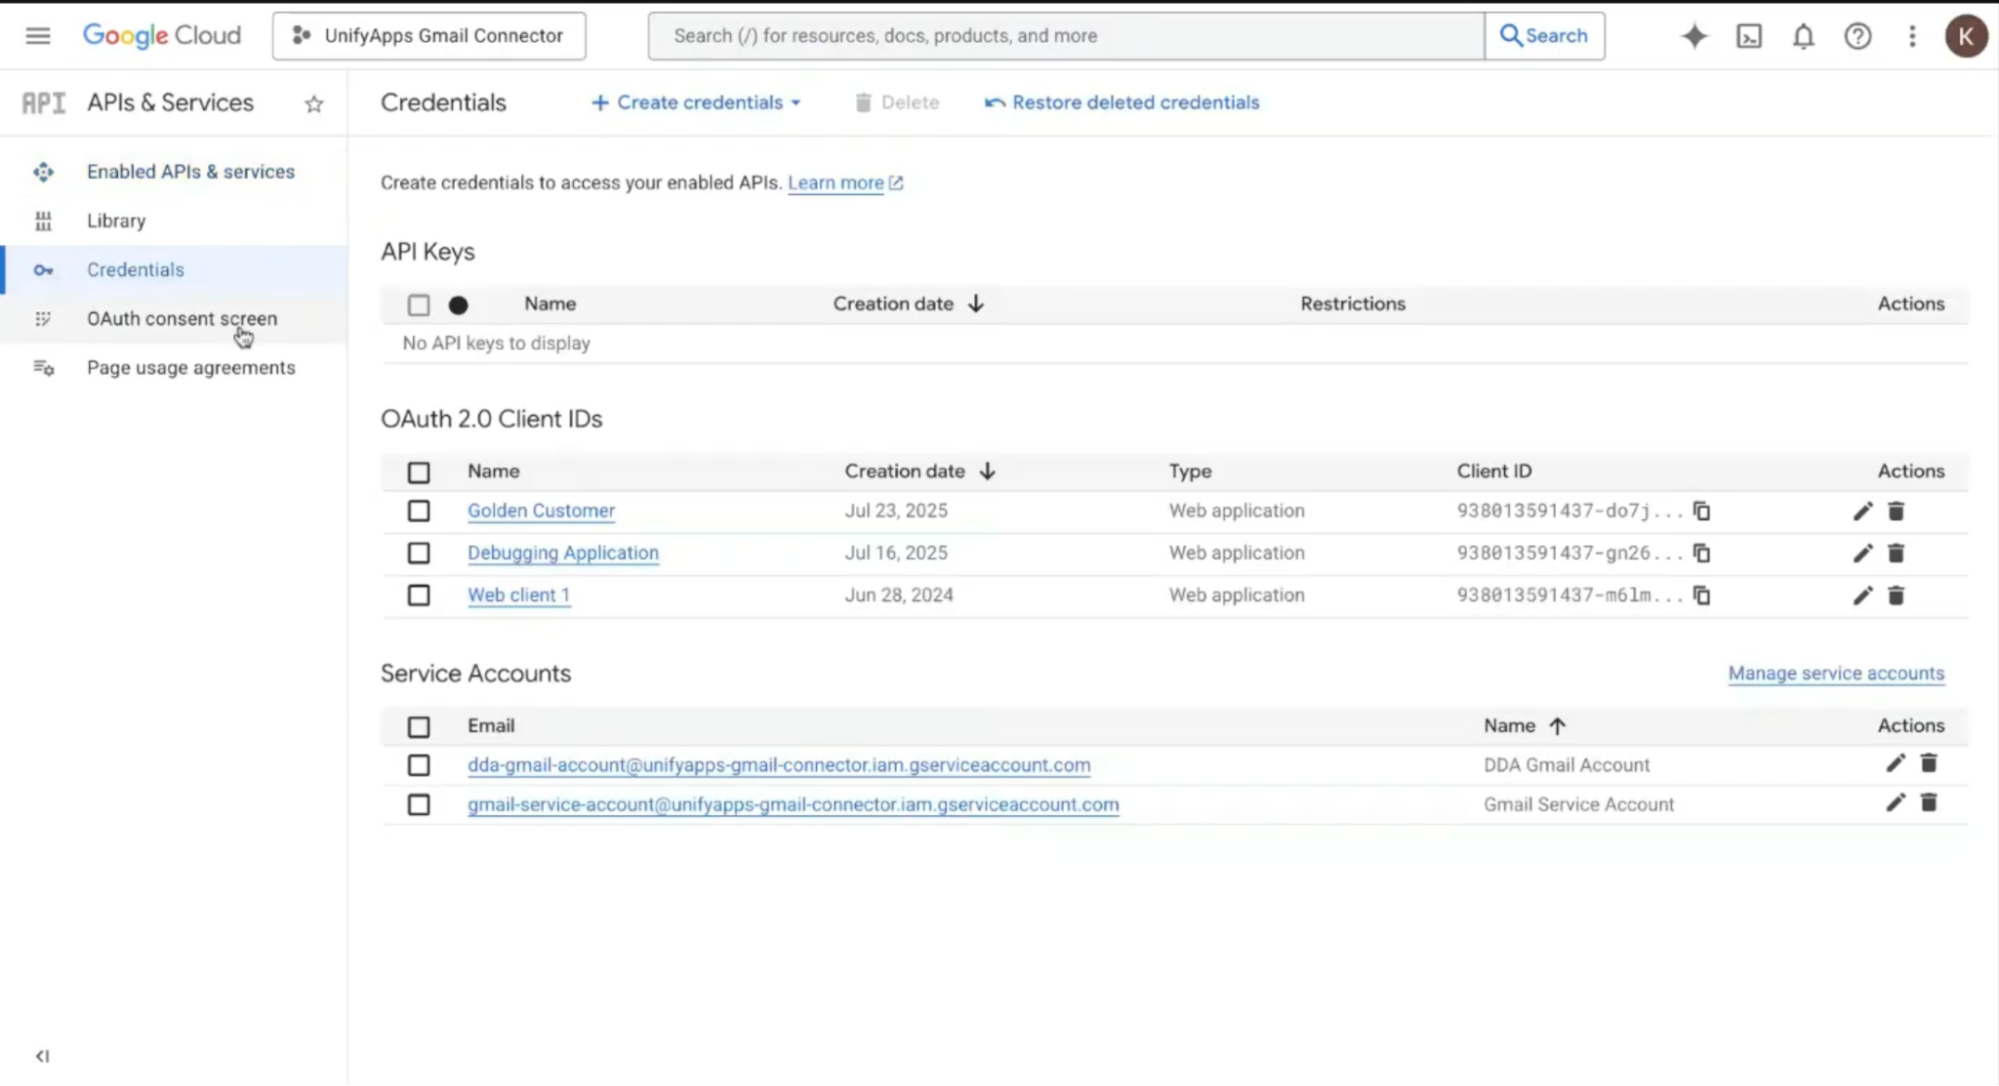
STEP 6 · Configure Authorized Redirect URIs
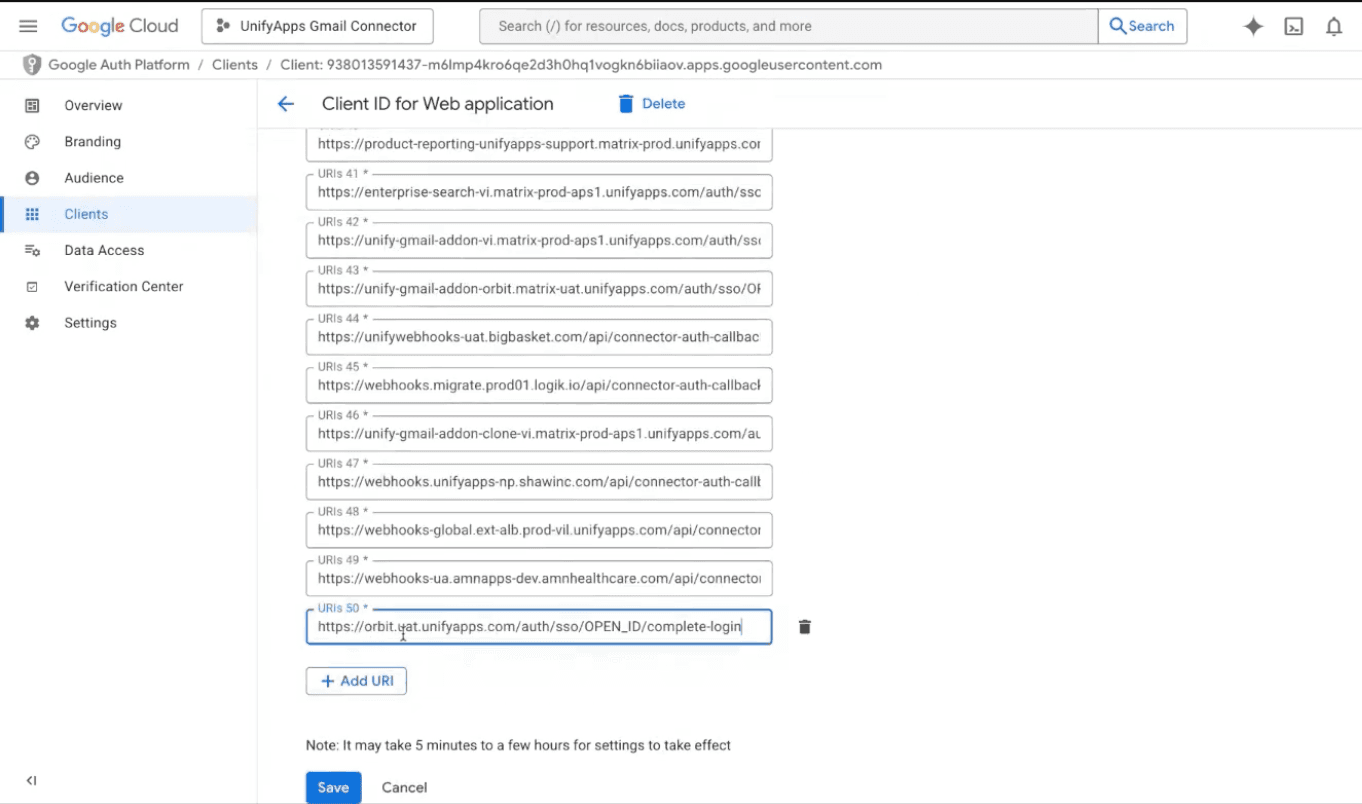
Scroll down to the Authorized redirect URIs section. Click Add URI and paste the Callback URL. Click Save.
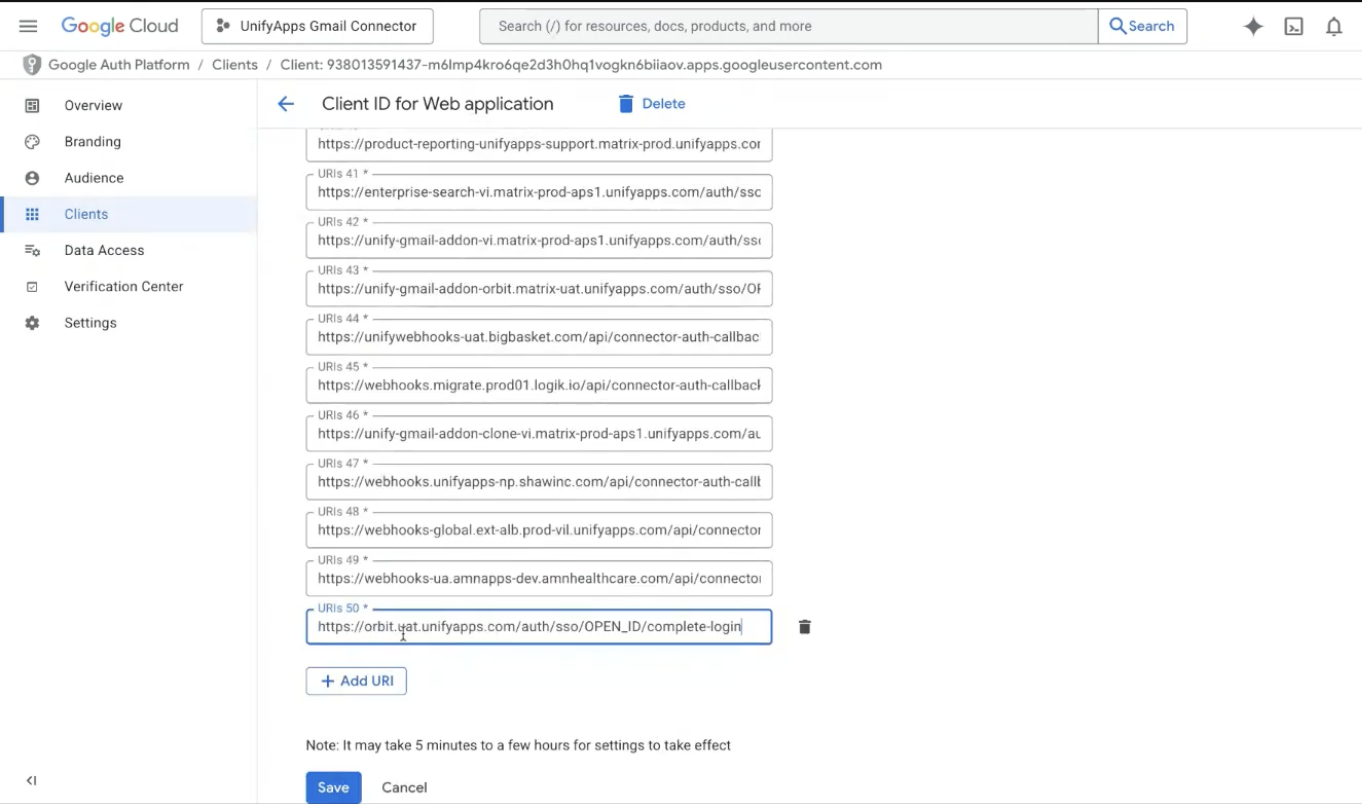
Sample Redirect URL : https://orbit.uat.unifyapps.com/auth/sso/OPEN_ID/complete-login
3. Complete Setup in UnifyApps
STEP 7 · Link Credentials to UnifyApps
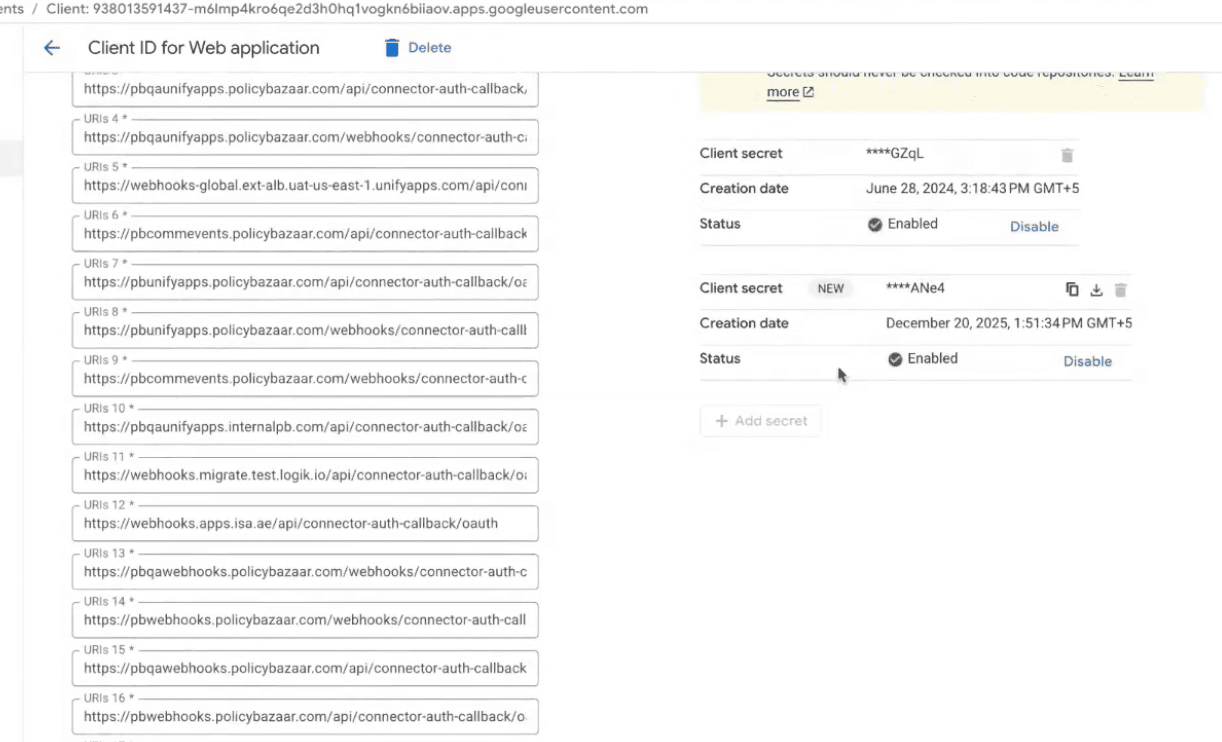
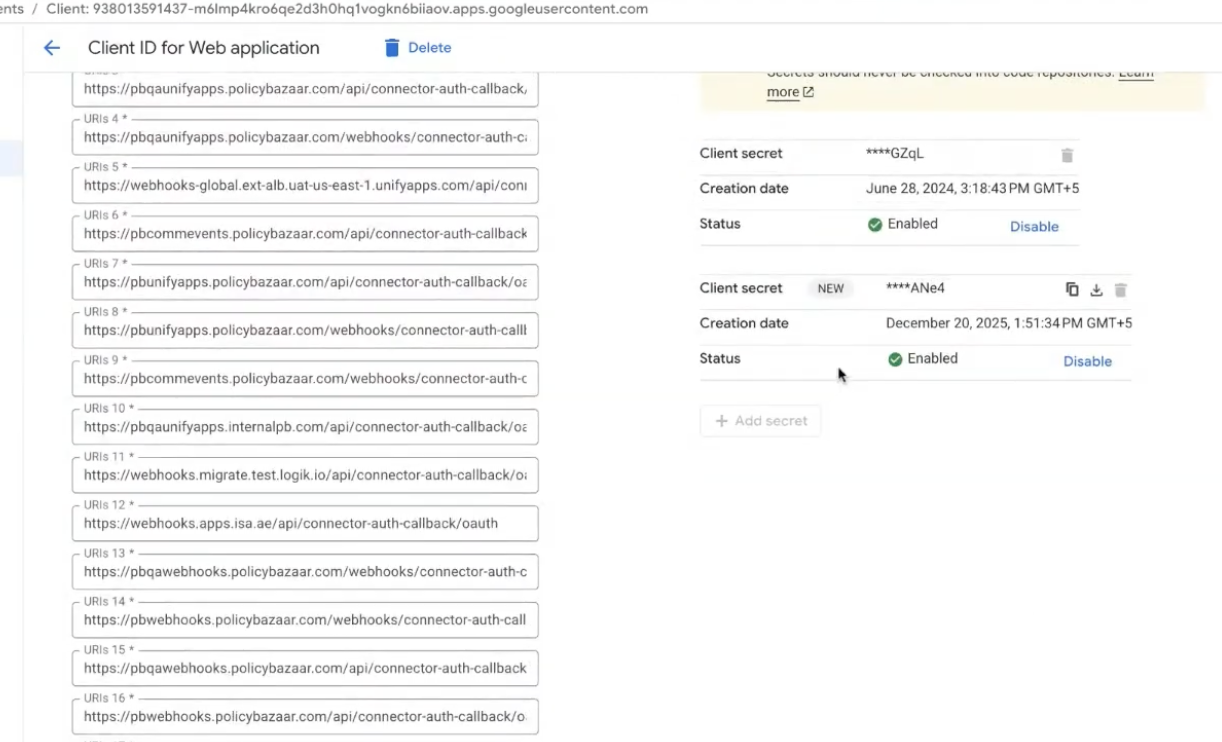
A dialog box will appear in Google Cloud displaying your newly created Client ID and Client Secret. Copy the Client Secret value.
STEP 8 · Save and Finalize
Return to your open UnifyApps Identity Provider setup page. Paste the copied value directly into the Client Secret Key field, fill out any remaining standard Google OpenID endpoints, and save your configurations.