Okta OpenID SSO Configuration Guide
UnifyApps · Identity Provider Configuration & Automation
1. Configure Identity Provider in UnifyApps
Follow the steps below to establish a Single Sign-On (SSO) connection using OpenID between UnifyApps and Okta Console Platform.
STEP 1 · Open Identity Provider Settings
Navigate to your specific environment in UnifyApps and go to: Platform Tools → Security → Identity Providers.
STEP 2 · Select OpenID & Copy Callback URL
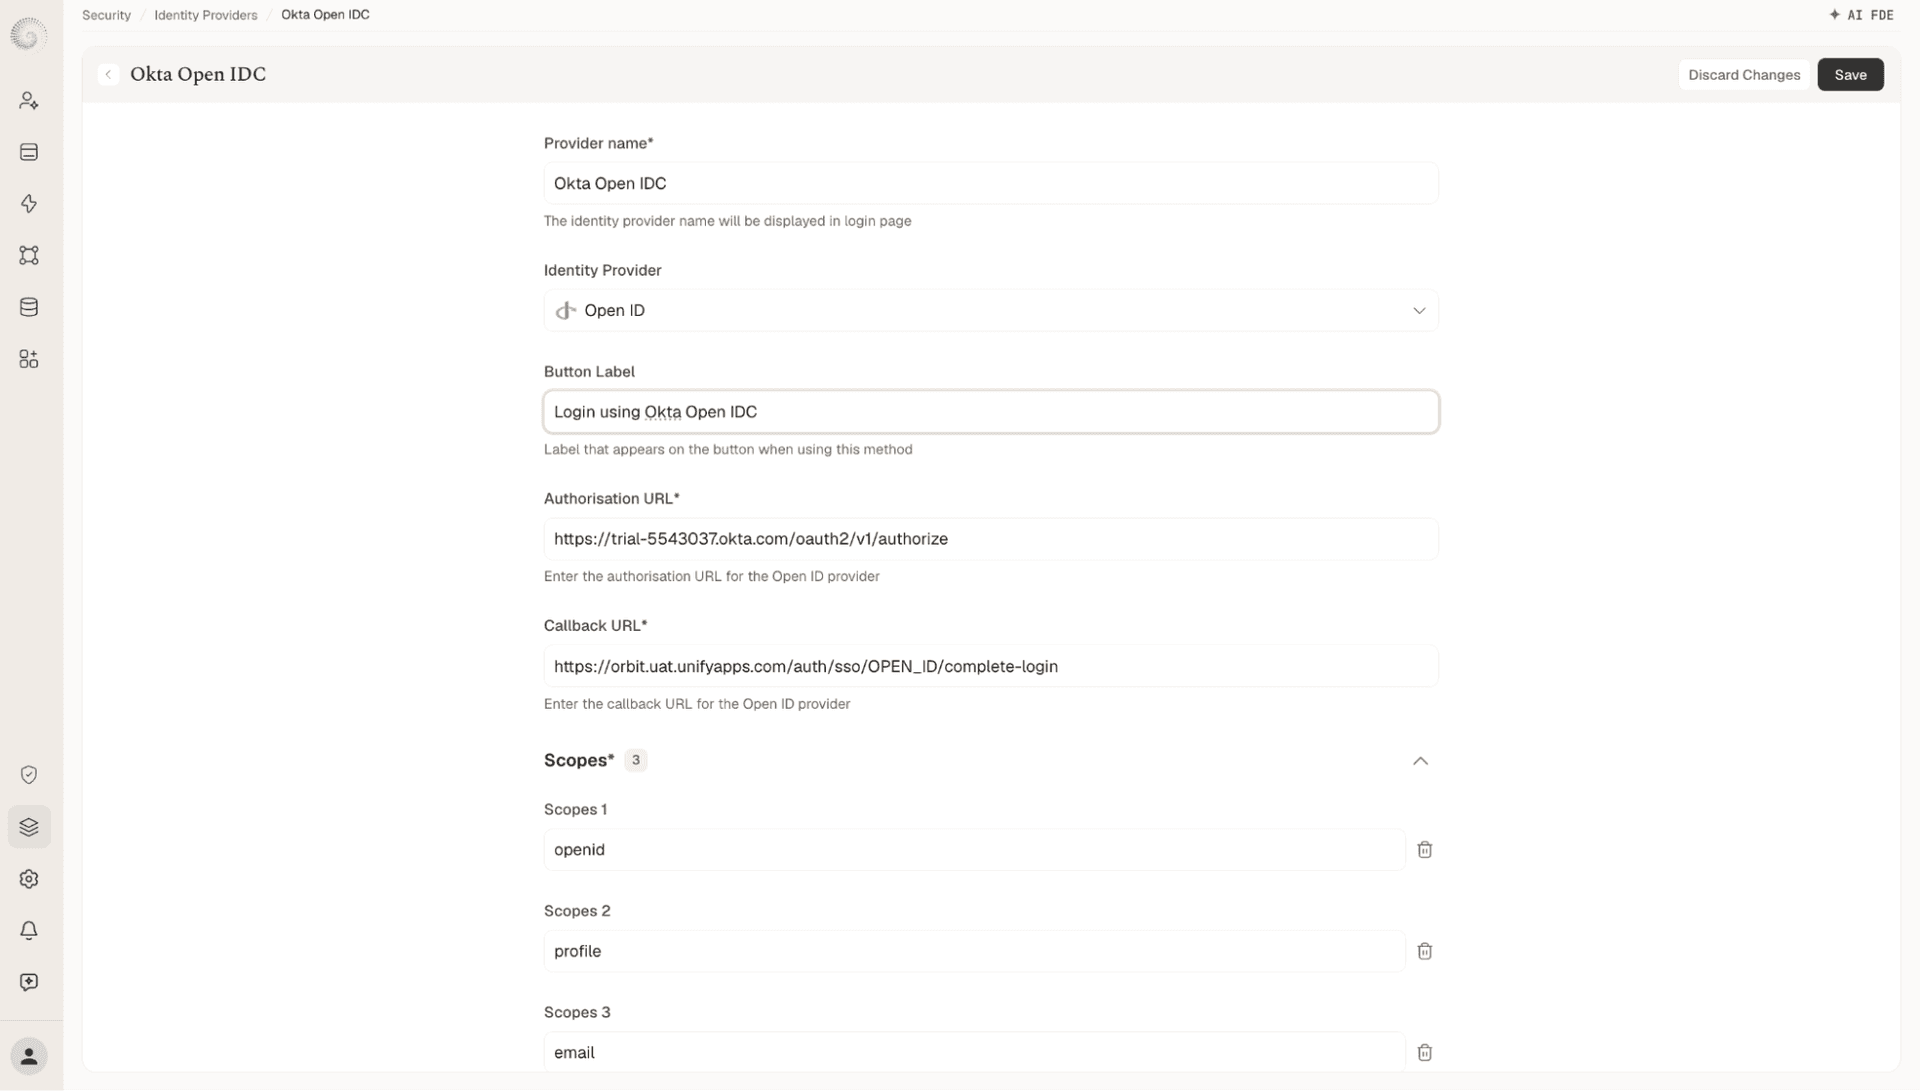
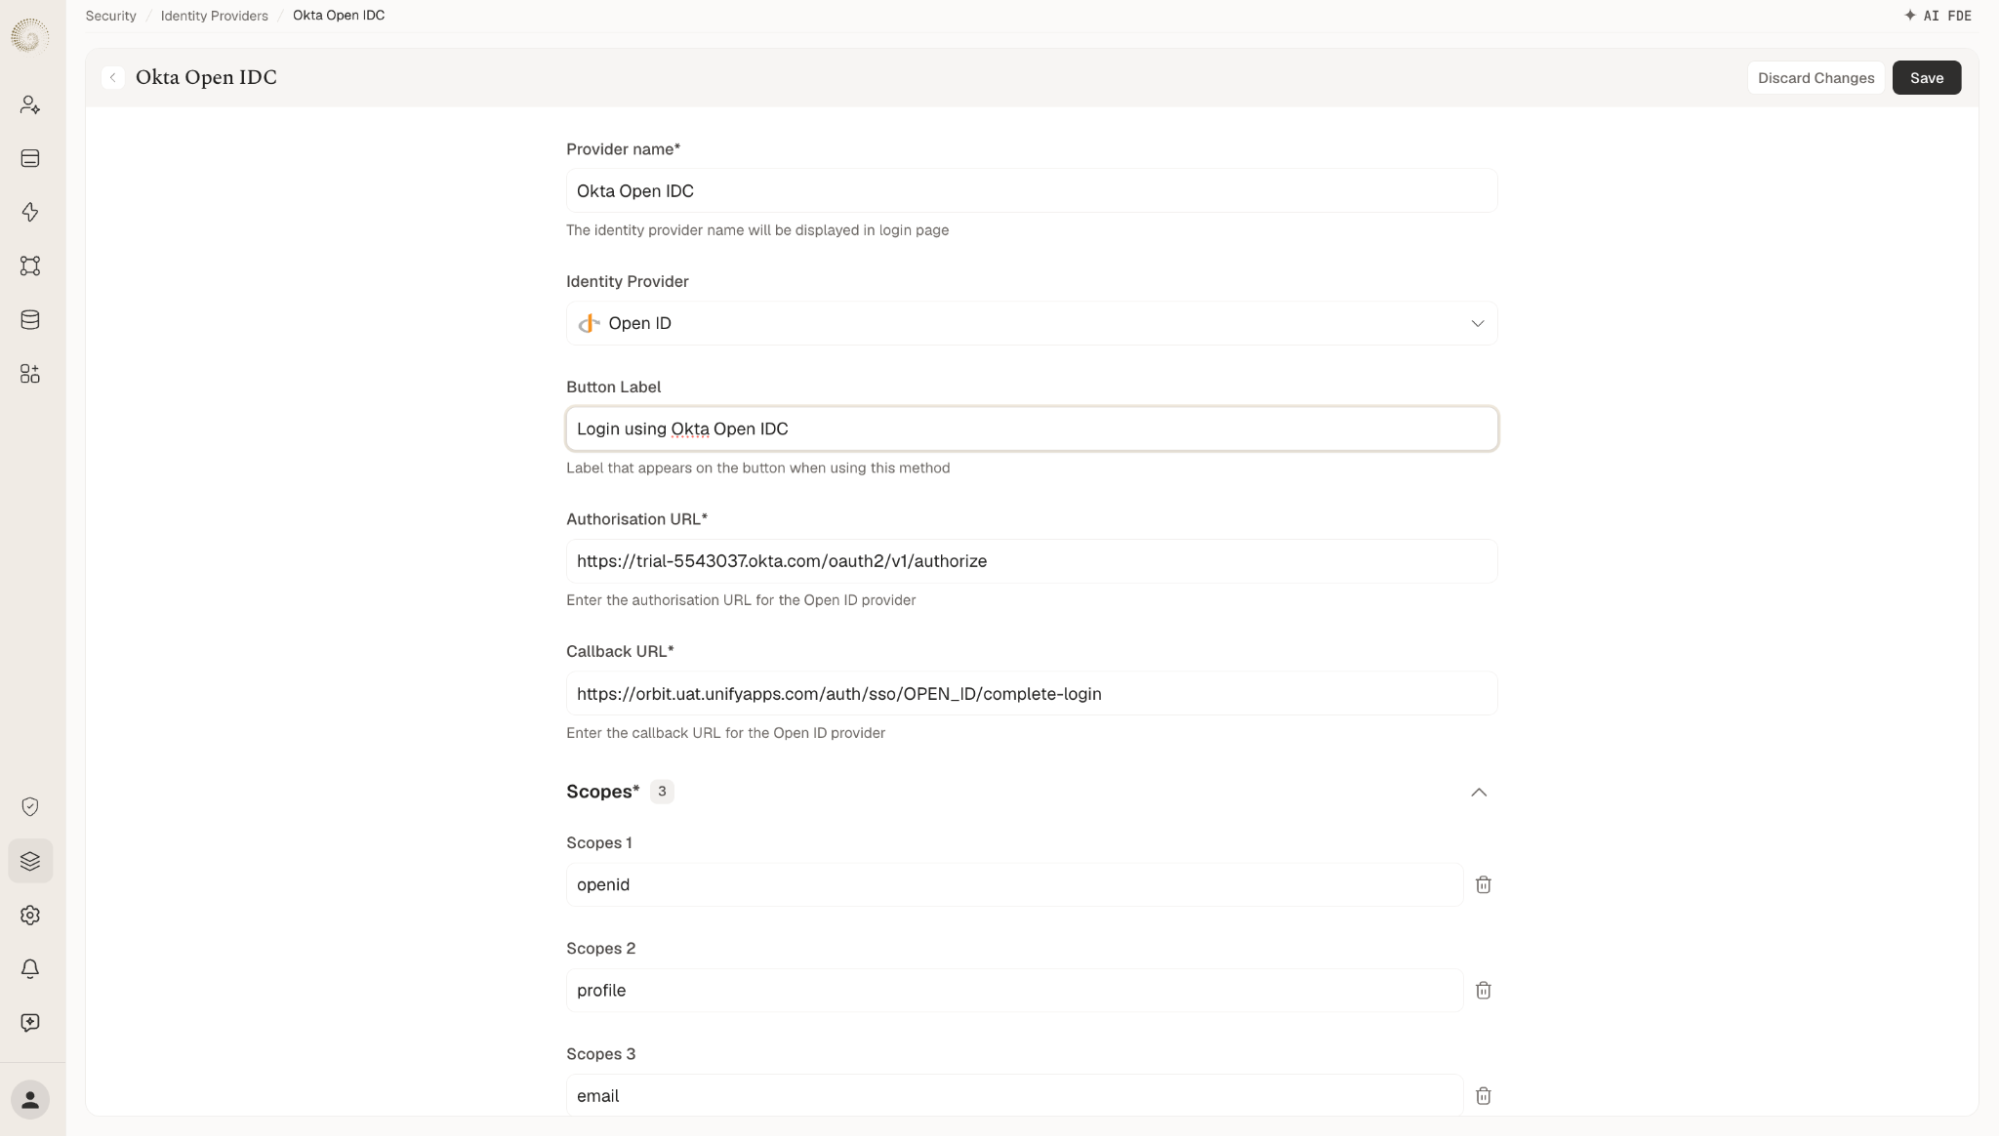
Select OpenID from the Identity Provider dropdown menu. Locate the Callback URL generated and copy it to your clipboard.
STEP 3 · Configure the Scope and Attribute Mapping
Add the required authentication scopes to specify the level of data access granted to UnifyApps. Next, fill out the Default Attribute Mapping to properly pair Okta user claims with UnifyApps user profiles.
Scopes -
Scopes | Select |
Scope 1 | openid |
Scope 2 | profile |
Scope 3 |
Default Attribute Mapping -
Field | Value |
Username JSON Path | |
Email JSON Path |
2. Configuring the Open IDC in Okta
Now, you will create and configure a new OIDC - OpenID Connect application in your Okta admin console.
STEP 4 · Create a New OIDC - OpenID Connect App Integration:
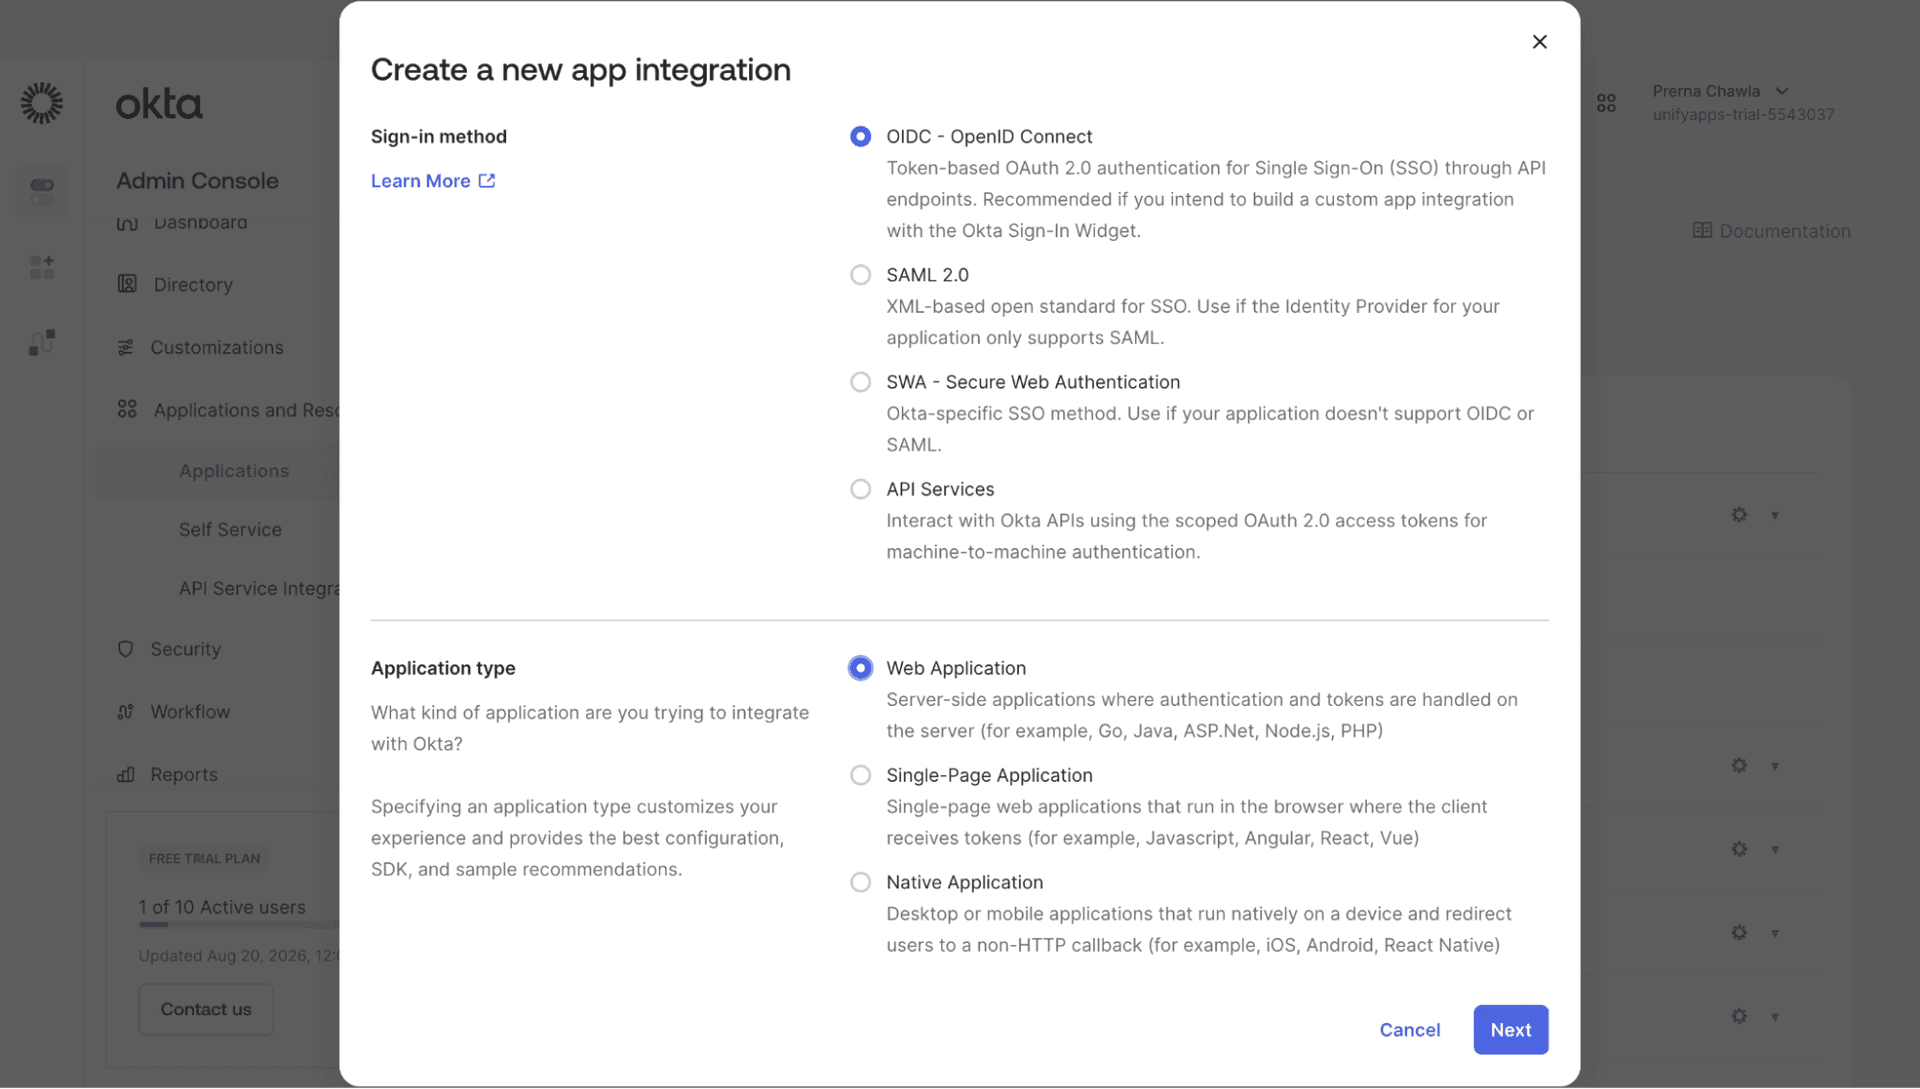
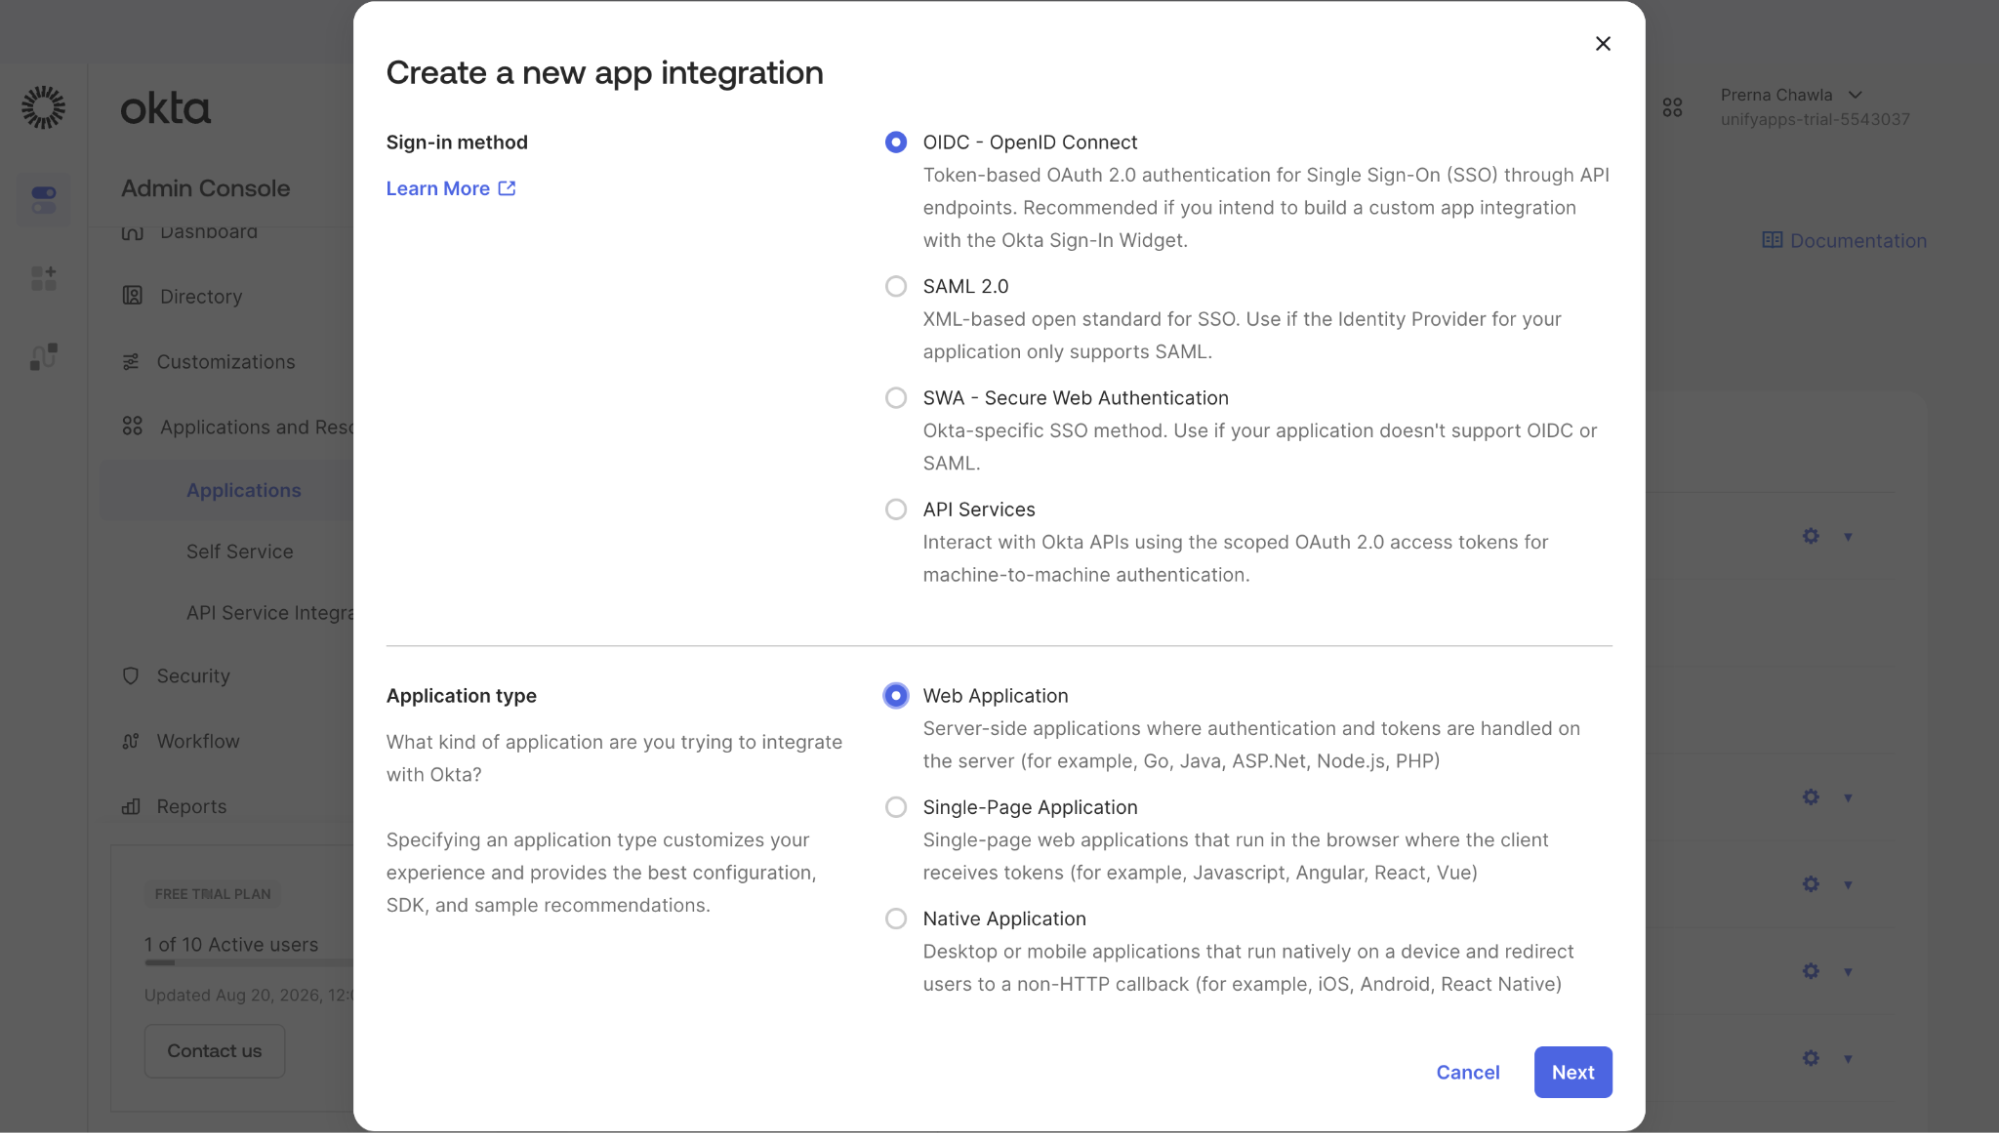
Log into your Okta admin dashboard. In the side navigation menu, go to Applications and Resources > Applications. Click the Create App Integration button. In the “Create a new app integration” dialog, select OIDC - OpenID Connect as the sign-in method. Choose Web-Based Application and then click Next.
STEP 5 · General Settings
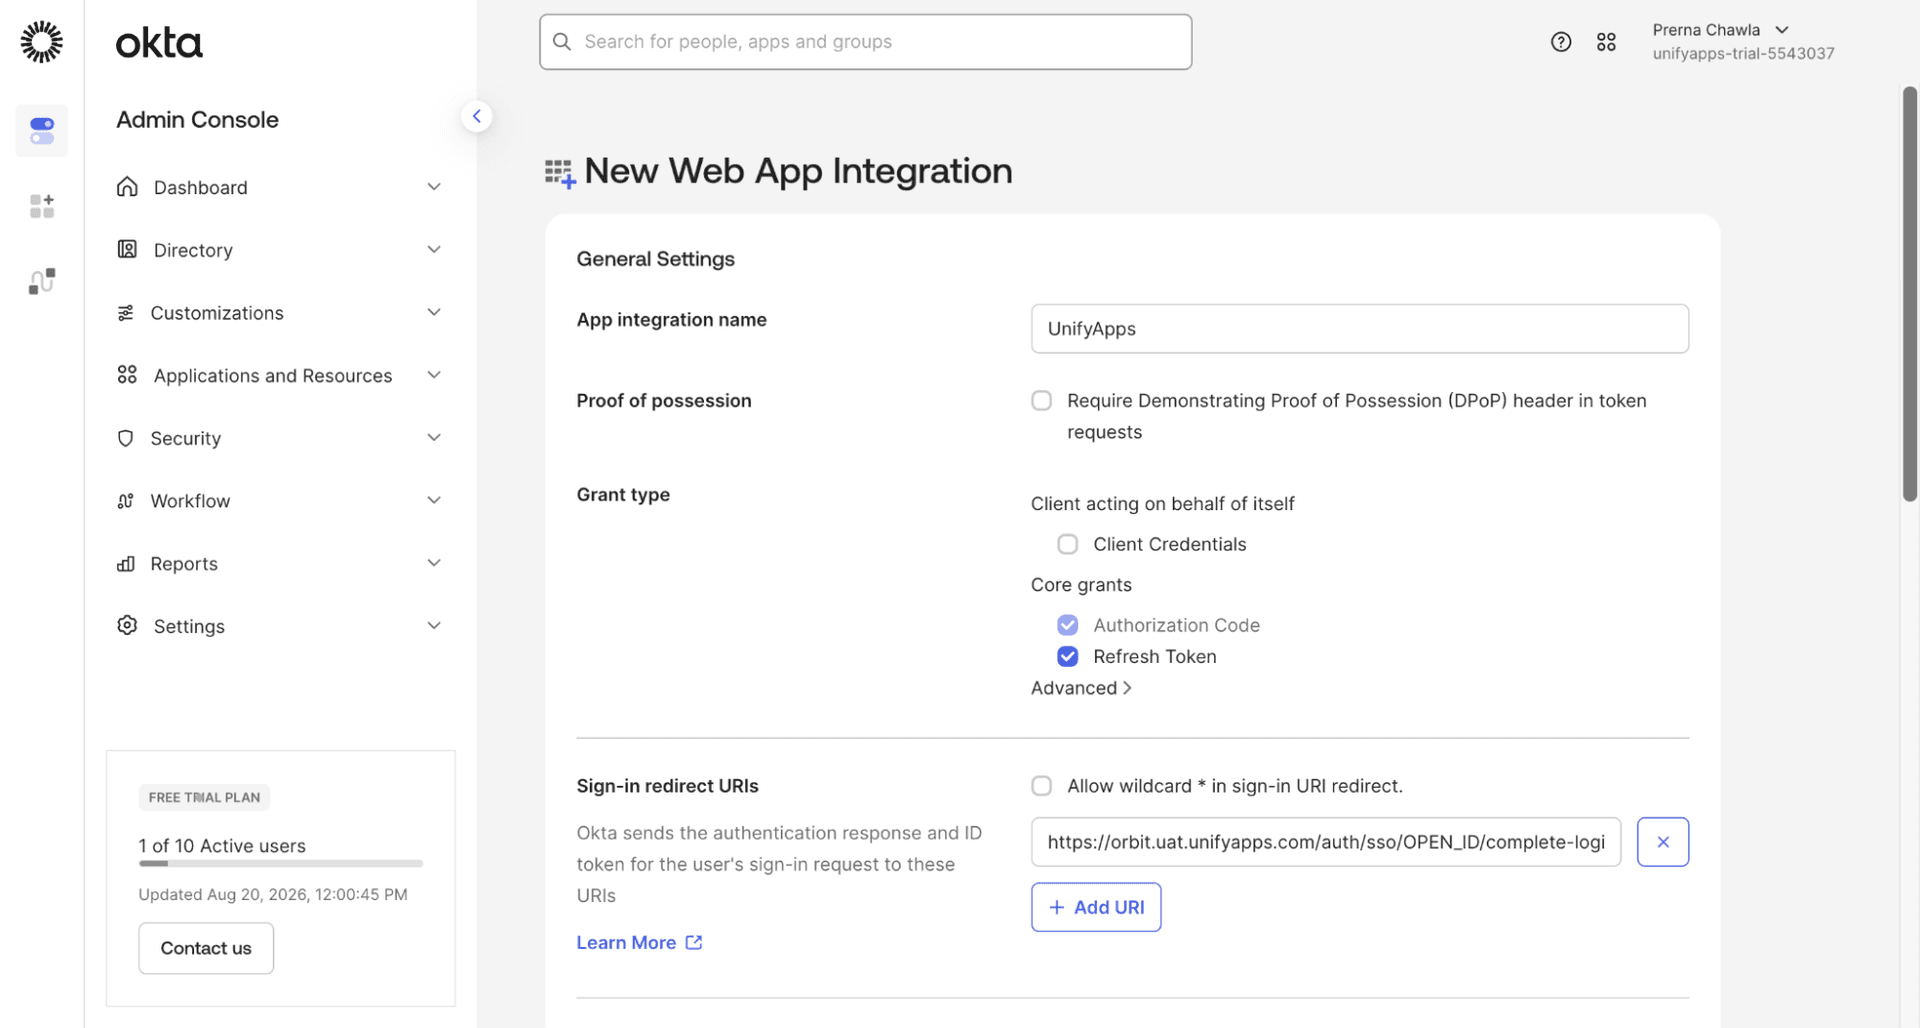
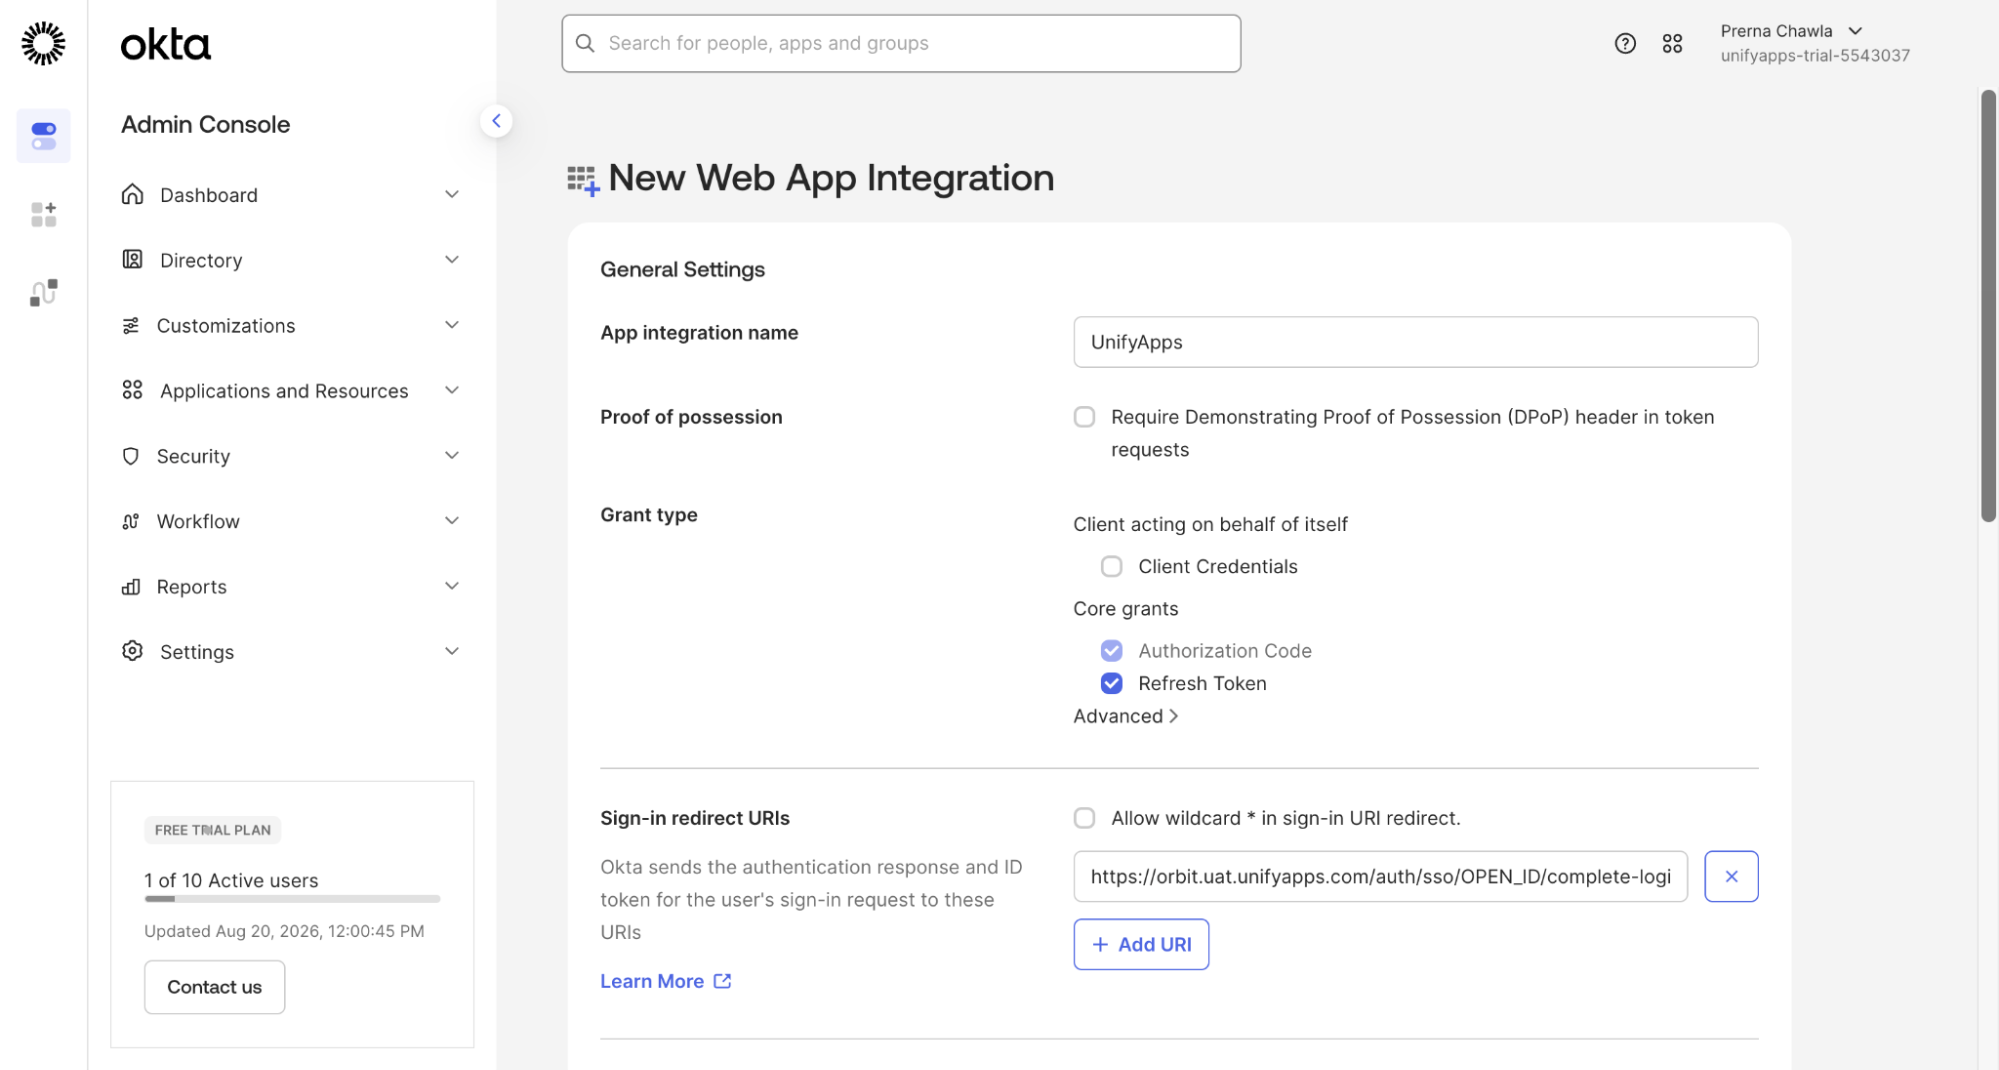
App integration name: Enter a clear, recognizable name for the application (e.g., UnifyApps).
Proof of possession: Check Require Demonstrating Proof of Possession (DPoP) header in token requests if your application requires DPoP-bound tokens.
Grant type: Select the appropriate OAuth 2.0 grant types. For standard web applications, select Authorization Code and Refresh Token under Core grants.
STEP 6 · Configure Authorized Redirect URIs & Origins
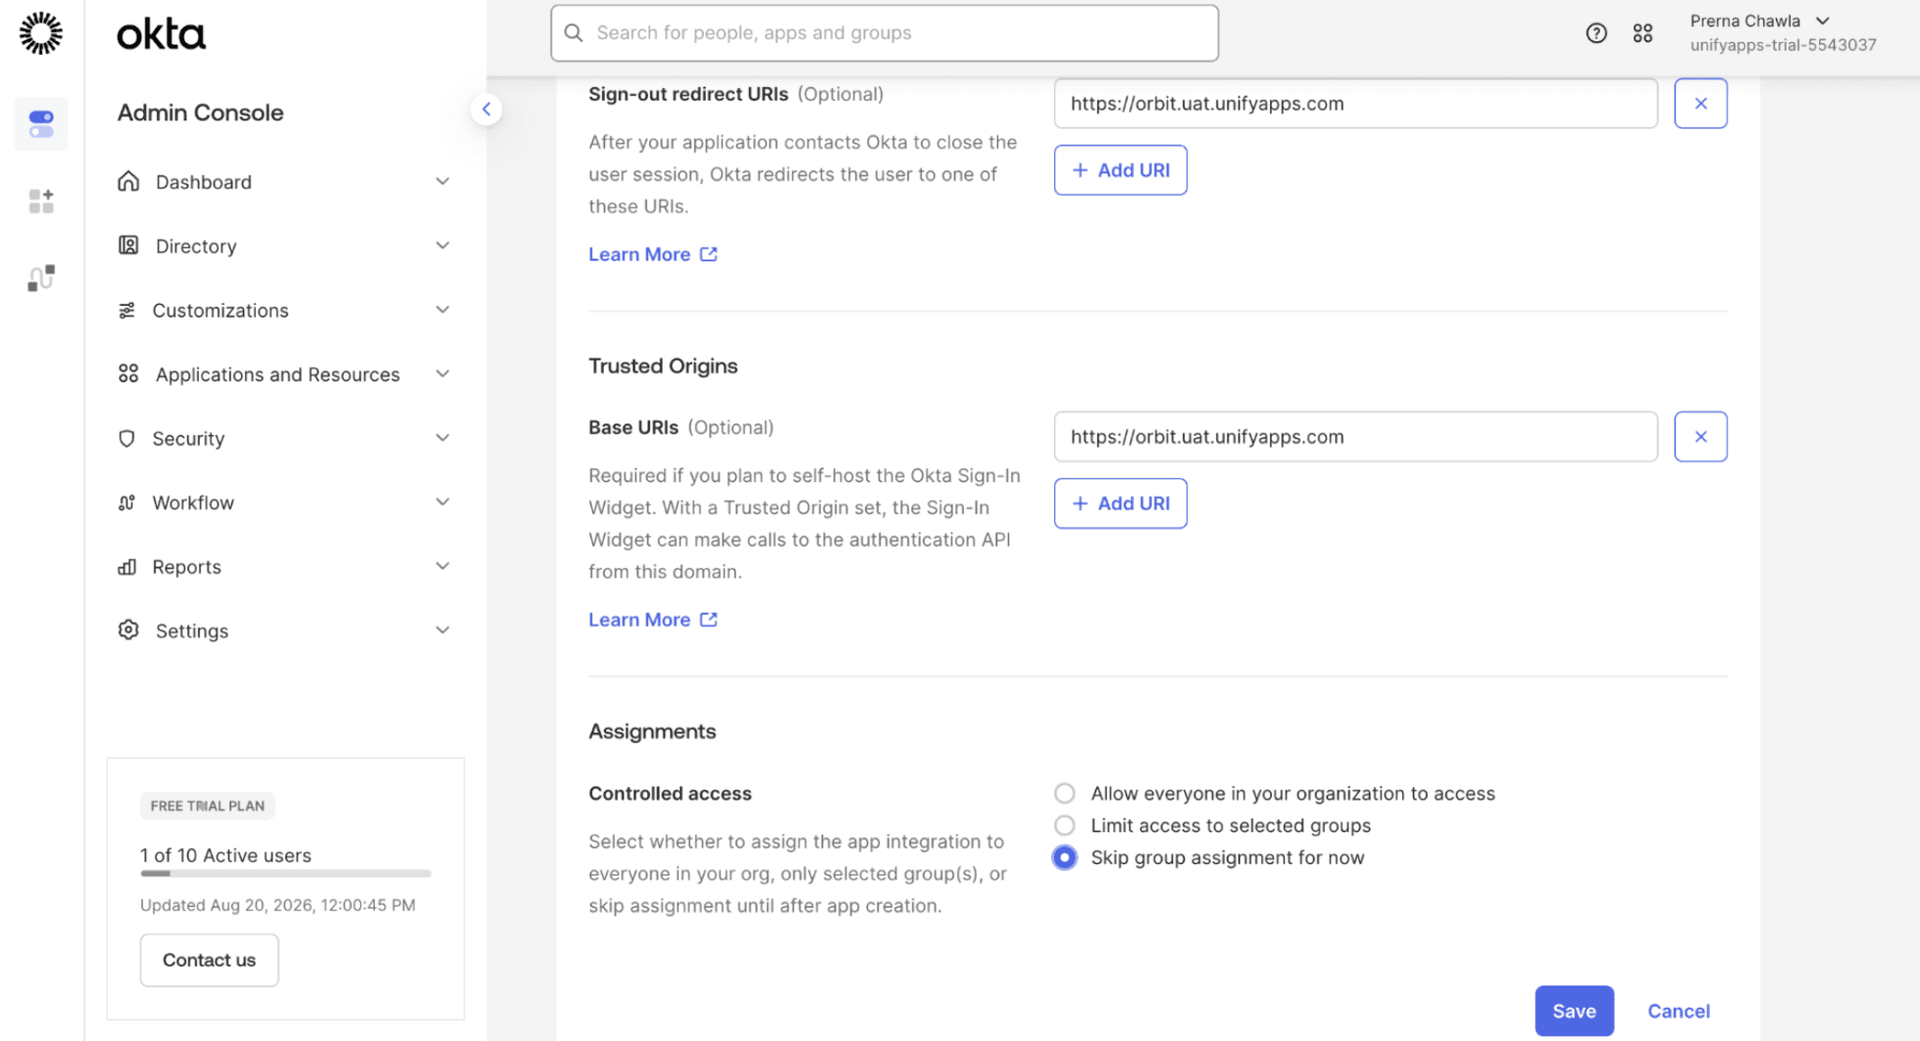
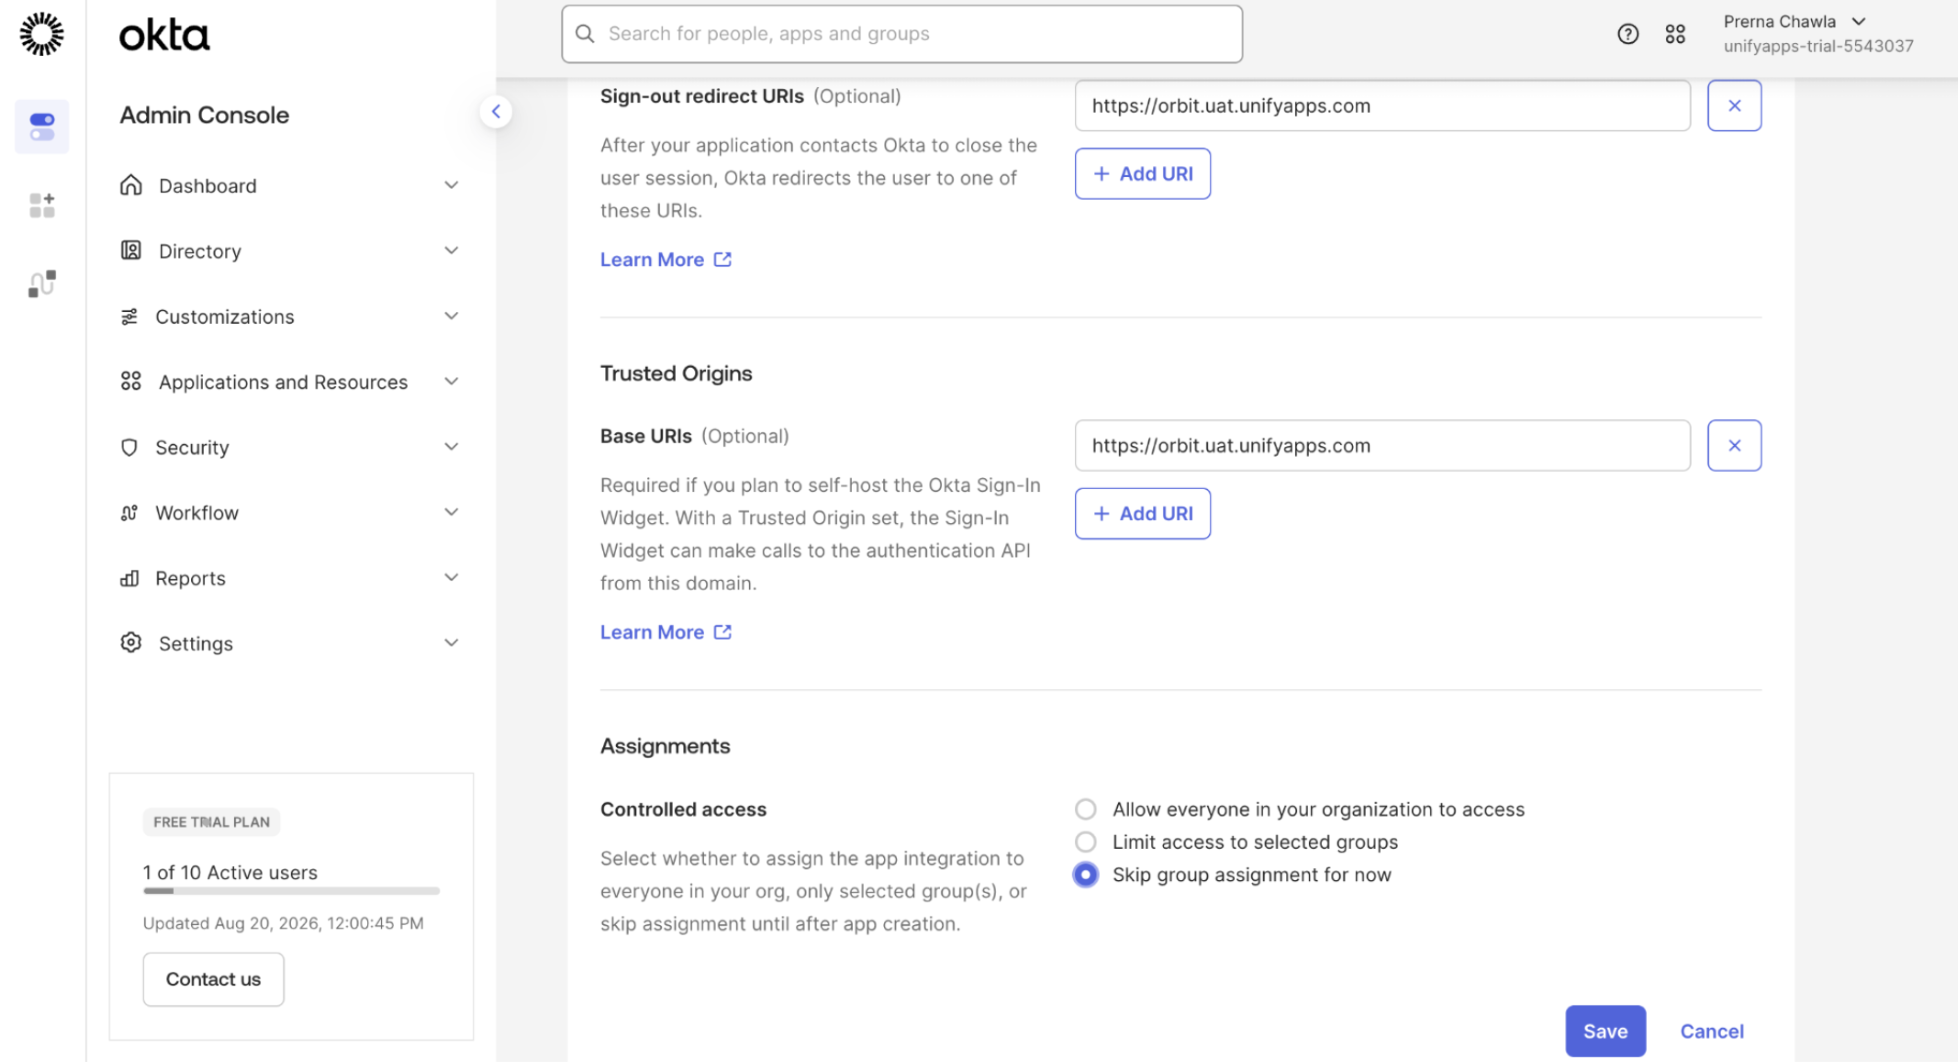
Scroll down to the Authorized redirect URIs section. Click Add URI and paste the Callback URL.
Sign-in redirect URIs: Enter the full callback URL where Okta sends authentication responses and ID tokens (e.g., https://orbit.uat.unifyapps.com/auth/sso/OPEN_ID/complete-login ). Check Allow wildcard * in sign-in URI redirect only if dynamic redirect patterns are needed.
Sign-out redirect URIs (Optional): Enter the URL where users should be redirected after logging out of the application (e.g., https://orbit.uat.unifyapps.com ).
Base URIs (Optional): Specify your application's domain under Trusted Origins. This is required if you plan to self-host the Okta Sign-In Widget to allow cross-origin API requests.
Click Save.
3. Complete Setup in UnifyApps
STEP 7 · Link Credentials to UnifyApps
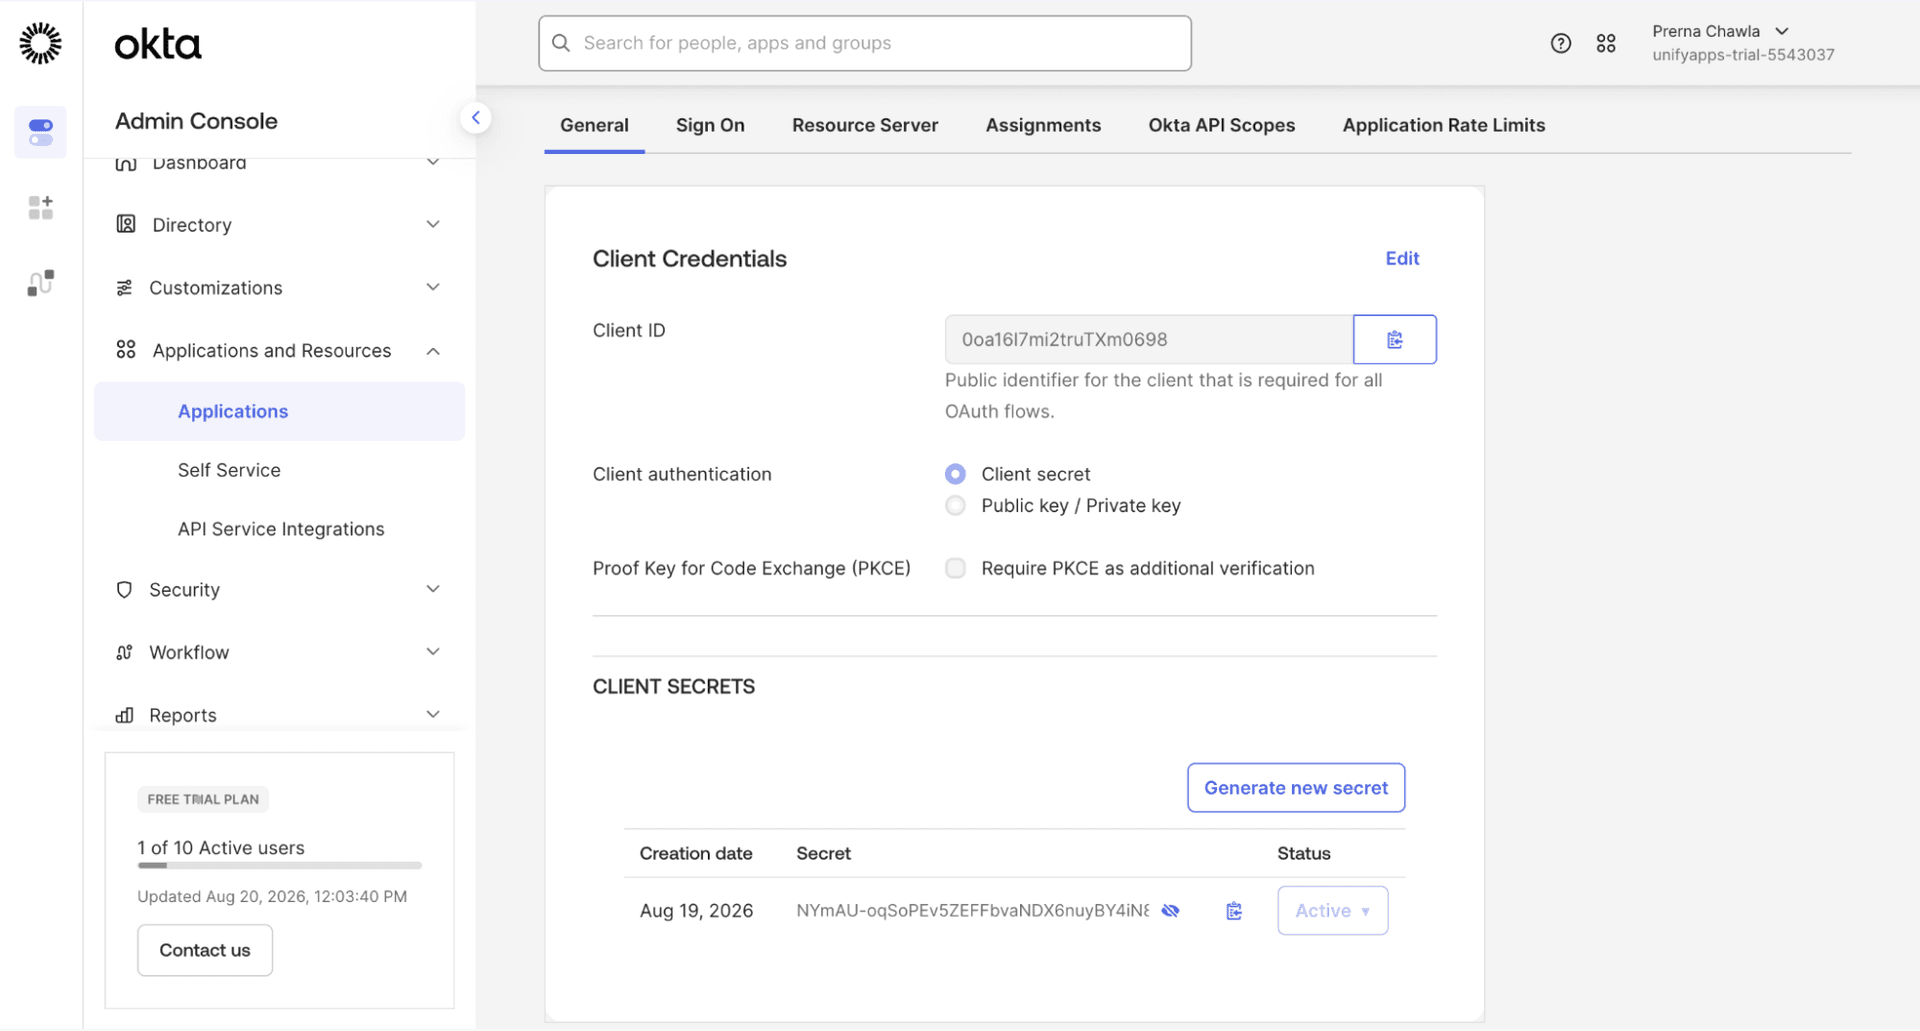
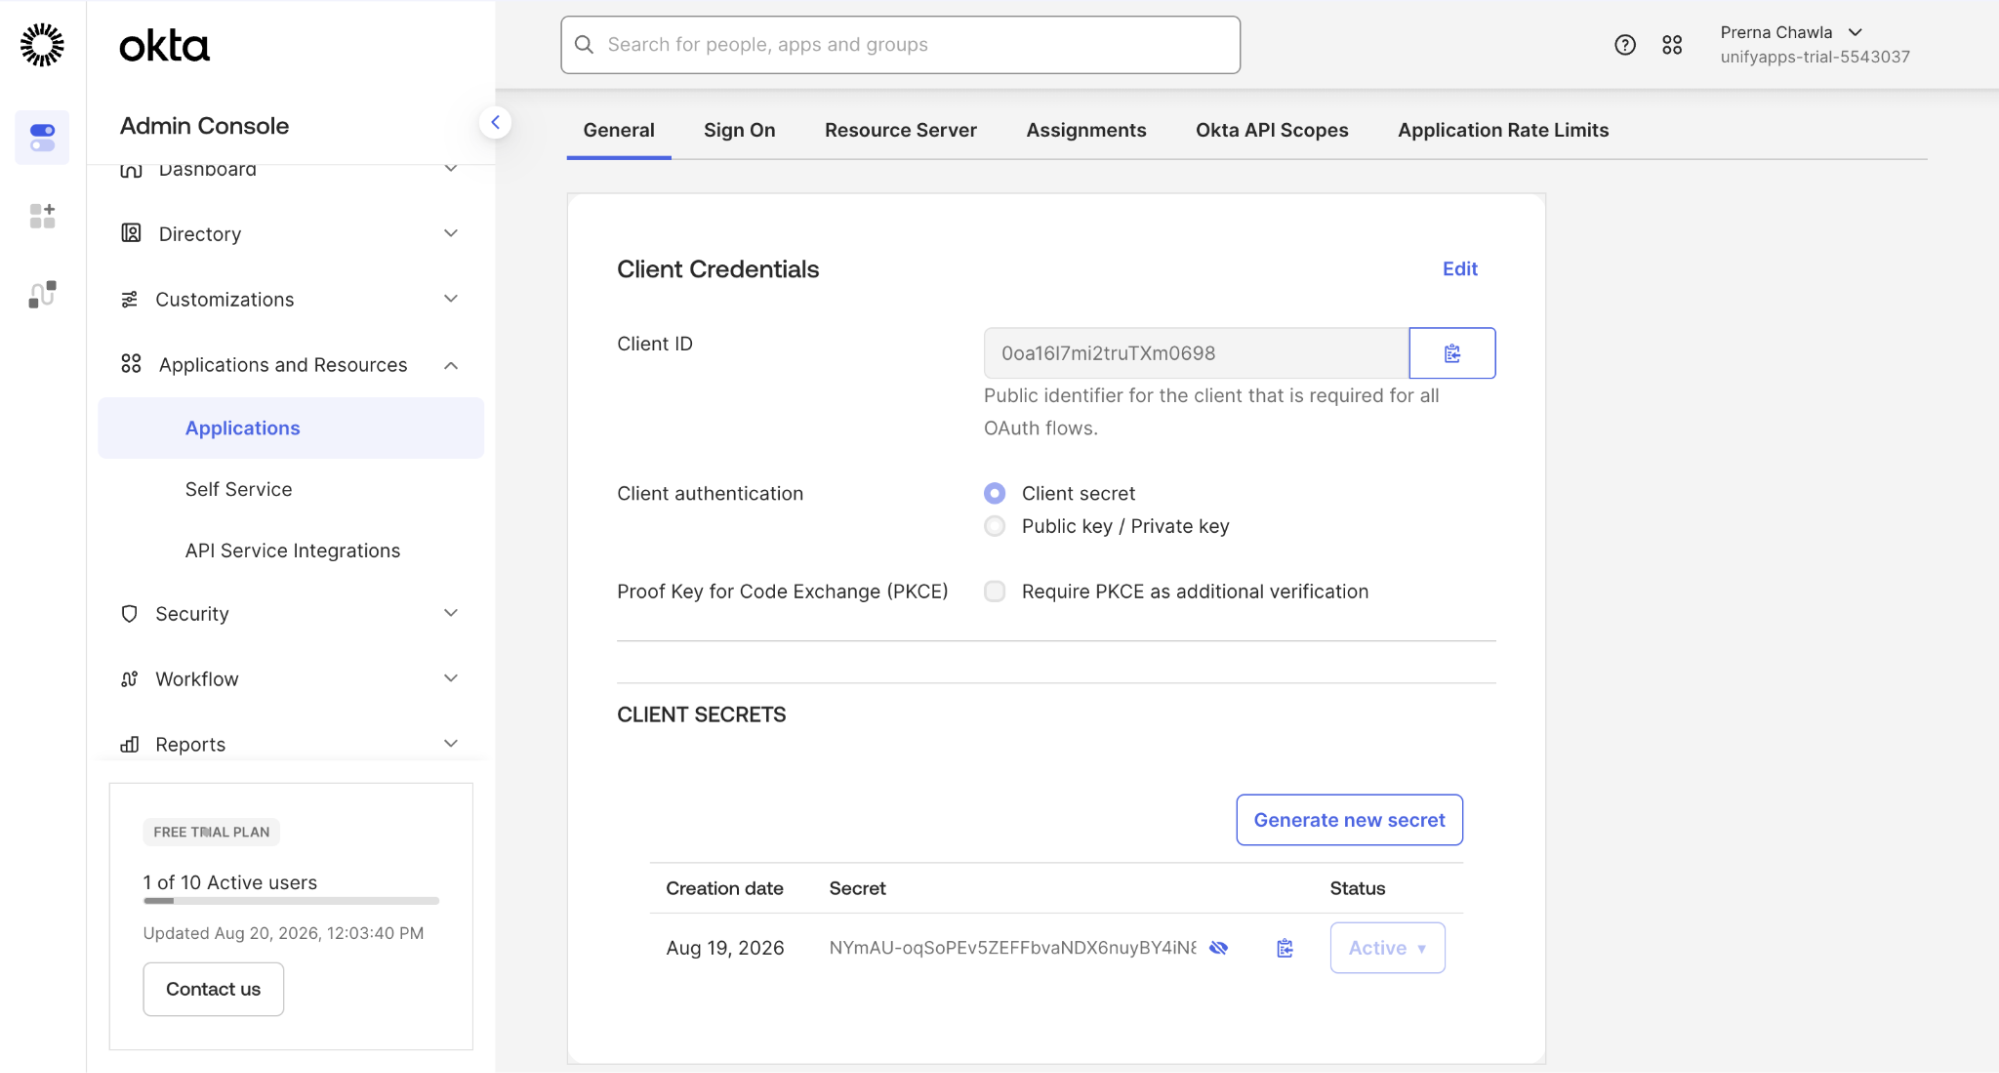
A dialog box will appear in Okta Admin Console Applications General Tab displaying your newly created Client ID and Client Secret. Copy the Client Secret value.
STEP 8 · Retrieving OAuth Endpoints
Return to your open UnifyApps Identity Provider setup page. Paste the copied value directly into the Client Secret Key field and fill out any remaining standard Okta OpenID endpoints.
Navigate to API Settings: In the Okta Admin Console sidebar, go to Security > API.
Access the Authorization Server: Select the Authorization Servers tab and click on the default server entry.
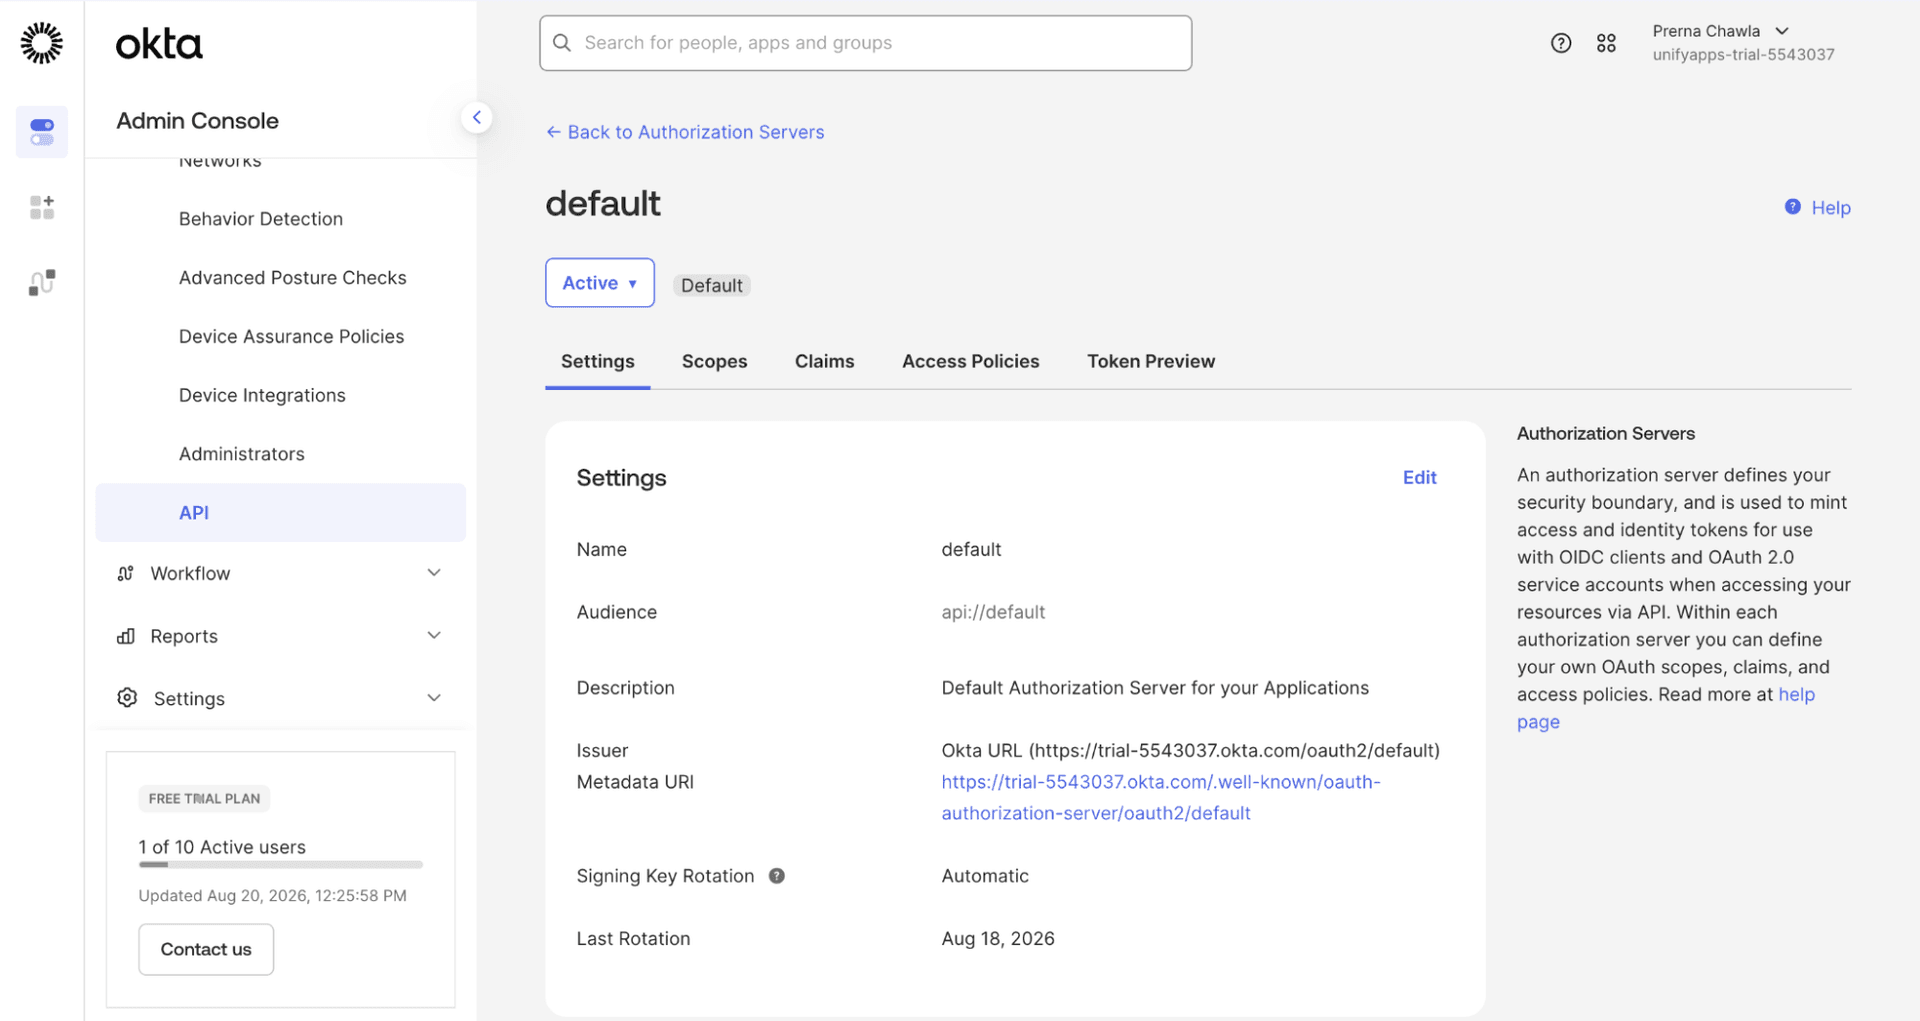
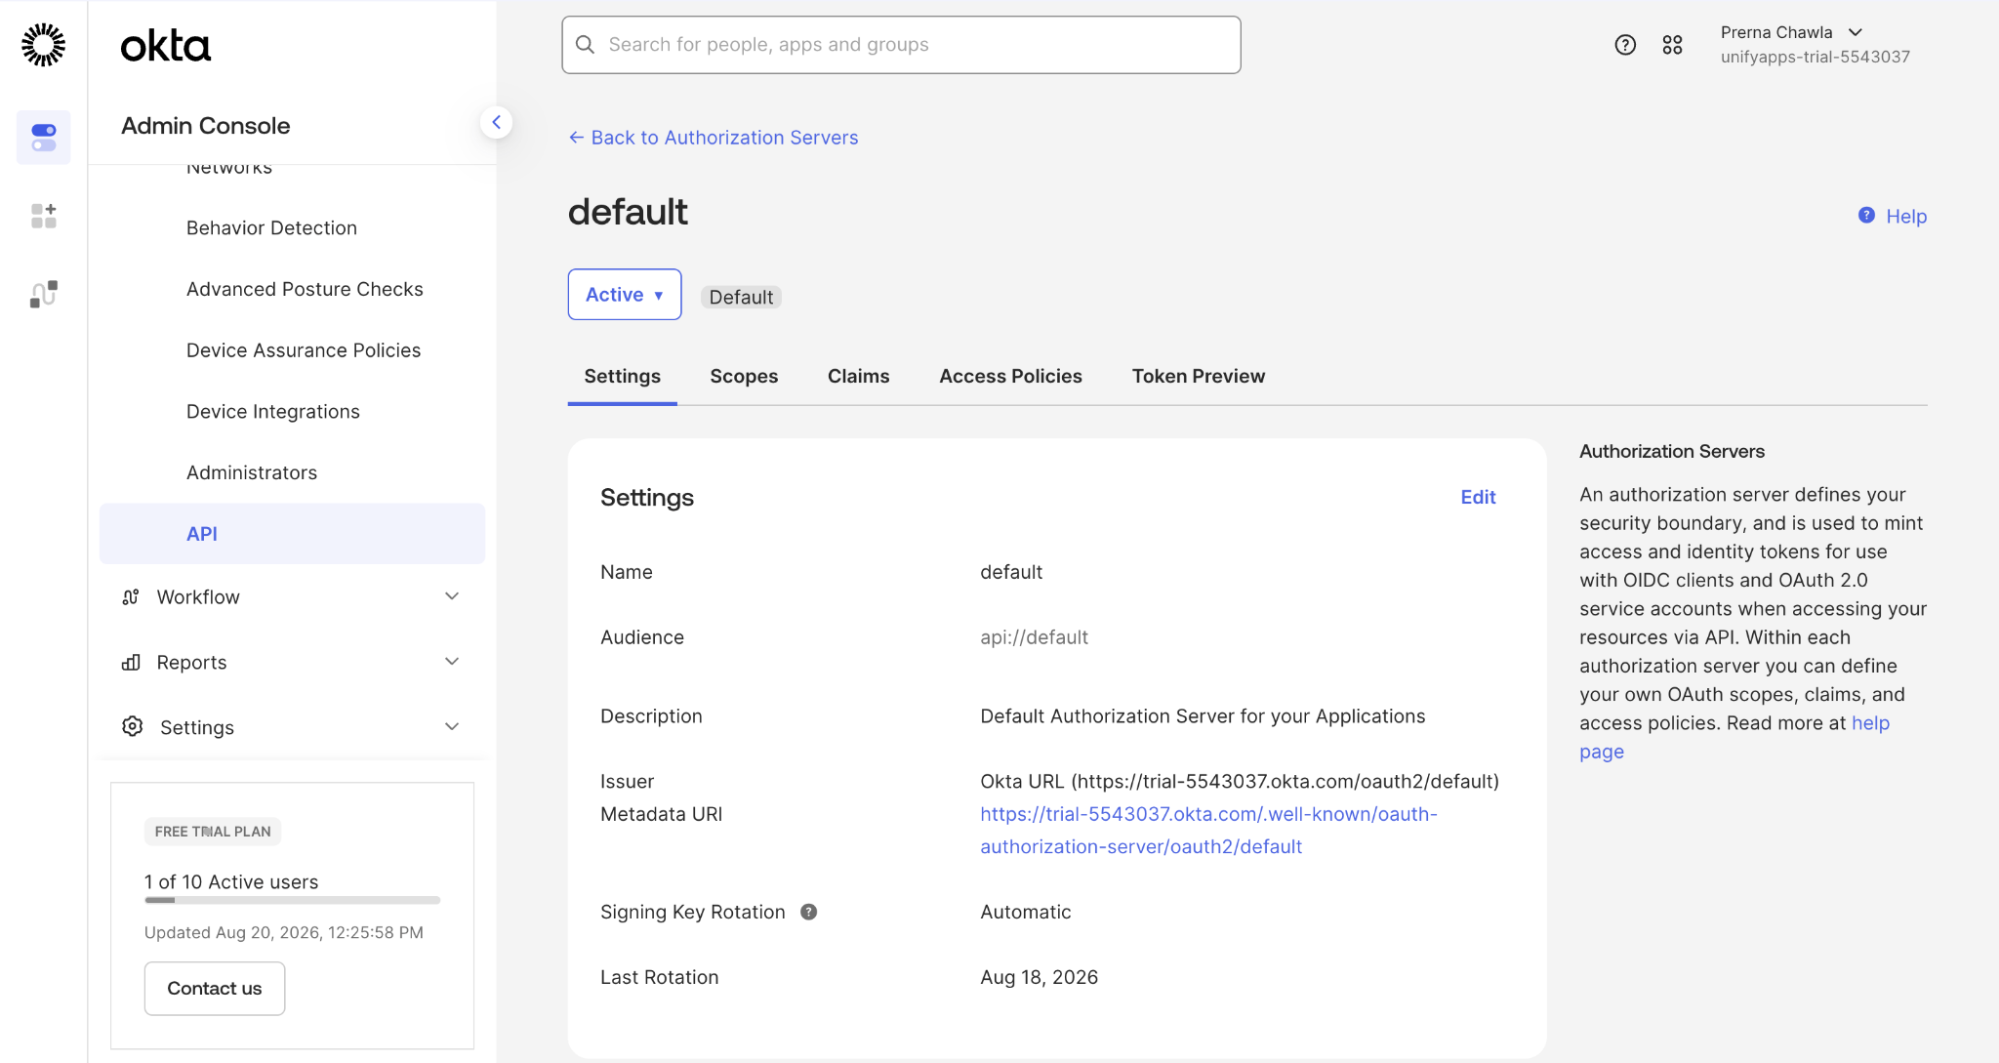
Open Metadata: Click the Metadata URI link to open the server’s openid-configuration JSON in your browser.
Format JSON: Click Pretty Print (or enable JSON view) in your browser to display the formatted endpoint details.
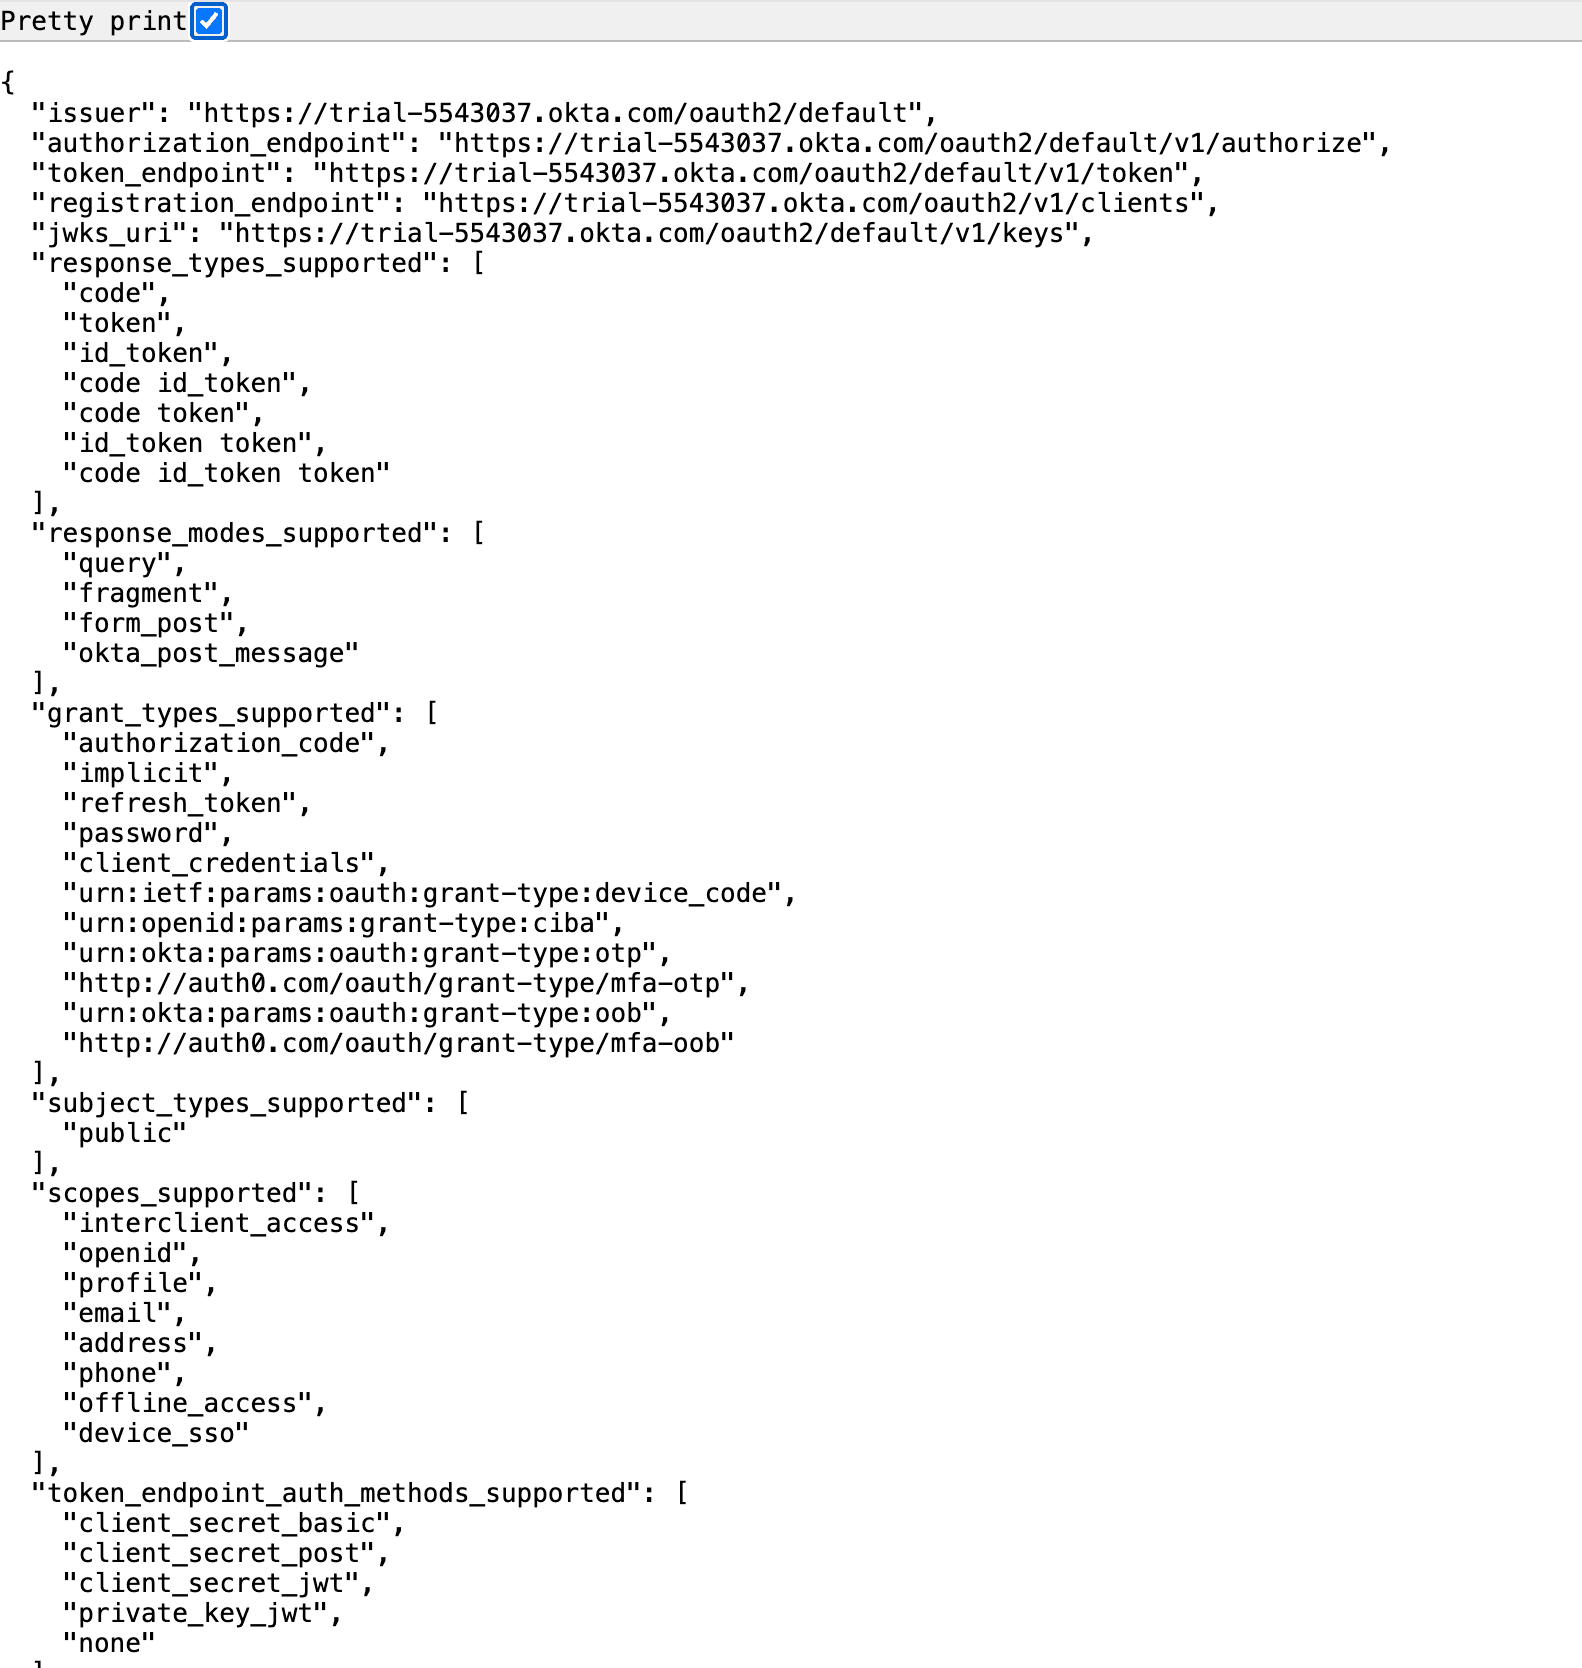
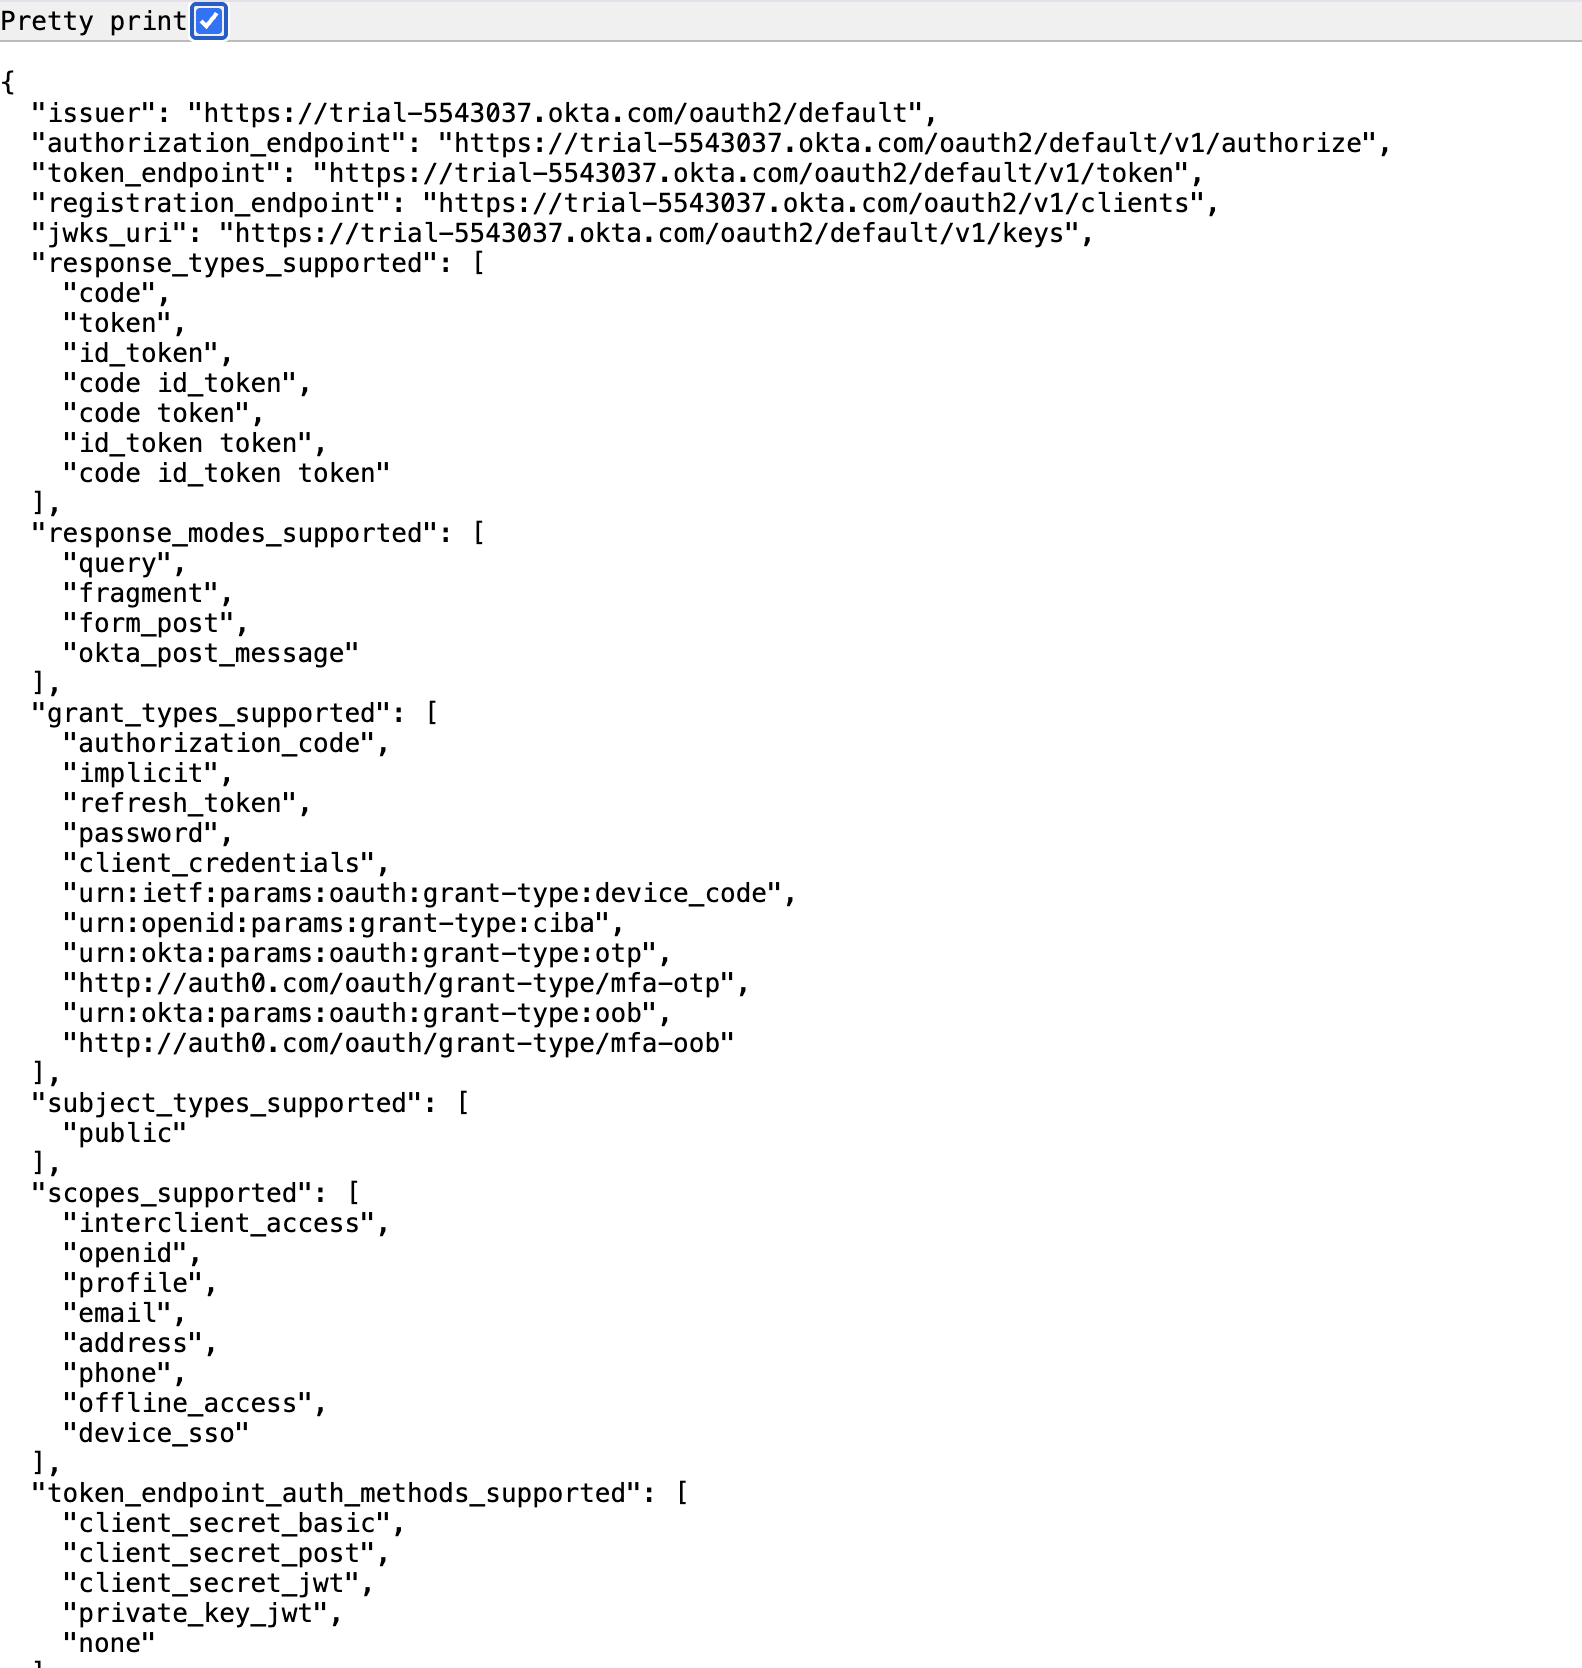
Locate Endpoints: Locate the necessary OAuth/OIDC URLs (e.g., authorization_endpoint, token_endpoint).
Raw endpoint format: https://trial-5543037.okta.com/oauth2/default/v1/authorize
Adjust URL Path: Remove default/ from each copied URL to format the final endpoint URIs.
Final endpoint format: https://trial-5543037.okta.com/oauth2/v1/authorize
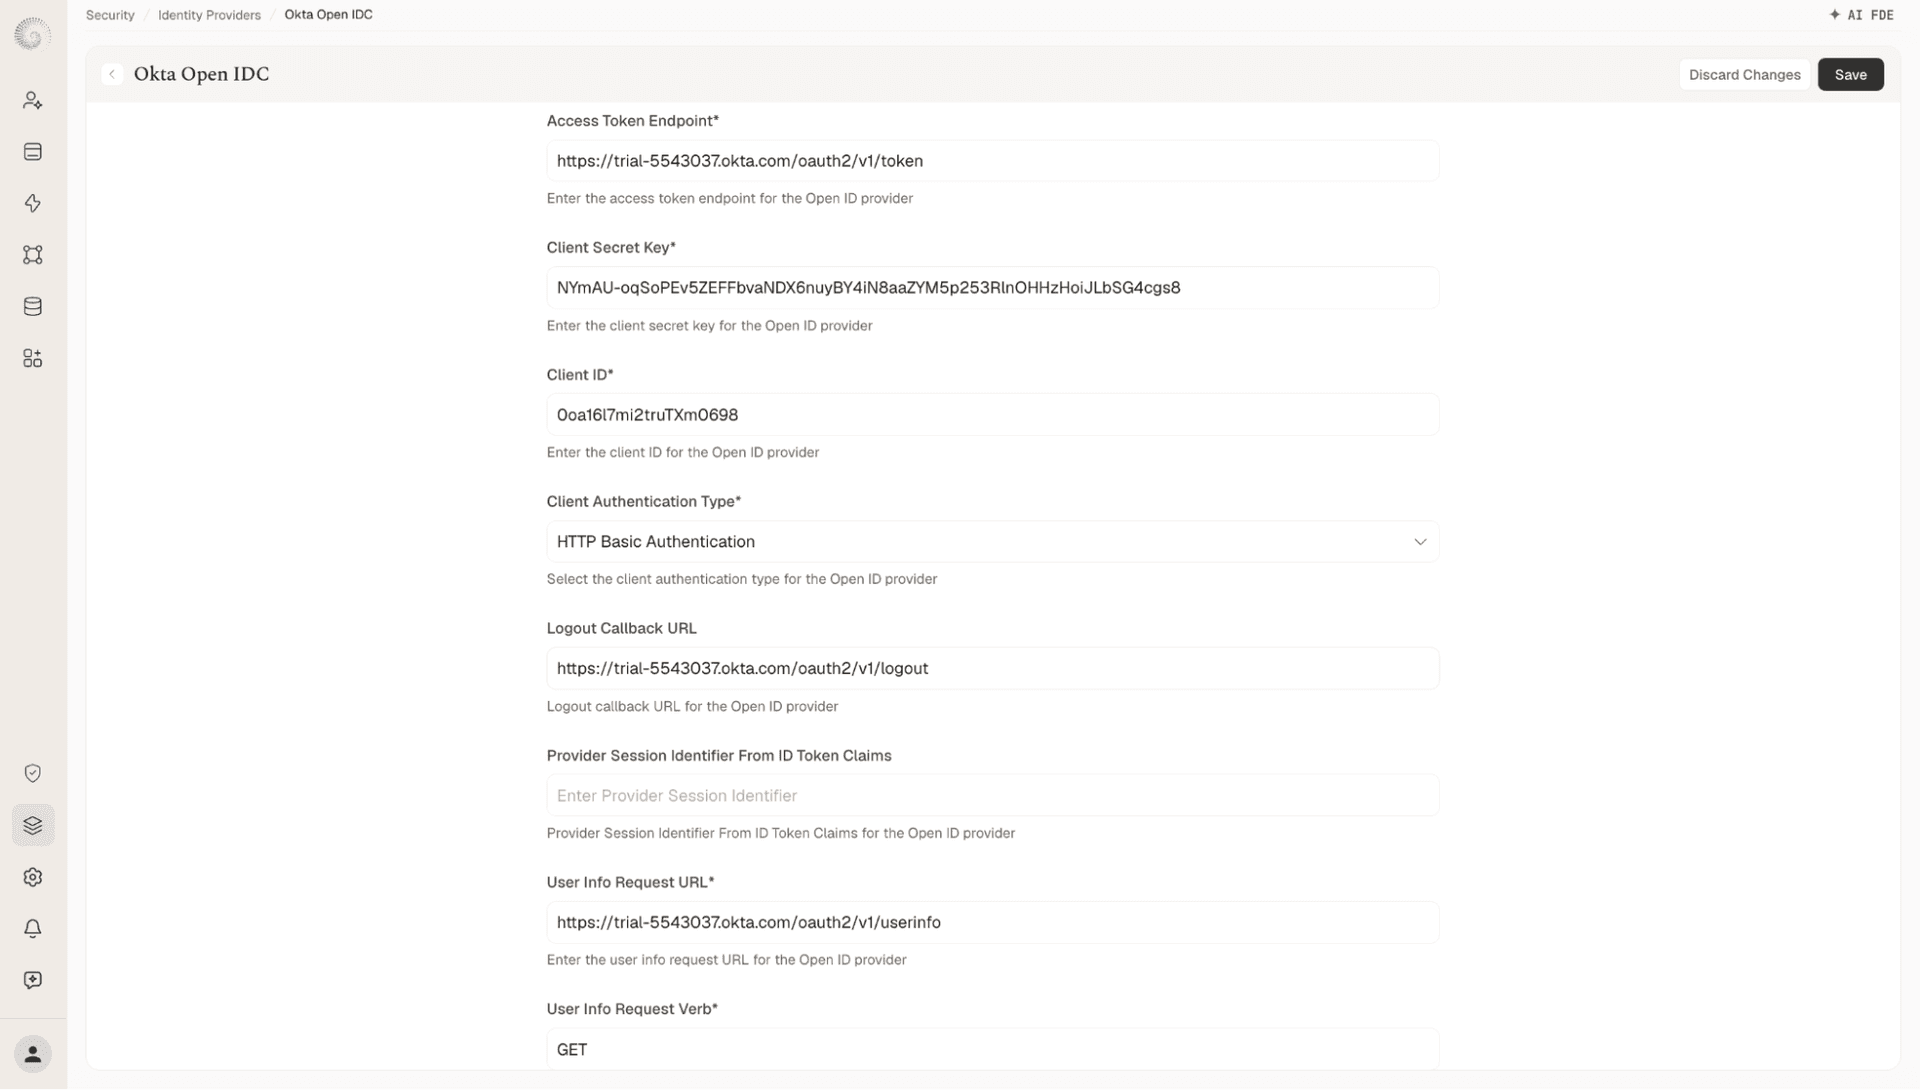
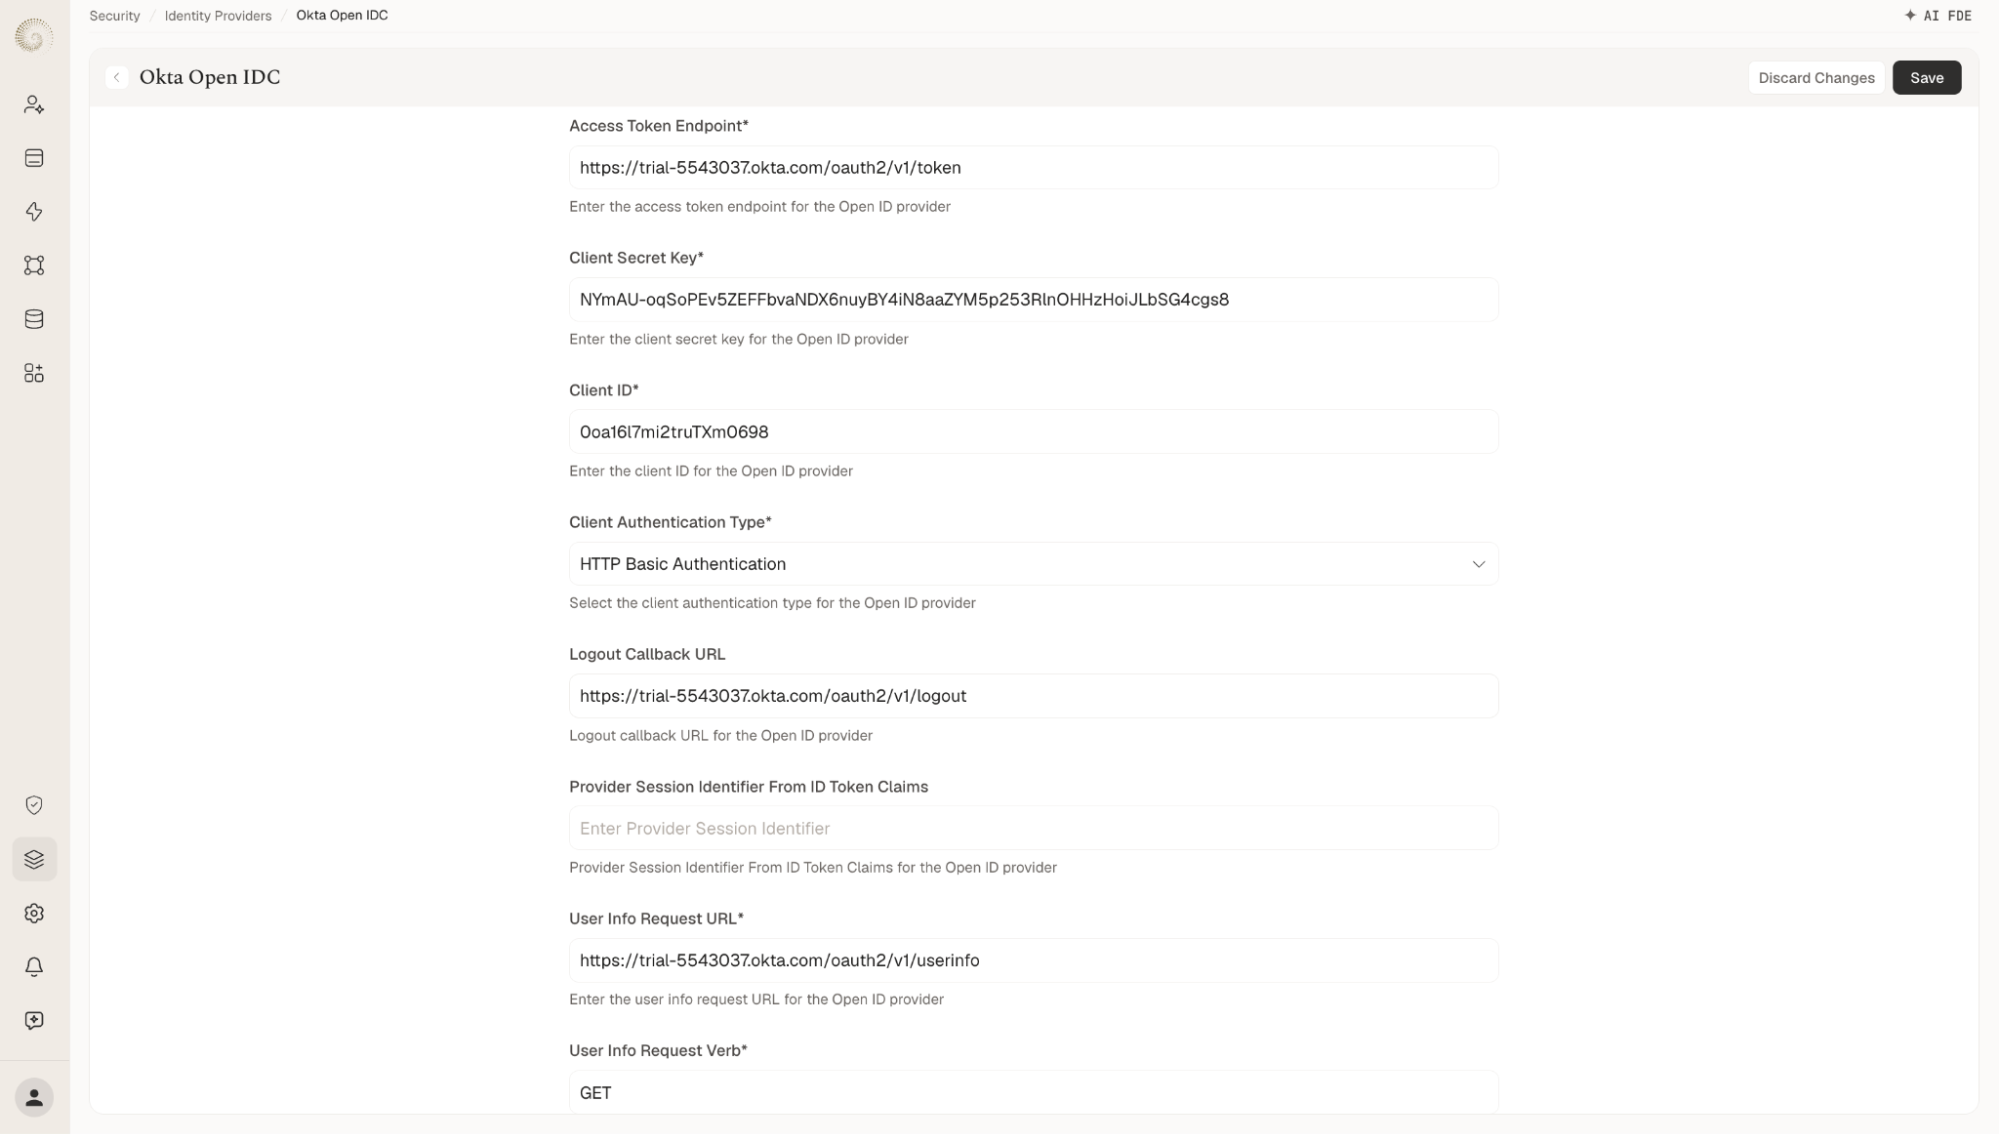
Configure Endpoints and Credentials: Return to your open UnifyApps Identity Provider setup page.Fill in the configuration fields using the adjusted Okta endpoints:
Access Token Endpoint: Enter https://trial-5543037.okta.com/oauth2/v1/token
Client Secret Key: Enter the Client Secret generated from your Okta app integration.
Client ID: Enter the Client ID generated from your Okta app integration.
Client Authentication Type: Select HTTP Basic Authentication.
Logout Callback URL: Enter https://trial-5543037.okta.com/oauth2/v1/logout
User Info Request URL: Enter https://trial-5543037.okta.com/oauth2/v1/userinfo
User Info Request Verb: Set this field to GET.
STEP 9 · Save and Finalise
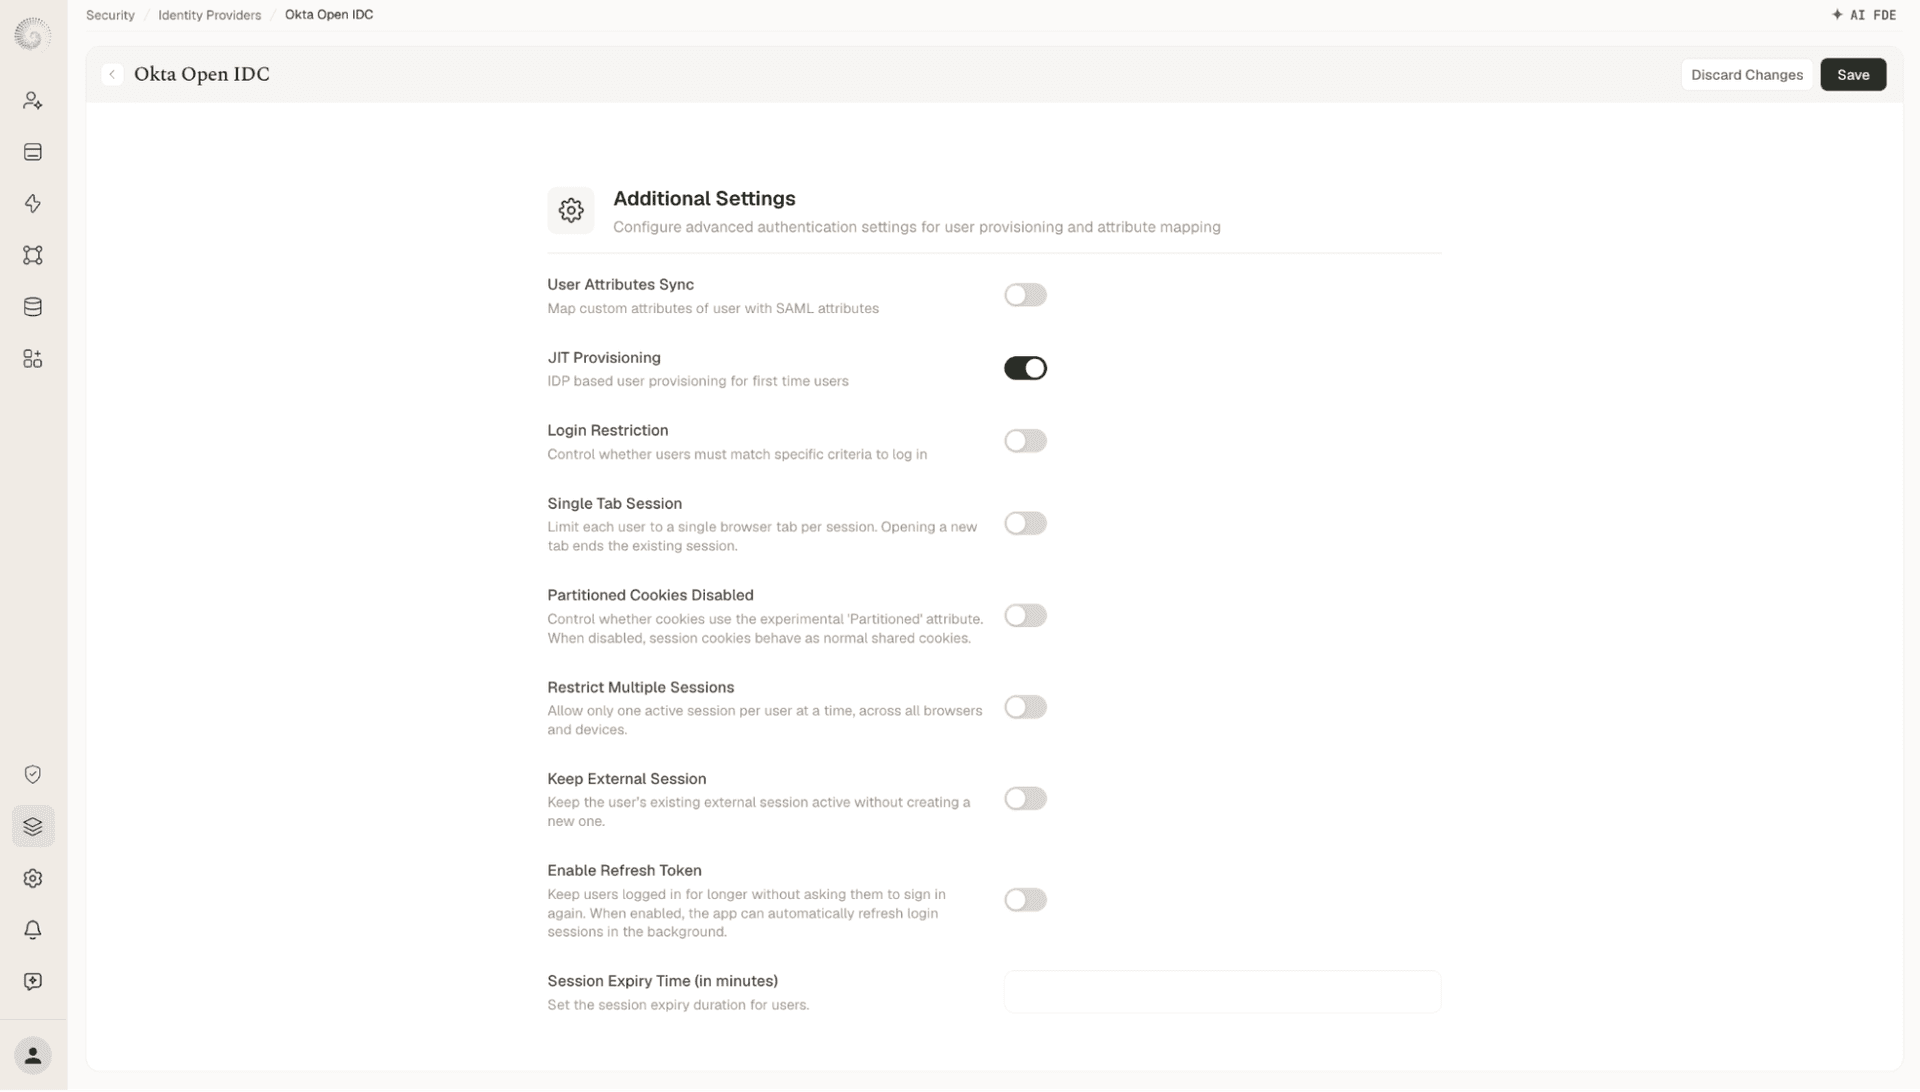
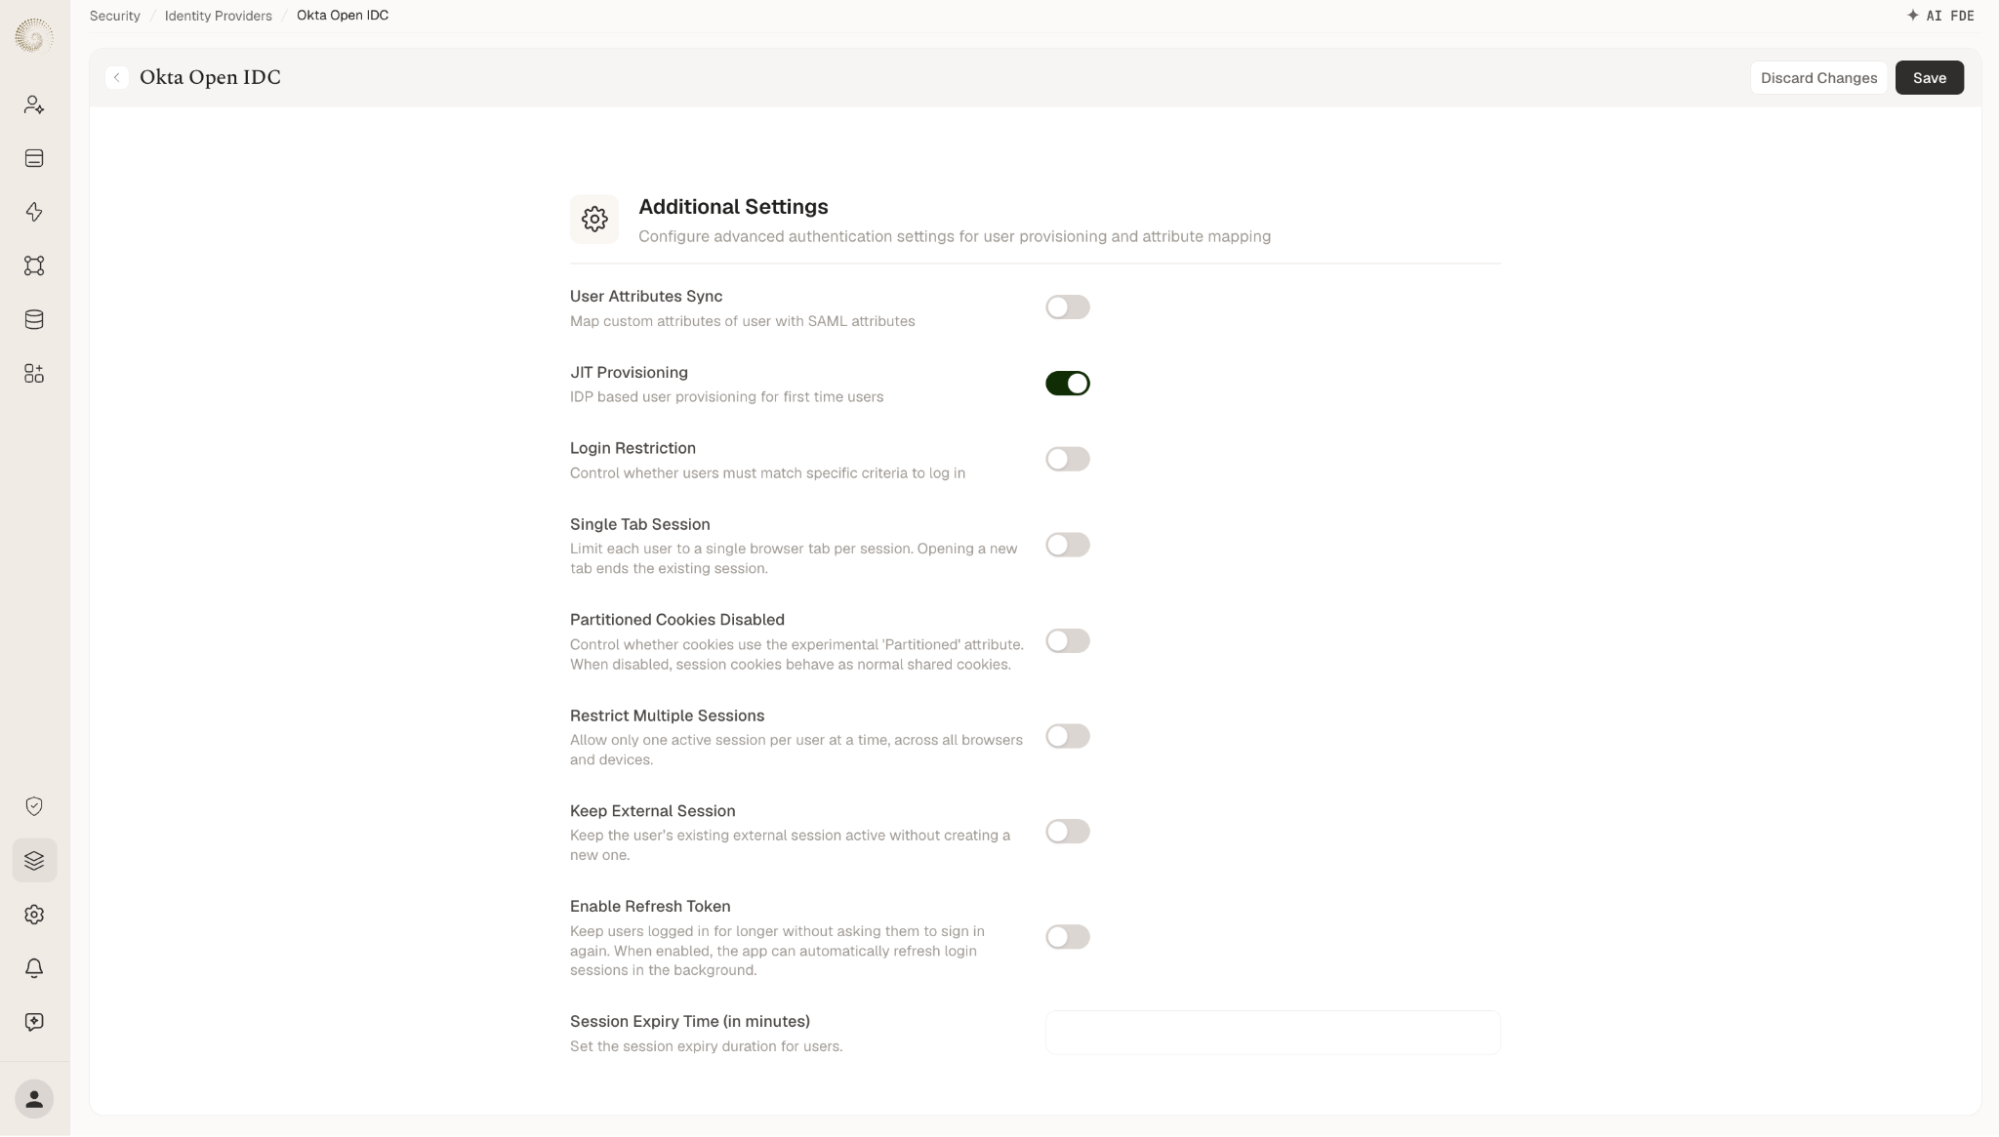
Scroll down to Additional Settings and toggle on JIT (Just-In-Time) Provisioning to automatically create user profiles in UnifyApps upon their first successful sign-in. Click Save in the top-right corner to apply the changes.