


Microsoft Excel is spreadsheet software from Microsoft used to organize, analyze and visualize data and to automate work with formulas and macros, from basic calculations to advanced data modeling. The UnifyApps Microsoft Excel connector uses the Microsoft Graph API to work with Excel workbooks stored in OneDrive and SharePoint: add worksheets and tables, read, add, update and delete table rows, update cell ranges and formatting, and find, inspect and download workbook files from workflows and agents.
This guide covers every authentication type available on the connection form and the actions supported, along with the Microsoft Graph permission each one needs.
Authentication
Before you begin, you should have the following information:
Connection name: a descriptive name such as MyAppExcelIntegration, so the connection is easy to identify later.
Authentication type: select the type of authentication for connecting to your Microsoft Excel account:
OAuth
OAuth with Client Credentials
Both types act on behalf of the Microsoft user who signs in. The optional Scopes field offers Files.ReadWrite.All, Sites.ReadWrite.All, User.Read and User.Read.All. If you leave it empty, all four are requested, which covers every action below; offline_access is always added so the connection can refresh its token.
1. OAuth
Use this when you want to connect with your own Microsoft account and do not need to register an app.
Enter a Connection name.
Select OAuth as the Authentication type.
Leave Tenant ID empty to use
common, or enter your tenant ID or domain to restrict sign-in to one organization (organizationsallows any work or school account).Keep Scopes empty to request all four permissions, or select only the ones you need.
Click Authorize. You are redirected to the Microsoft sign-in page.
Sign in with the Microsoft account whose workbooks the connection should use.
Review the permissions requested on the consent screen and click Accept.
Files.ReadWrite.All,Sites.ReadWrite.AllandUser.Read.Allmay need administrator consent in your organization.You are redirected back to UnifyApps with a confirmation that the account is connected.
2. OAuth with Client Credentials
Use this when your organization wants the connection to use its own Azure app registration while actions still run on behalf of a signed-in user.
Step 1: App registration in Azure
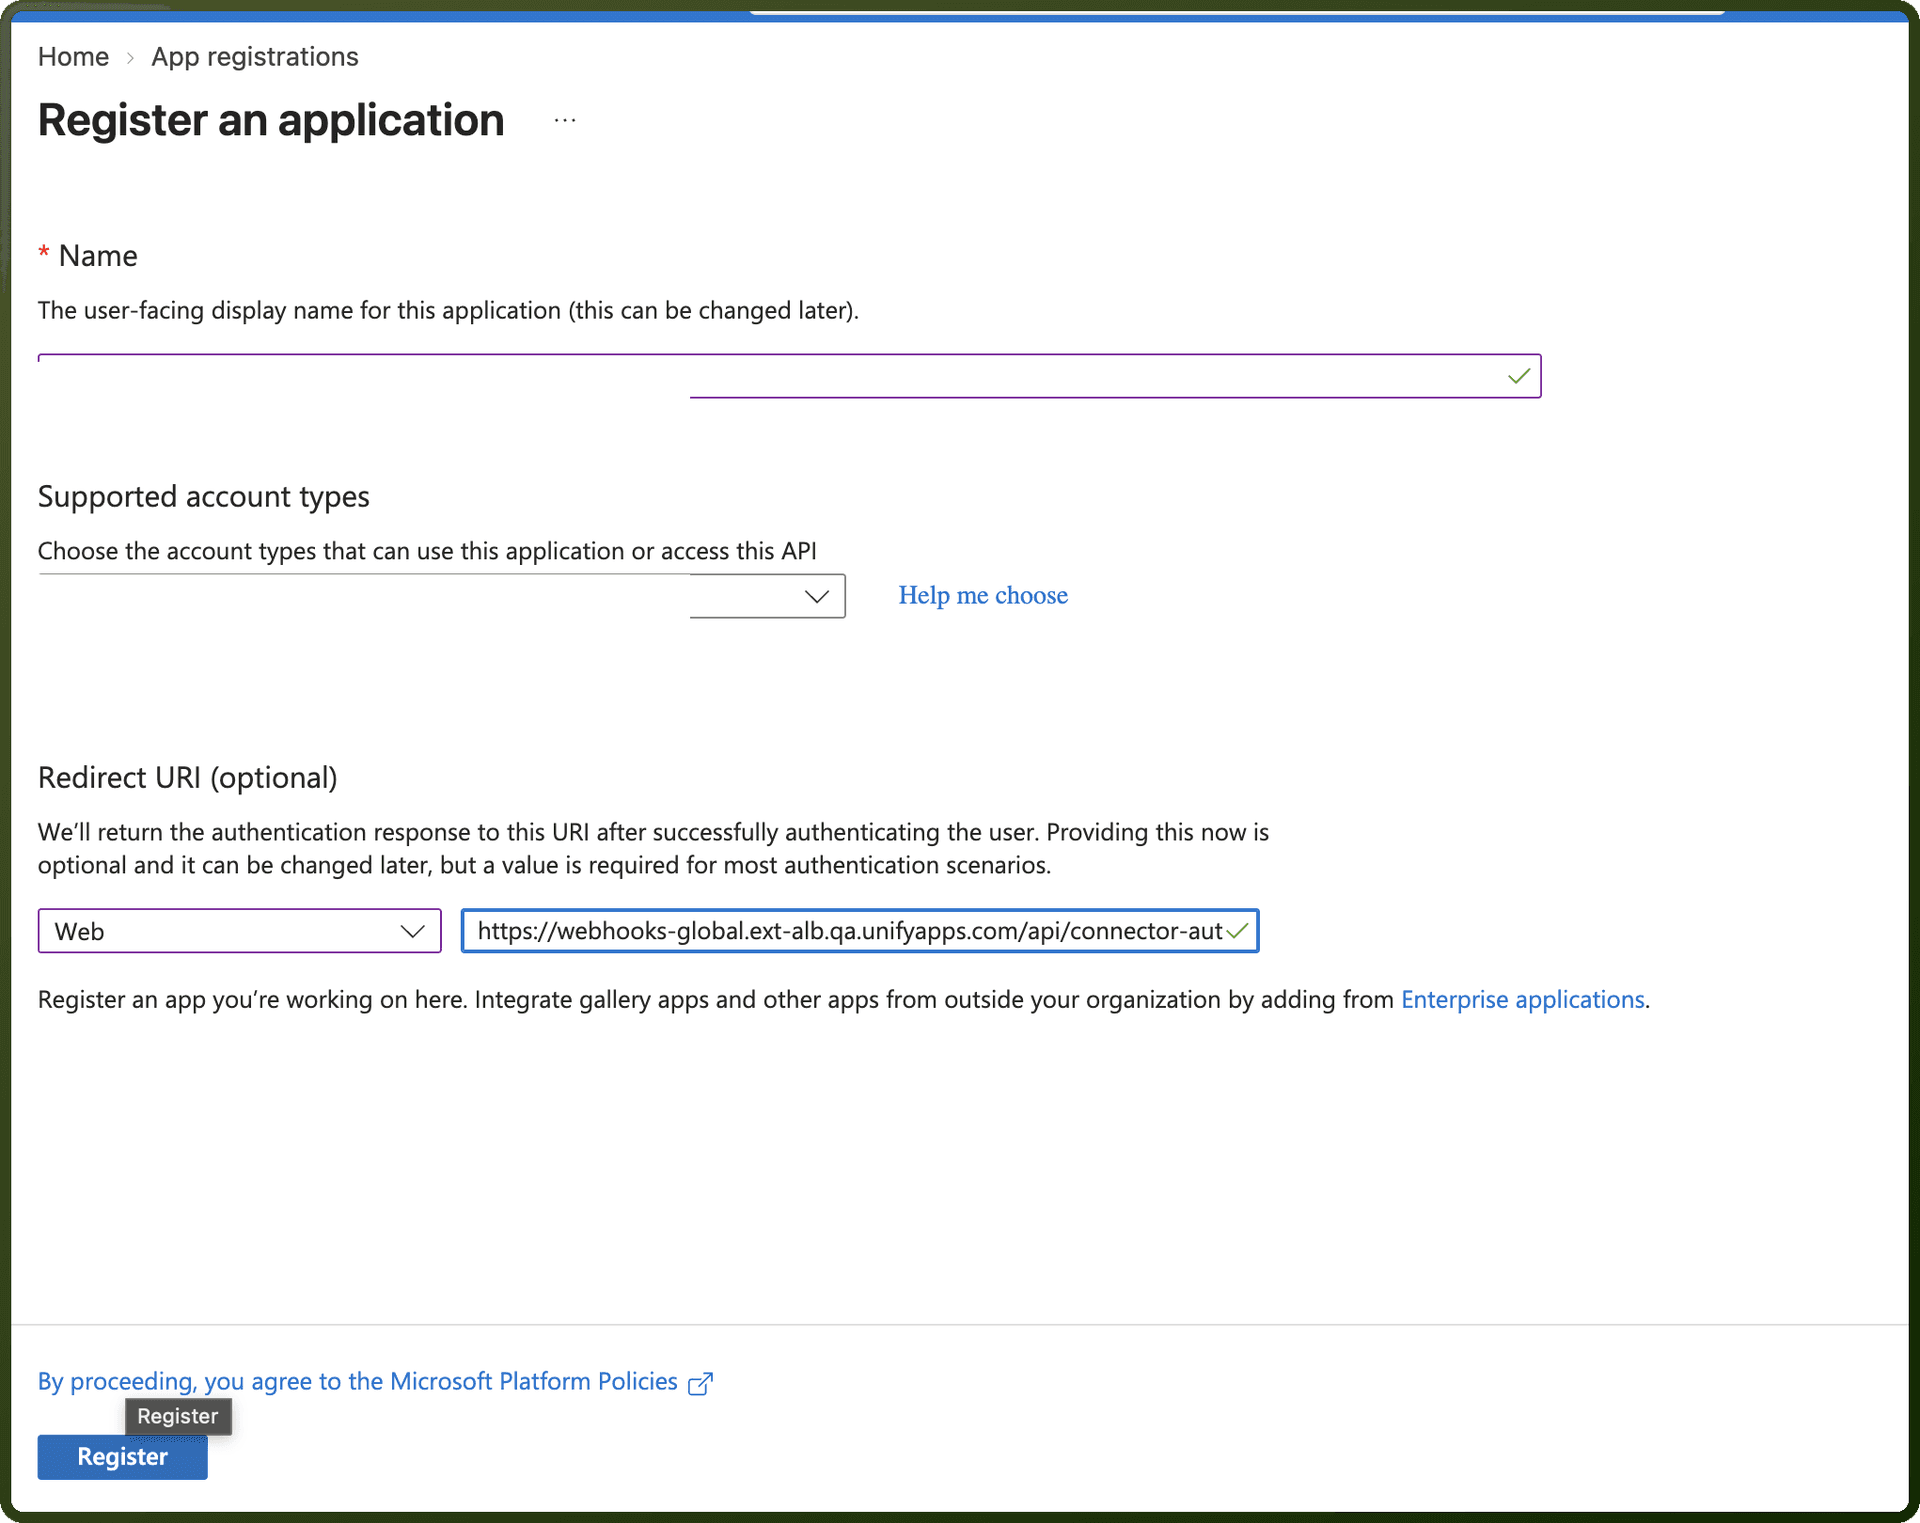
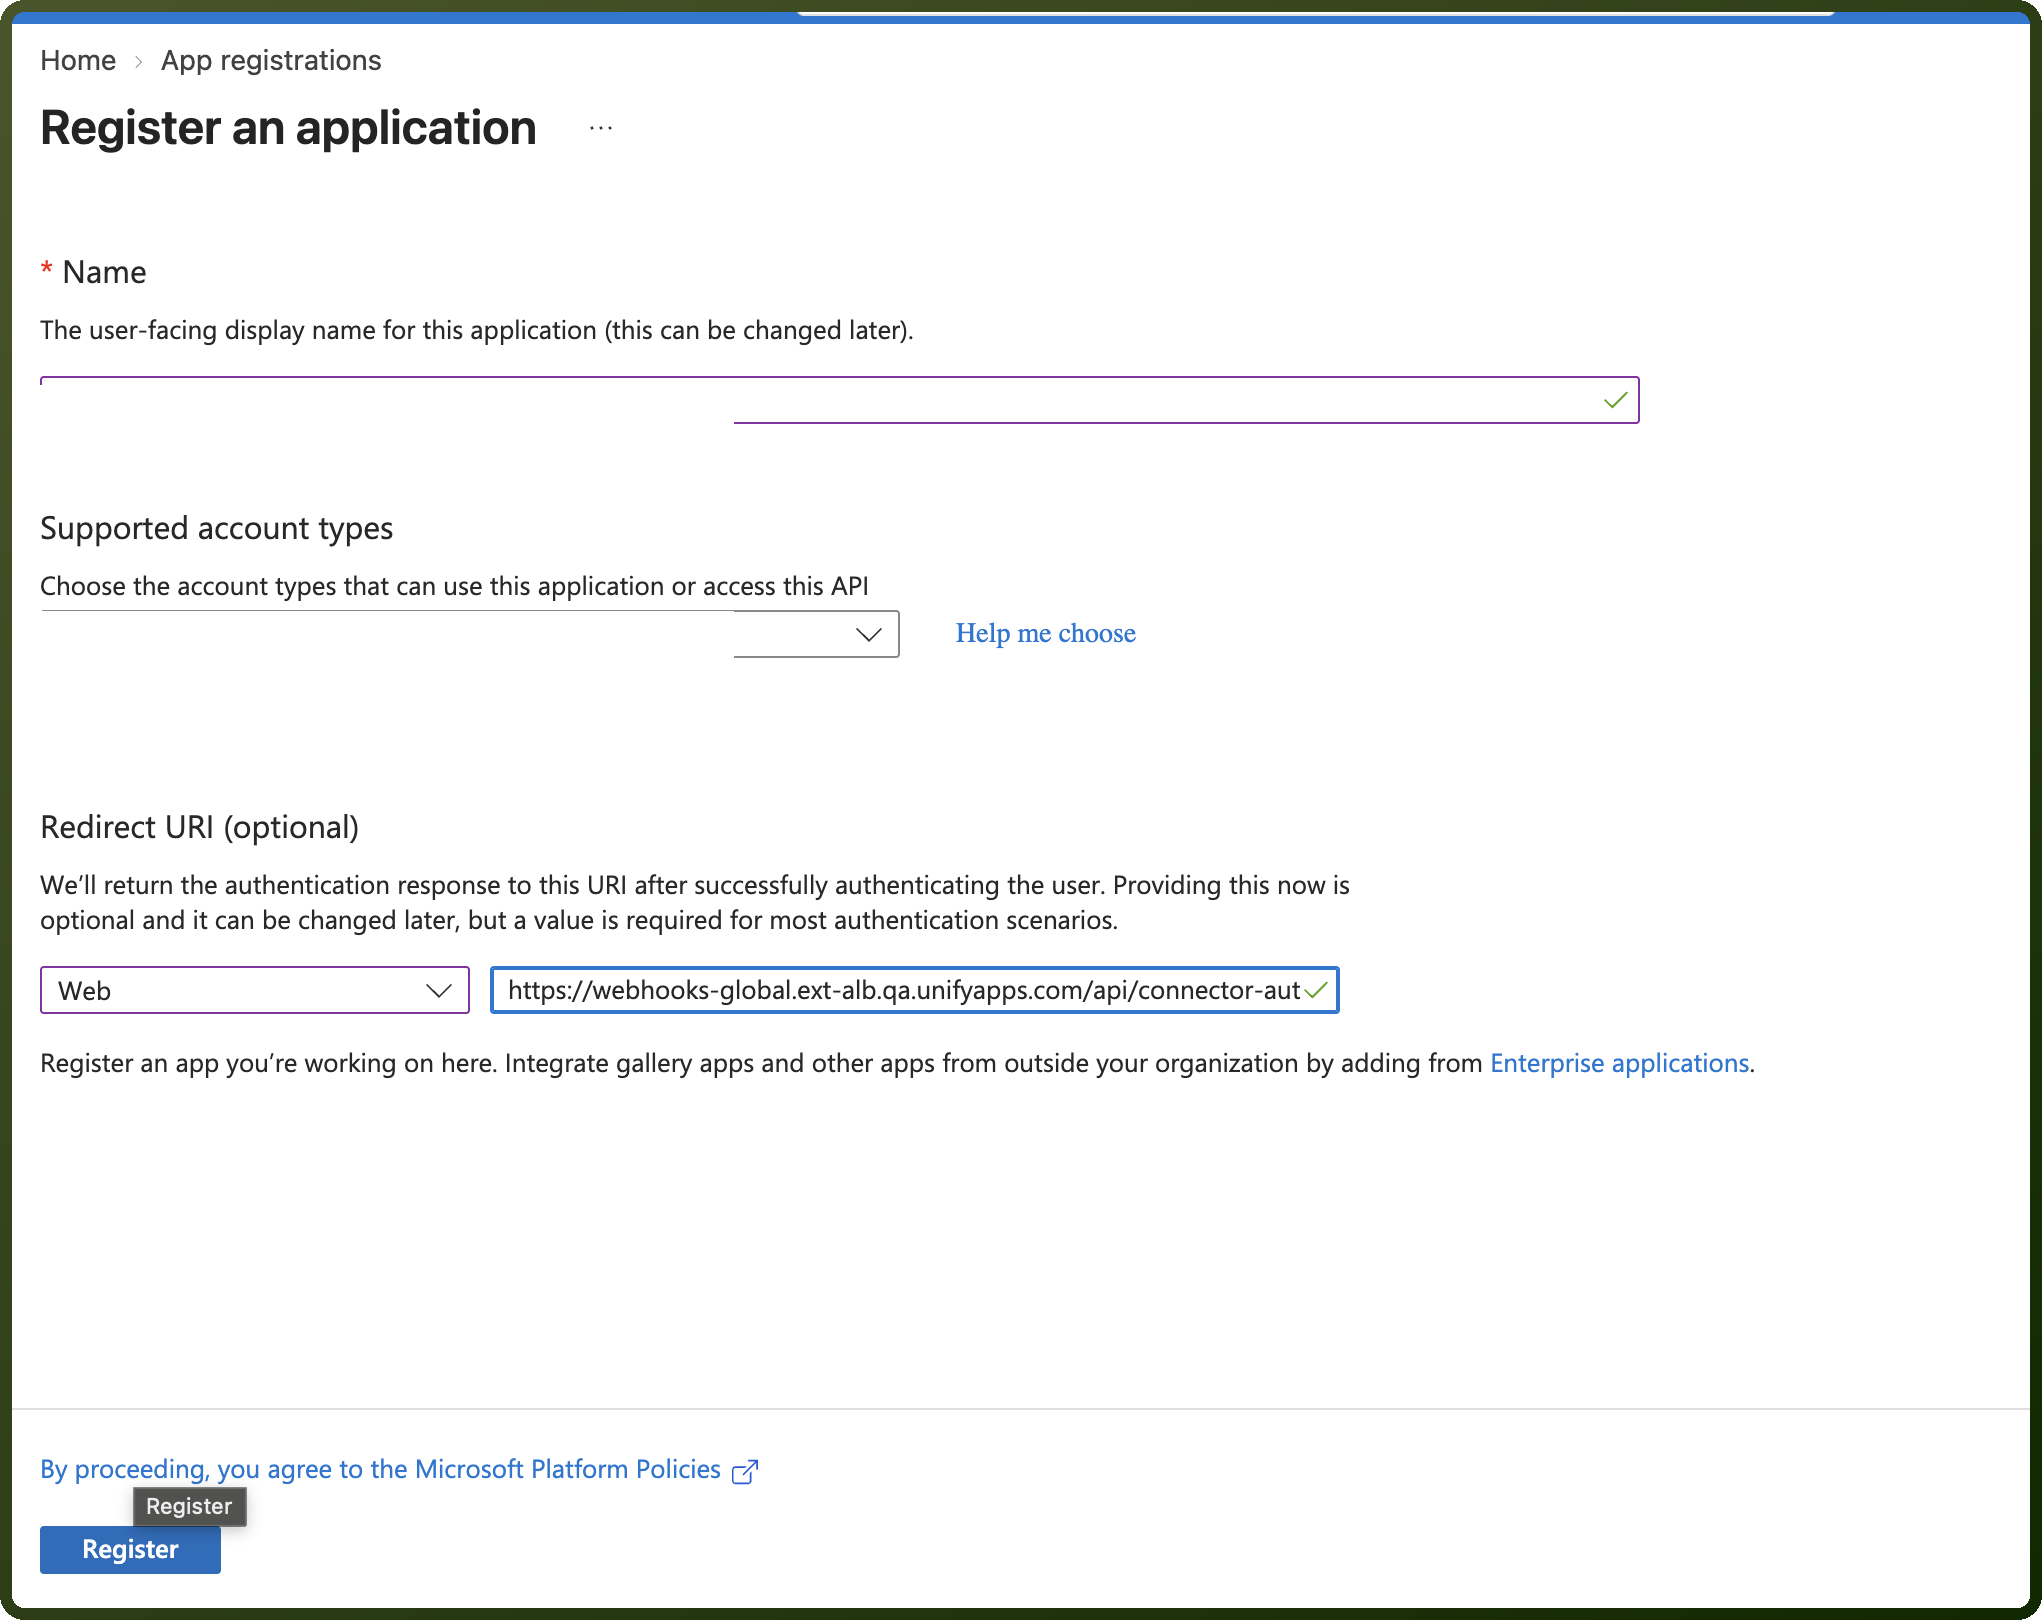
Log in to the Azure portal, search for App registrations and click New registration.
Enter a name and choose the supported account type, single tenant or multitenant.
Under Redirect URI, choose platform Web and paste the Callback URL shown on the connection form (it is copyable and differs per environment).
Click Register.
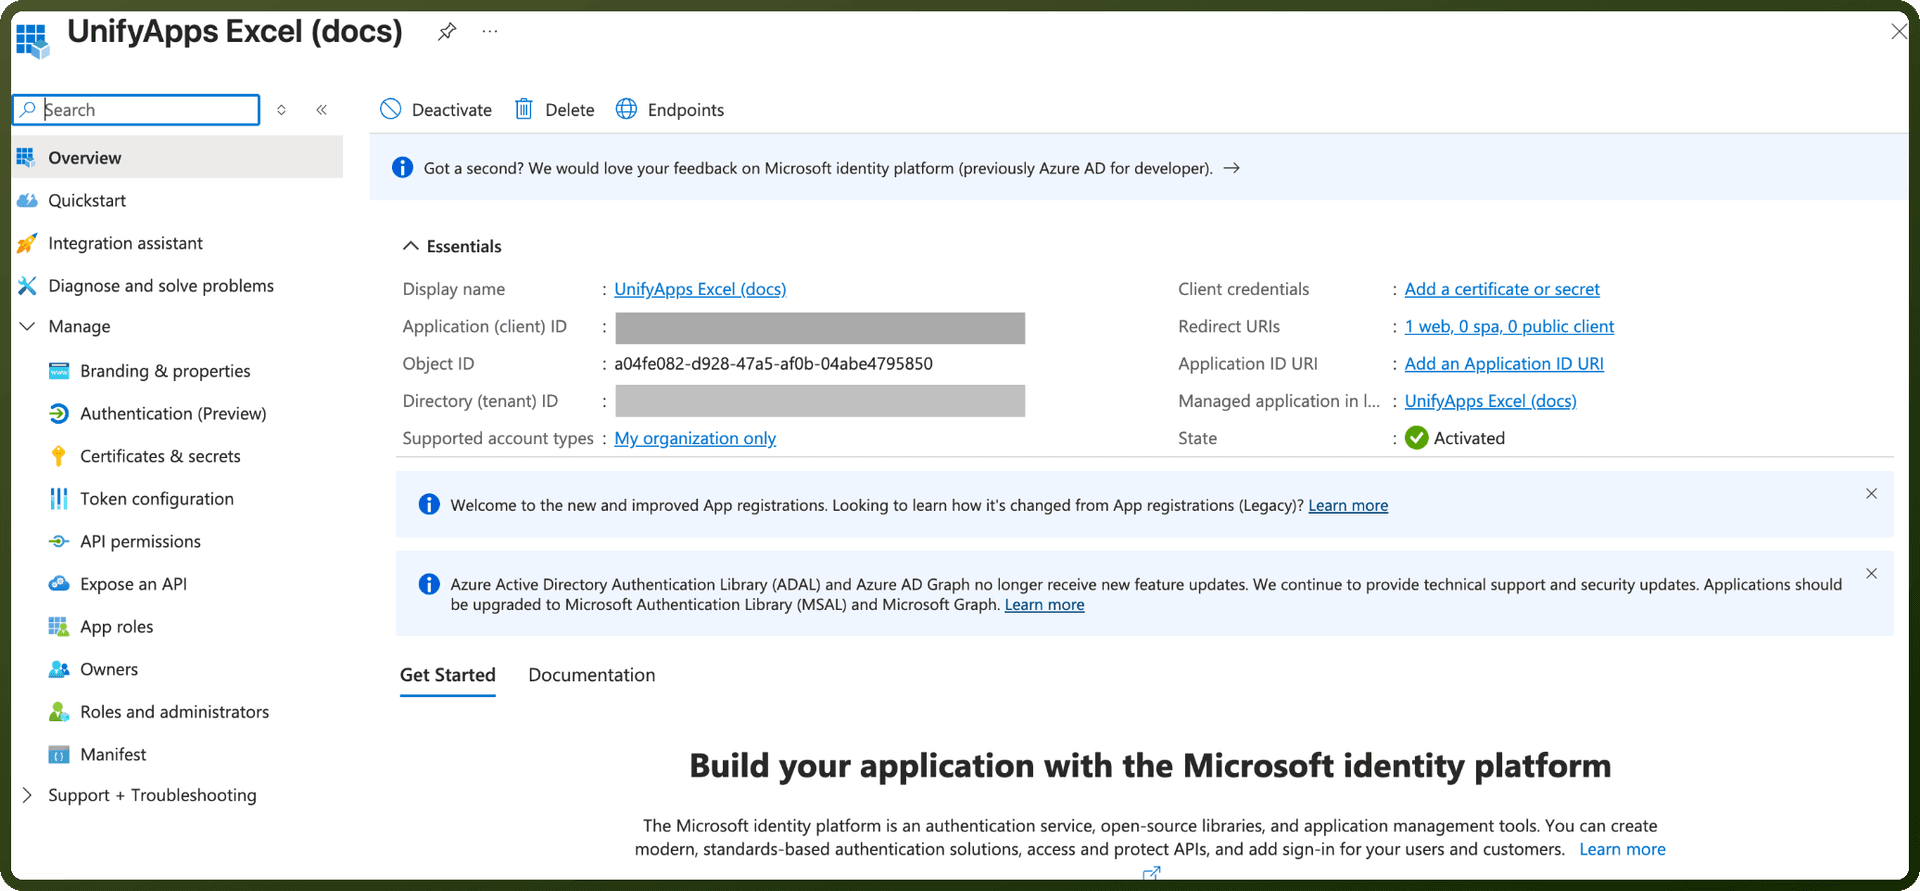
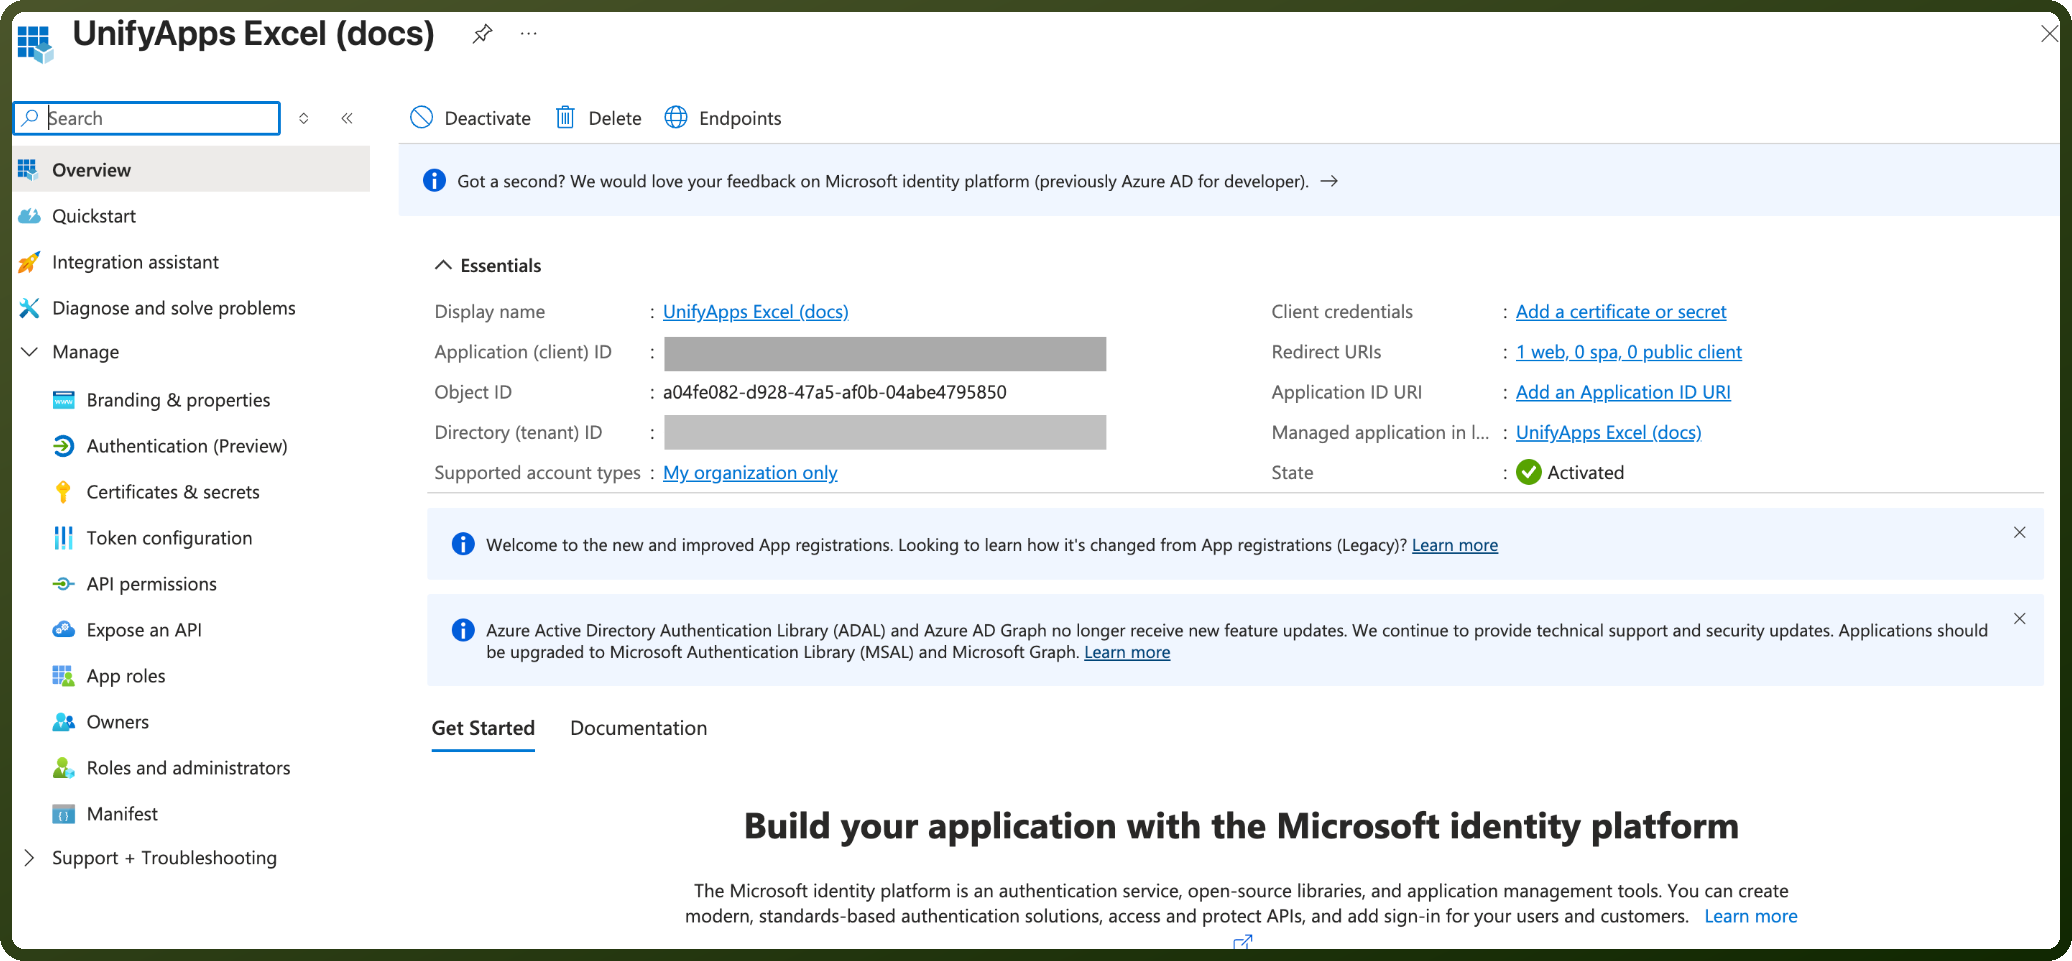
On the Overview tab, copy the Application (client) ID and the Directory (tenant) ID.
Go to API permissions → Add a permission → Microsoft Graph → Delegated permissions and add
Files.ReadWrite.All,Sites.ReadWrite.All,User.ReadandUser.Read.All(or only the ones you will select in Scopes), plusoffline_accessso the connection can refresh its token. Click Grant admin consent if your tenant requires it.Go to Certificates & secrets → New client secret, add a description and expiry, and click Add. Copy the secret Value immediately and store it securely. It is not shown again.
Step 2: Connection setup in UnifyApps
Open Connections → New Connection → Microsoft Excel and enter a Connection name.
Select OAuth with Client Credentials as the Authentication type.
Enter the Client ID, Client secret and Tenant ID copied from Azure.
Keep Scopes empty to request all four permissions, or select the same permissions you added to the app registration.
Click Authorize, sign in with Microsoft and accept the consent screen.
Confirm the success message after the redirect back to UnifyApps.
Actions
Scopes are Microsoft Graph delegated permissions. The first value is the narrowest permission Microsoft documents for the call; it covers workbooks in the signed-in user's own OneDrive. The Scopes list on the connection form offers only the broader permission in brackets, which also covers workbooks in SharePoint sites and other users' drives. Sites.ReadWrite.All also works wherever Files.ReadWrite.All is shown.
Actions | Description | Scopes Required |
|---|---|---|
| Adds rows to a table in an Excel workbook, in batches. | Files.ReadWrite (or Files.ReadWrite.All) |
| Adds a table to a worksheet in an Excel workbook. | Files.ReadWrite (or Files.ReadWrite.All) |
| Adds a worksheet to an Excel workbook. | Files.ReadWrite (or Files.ReadWrite.All) |
| Deletes a row from a table in an Excel workbook. | Files.ReadWrite (or Files.ReadWrite.All) |
| Downloads the contents of an Excel file. | Files.Read (or Files.ReadWrite.All) |
| Fetches the sharing permissions of a file or folder. | Files.Read (or Files.ReadWrite.All) |
| Gets the metadata of an Excel file. | Files.Read (or Files.ReadWrite.All) |
| Gets the ID of the signed-in user's OneDrive drive. | Files.Read (or Files.ReadWrite.All) |
| Gets the details of the signed-in user's organization. | User.Read (returns only the ID, name and verified domains; Organization.Read.All returns every property) |
| Gets the rows of a table in an Excel workbook. | Files.ReadWrite (or Files.ReadWrite.All) |
| Gets the teams a user is a member of, by user ID. | Team.ReadBasic.All (or User.Read.All) |
| Gets the details of a user by email address. | User.ReadBasic.All (or User.Read.All) |
| Searches and lists SharePoint sites. | Sites.Read.All (or Sites.ReadWrite.All) |
| Lists the tables in a worksheet of an Excel workbook. | Files.ReadWrite (or Files.ReadWrite.All) |
| Lists the worksheets in an Excel workbook. | Files.ReadWrite (or Files.ReadWrite.All) |
| Searches for workbook files in a OneDrive or SharePoint drive. | Files.Read (or Files.ReadWrite.All) |
| Updates the fill color of a range of cells in an Excel worksheet. | Files.ReadWrite (or Files.ReadWrite.All) |
| Updates the values of a range of cells in an Excel worksheet. | Files.ReadWrite (or Files.ReadWrite.All) |
| Updates a row in a table in an Excel workbook. | Files.ReadWrite (or Files.ReadWrite.All) |