
Microsoft SharePoint is a collaborative platform for managing, sharing, and organizing documents, data, and workflows within organizations. It integrates with Microsoft 365, enabling team collaboration, intranet solutions, and secure content management.
Integrating Microsoft SharePoint streamlines collaboration, enhances document management, and improves organizational productivity with seamless Microsoft 365 integration.
Authentication
Before you begin, make sure you have the following information:
Connection Name: Select a descriptive name for your connection, like "MyAppSharepointIntegration". This helps easily identify the connection within your application or integration settings.
Domain : Enter the domain of your Microsoft Sharepoint account. For example, if your site url is https://unifyapps.sharepoint.com, then the domain is unifyapps
Authentication Type: Select the type of authentication for connecting to your Sharepoint account:
OAuth with Client Credentials Based Authentication
OAuth
Client certificate credentials
OAuth with Client Credentials Based Authentication
Register the App in Azure Portal:
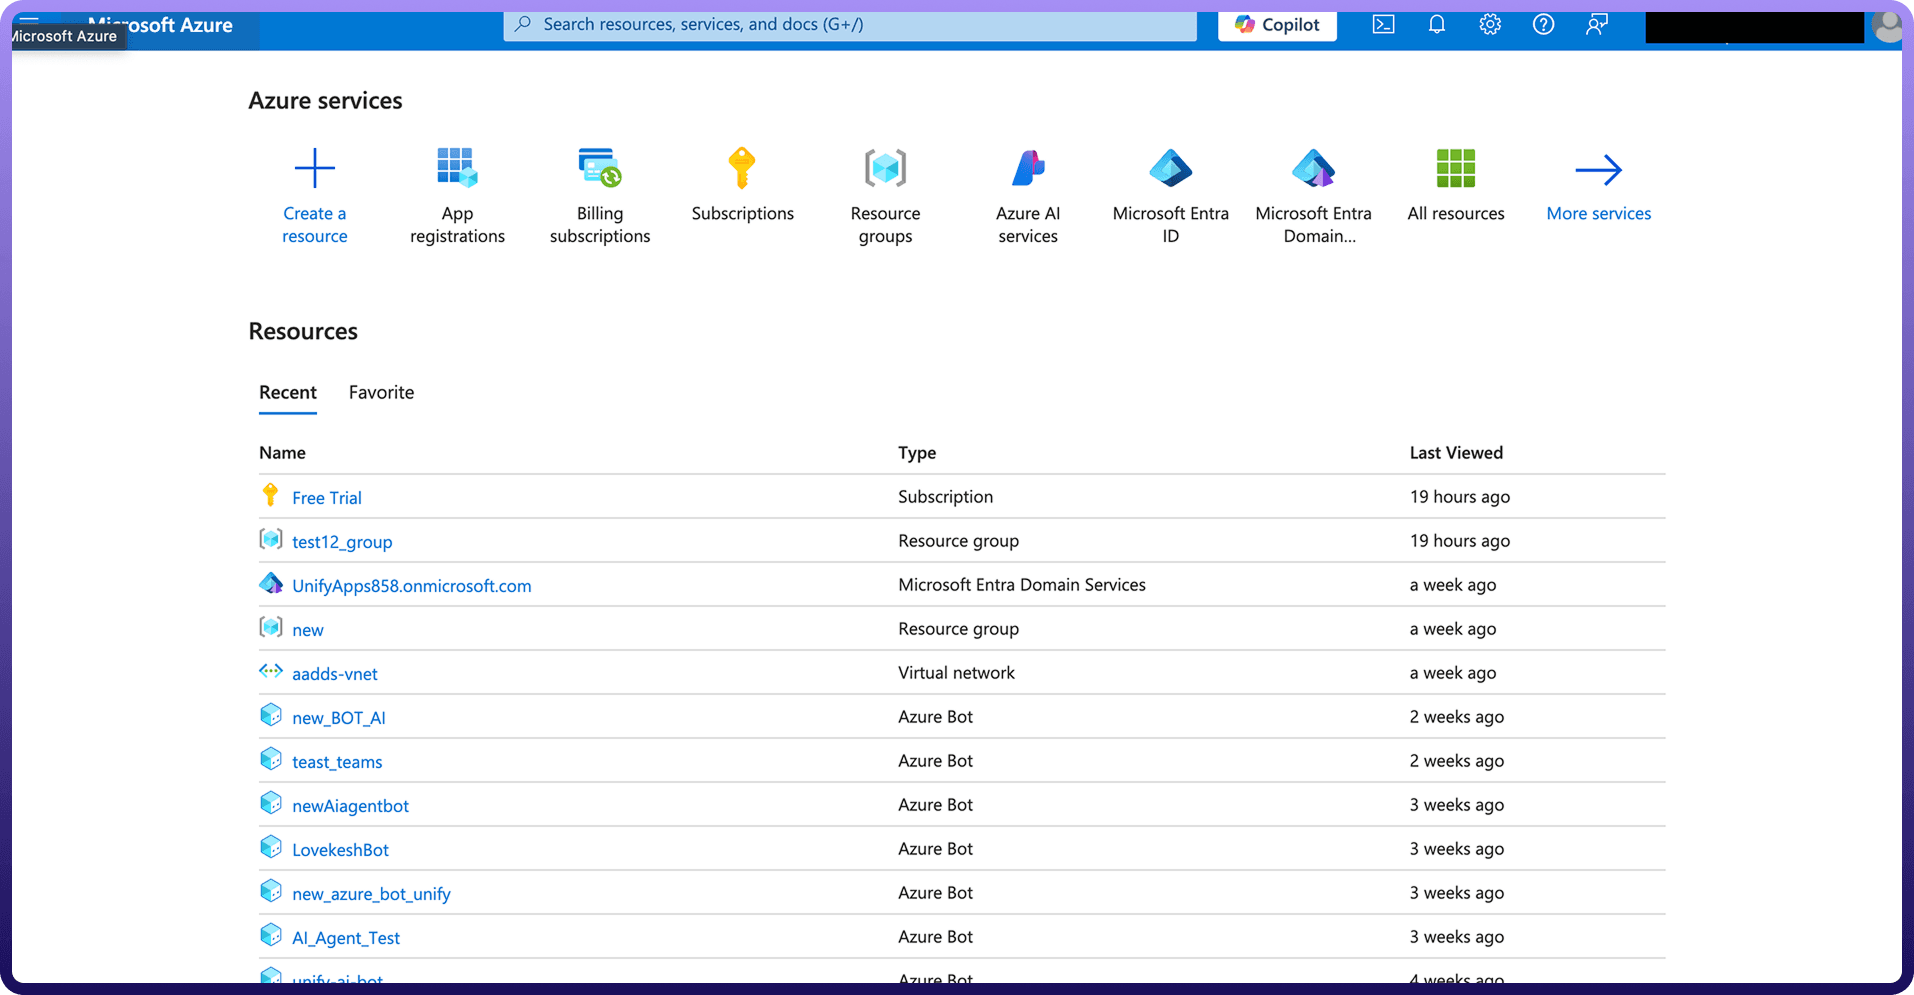
Log in to the Azure portal.
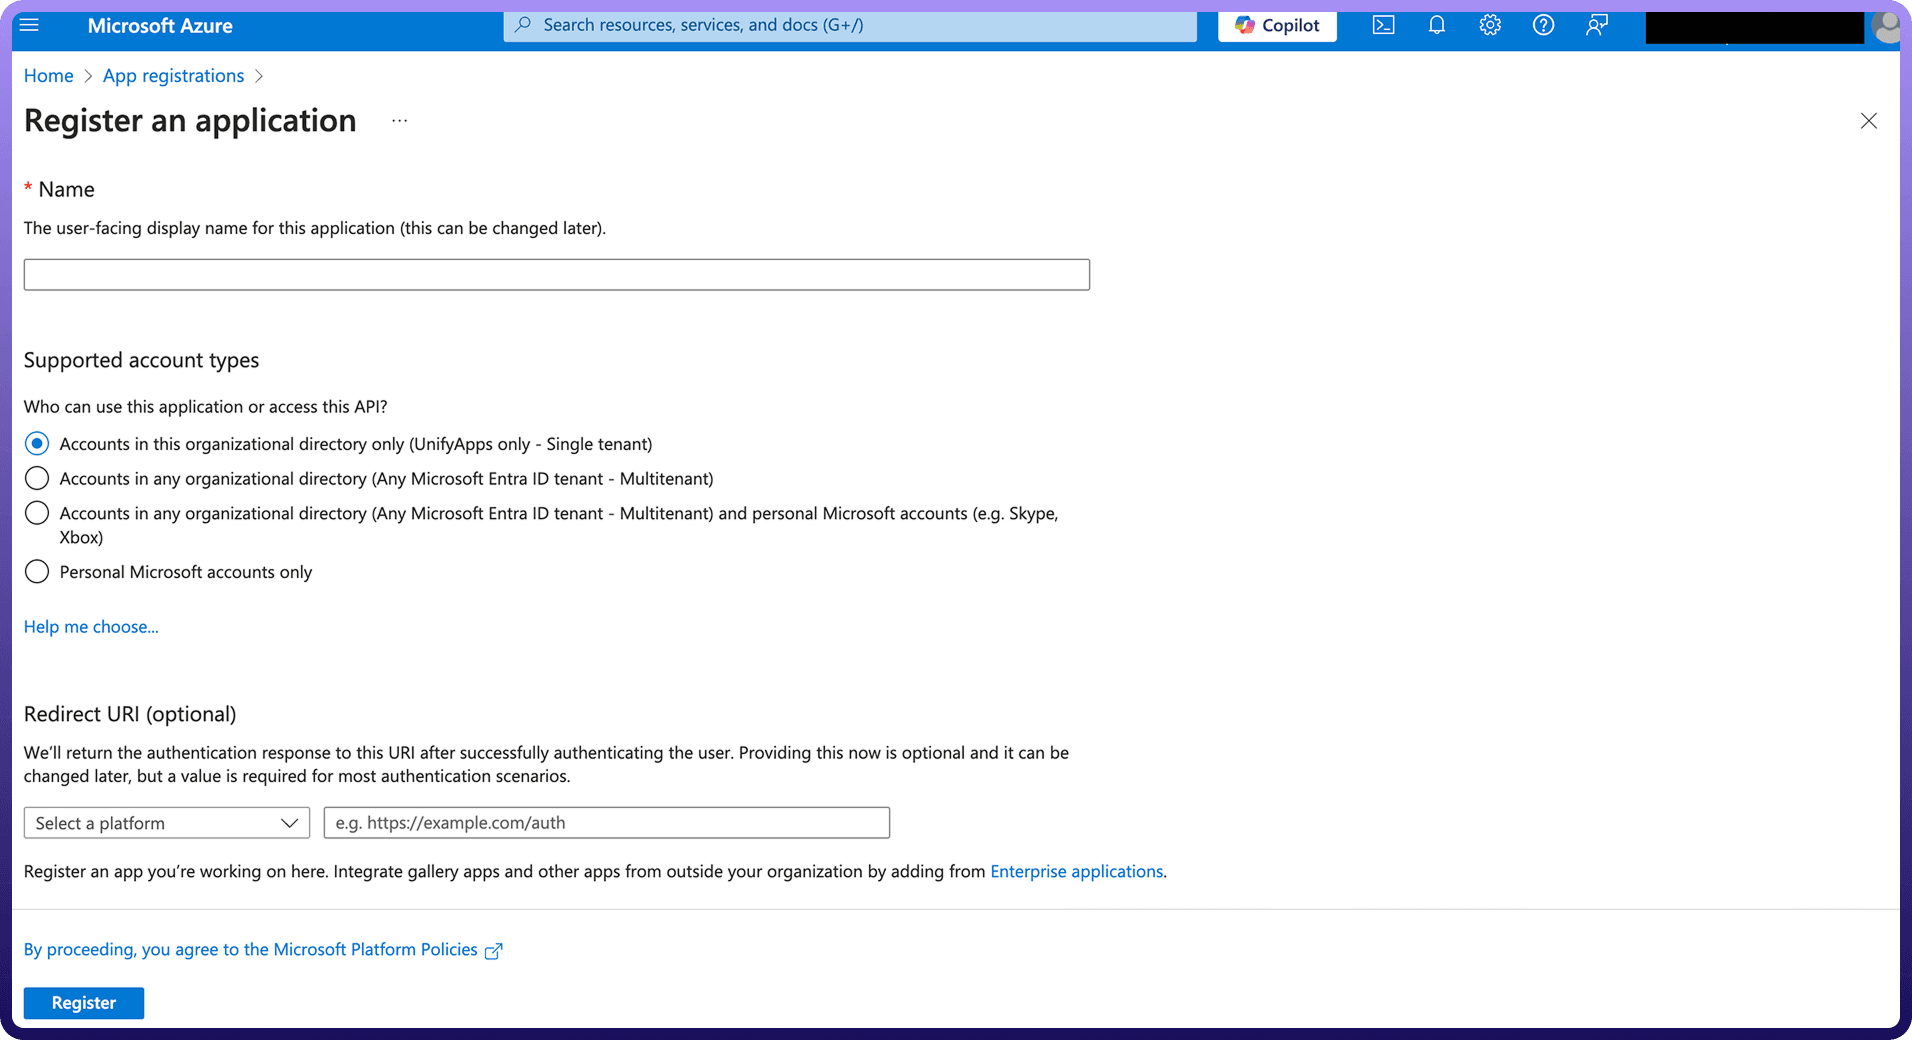
Navigate to App Registrations and click on New registration.
Add the name of your application, redirect URI and ‘Accounts in any organizational directory (Any Microsoft Entra ID tenant - Multitenant)’ as the Supported account types. Click Register to register your application.
Obtain the Client ID and Tenant ID:
Navigate to the Overview tab of your App.
Here you will find the Client ID and the Tenant ID.
Assign the necessary permissions:
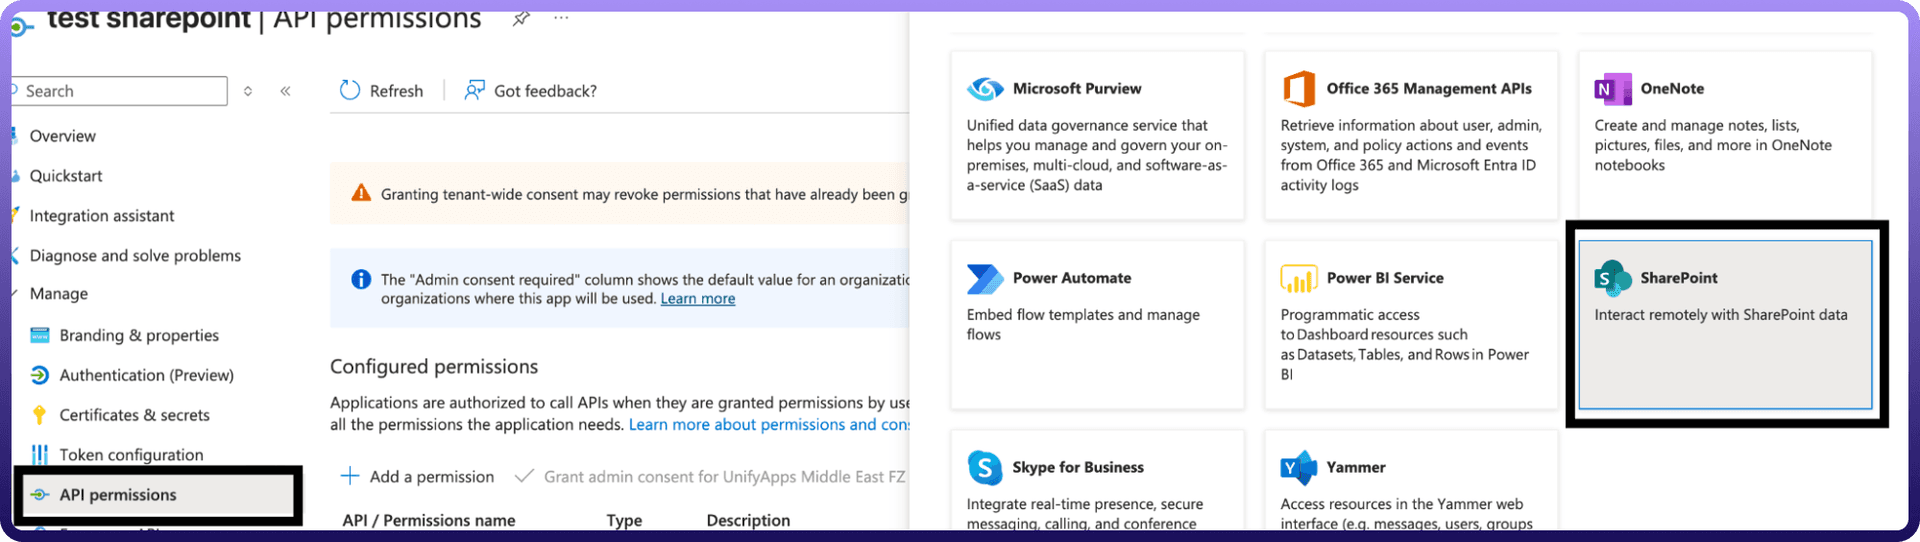
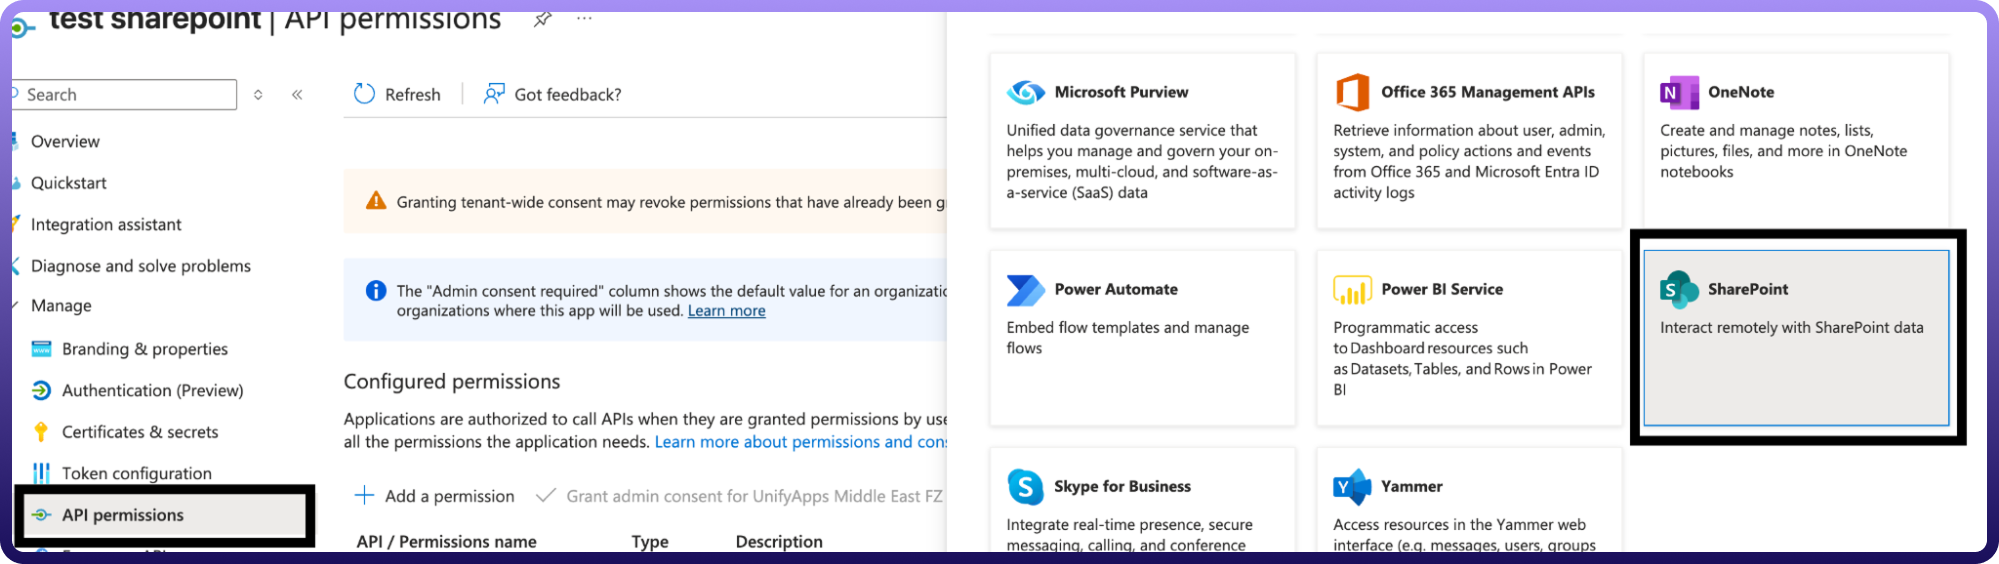
Go to API Permissions on the side navigation bar. Click on Add a permission and go to sharepoint resource.
Under Delegated Permissions, assign
AllSites.Manage - Allows the app to manage items and lists across all SharePoint site collections
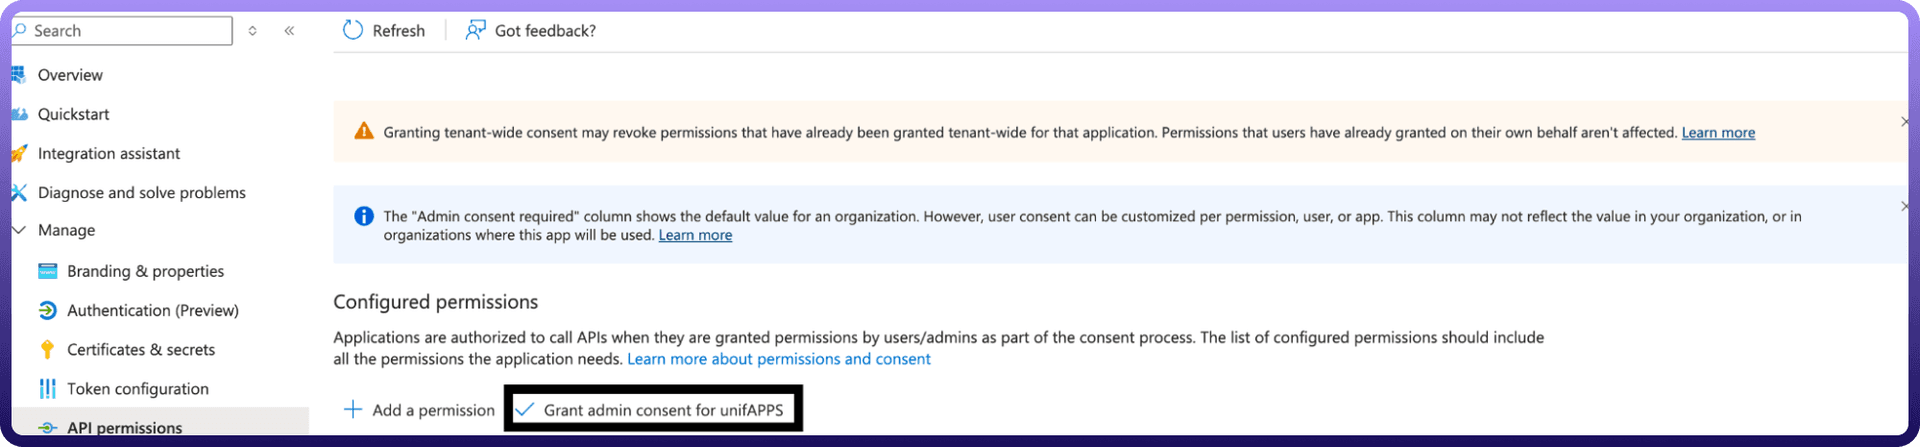
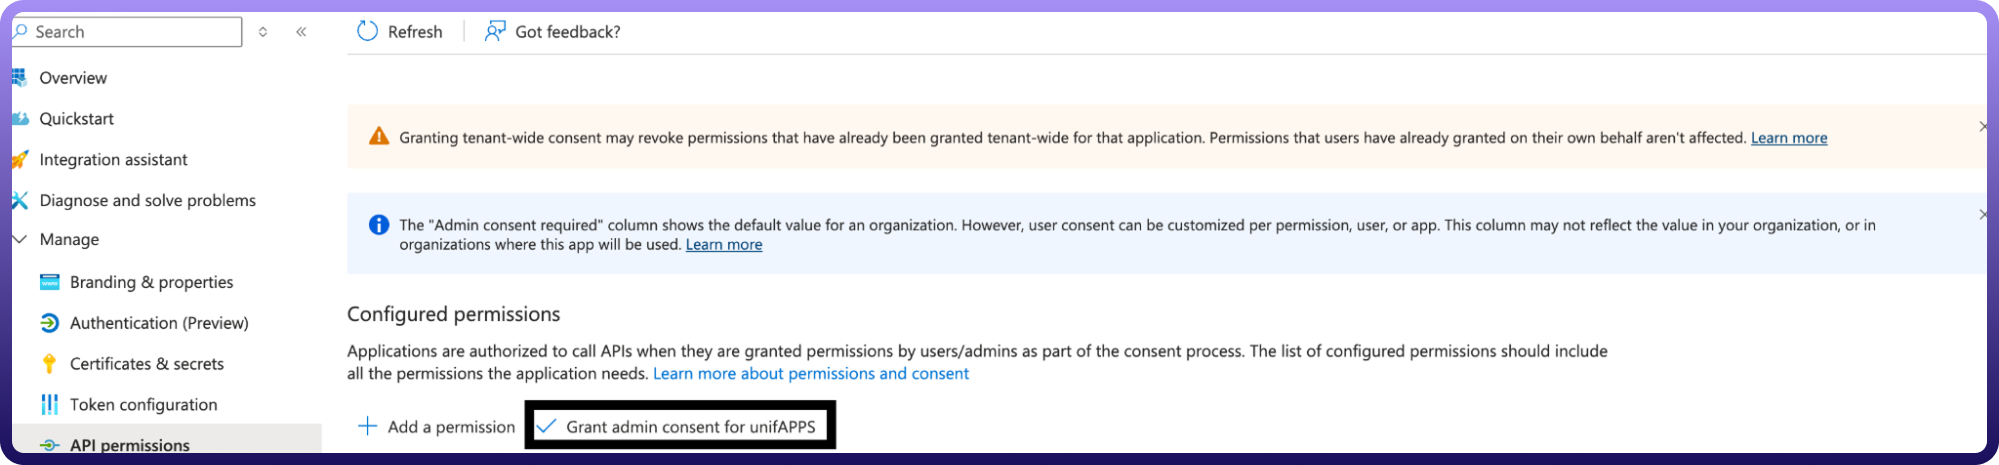
Now grant that added permissions
Obtain the Client secret:
Navigate to the Certificates & secrets tab in the navigation pane and click on New client secret. Click on Add to create a new client secret.
Copy the Value of your newly created client secret and store it safely.
Now enter required details like Domain, Client ID, Client Secret, Tenant ID.
Click on the Authorise button. You’ll be redirected to a Microsoft sign-in page.
If you're not already logged into Microsoft Sharepoint, enter your Microsoft Sharepoint account credentials and Sign in.
Connection will be created successfully.
OAuth based
Now enter required details like Domain, Tenant ID.
Click on the Authorise button. You’ll be redirected to a Microsoft sign-in page.
If you're not already logged into Microsoft Outlook, enter your Microsoft Outlook account credentials and Sign in.
Microsoft will display a permissions request screen, showing the app name and the specific Microsoft Outlook permissions we are requesting access to.
Carefully review the permissions being requested. If you’re comfortable with them, click the "Allow" button.
After granting access, you will be automatically redirected back to our platform, where you should see a confirmation message indicating that your account is now connected.
Client certificate credentials
This flow we use for making connection without a user login
Here we will need Domain, Client ID, Tenant ID, publicKeyX5t, Private key.
To get Domain, Client ID, tenant ID will be same flow as mentioned above
Public and private key can generated using terminal with the below commands - openssl genrsa -out private.key 2048 - openssl req -new -x509 -key private.key -out certificate.crt -days 365
Once you have private.key and certificate.crt now need to upload this certificate.crt In Certificates & Secrets section in Azure app.
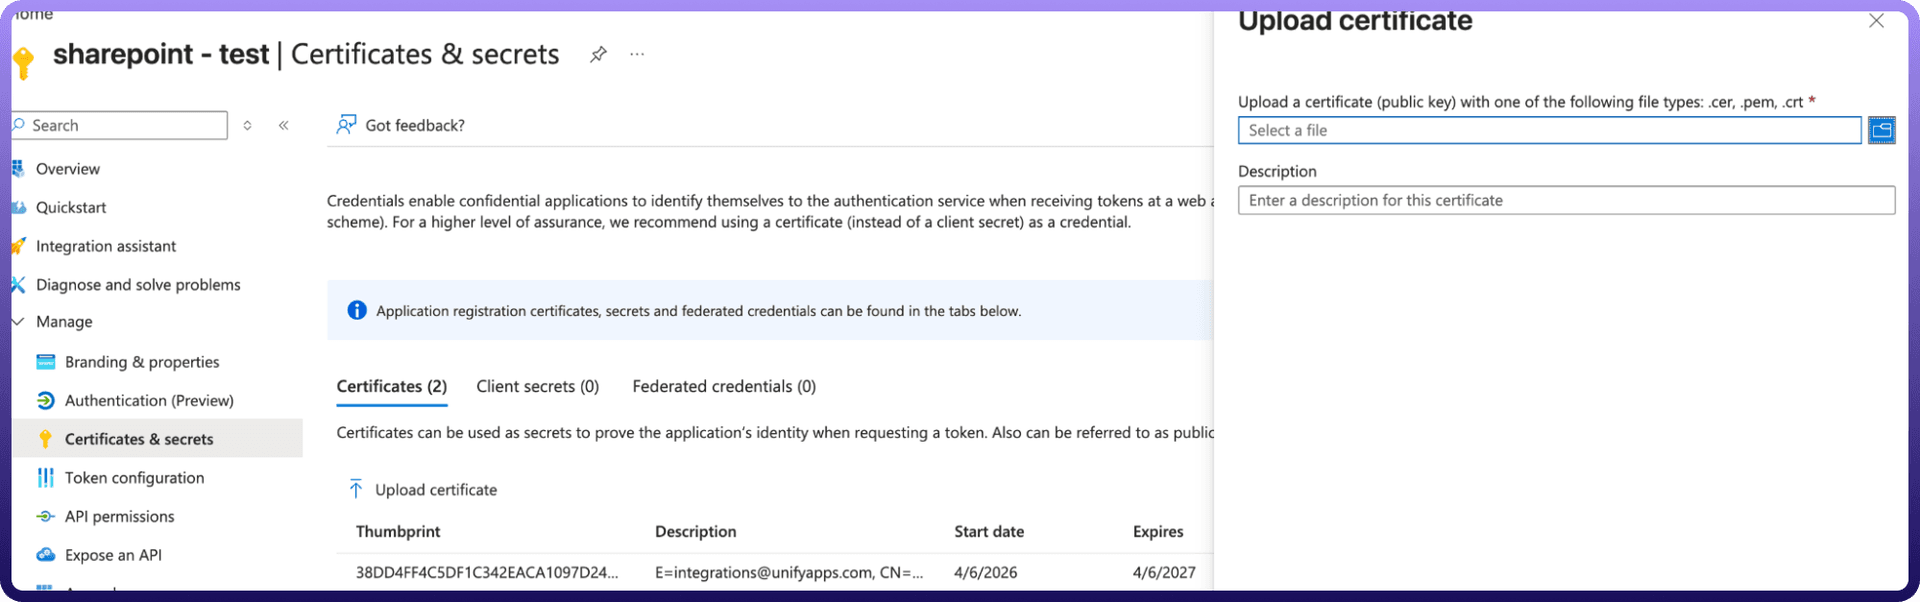
Now we have publicKeyX5t that is Thumbprint getting after uploading the certificate.crt and we have Private Key as well.
Assign the necessary permissions:
Go to API Permissions on the side navigation bar. Click on Add a permission and go to sharepoint resource.
Under Application Permissions, assign
Sites.Manage.All - Allows the app to manage items and lists across all SharePoint site collections
Now you can Enter all the required details and Click on the Authorise button.
Connection will be created successfully.
Actions:
Actions | Description |
| Creates a folder in Microsoft SharePoint |
| Creates a list in Microsoft SharePoint |
| Deletes a file or folder in Microsoft SharePoint |
| Downloads a file from SharePoint library |
| Fetch groups for a user in Microsoft SharePoint |
| Gets file or folder details from Microsoft SharePoint |
| Gets file details from Microsoft SharePoint |
| Gets file or folder permissions from Microsoft SharePoint |
| Gets folder details from Microsoft SharePoint |
| Lists files in Microsoft SharePoint |
| Lists folders in Microsoft SharePoint |
| Renames a file or folder in Microsoft SharePoint |
| Updates a file in Microsoft SharePoint |
| Uploads a file in Microsoft SharePoint |
| Creates a folder in Microsoft SharePoint |
| Creates a list in Microsoft SharePoint |
| Deletes a file or folder in Microsoft SharePoint |
| Downloads a file from SharePoint library |
| Fetch groups for a user in Microsoft SharePoint |
| Gets file or folder details from Microsoft SharePoint |
| Gets file details from Microsoft SharePoint |
| Gets file or folder permissions from Microsoft SharePoint |
| Gets folder details from Microsoft SharePoint |
Triggers :
Actions | Description |
| Triggers when a file is created or updated in the selected folder in Microsoft Sharepoint |
| Triggers when a new or updated item is added to a SharePoint list |
| Triggers when a file is created or updated in the selected folder/sub-folder in Microsoft Sharepoint |