
Looker Studio (formerly Google Data Studio) is a data visualization and business intelligence tool that helps users create interactive reports and dashboards. It integrates with multiple data sources, enabling real-time analytics and data-driven decision-making.
Integrating Looker Studio enables dynamic data visualization, real-time insights, and seamless reporting by connecting multiple data sources in one platform.
Authentication
Before you begin, make sure you have the following information:
Connection Name: Select a descriptive name for your connection, like "MyAppLookerStudioIntegration". This helps in easily identifying the connection within your application or integration settings.Authentication Type: Looker Studio supports Service Account based authentication, OAuth based authentication.
Service Account Based Authentication
Create a service account by following these steps.
Add domain-level access to the service account (based on client ID) by following these steps.
Ensure that the following scopes are added to your service account and domain-level access:
https://www.googleapis.com/auth/datastudio
https://www.googleapis.com/auth/userinfo.profile
https://www.googleapis.com/auth/datastudio.readonly
Use the service account email, private key, and a sample user email to authenticate the connection
.png&w=1080&q=75)
.png)
OAuth Based Authentication (With Credentials)
The OAuth method involves signing in with your Google account credentials on Google's Single Sign-On page, and granting the necessary permissions to UnifyWorkflows, For OAuth-based authentication, you'll need to perform the following steps to generate access credentials:
Turn on the API services for Looker Studio API from
APIs & Services->Enable APIs and services.Create an OAuth Client Credentials by following these steps.
Set up an OAuth consent screen to configure OAuth consent for your application by the following steps .
After adding a new secret, the console displays the
Client Identifieras “Client ID” andClient Secretas “Client secret”. Copy this and treat it with high confidentiality, as it allows access to your Looker studio account..png&w=1080&q=75)
.png)
Use the
Client IDandClient secret, press the Authorise button. You’ll be redirected to a Google sign-in page.If you're not already logged into Google, enter your Google account credentials and Sign in.
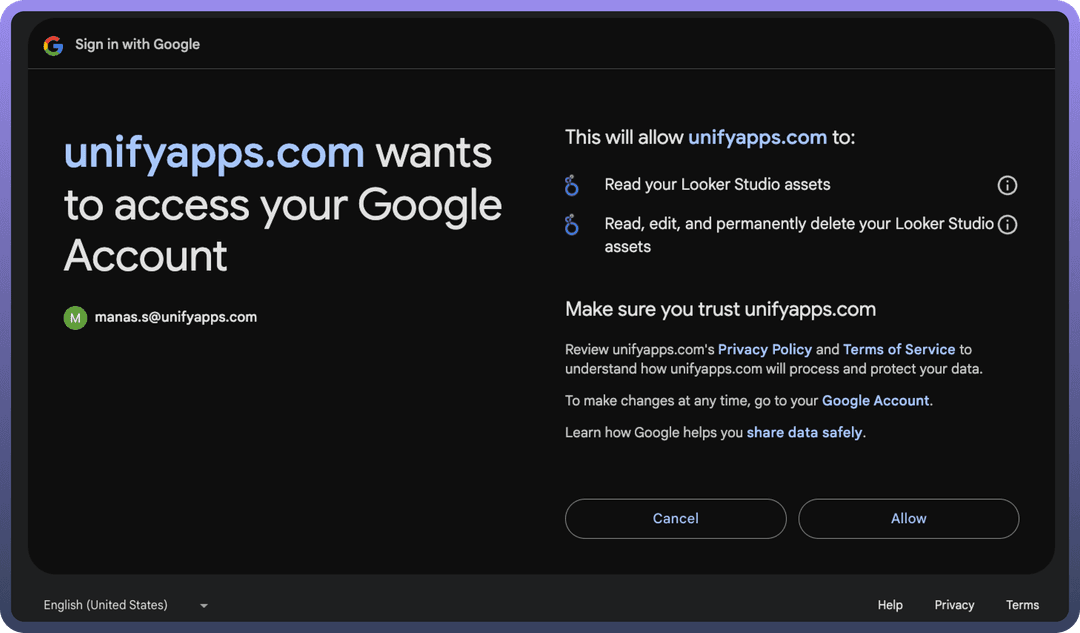
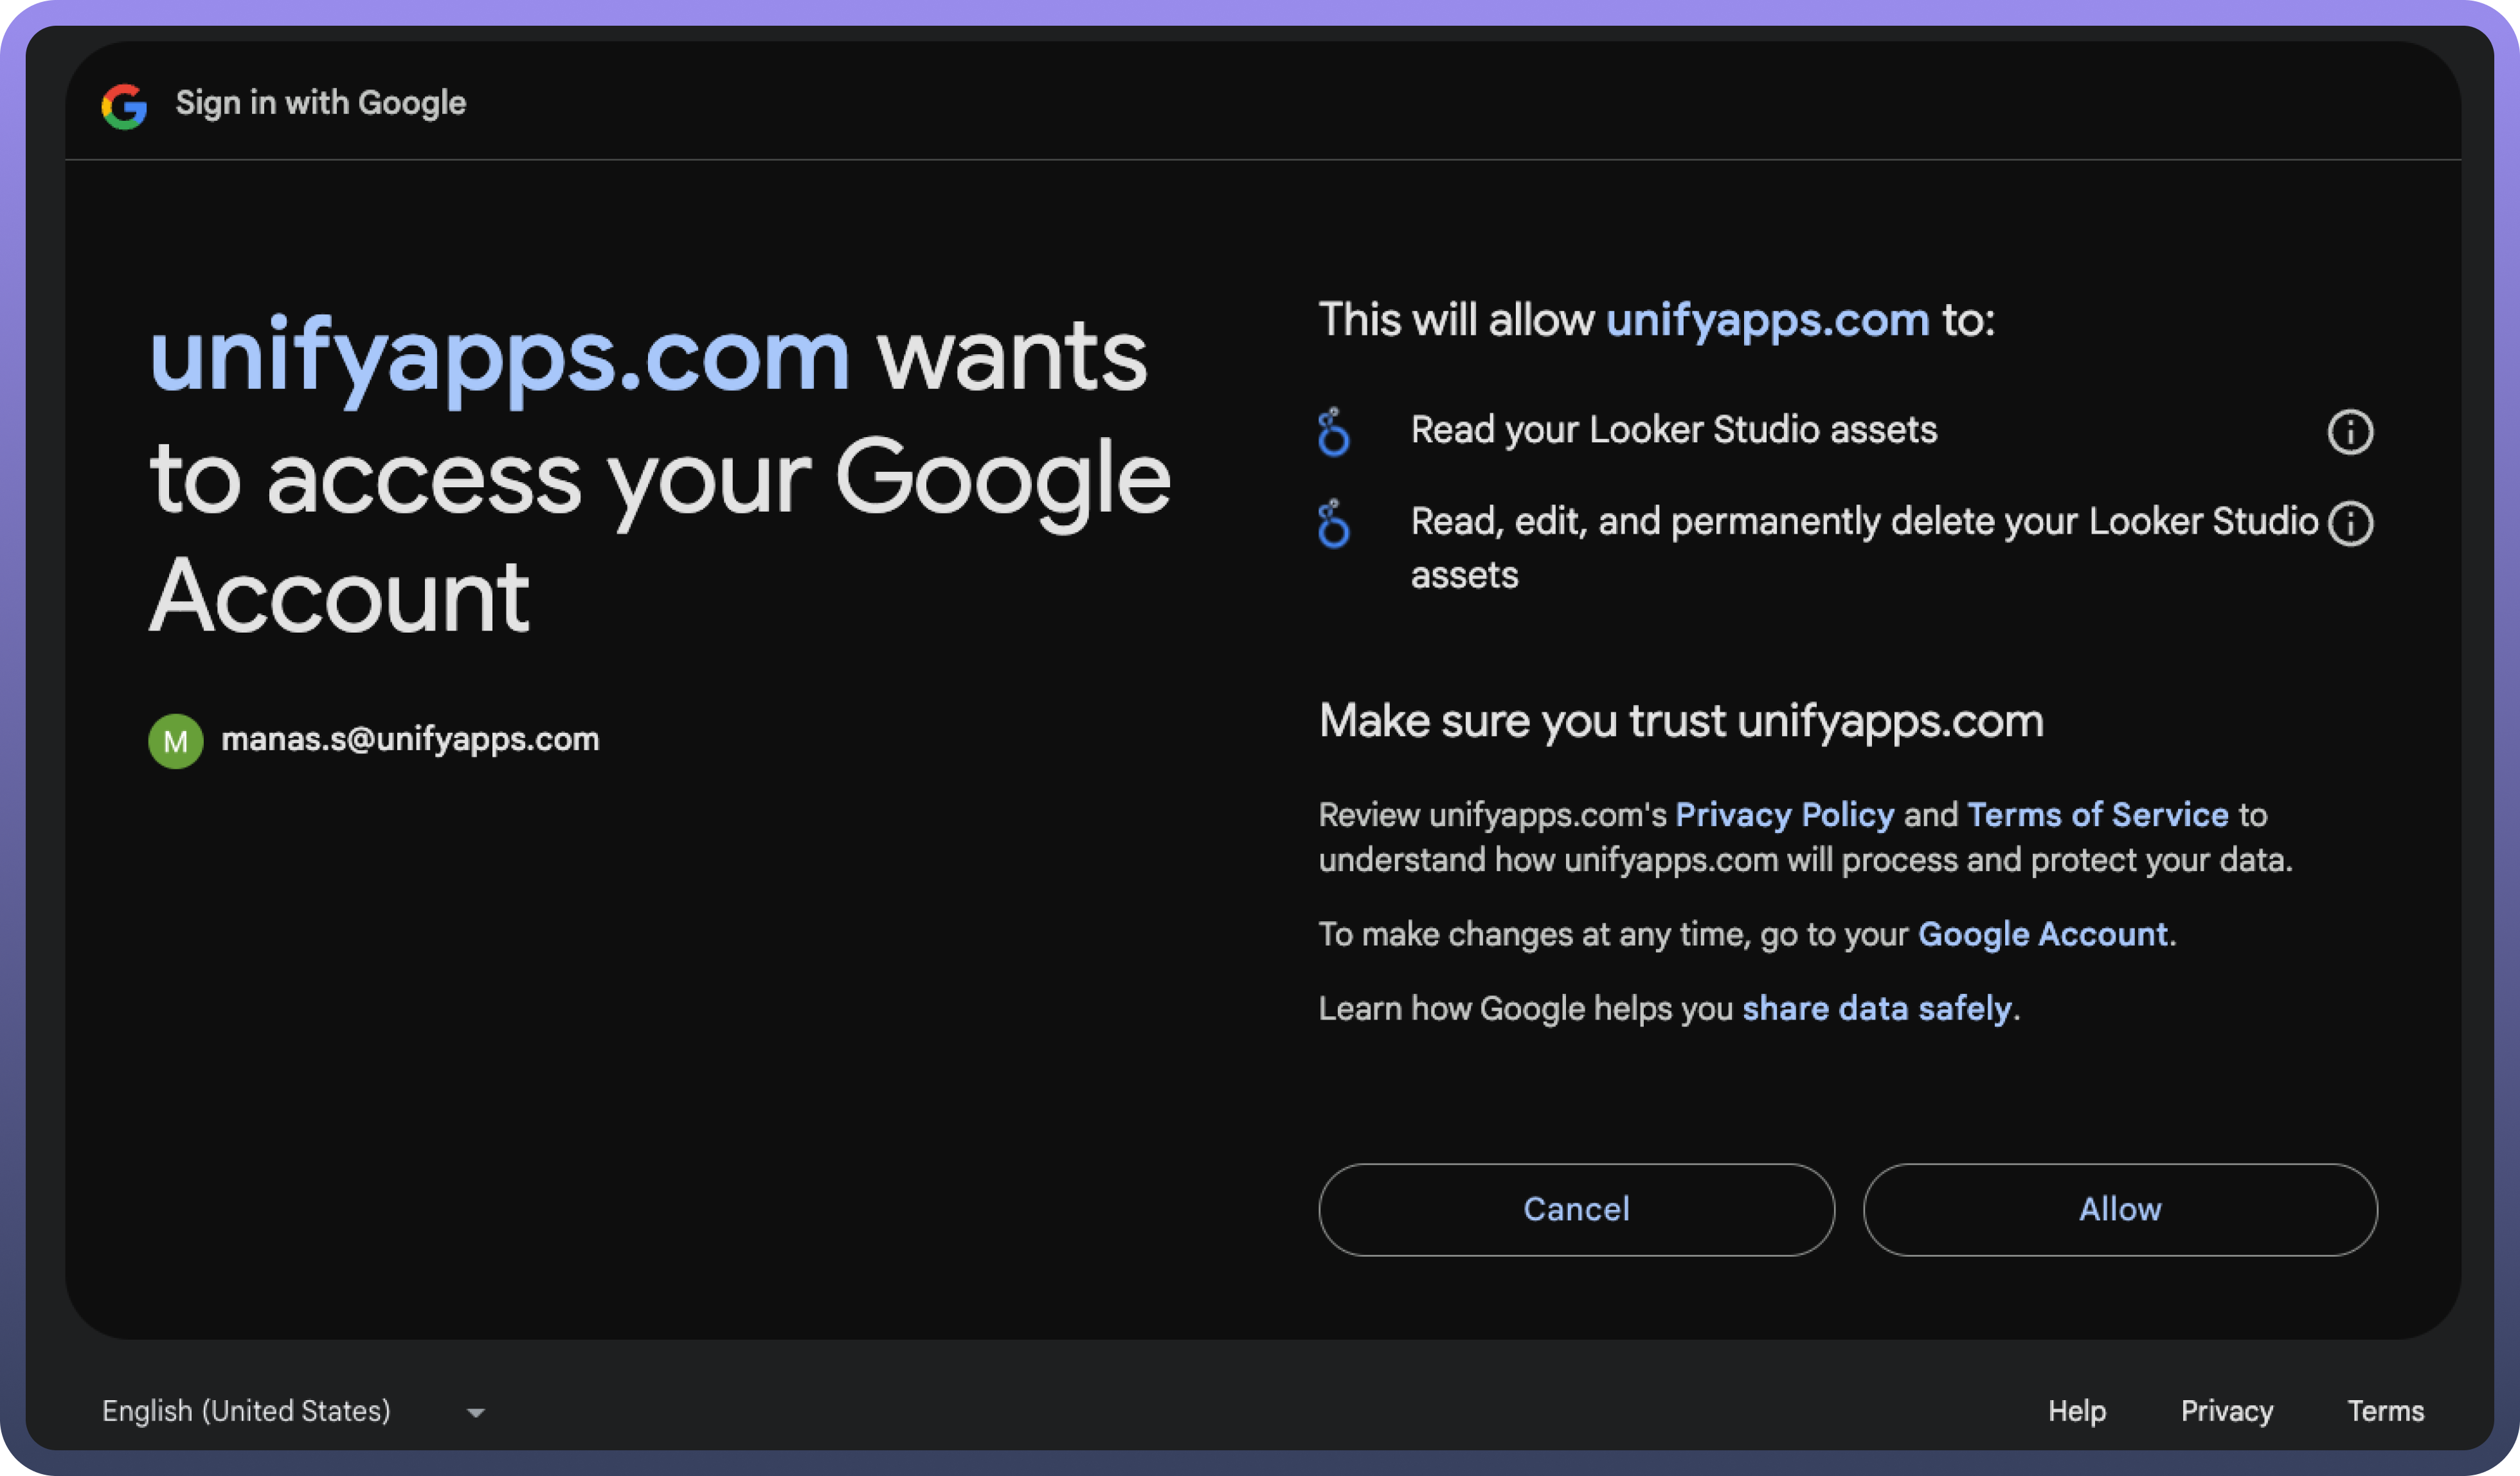
Google will display a permissions request screen, showing the app name and the specific Google services we are requesting access to (e.g.,Looker studio).
Carefully review the permissions being requested. If you’re comfortable with them, click the "
Allow" or "Grant Access" button.After granting access, you will be automatically redirected back to our platform, where you should see a confirmation message indicating that your Google account is now connected and authorized.
Ensure that the following permissions are granted for OAuth authentication.
https://www.googleapis.com/auth/datastudio
https://www.googleapis.com/auth/userinfo.profile
https://www.googleapis.com/auth/datastudio.readonly
OAuth Based Authentication
Press the
Authorizebutton. You'll be redirected to a Google sign-in page.If you're not already logged into Google, enter your Google account credentials.
Google will display a permissions request screen. You'll see our app name and the specific Google services we request access to.
Carefully review the permissions we're asking for. If you're comfortable with the permissions, click the "
Allow" or "Grant Access" button.After granting access, you'll be automatically redirected back to our platform. You should see a confirmation message that your Google account is now connected.
Actions
| Actions | Description |
Add members | This action adds members to a Looker Studio asset |
Get permissions | Gets the permissions for a Looker Studio asset |
Revoke all permissions | Revokes permissions from a Looker Studio asset |
Search assets | This action helps users search Looker Studio assets |