


The automations manager provides four primary lifecycle actions — Create from scratch, Clone an existing automation, Share access with teammates, and Delete what you no longer need — all accessible from the automation list or its detail view.
Overview
The automations manager gives you four primary lifecycle actions for managing automations: creating a new one from scratch (or from a template), cloning an existing one to produce a copy, sharing one with other team members, and deleting one you no longer need. These actions are available from the row actions menu in the automations list, and from the header actions menu when you have an automation open.
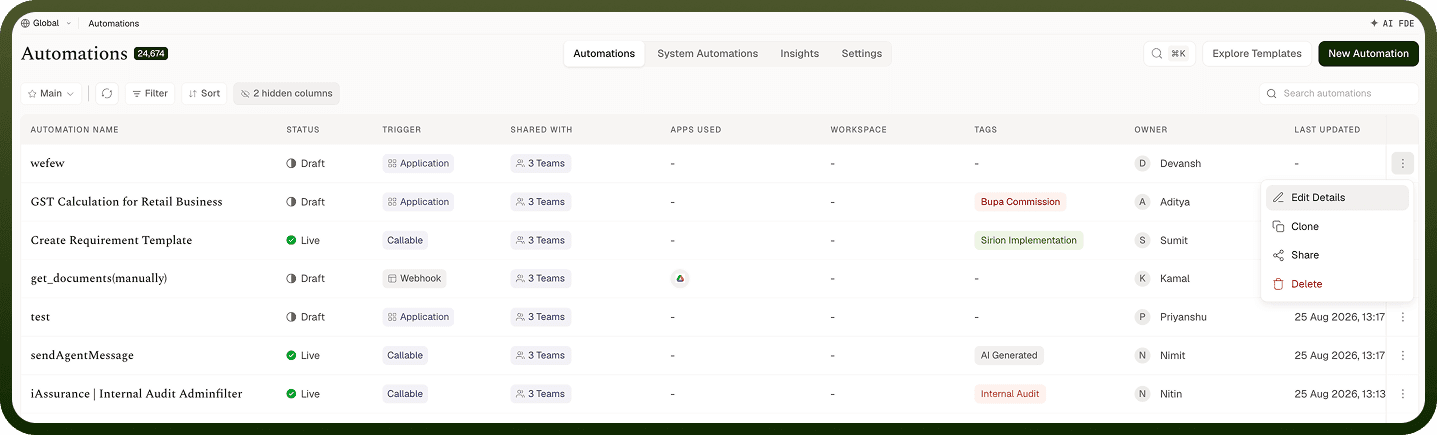
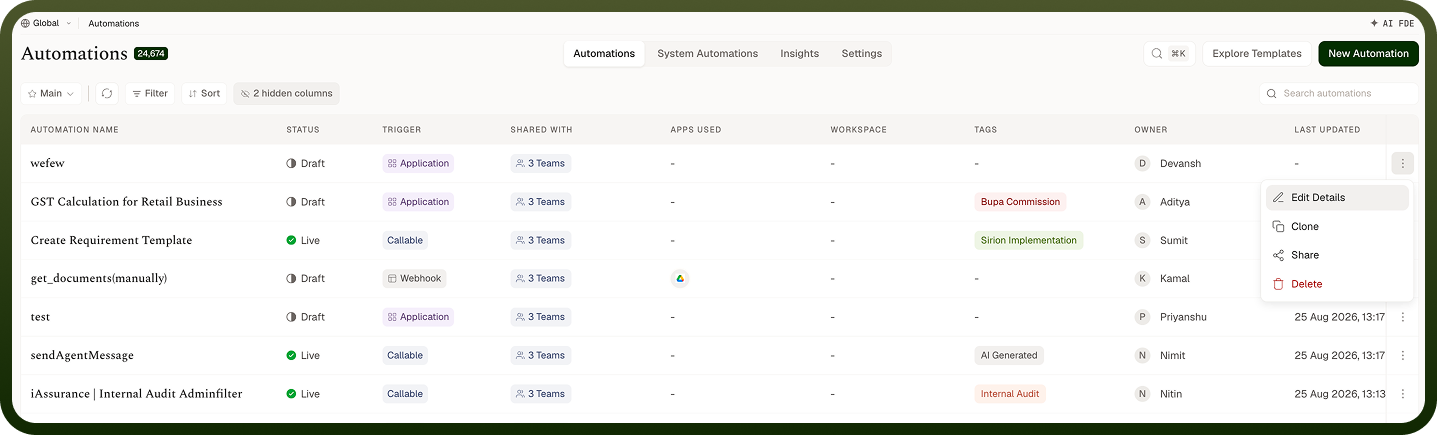
Note: These actions apply only to automations you own or have the appropriate permissions for. Standard pre-built automations are read-only and cannot be cloned, shared, or deleted by end users.
Create an Automation
You can start a new automation from a blank slate or by describing what you want in plain language. An alternative path is to begin from a ready-made template.
Steps
From the automations manager, click New Automation in the top right. The build page opens, titled "Describe. Build. Automate."
To generate an automation from a description, type what you want to automate in plain language and submit it.
To build manually, click
Create manually
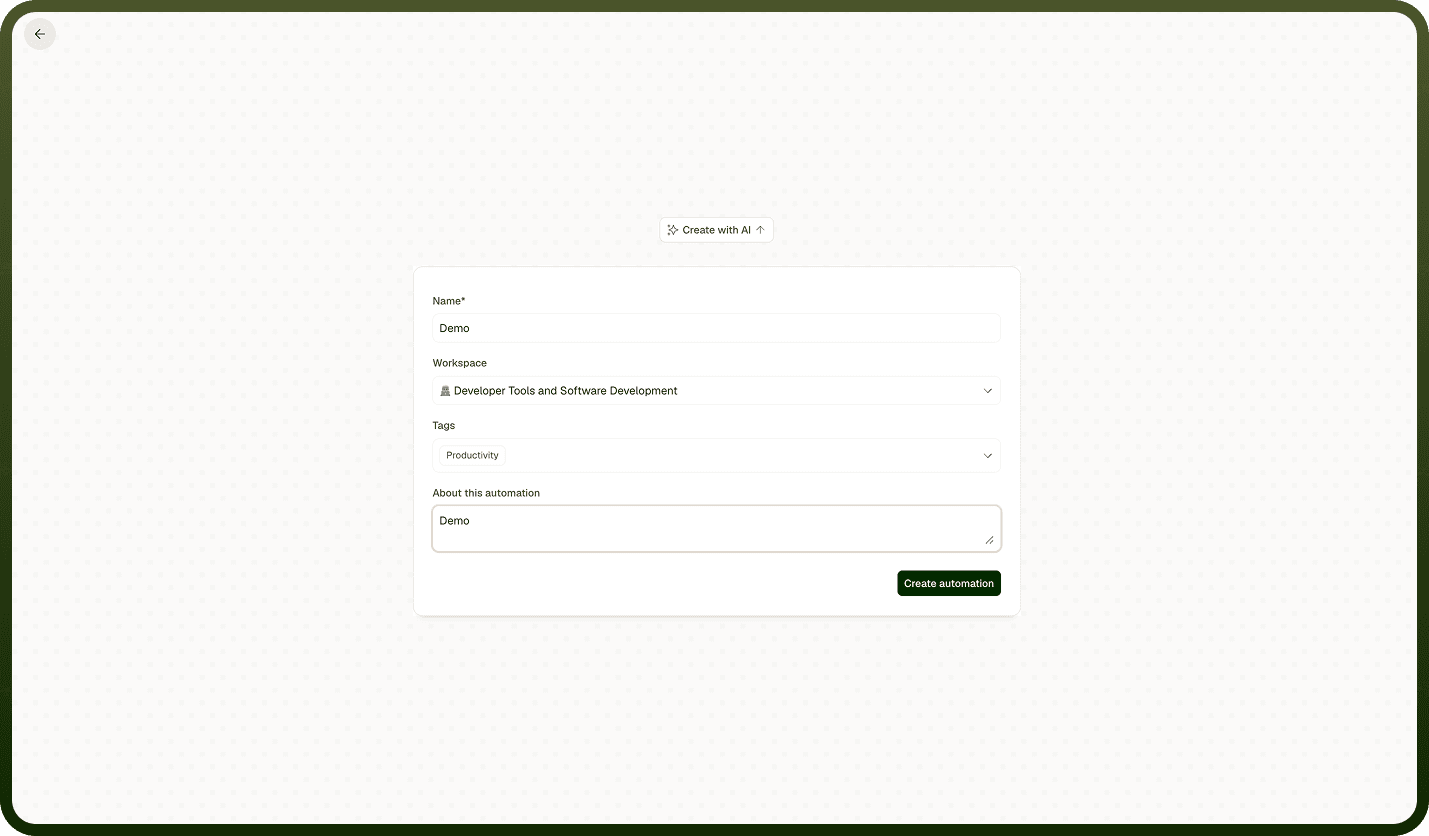
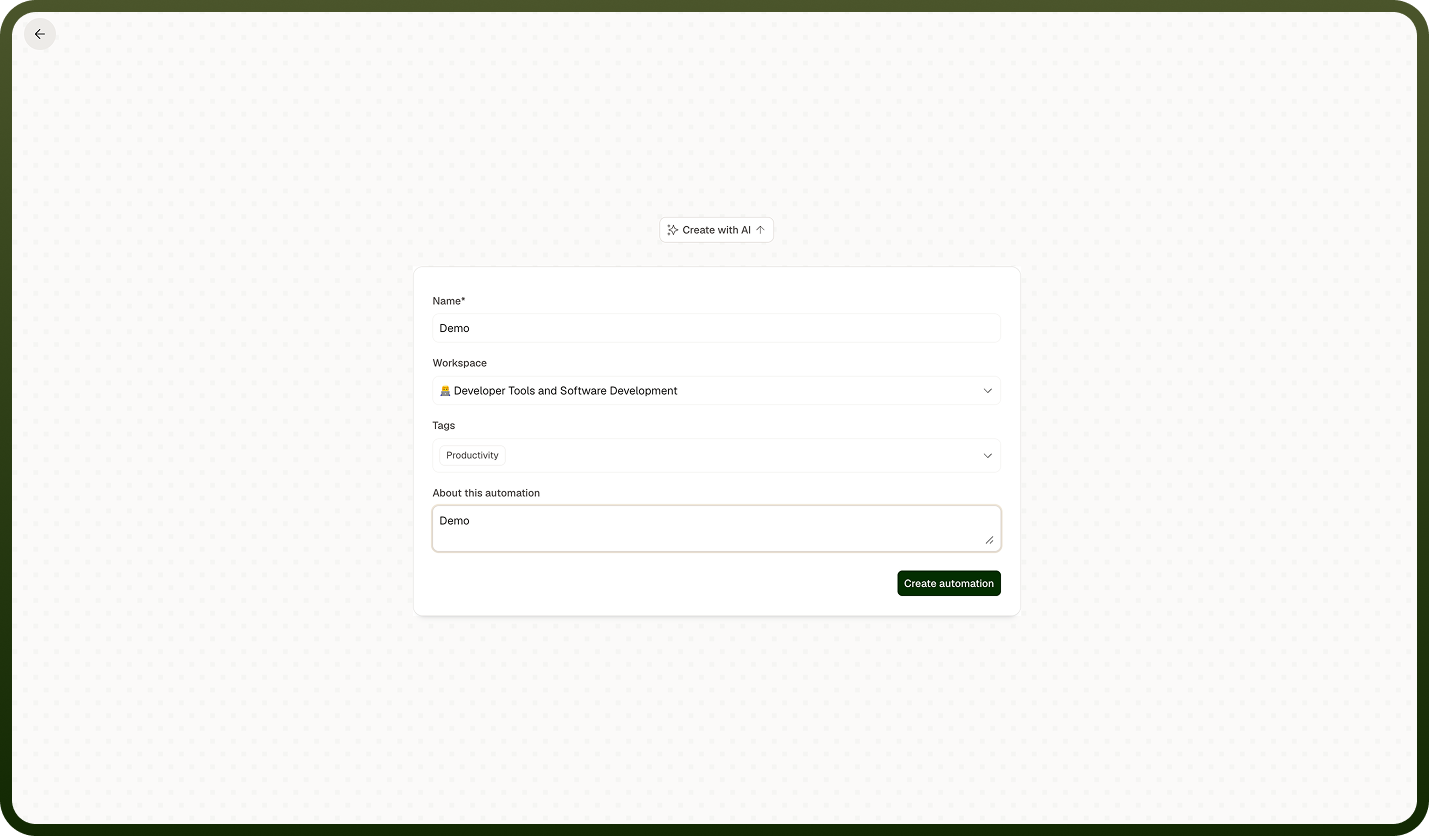
. A short form appears asking for:
Name — a display name for the automation.
Tags — optional labels for organizing the automation.
Workspace — the workspace this automation belongs to.
About this automation — a short description of its purpose.
Complete the form and confirm. The builder opens for you to configure the automation's trigger and nodes.
Starting from a template
From the automations manager header, click Explore Templates.
Browse or search for a template that matches your use case.
Select a template to start from it. The builder opens pre-populated with the template's configuration, which you can then adjust.
Clone an Automation
Cloning creates a copy of an existing automation. Use it to build a variation on an automation without modifying the original, or to reuse an automation's structure in a different context.
Steps — from the automations list
Locate the automation you want to clone in the automations manager.
Open the row's actions menu (the three-dot menu on the row).
Select Clone.
When prompted, optionally share the clone with the same users who have access to the original.
Confirm. A copy of the automation appears in your list as a new, independent automation.
Steps — from the automation detail view
Open the automation you want to clone.
Open the header actions menu.
Select Clone and follow the same prompts as above.
Share an Automation
Sharing an automation grants other users access to view or collaborate on it. You can share from the list or from inside the automation.
Steps — from the automations list
Locate the automation in the automations manager.
Open the row's actions menu.
Select Share.
In the sharing dialog, add the users you want to grant access to.
Confirm to apply the sharing settings.
Steps — from the automation detail view
Open the automation.
Open the header actions menu.
Select Share and follow the same dialog as above.
Note: Sharing and permission changes are recorded in the automation's Activity tab, so collaborators can see who was granted access and when.
Delete an Automation
Deleting an automation permanently removes it. This action requires confirmation and cannot be undone.
Steps — from the automations list
Locate the automation in the automations manager.
Open the row's actions menu.
Select Delete.
A confirmation prompt appears. Confirm the deletion to permanently remove the automation.
Steps — from the automation detail view
Open the automation.
Open the header actions menu.
Select Delete and confirm when prompted.
Note: If you want to stop an automation from running without permanently removing it, use Pause instead of Delete. Pausing preserves the automation and its history.
Notes
To make the most of it:
Use Create manually when you have a clear specification; use the plain-language describe flow when you want the platform to draft the structure for you.
Clone before making significant changes to a working automation — the clone acts as a safe copy you can experiment on without affecting the live original.
When cloning, consider whether to share the clone with the same users as the original, especially if the copy will serve the same team.
Always confirm deletions carefully — deleting a Live automation stops it immediately and cannot be reversed.
All four actions — Create, Clone, Share, Delete — are subject to your workspace permissions; options you do not have permission for will not appear in the menus.