


Building your own connector to integrate an app that isn't already built in.
Overview
A custom connector is an integration you build yourself, in the Custom Connectors area, for an app or API that UnifyApps doesn't already provide. Once built and deployed, it behaves like any built-in connector: people create connections to it and use its actions and triggers inside automations. You define four things — how to authenticate, the actions it can perform, the triggers it can listen for, and connector-wide settings. You describe each as configuration (the auth flow, the HTTP request an action makes, the response shape), and the platform runs it for you. This is the Connector SDK: a builder for turning an HTTP API into a first-class UnifyApps connector.
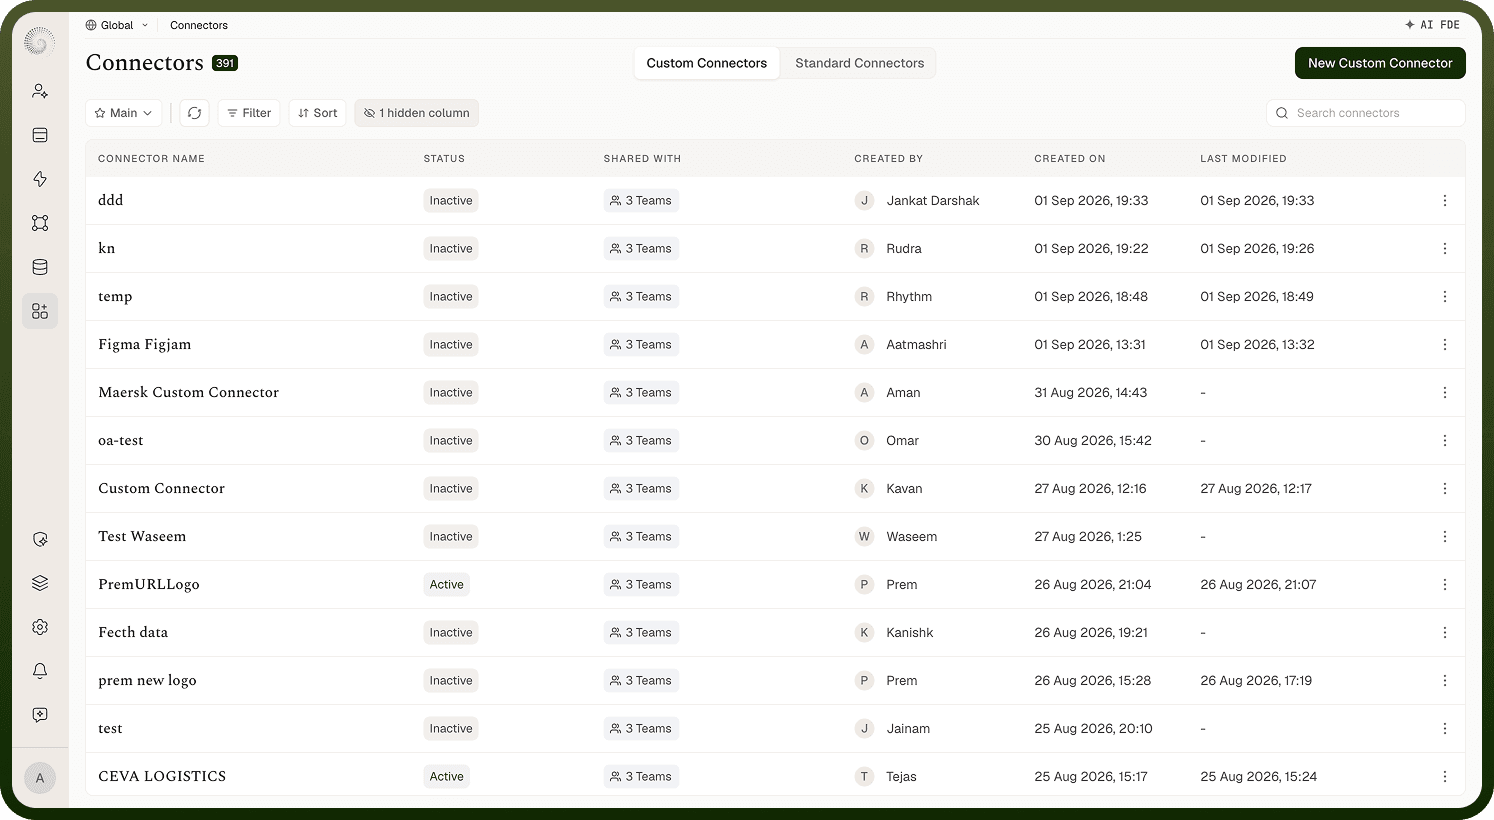
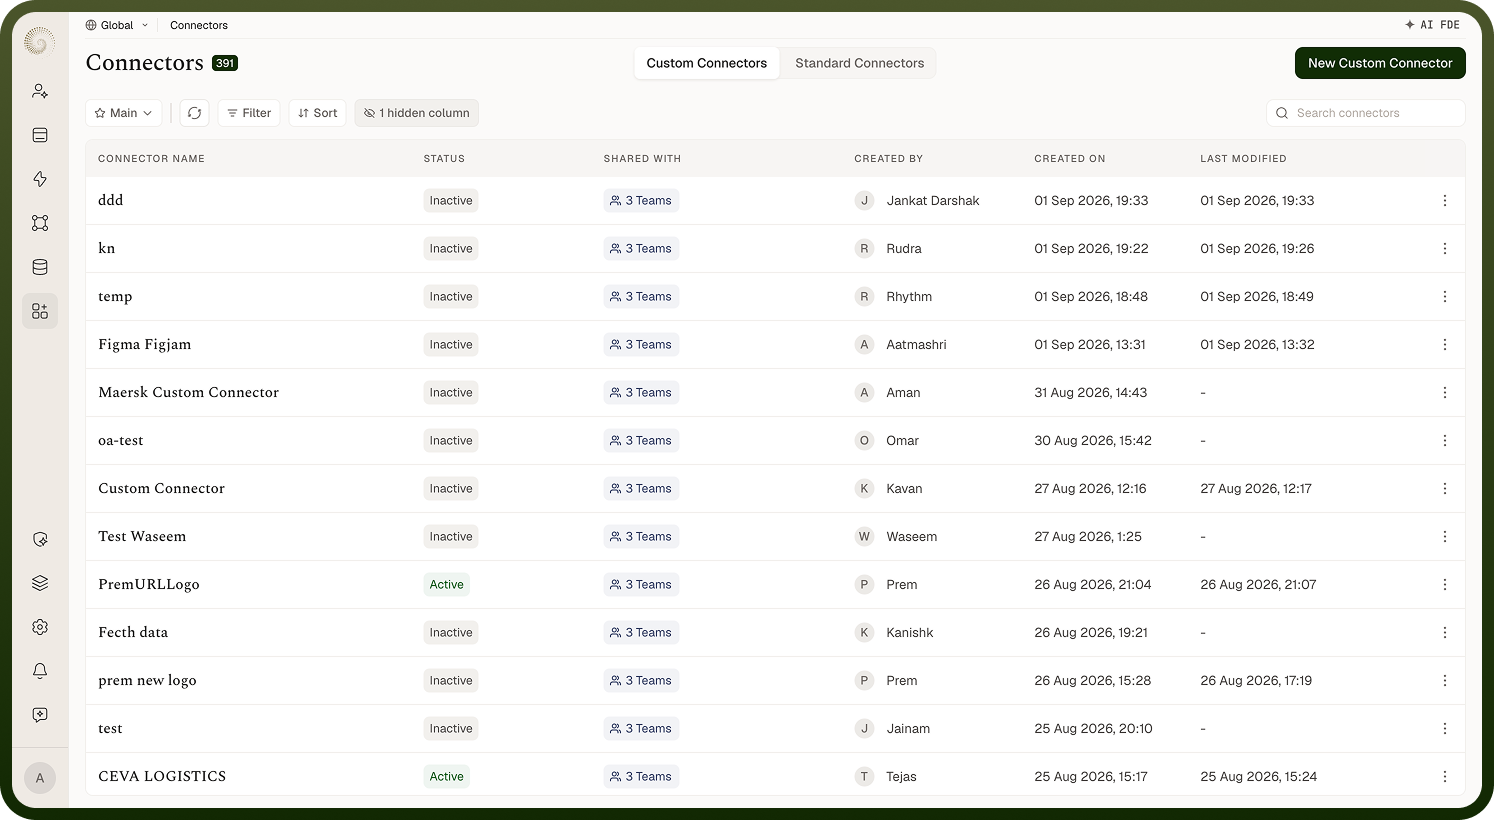
Parts of a custom connector
A connector bundles:
Authentication — how a user connects: the auth type (OAuth 2.0, Access Token, Basic, JWT, custom, …), the credentials they supply, and how those are applied to every request.
Actions — operations the connector can perform (create a record, send a message). Each defines its input, the HTTP request it makes, and its output.
Triggers — events the connector can react to (a new record, an incoming webhook). Each also has an input, a request, and an output.
Settings — connector-wide configuration: the objects it exposes and which modules (Automations, Data Pipelines, Data Catalog) can use it.
Actions and triggers are the two resource types a connector exposes; everything else supports them. Each action and trigger is individually deployed (or paused) to control its availability.
Building a connector end to end
The typical path:
Create the connector — name it and set its base URL.
Add authentication — choose an auth type and define the inputs a connecting user provides.
Add actions — from scratch or by importing an OpenAPI spec; for each, define its input, the request it makes, and how its response maps to outputs.
Add triggers — polling or webhook triggers for the events you want to react to.
Configure settings — the objects it exposes, which modules can use it.
Deploy each action and trigger, then publish the connector (Publish, top right) so they appear in automations. Create a connection and use them in an automation — they run through the same pipeline as production.