


Building the bundle of changes you want to send from this environment.
Overview
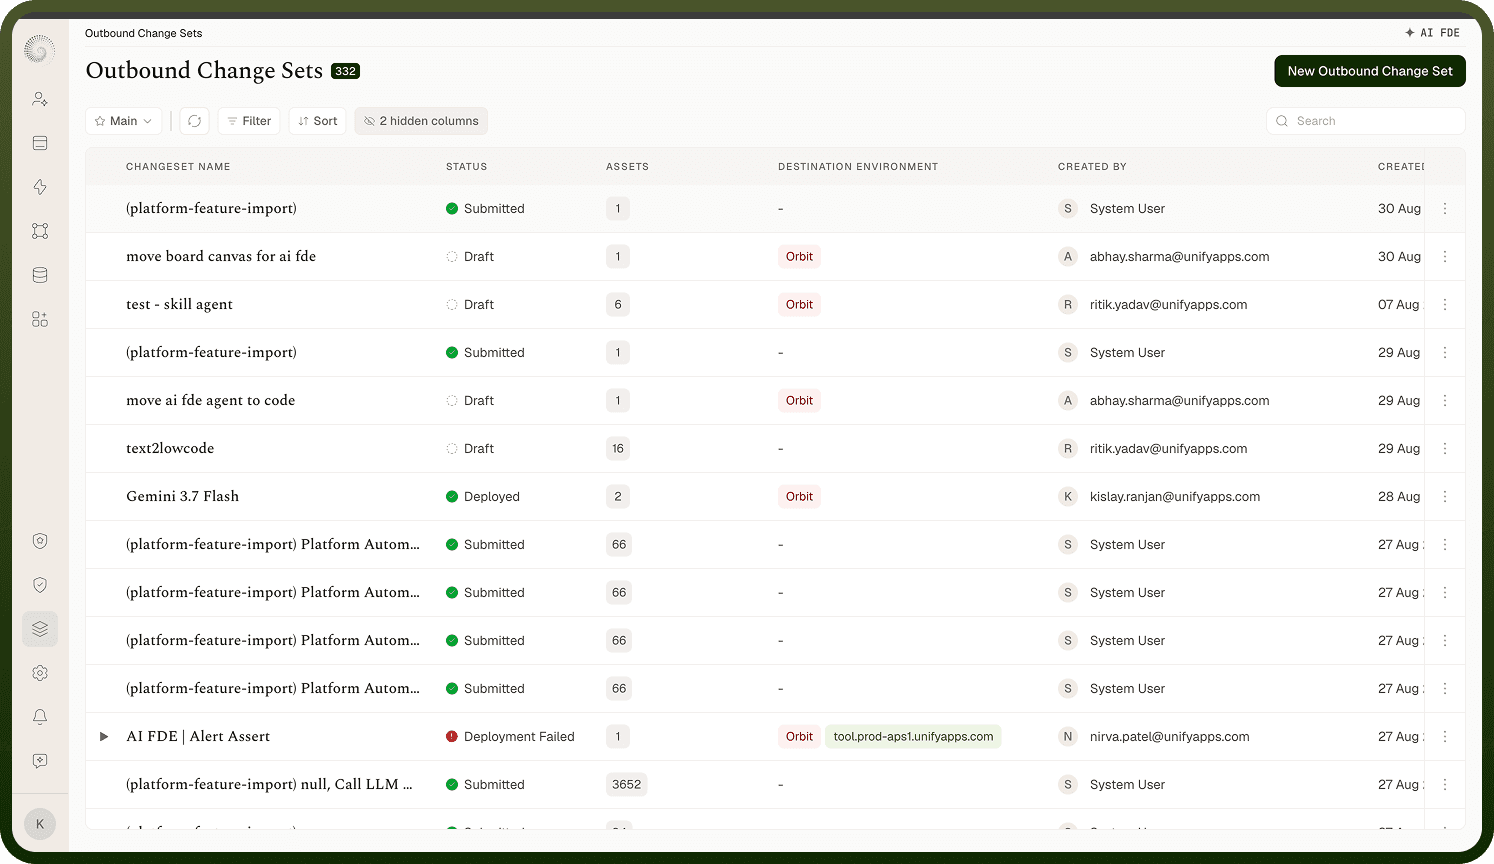
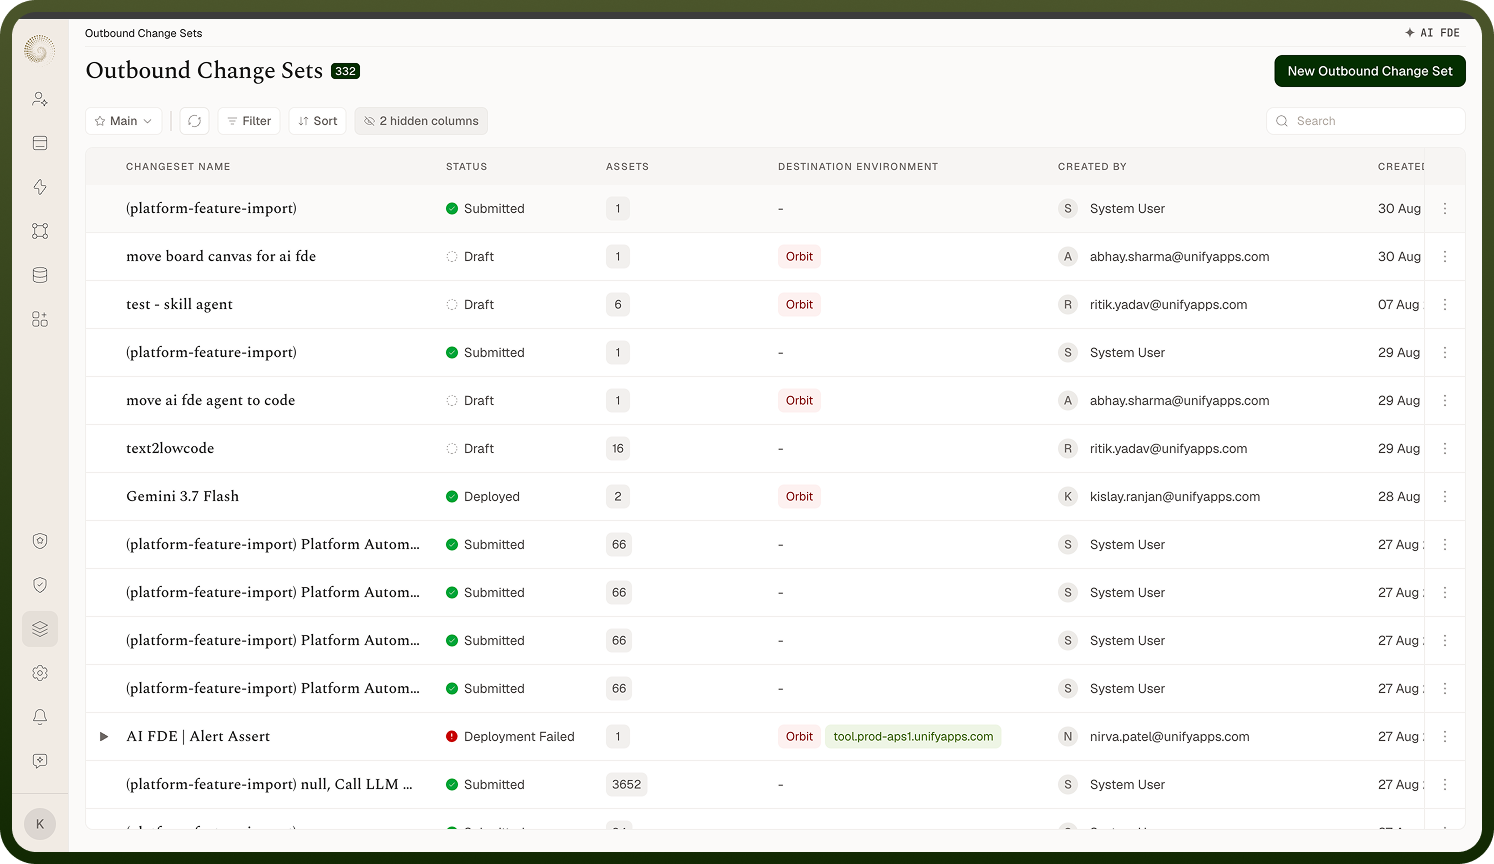
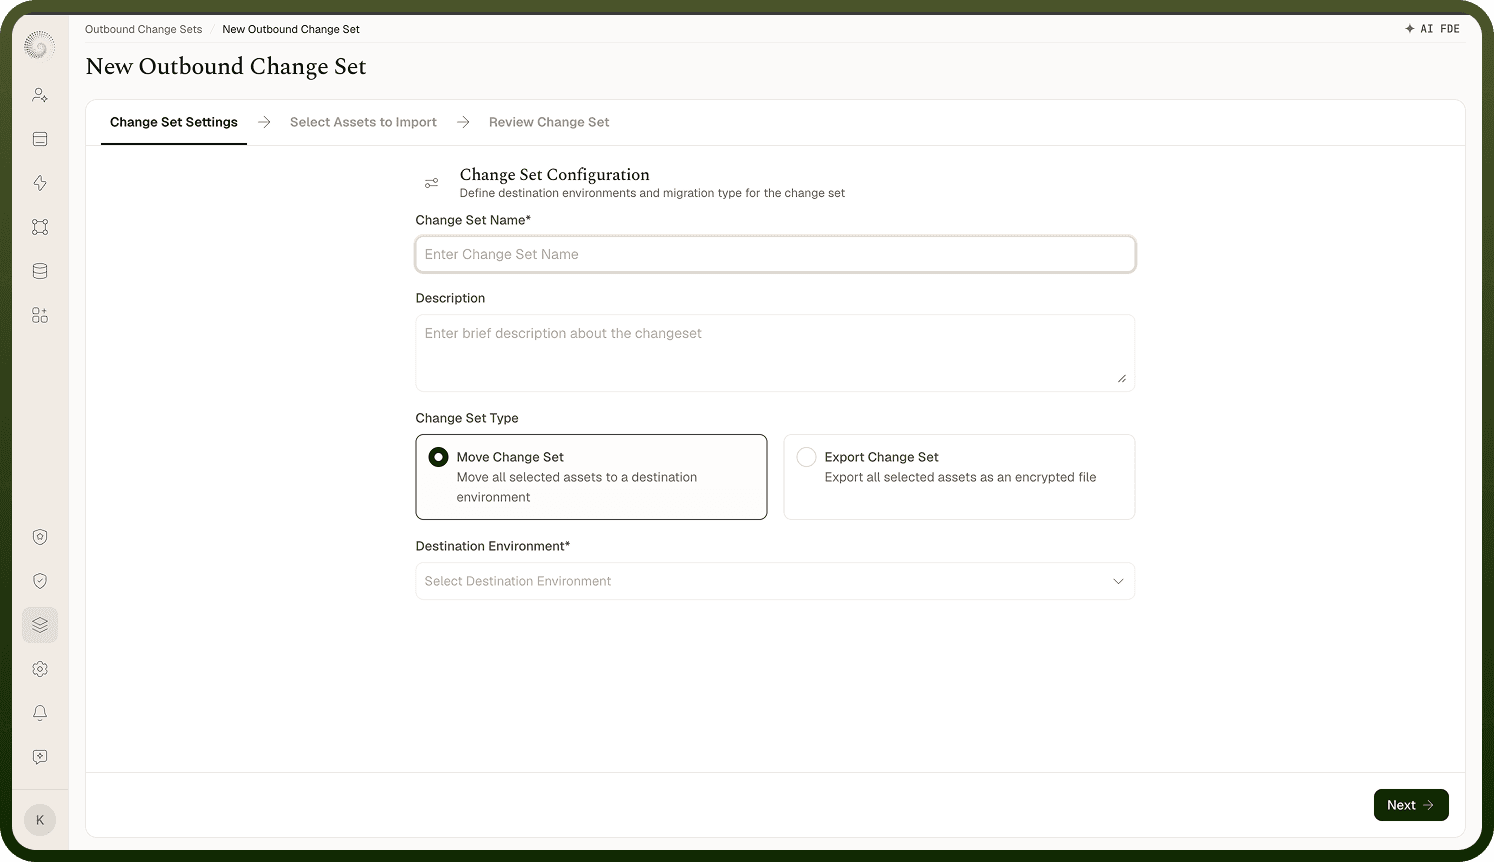
Go to Change Sets › Outbound and create a new change set. Building it is a three-step flow — Change Set Settings, Select Assets to Import, and Review Change Set. In settings you give it a name and optional description and choose how it will be delivered (a Move to a connected environment, or an Export file you transfer yourself); then you select the assets to include — as you do, the platform gathers their dependencies for you. On review you can save as draft or submit — Submit for Approval for a Move, Save & Export for an Export — which packages everything and either pushes it to the destination or produces the export file. Until you submit, the change set stays editable in Draft; afterwards the review tab becomes a read-only Change Set Summary.
Where: Change Sets › Outbound › create
Choosing which assets to include
On the Select Assets step, assets are organized by type (Automations, Objects, Connections, Templates, and so on) under groups like Workflows, Applications, Objects, Agentic AI, and Platform Tools. Browse or search within a type — or use Select by tag — and tick the ones that changed. You can include assets from several types in one change set. For each asset you can view its dependencies (what it needs to work) before adding — and those dependencies are added automatically so the bundle is complete. For Objects, only the schema is exported by default; a Data Selection dropdown lets you also include records — No Records (Only Schema), All Records, or Filtered Records matching conditions you set. You don't need to hunt down every connection or template by hand; pick the things you actually changed and let dependency resolution complete the set.
Where: Outbound change set › Select Assets
Where I change a change set's name, description, or destinations later
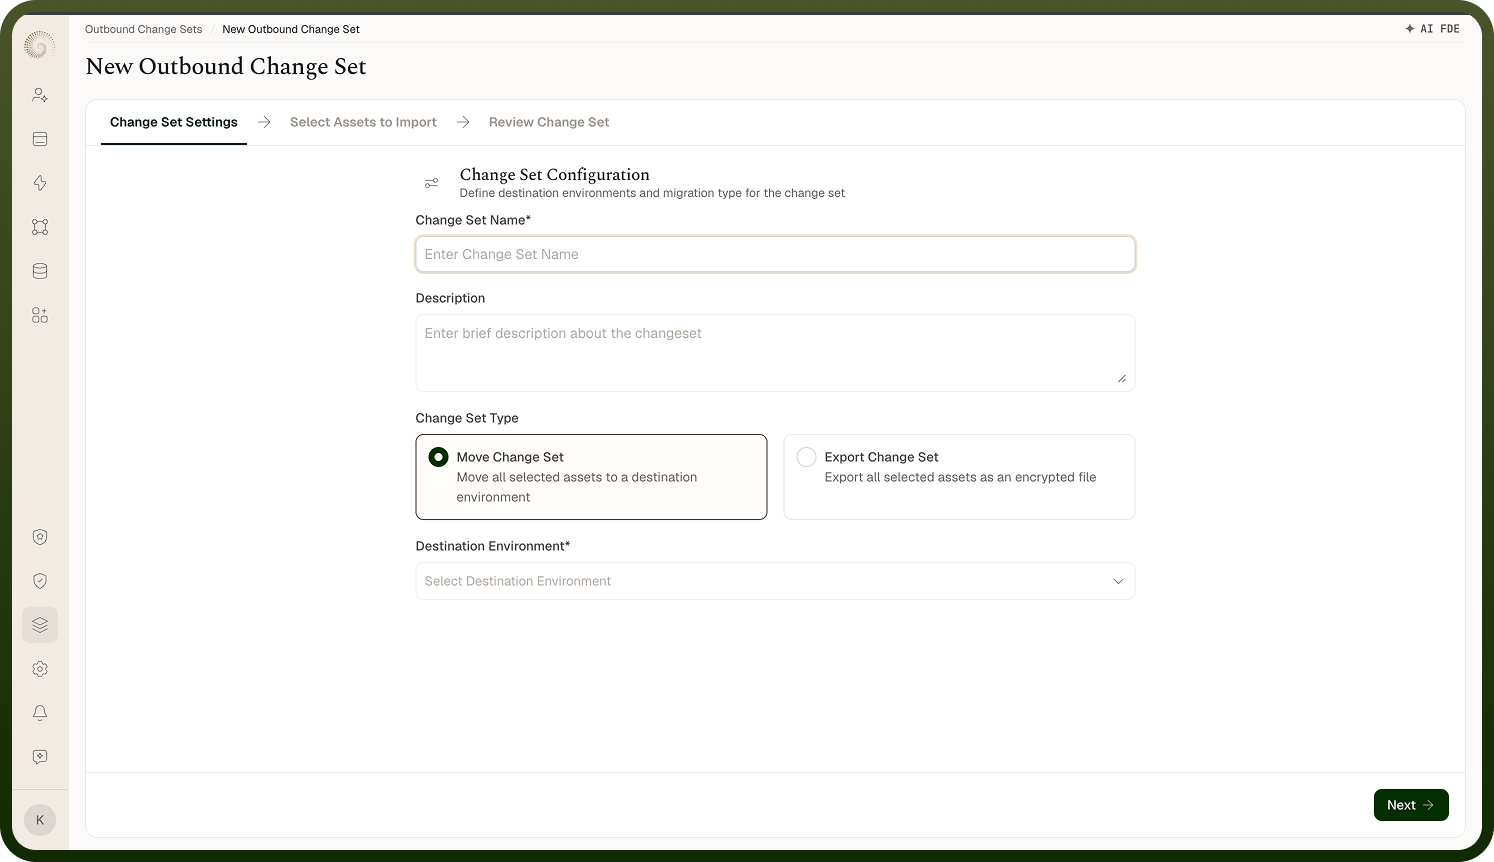
While the change set is in Draft, open its Change Set Settings tab to edit its name, description, type (Move or Export), the destination environments (for Move), and the password/encryption (for Export). Once you submit, the change set becomes read-only in the source environment — its contents are locked so what was shipped can't change underneath the destinations. So make your edits before submitting; after that, create a new change set for further changes.
Where: Outbound change set › Change Set Settings