


Putting a code app's source into your own GitHub or GitLab repository, and what the connection then shows.
Overview
It gives the app's generated source a home in your own version control, so the code the agent writes is not only inside the platform. Linking also turns on the branch tools: once the app has a remote, the builder shows which branch each chat is on, lets you move a chat between branches, and gives you a branch table under More › Git. Before you link, everything happens on one branch and those controls stay hidden.
Where: Code Builder › More › Git
Connecting one
Open More › Git and click Continue to Git setup. A three-step panel opens:
Select the app you want to connect — choose the provider. Two are supported: GitHub ("Where the world builds software.") and GitLab ("The complete DevOps platform."). Searching for something that isn't there gives "No apps match "…"."
Select connection — pick one of your existing connections for that provider, each showing when it was Created on …. New creates one without leaving the panel, and the new connection is selected for you. With none you'll see "No connections yet — create one to continue". Clicking a connection both selects it and moves you on — there's no Next button.
Git setup — describe the repository to create, then press the button in the footer.
Changing the provider after the fact clears the connection and anything you filled in below it, because those belong to the provider you left.
Where: Code Builder › More › Git › Continue to Git setup
Filling in on the last step
It depends on the provider, and the name field is pre-filled with your app's name.
GitHub — Owner (the organization the repository is created under) and Repository name (placeholder "repository-name"). A line underneath previews the result: "Owner is the organization that owns the repository, e.g. …/…".
GitLab — Project name (placeholder "project-name") and a Project URL row that assembles the address from the host, a Namespace picker and a Project slug (placeholder "project-slug"). The slug is generated from the project name as you type until you edit it yourself, after which it's yours to manage. If the namespace search finds nothing you'll see "No matching namespace".
Both providers also offer an optional Description — "Add a short description for this repository". The footer button reads Create repository on GitHub and Create project on GitLab, and stays disabled until every required field is filled. There are no inline field errors — a disabled button is the signal that something's missing.
Where: Code Builder › More › Git › Git setup
Git section
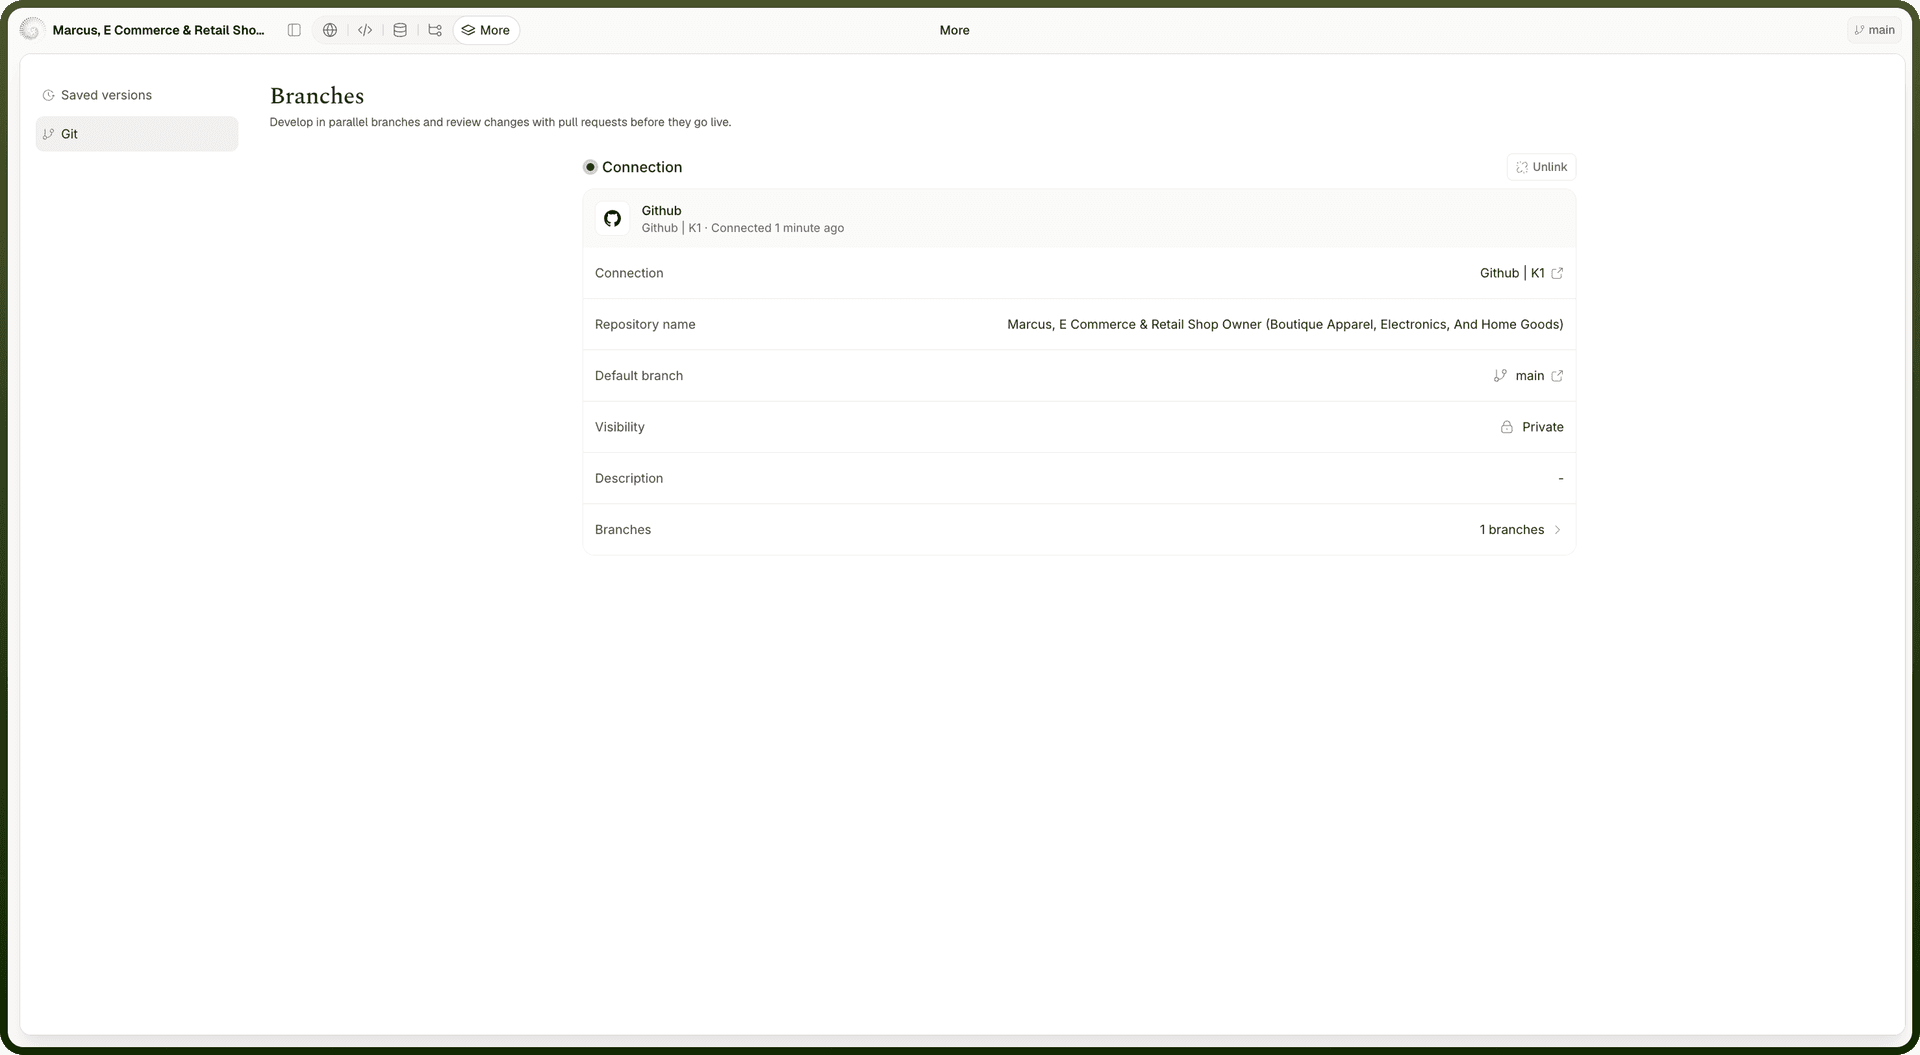
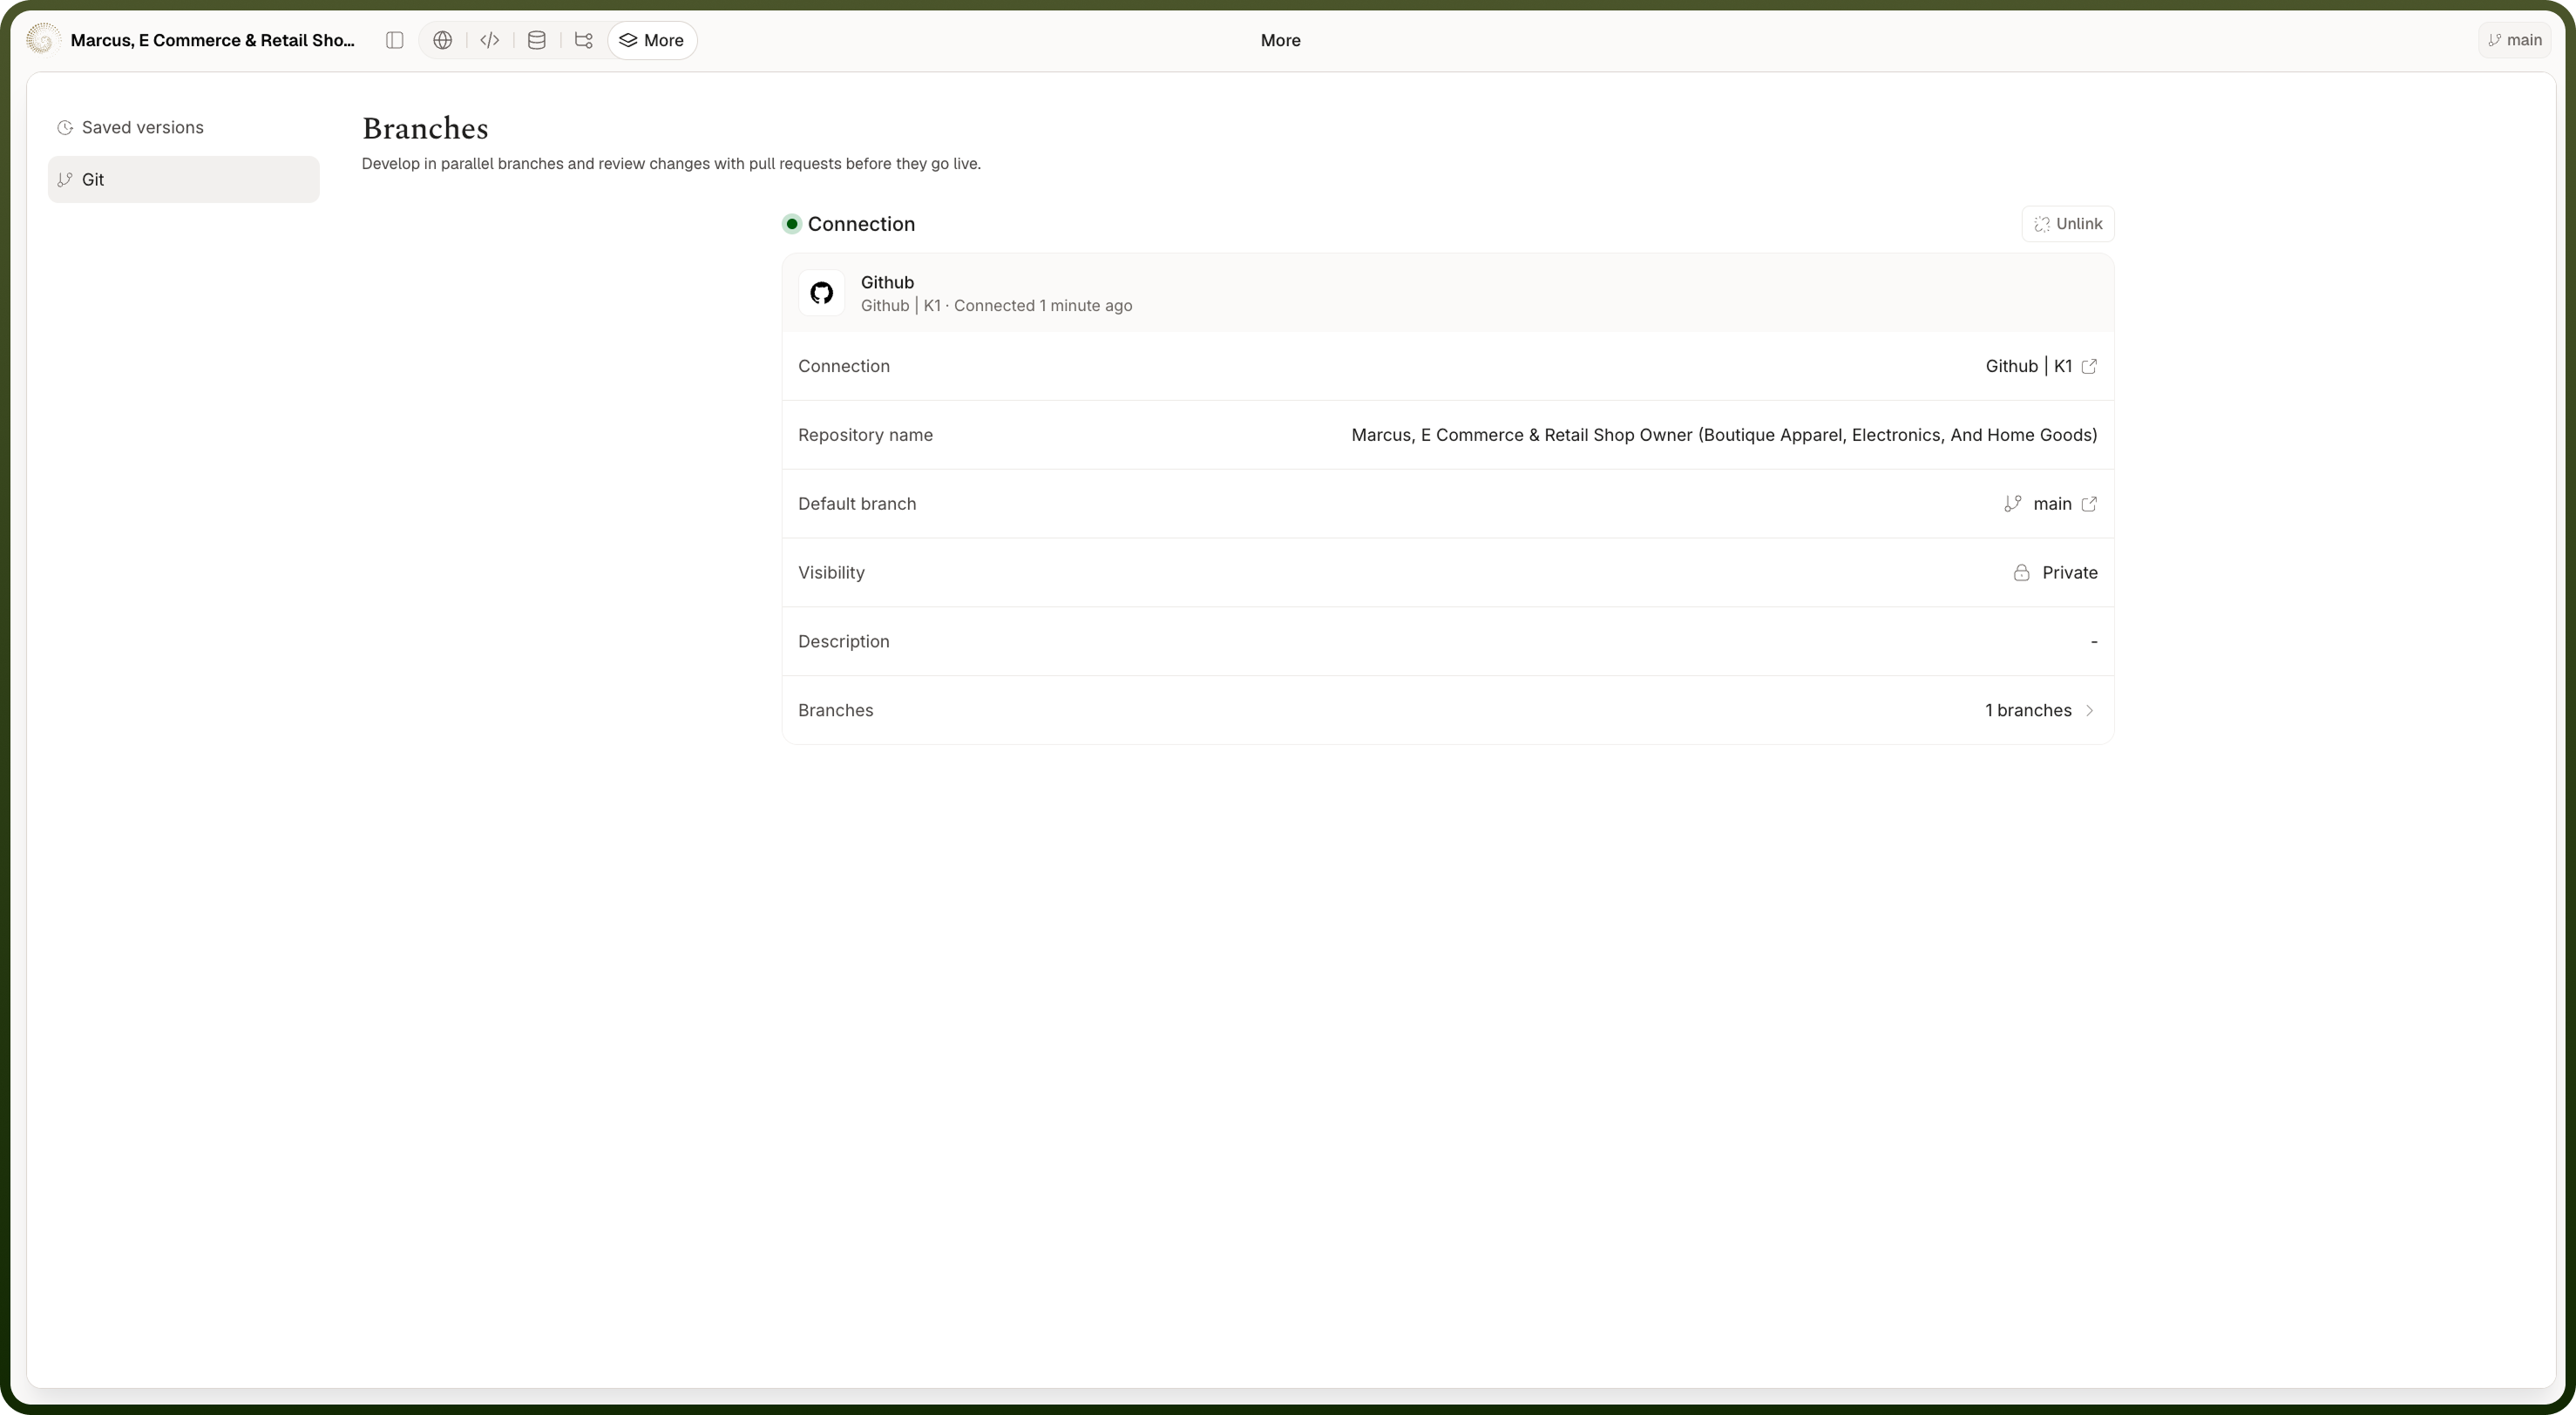
A Connection card naming the provider, the connection it uses, and how long ago it was Connected, followed by rows for:
Connection — opens the connection itself.
Owner — the organization or namespace (when there is one).
Repository name.
Default branch — opens the repository on the provider in a new tab.
Visibility — Private.
Description — or a dash when the repository has none.
Branches — how many there are; clicking it opens the branch table.
Where: Code Builder › More › Git
Disconnecting the repository
Unlink, at the top right of the Connection card. You're asked to confirm — Unlink this repository? "The app will stop syncing to … . The repository itself is not deleted." — and on success you'll see "Repository unlinked". The app keeps working; it just stops pushing to the remote, and the branch controls disappear again.
Where: Code Builder › More › Git › Unlink