

How a custom connector lets users connect, and how credentials are applied to its requests.
Overview
When you add an authentication to a connector, you choose the type that matches how the target API expects callers to authenticate:
Access Token — a static key or token the user pastes in (sent as a bearer header, a custom header, or a query parameter).
Basic Auth — a username and password.
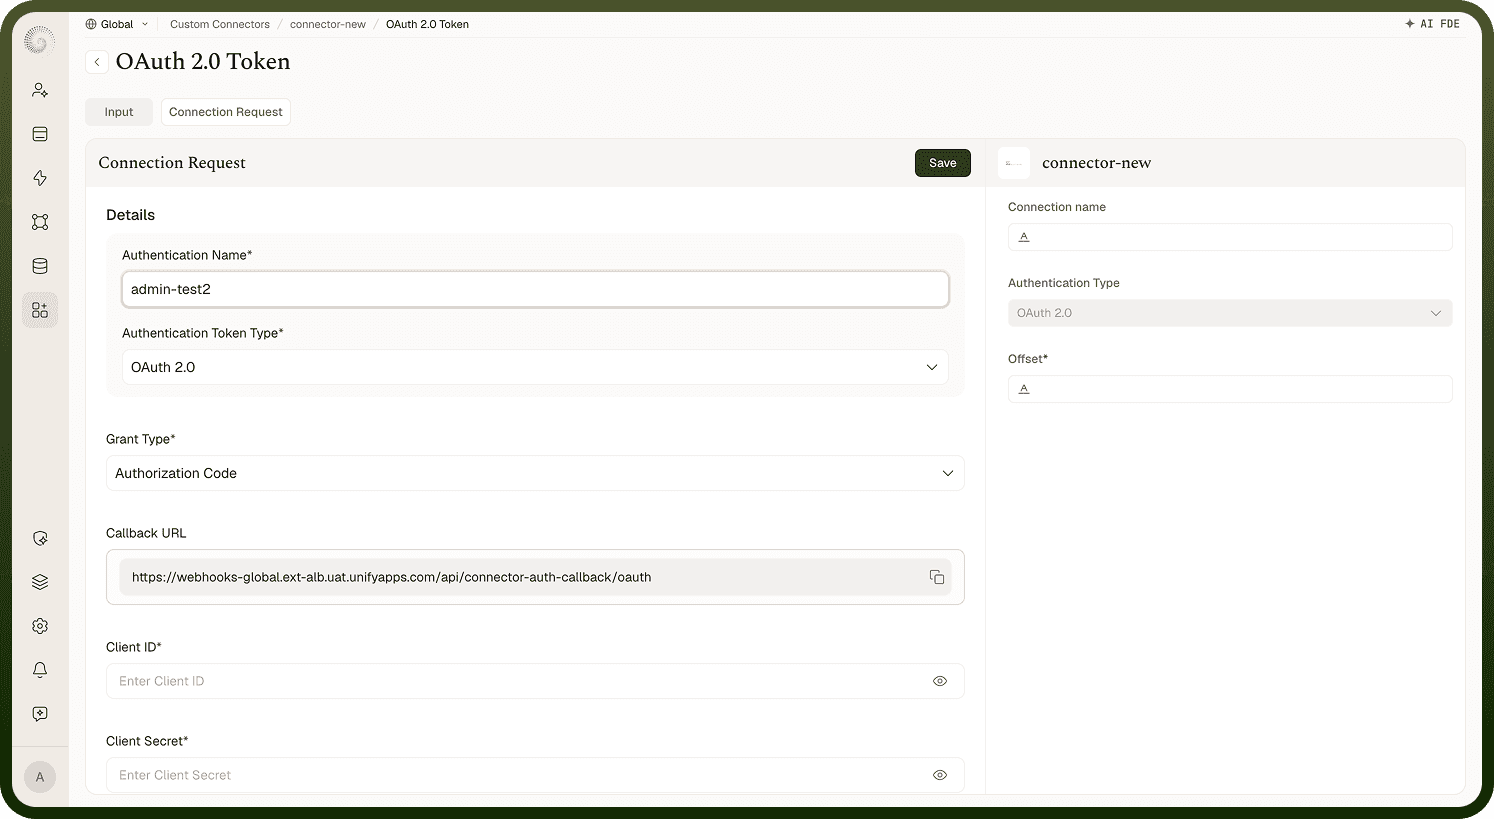
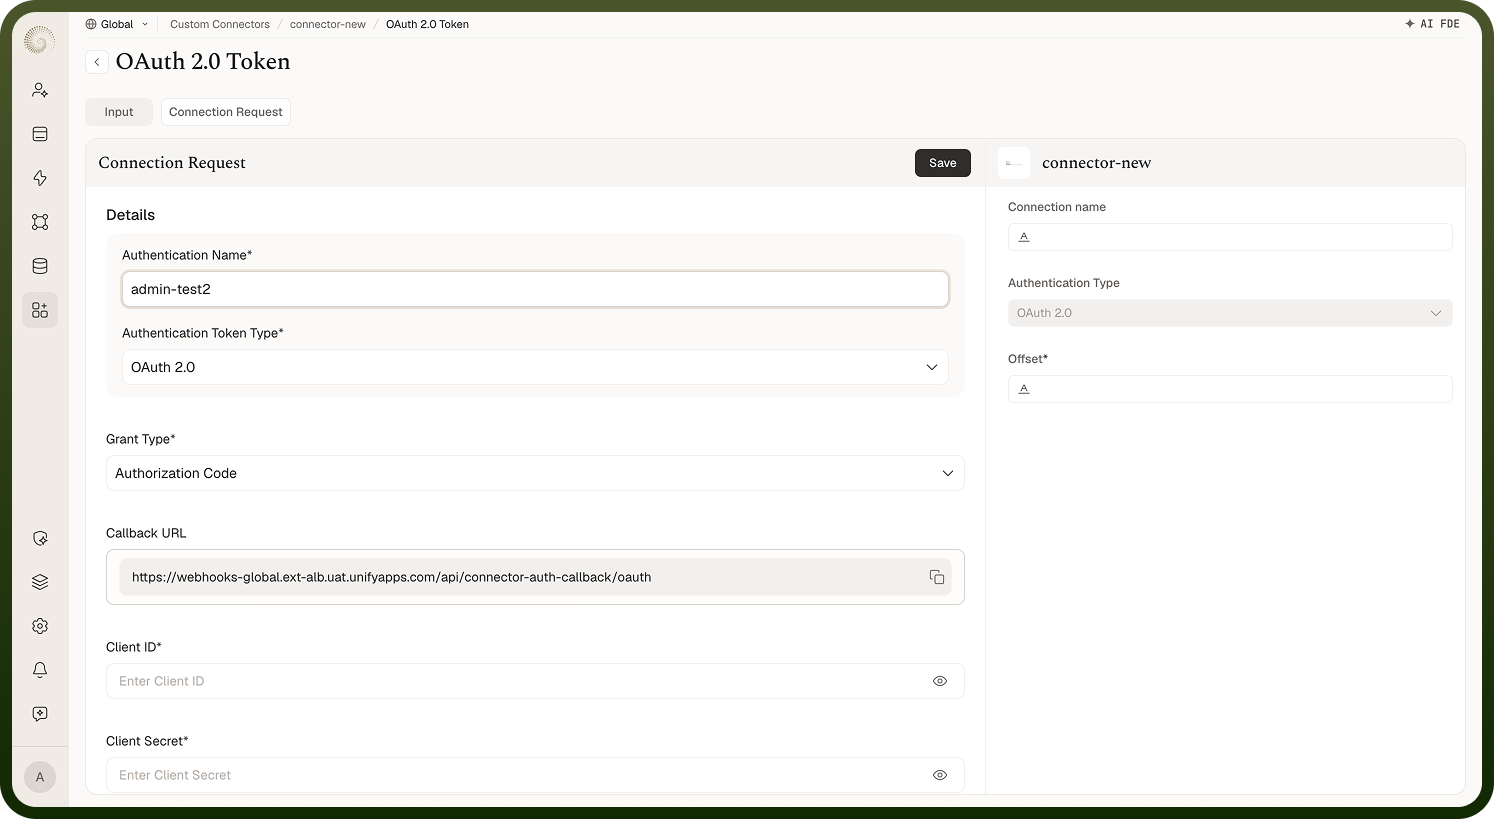
OAuth 2.0 — delegated access via a login + consent flow (no passwords stored).
OAuth 1.0 — the older signed-request OAuth, for legacy APIs (consumer key/secret, token ID/secret).
JWT Token — the connector signs a JSON Web Token using the user's private key.
AWS Signature — signs requests for AWS and AWS-compatible services (via an access key, an IAM role, or an instance role).
Custom — you define your own auth request (call a login endpoint, capture a session token).
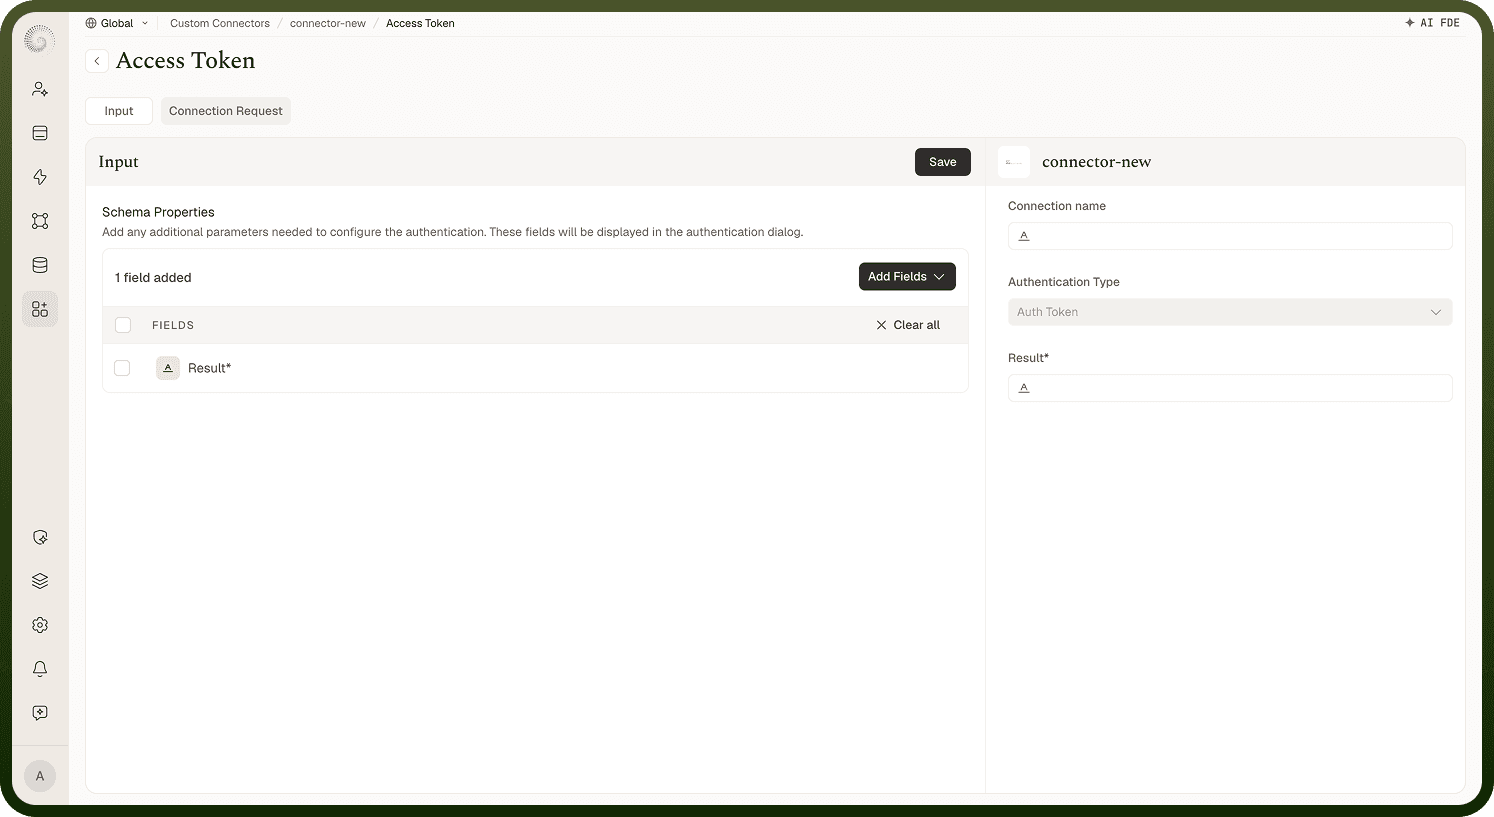
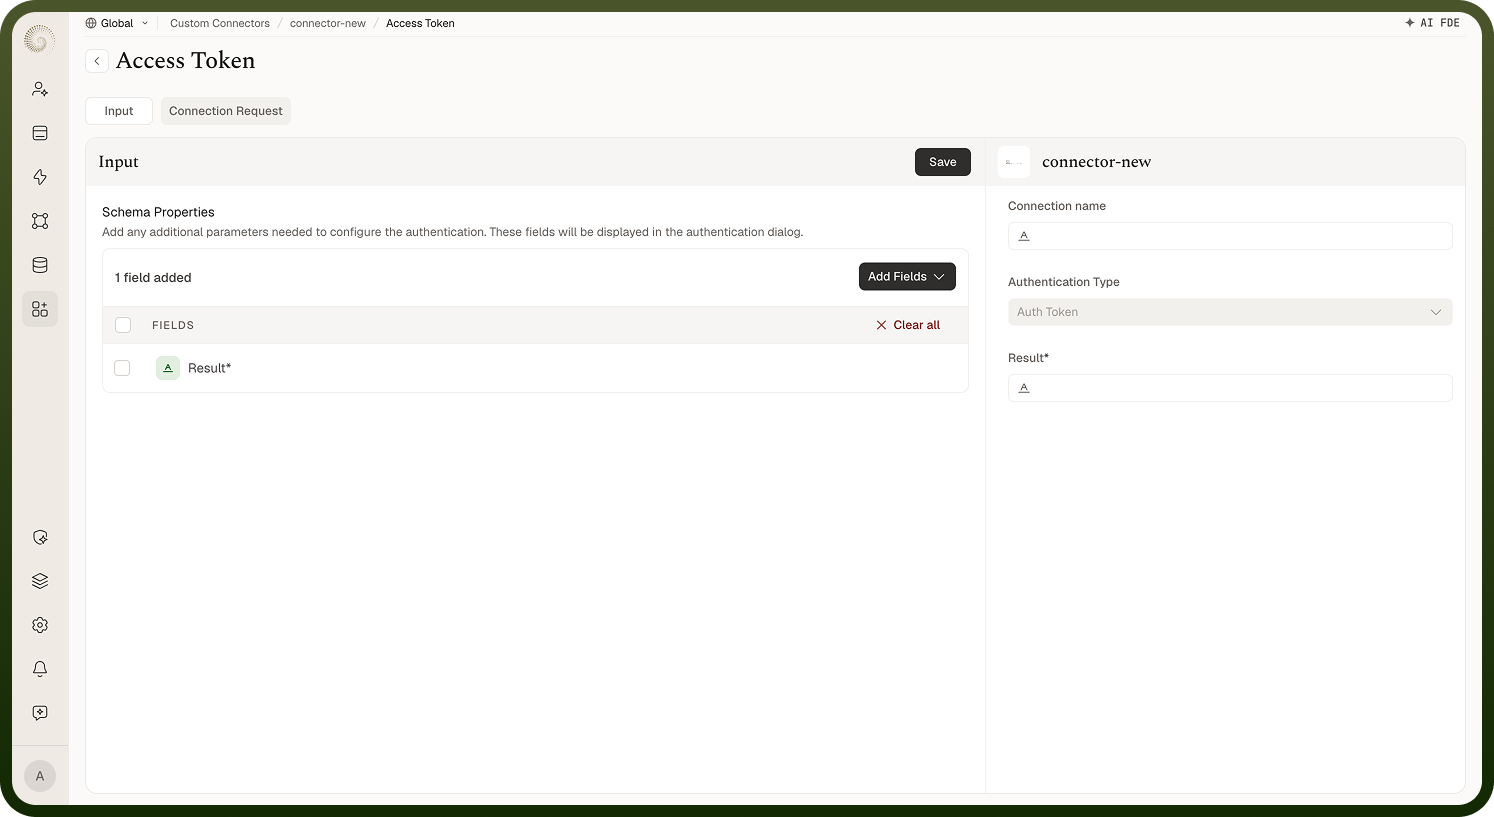
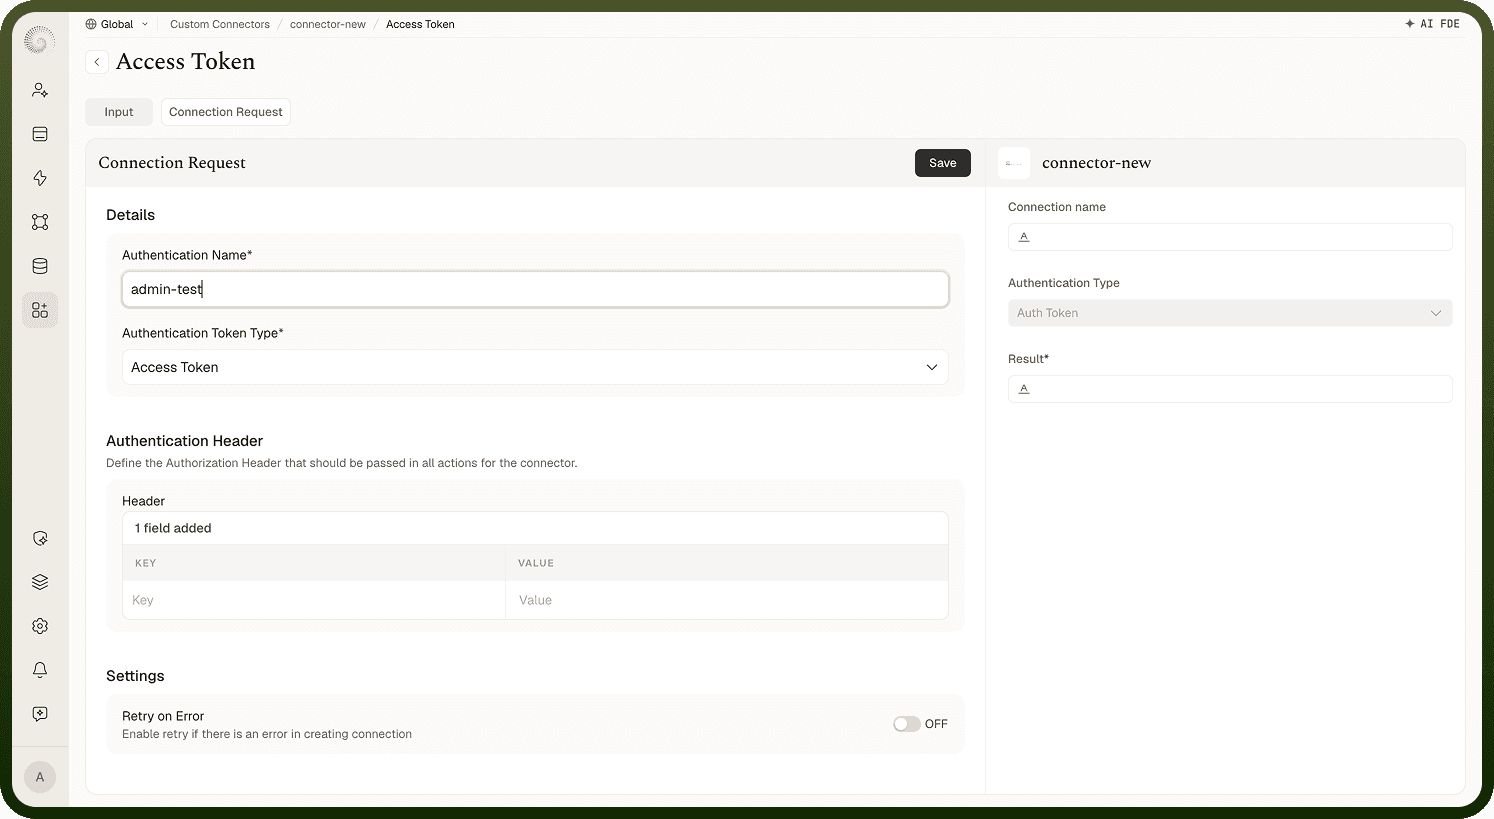
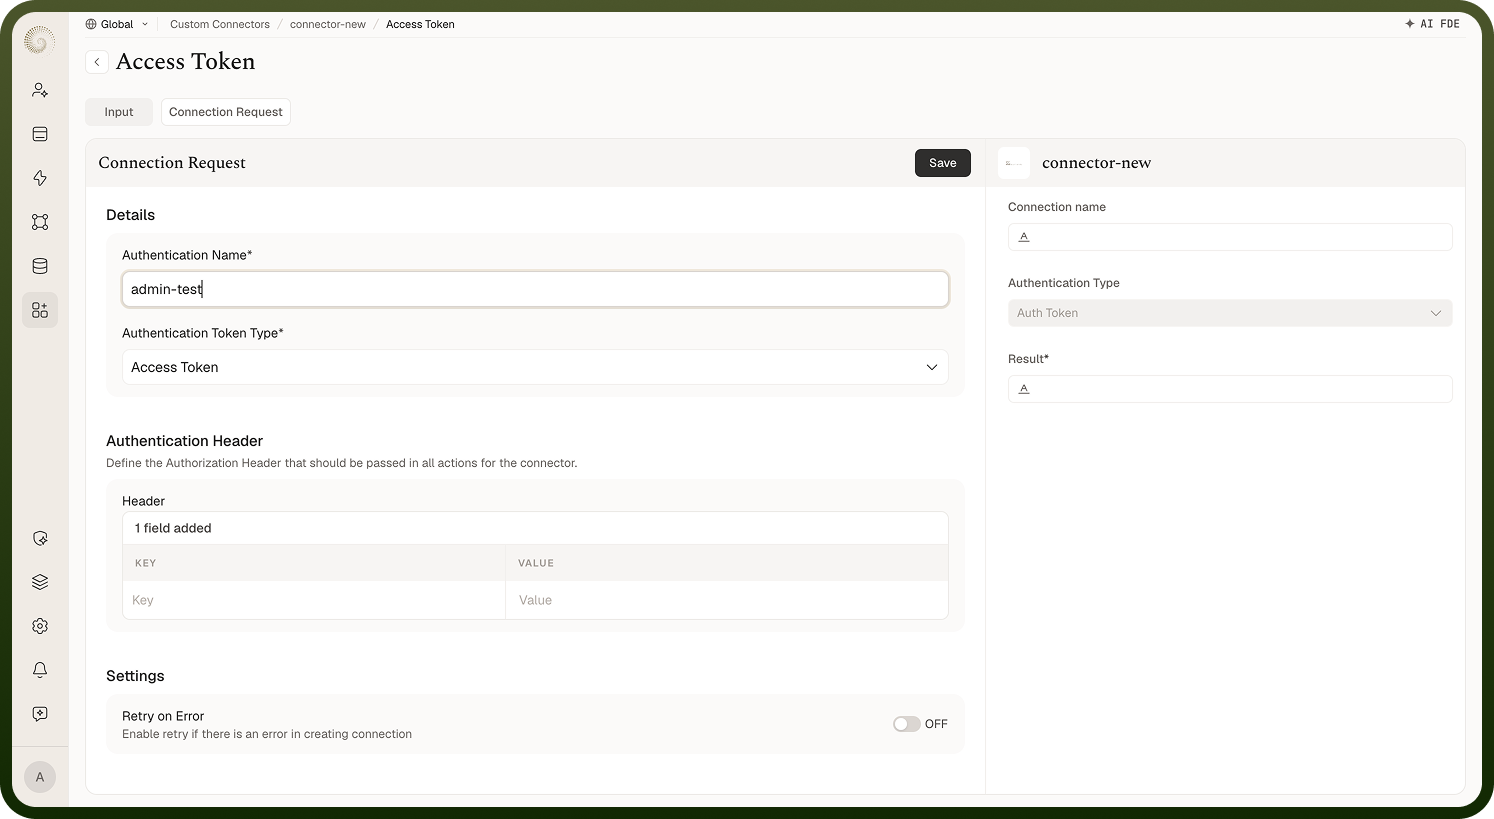
A connector can have multiple authentications — one per type. Whichever you pick, the platform stores the credentials securely and applies them to every request the connector makes — you don't write that wiring yourself. Each authentication is built across three tabs: Input (what the connecting user fills), Connection Request (how credentials are obtained/validated), and Output (what gets stored).
How Access Token and Basic auth work
Both are simple credential types:
Access Token — the user pastes a static key or token they got from the app. The platform stores it and adds it to each request — as a bearer authorization header, or wherever the API expects it (you can define the authentication header or parameter placement applied to action requests). There's no refresh; the key is long-lived until the user rotates it.
Basic Auth — the user enters a username and password; the platform sends them as a standard Basic authorization header on every request.
Use these for the many APIs that just want a key or a username/password. Because the credential is sent on every call, the connection should be over HTTPS — and for production, OAuth 2.0 is generally safer where it's available.
How JWT authentication works
With JWT Token, the connector creates a freshly signed JSON Web Token, rather than storing a token. You configure the JWT's payload (the claims, often using the user's inputs), its headers, the Signing Algorithm (RS256, ES256, PS256, HS256, HS384, or HS512), and an expiration time; the connecting user supplies the private key used to sign. At request time the platform builds the token from your payload template and signs it with the key. Where the API requires it (service-account style access), the authentication can also make an HTTP request to exchange the signed JWT for an access token, storing the response as the connection's credentials.
How custom authentication works
Custom auth is for APIs whose login doesn't fit the standard types — you describe the auth flow yourself. You define the connection request (for example a POST to a login endpoint using the user's inputs) and an output mapping that captures what comes back (a session token, an account id) so it's available to your actions as credentials. If the credential expires, define a refresh request (its own method, URL, headers, query parameters, and output) plus when to run it: an expiry time and unit (seconds, minutes, hours, or days), measured as an absolute expiry or relative to when the credential was issued. This gives you full control for unusual auth schemes while still getting automatic storage and refresh.
Authentication inputs and outputs
An authentication has two schemas, on its Input and Output tabs:
Input — the fields a connecting user fills when they create a connection (an API key, a username/password, a private key, an account id). The platform renders these as a form from your input schema.
Output — what the authentication produces and stores after it succeeds (for OAuth, the tokens; for custom auth, whatever your auth response returns). Outputs become available to your actions and triggers as values you can insert into their requests — for example putting the captured token into a request header.
Designing these well is what makes the connector reusable: inputs ask the user for exactly what's needed, and outputs expose the credential to every request without the user thinking about it.
How credential refresh works
For auth types whose credentials expire (OAuth 2.0 with refresh tokens, JWT, refreshable custom auth), you enable the refresh option (adding a token expiry interval) and set a default expiry. The platform tracks when each connection's credential lapses and renews it automatically when it's due — before sending the next request on an expired credential it re-runs the token exchange (OAuth), regenerates a signed token (JWT), or calls your refresh request (custom), and updates the stored credential. If the API rejects a call as unauthorized despite that, the platform refreshes the credential and retries the call. This happens transparently: users connect once and their automations keep working without re-authenticating. If an auth isn't refreshable, an expired credential simply fails until the user reconnects — so enable refresh wherever the API supports it.