

There are four ways to get your app onto Android phones. Start with an APK to try the app, and add more setup only when you need it.
| You want to | What you build | You need |
|---|---|---|
| Try the app on a phone | APK | App name and package ID |
| Upload to Google Play yourself | AAB | Signing keys as well |
| Send it to Google Play | Store release | A Google Play connection as well |
| Change screens or logic for people who have the app | OTA update | A store release first |
An AAB upload or a store release also needs a Google Play Console developer account (25 USD, one time). All of the UnifyApps steps happen in the Releases tab on the app page. Every build uses the last published version of the app, so publish your changes in the builder first.
Quick Test with an APK
An APK is an Android app file that installs on any Android phone from a link. It needs no Google account and no signing keys, so it's the fastest way to see your app on a phone.
Add the App Name and Package ID
Every build needs these two details. The app name is what people see under the app icon. The package ID (called the app identifier in UnifyApps) is the app's permanent ID on Google Play.
Open the Releases tab and click Setup. The App details dialog opens.
Enter the App name: Up to 30 characters. Keep it under 12 if you can, because longer names may be cut off under the icon.
Enter the App identifier: Use reverse-domain style with at least three parts, for example com.yourcompany.appname. Each part starts with a letter and uses only letters, numbers and underscores (no spaces or hyphens). Any rule it breaks is shown under the field.
Click Setup to save.
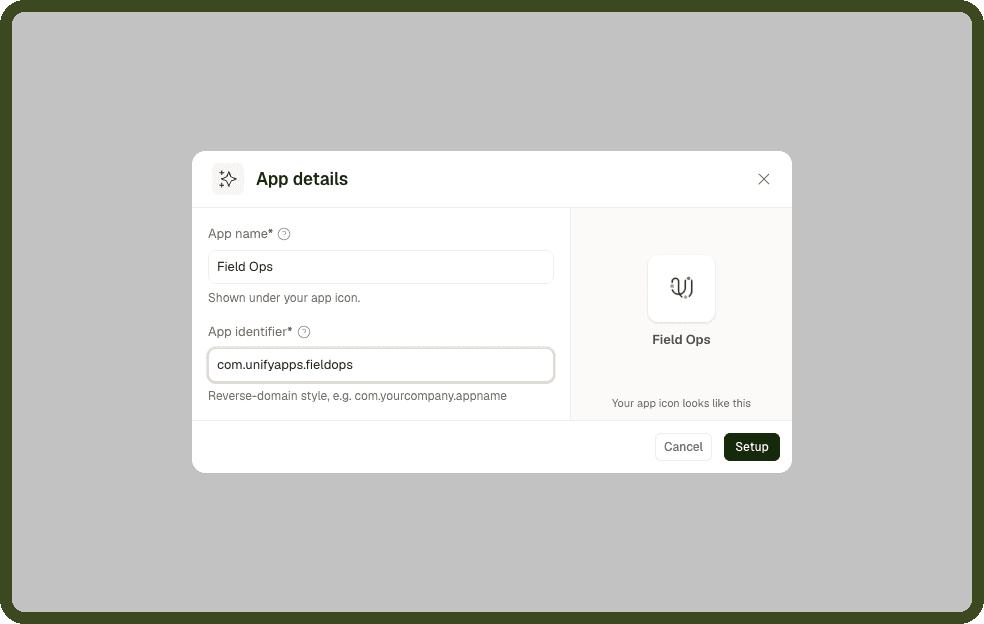
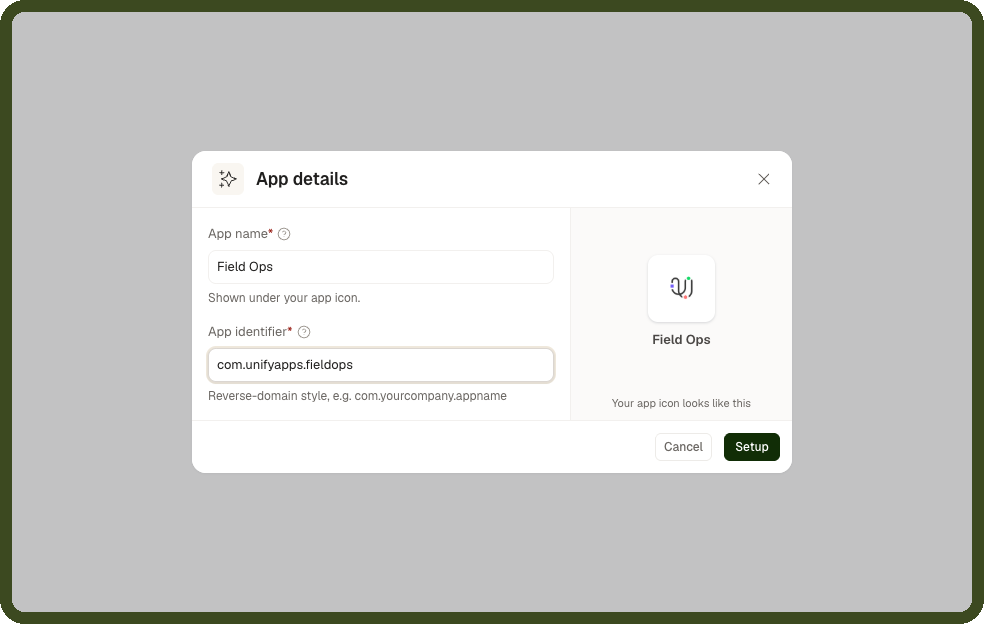
Warning: The package ID can't change once the app is on Google Play, and it must match the package name in Play Console exactly. Changing the name or identifier in UnifyApps later clears the signing keys and store connections set up for the app, so download the signing keys first.
Build and Install the APK
Start the build: Click New release, choose Get a test file, select APK and click Build test file. A build takes about 15 to 30 minutes.
Open the link on the phone: When the build shows Ready, open it and scan the QR code with the phone, or copy the link and send it.
Install: Tap the downloaded file. If Android says installs from this source aren't allowed, turn on Allow from this source for the browser, then tap Install.
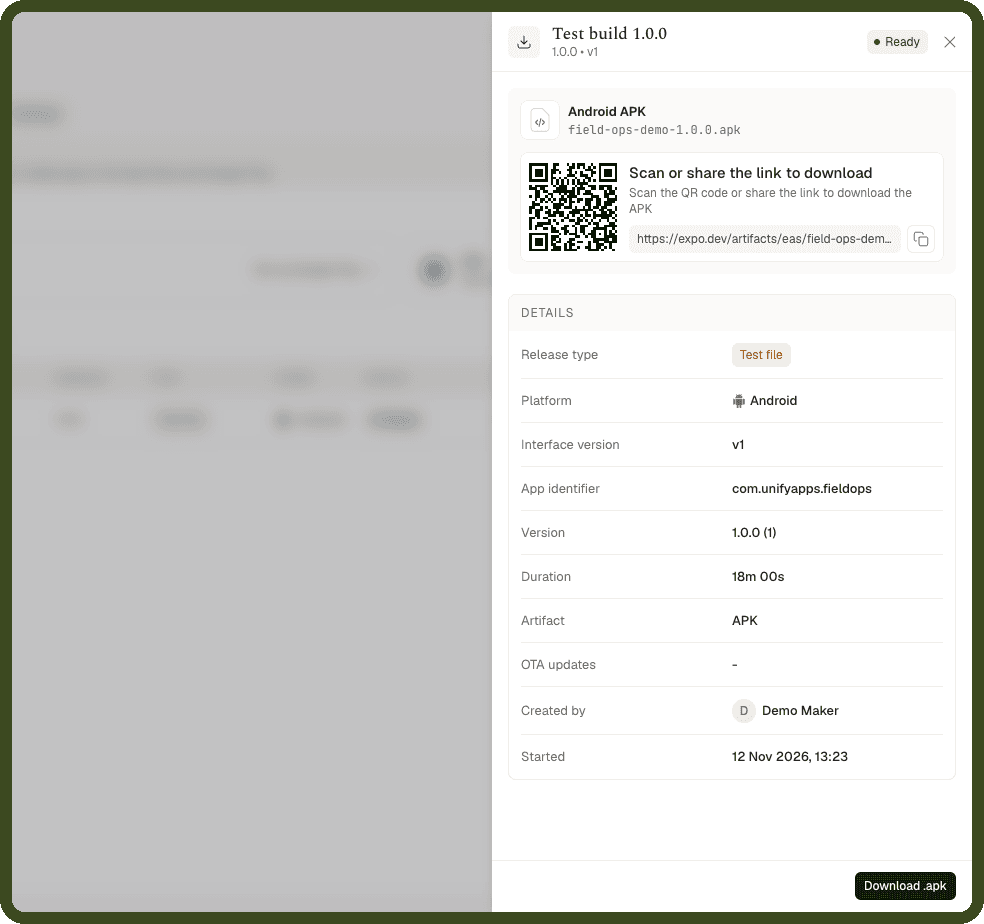
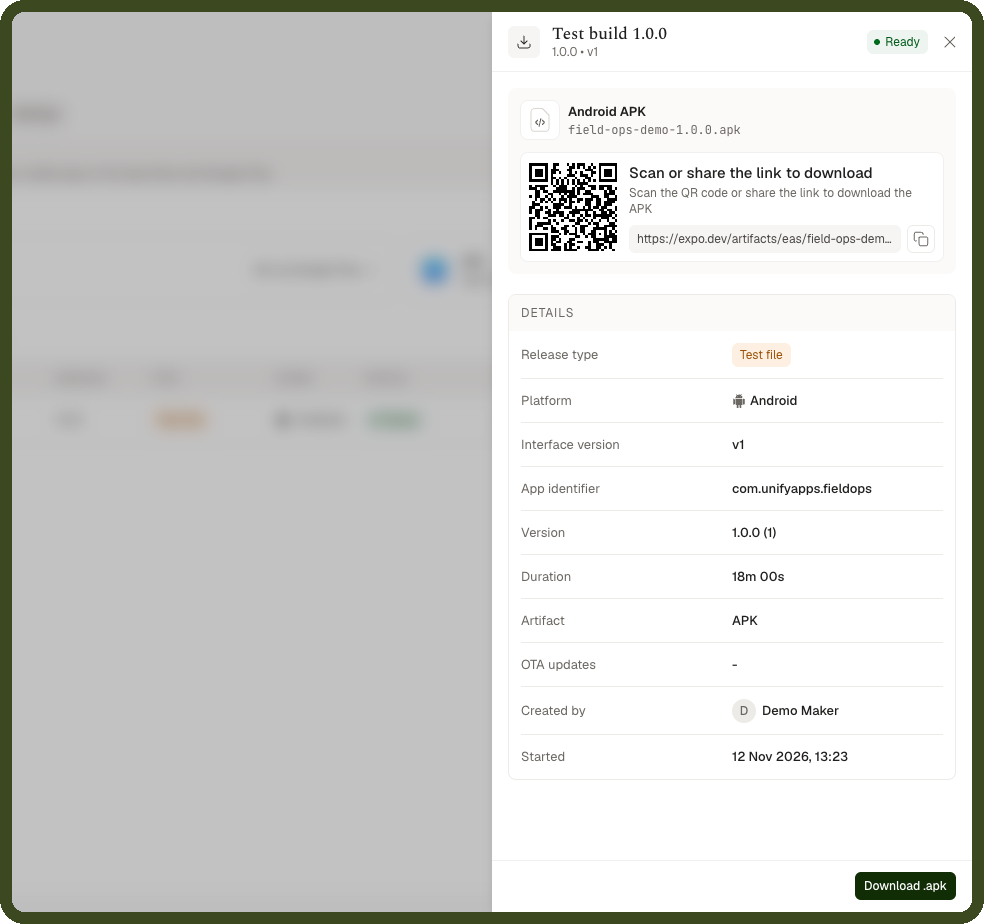
Note: An APK doesn't receive OTA updates. Build a new APK to test new changes.
Build an AAB for Your Own Upload
An AAB is the file Google Play takes for uploads. It can't be installed on a phone directly. Build one when you want to upload the app to Google Play yourself, without connecting your Google account to UnifyApps. Google Play also needs the very first build of a new app uploaded by hand, so every new app starts here.
Add Signing Keys
Google Play accepts only builds signed with the app's own key, and every later update must be signed with the same key. That's why an AAB needs signing keys and an APK doesn't.
Open the Google Play setup: Click Stores in the side navigation, then Set up on the Google Play card.
Skip the connection: Click Skip on the connection step if you aren't connecting Google Play yet.
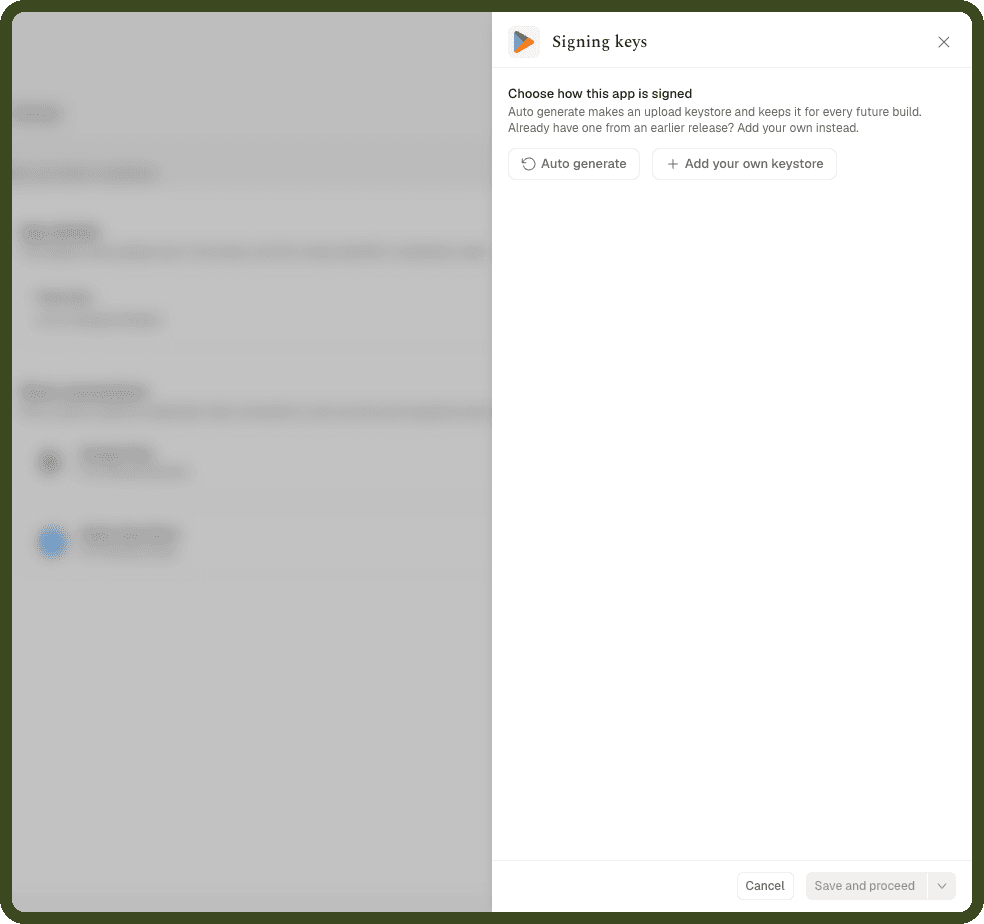
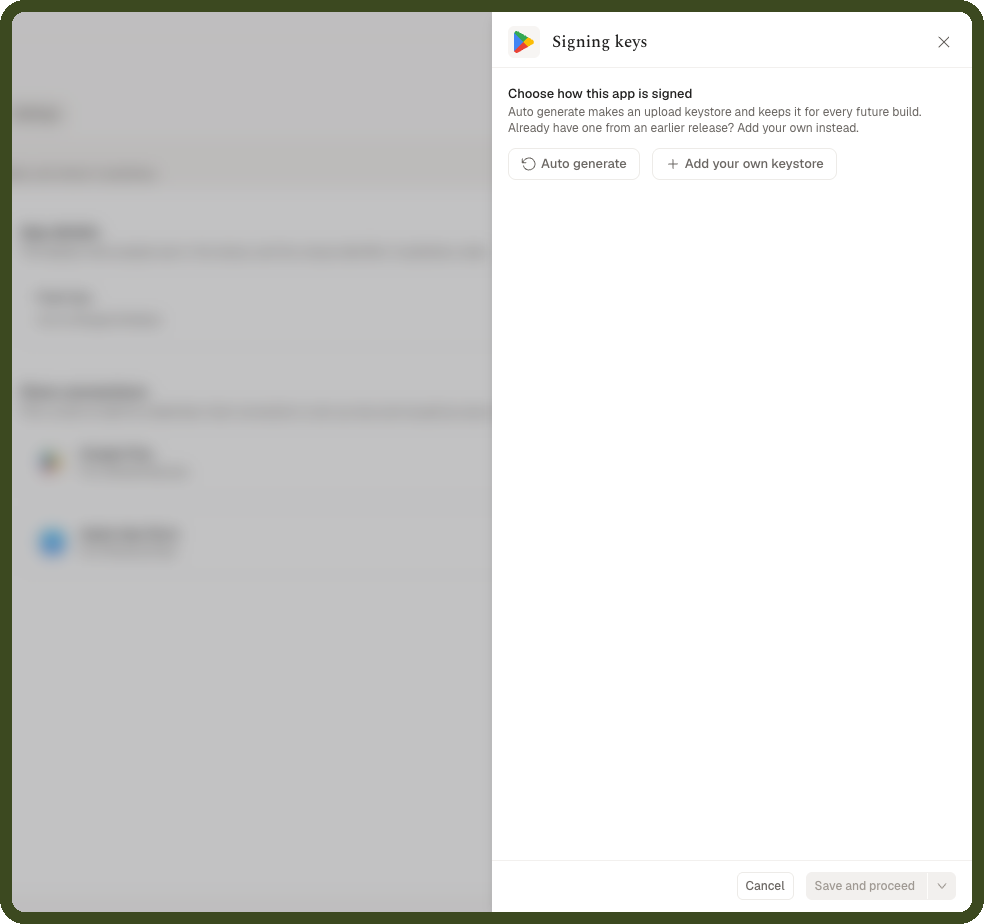
Choose how to sign: Pick Auto generate for an app that has never been on Google Play. UnifyApps creates the keystore and keeps it for every build. Pick Add your own keystore for an app already on Google Play, then upload the .keystore or .jks file and enter the Keystore password, Key alias and Key password.
Click Save and proceed.
Tip: Click Download next to the signing keys on the Stores page and keep the copy somewhere safe. If the keystore is lost, you can't update the app on Google Play.
Create the App in Google Play Console
Skip this if the app already exists in Play Console.
Sign in to Google Play Console with the developer account and click Create app.
Fill in the app: Enter the app name and the Package name, exactly the same as the app identifier in UnifyApps. Choose App, then Free or Paid, and accept the declarations.
Click Create app, then finish the tasks under Set up your app on the dashboard (app access, content rating, data safety and so on). Google Play won't accept a release until they're done.
Build and Upload the AAB
Start the build: Click New release, choose Get a test file, select AAB and click Build test file.
Download it: When it shows Ready, click Download .aab.
Upload it: In Play Console, open your app, go to Test and release > Testing > Internal testing, create a release and upload the file.
Release Directly to Google Play
Connect your Google Play account once, and UnifyApps uploads every new version for you. Before your first store release, upload one AAB by hand as described above, because Google Play doesn't let any tool upload an app's first build.
Connect Your Google Play Account
UnifyApps uploads through a service account: a Google account made for tools, not people. You create it in Google Cloud, give it access in Play Console, then add it to UnifyApps.
Turn on the Google Play APIs: In the Google Cloud console, create or pick a project. Under APIs & Services > Library, enable the Google Play Android Developer API (used to upload builds) and the Google Play Developer Reporting API (used to test the connection).
Create the service account: In the same project, go to IAM & Admin > Service Accounts, click Create service account, name it and click Create and close. Copy its email address, which ends in iam.gserviceaccount.com.
Create its key: Open the account's Actions menu, choose Manage keys, then Add key > Create new key > JSON. A .json file downloads. Keep it safe like a password: it can't be downloaded again.
Give it access in Play Console: In Play Console, open Users and permissions and click Invite new users. Paste the service account email, click Add app, tick your app, and give it the permissions Release apps to testing tracks, Manage testing tracks and edit tester lists and Edit and delete draft apps. To release straight to production, also tick Release to production. Click Invite user.
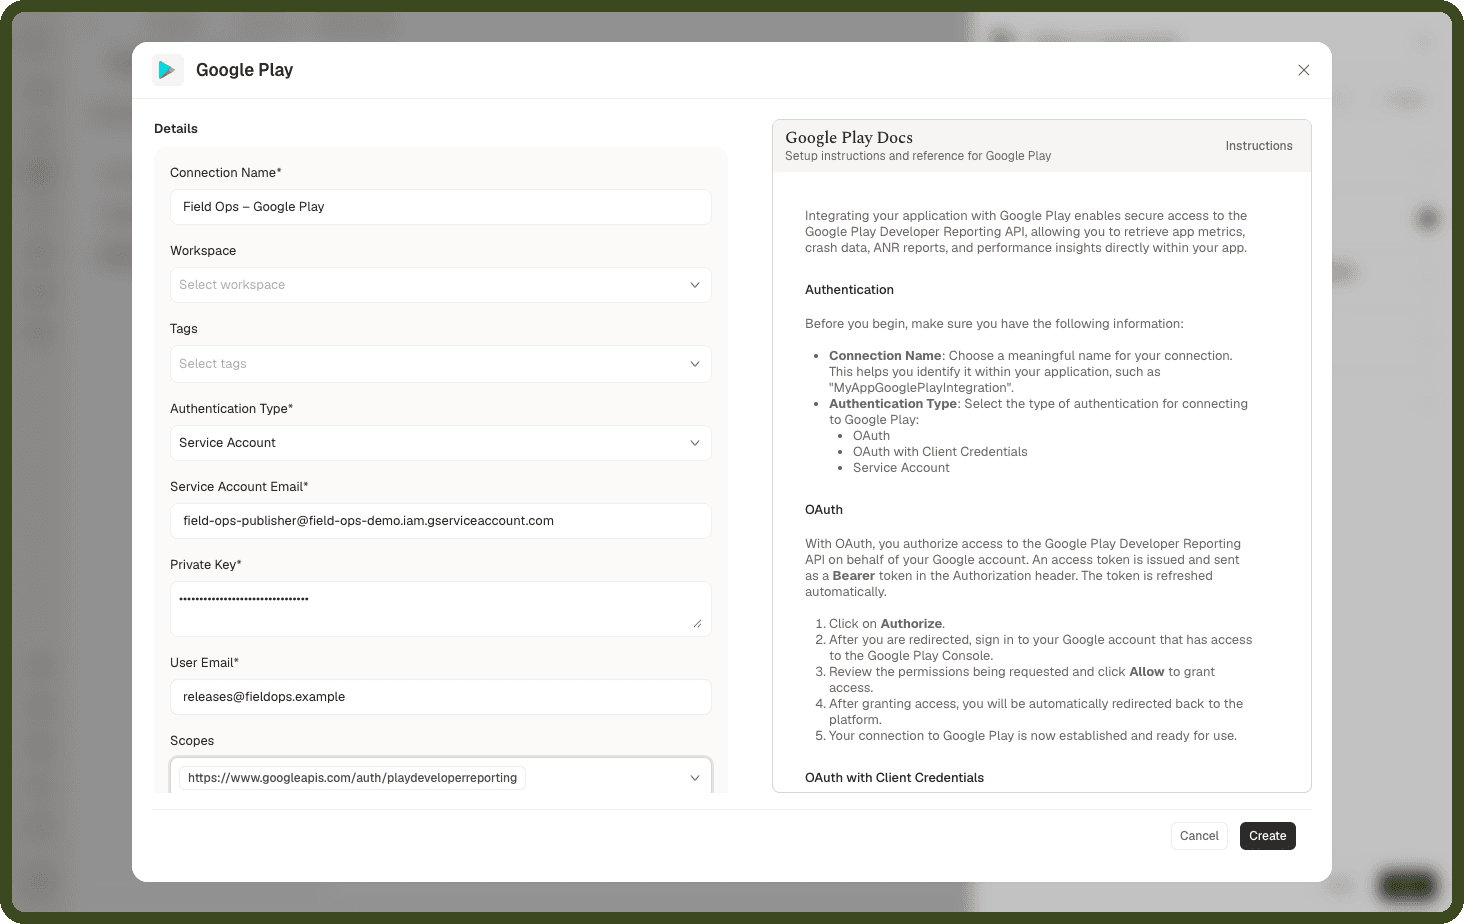
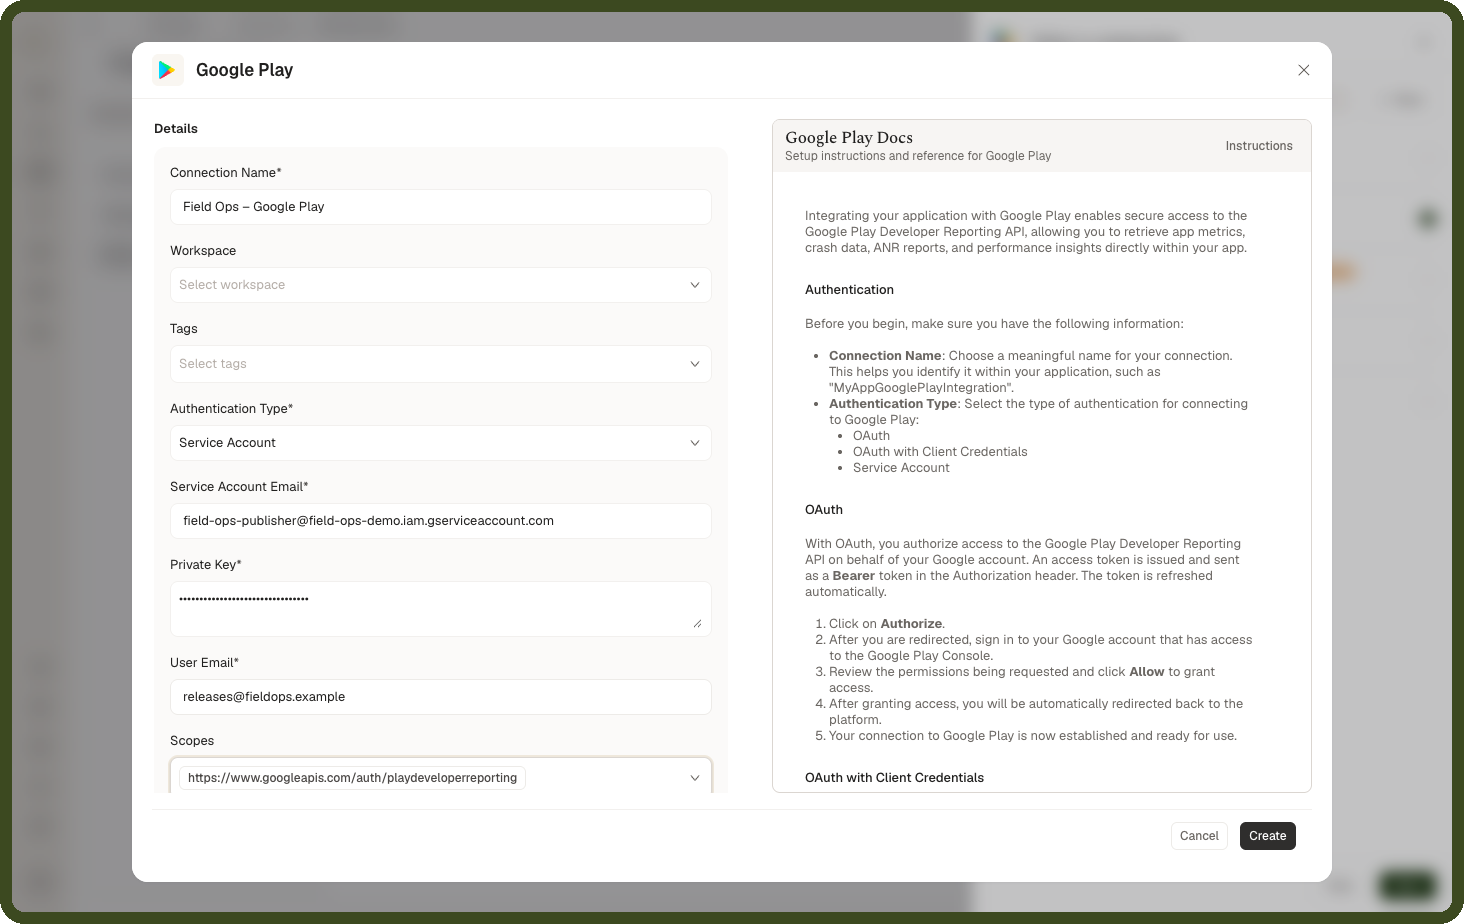
Add the connection in UnifyApps: On the Stores page, click Set up on Google Play, then + New. Set Authentication Type to Service Account and fill in the form below. Click Create, select the new connection and click Next.
| Field | What to enter |
|---|---|
| Connection Name | Any name, for example "Field Ops – Google Play" |
| Service Account Email | The service account's email |
| Private Key | The private_key value from the .json file, including the BEGIN and END lines |
| User Email | The service account's email again, not a person's email |
| If Create fails with | Fix |
|---|---|
| unauthorized_client | User Email has a person's email. Use the service account's email. |
| Reporting API has not been used or is disabled | Enable the Google Play Developer Reporting API in the same Cloud project, wait a minute and try again. |
Tip: A new Play Console permission can take a while to start working. If the first release is refused for permissions, wait and try again.
Send the Store Release
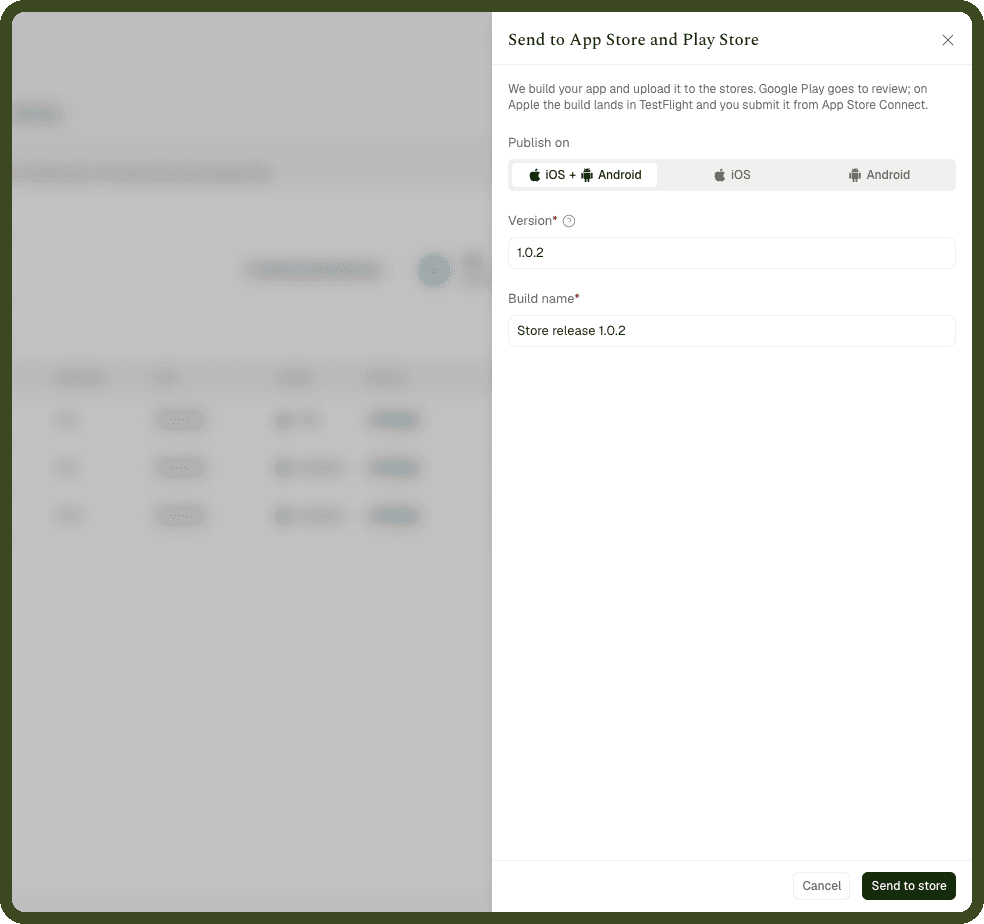
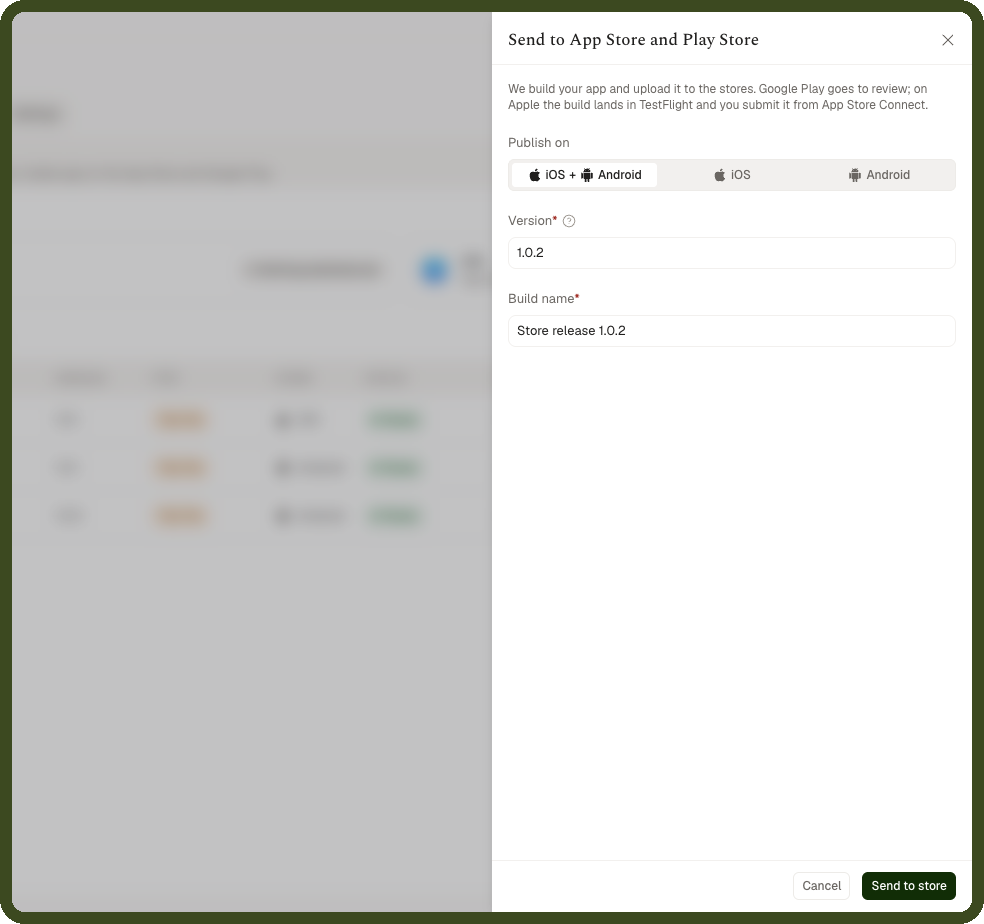
Click New release and choose Release to app stores.
Select Android under Publish on.
Check the Version: This is the version people see on Google Play. It's filled in for you, one step above the last one, and each new release must be higher.
Click Send to store. When the upload finishes, the status changes to Sent.
Test It and Make It Public
A sent build lands on Google Play's Internal testing track, not on the public store.
Add testers: In Play Console, open Internal testing > Testers, create an email list with your testers' Google account emails (up to 100), and copy the join link.
Testers install it: Each tester opens the link, taps Accept invite and installs the app from the Play Store.
Make it public: Finish the store listing (description, icon, screenshots), then open the release, click Promote release > Production and send it for review. Review takes from a few hours to several days.
Note: A personal Google Play developer account created after November 2023 must run a closed test with at least 12 testers for 14 days before releasing to production. Organisation accounts don't have this rule.
Update Your App Without a Store Release (OTA)
An OTA (over-the-air) update sends changes to your screens, content and logic straight to apps installed from Google Play. People get it the next time they open the app, with no store review. It needs at least one store release first, because it's sent on top of a version people have installed.
Publish your changes in the builder.
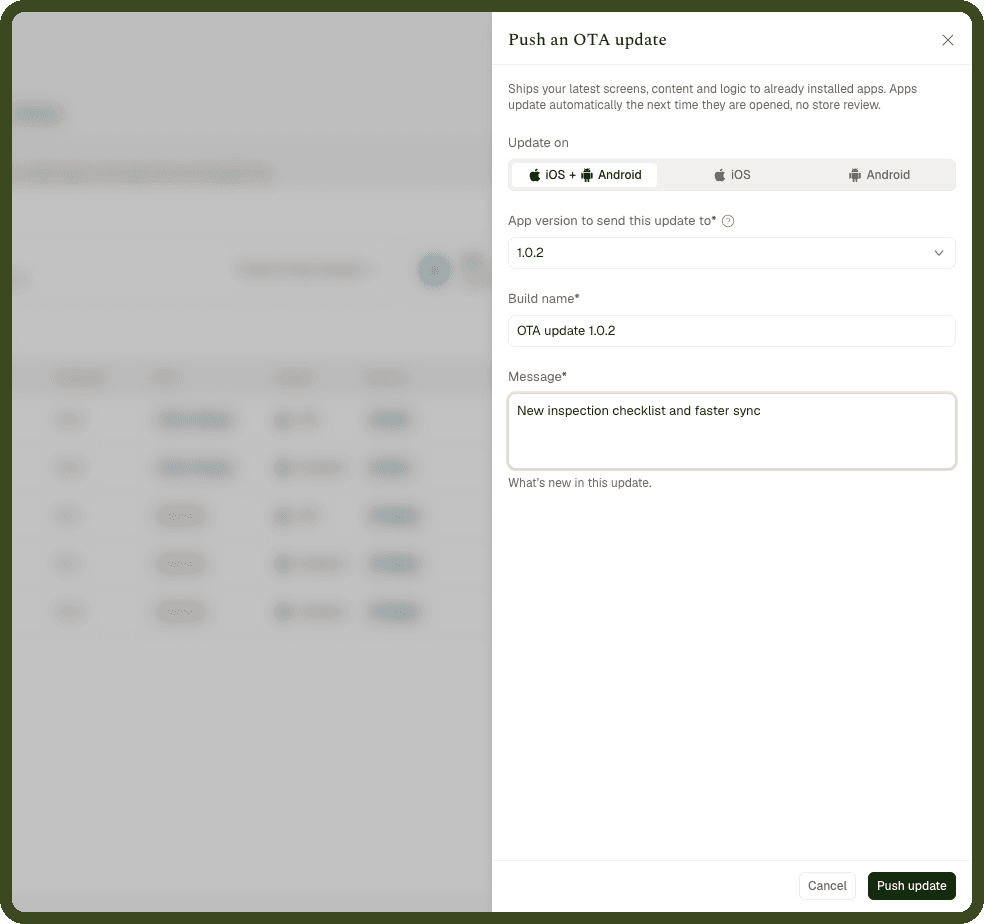
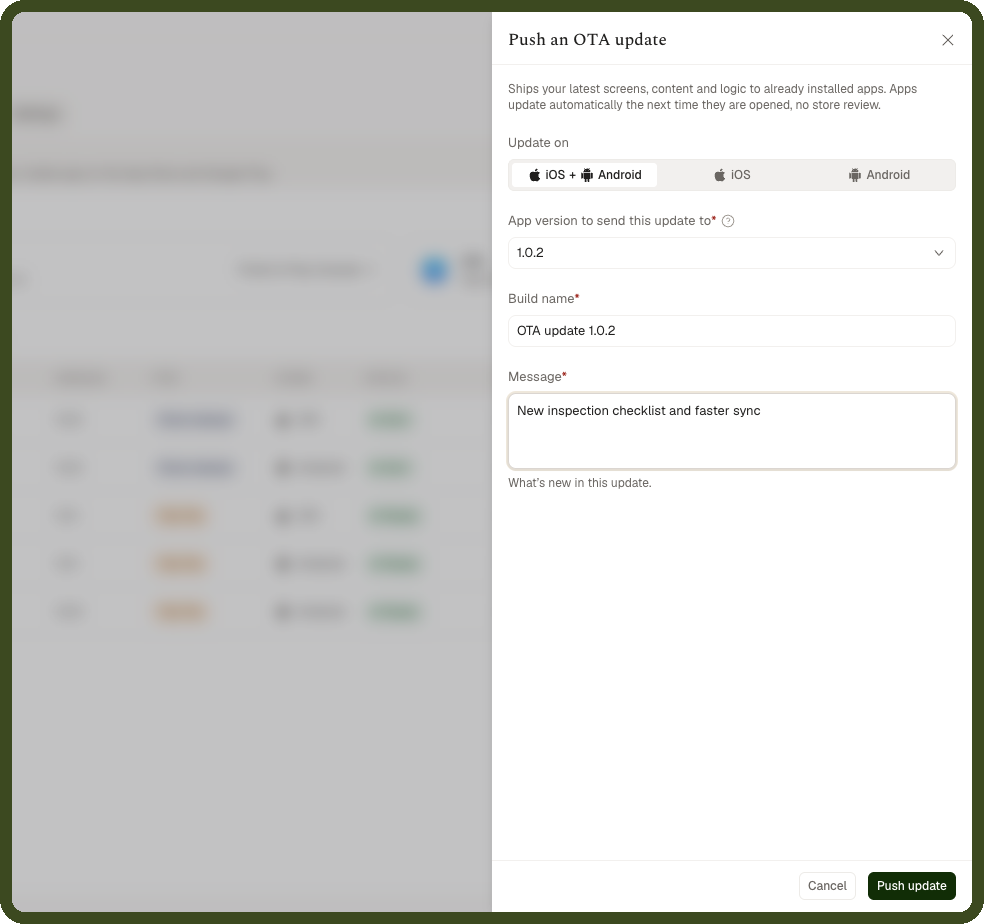
Click New release and choose Push an OTA update.
Select Android under Update on, and pick the app version to update. Only people on that version get the update.
Write what changed in Message, then click Push update. The status changes to Pushed.
Note: An OTA update can't change the app name, icon or package ID, or add new device features. Those need a new store release. If someone doesn't see an update, ask them to close the app fully and open it again.