

iPhones install apps only from the App Store or Apple's TestFlight app, so every iOS build goes through App Store Connect. You can upload it yourself, or let UnifyApps send it for you.
| You want to | What you build | You need |
|---|---|---|
| Upload to App Store Connect yourself | IPA | App name, bundle ID, and your own certificate and profile |
| Send it to TestFlight and the App Store | Store release | An App Store Connect connection as well |
| Change screens or logic for people who have the app | OTA update | A store release first |
All of these need an Apple Developer account (99 USD a year). All of the UnifyApps steps happen in the Releases tab on the app page. Every build uses the last published version of the app, so publish your changes in the builder first.
Build an IPA for Your Own Upload
An IPA is an iOS app file. It can't be installed on an iPhone from a link, but you can upload it to App Store Connect yourself and send it to testers through TestFlight. Use this when you don't want to connect your Apple account to UnifyApps.
Add the App Name and Bundle ID
Every build needs these two details. The app name is what people see under the app icon. The bundle ID (called the app identifier in UnifyApps) is the app's permanent ID at Apple.
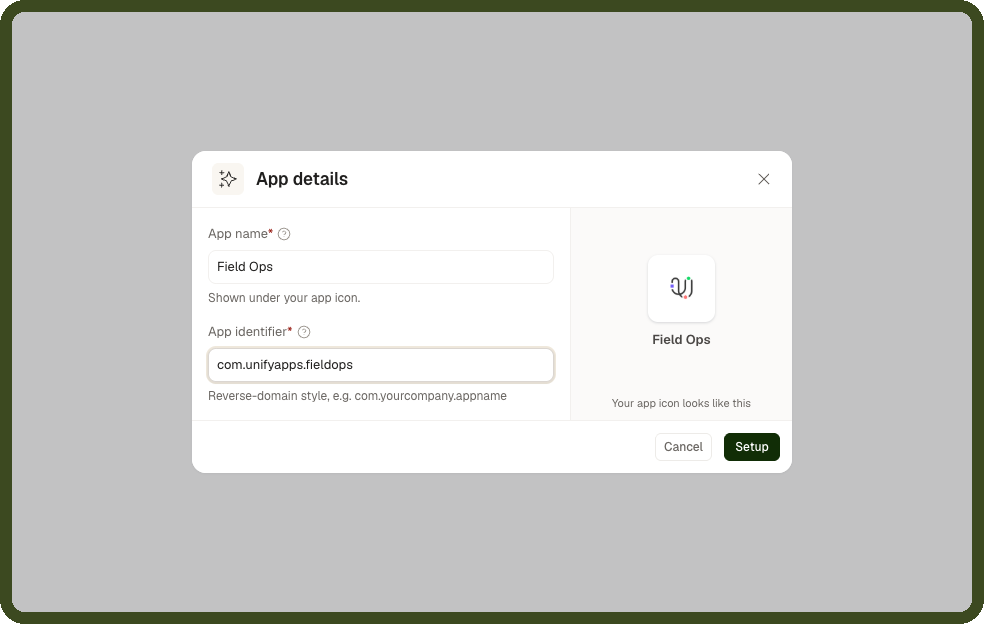
Open the Releases tab and click Setup. The App details dialog opens.
Enter the App name: Up to 30 characters. Keep it under 12 if you can, because longer names may be cut off under the icon.
Enter the App identifier: Use reverse-domain style with at least three parts, for example com.yourcompany.appname. Each part starts with a letter and uses only letters, numbers and underscores (no spaces or hyphens). Any rule it breaks is shown under the field.
Click Setup to save.
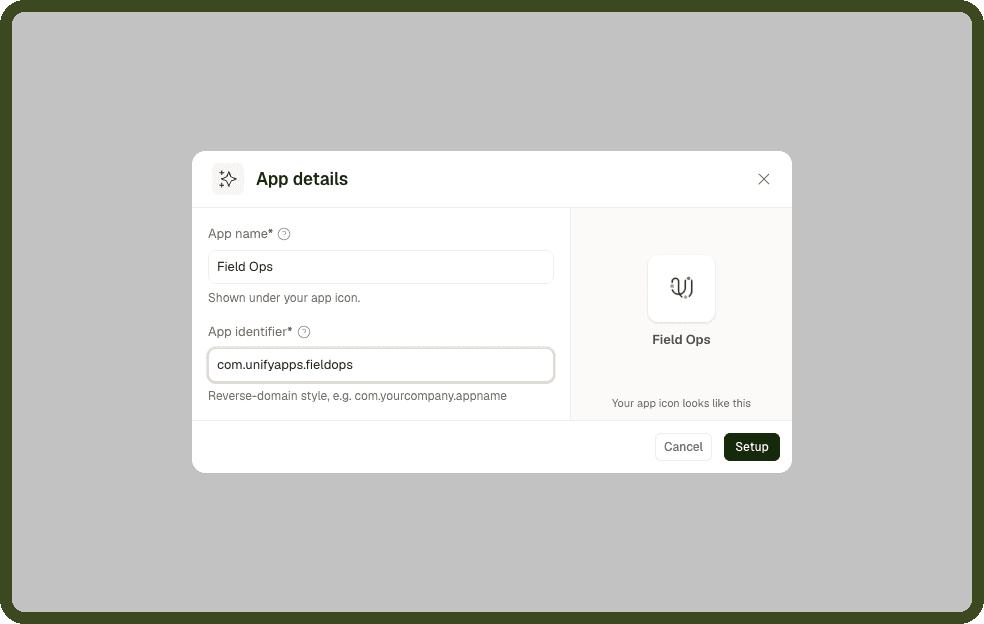
Warning: The bundle ID can't change once the app is on the App Store, and it must match the bundle ID at Apple exactly. Changing the name or identifier in UnifyApps later clears the signing keys and store connections set up for the app.
Create the App at Apple
Apple needs to know the app before it accepts a build. Skip these steps if the app already exists in App Store Connect.
Register the bundle ID: At developer.apple.com, open Certificates, Identifiers & Profiles > Identifiers and click +. Choose App IDs, then App. Enter a description, choose Explicit, and enter the app identifier from UnifyApps exactly. Tick any capabilities the app uses, such as Push Notifications, then click Register.
Create the app record: In App Store Connect, open Apps, click + and choose New App. Tick iOS, enter the name, language, the bundle ID you registered and a SKU (any internal code, such as FIELDOPS001), then click Create.
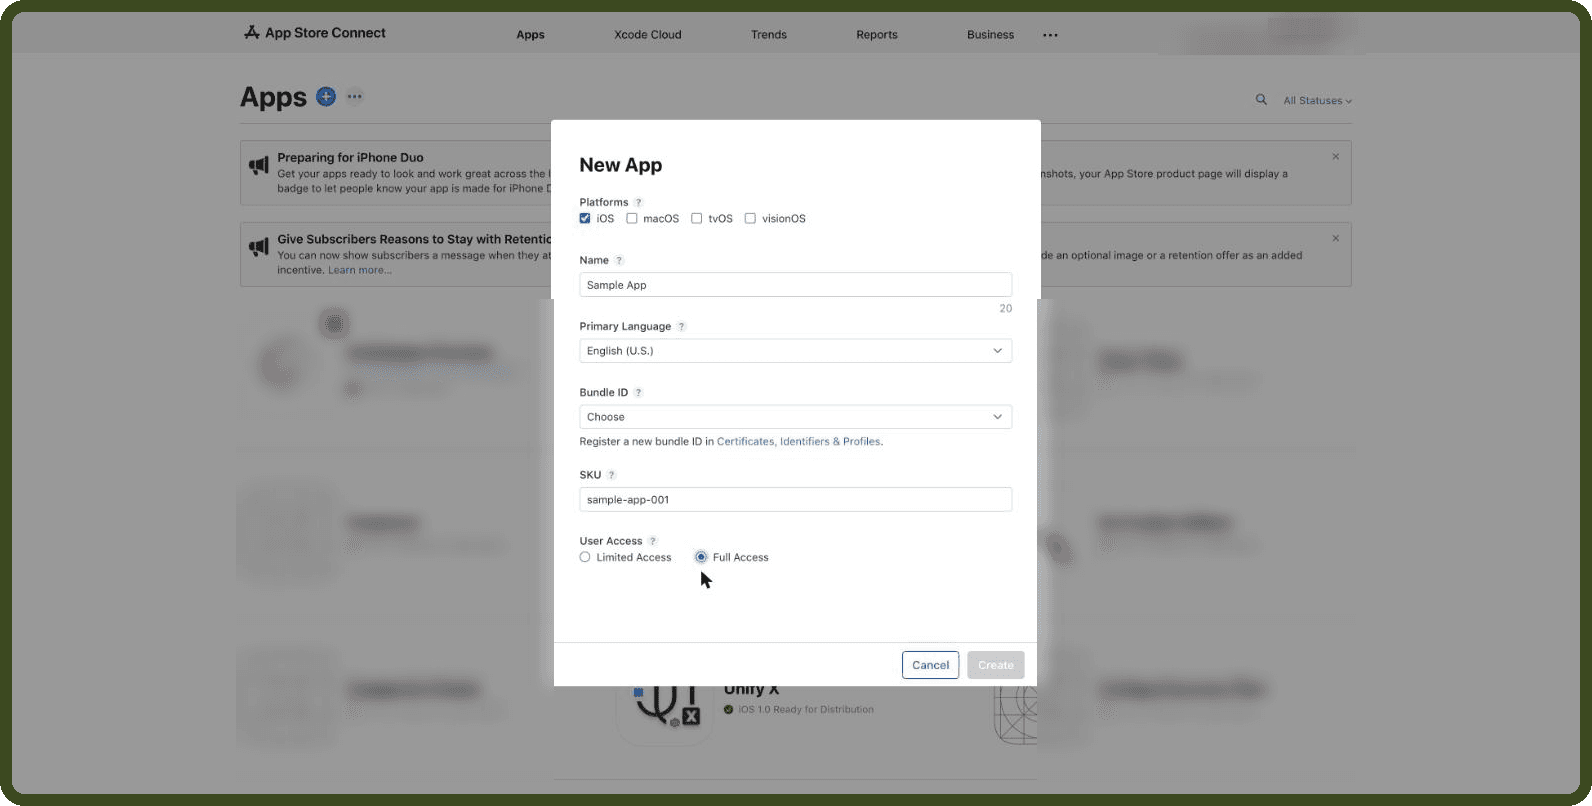
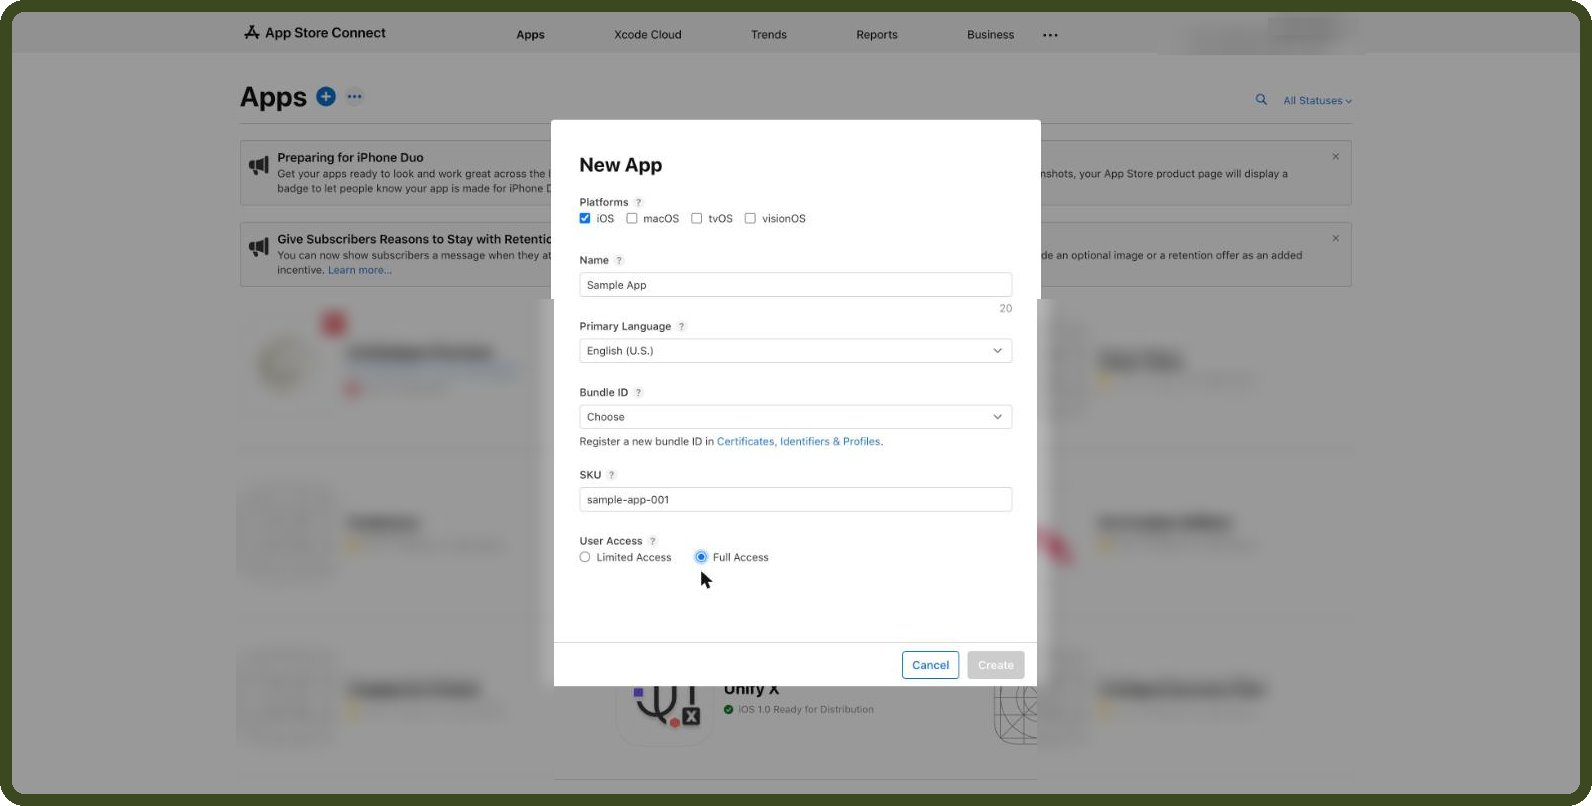
Note: If App Store Connect shows Agreement Update and blocks New App, the Account Holder must accept Apple's updated agreement at developer.apple.com/account.
Add Your Own Certificate and Profile
Apple accepts only builds signed with a distribution certificate from your Apple team, and a provisioning profile that ties that certificate to the app. Without a connection to App Store Connect, UnifyApps can't create these for you, so you add your own.
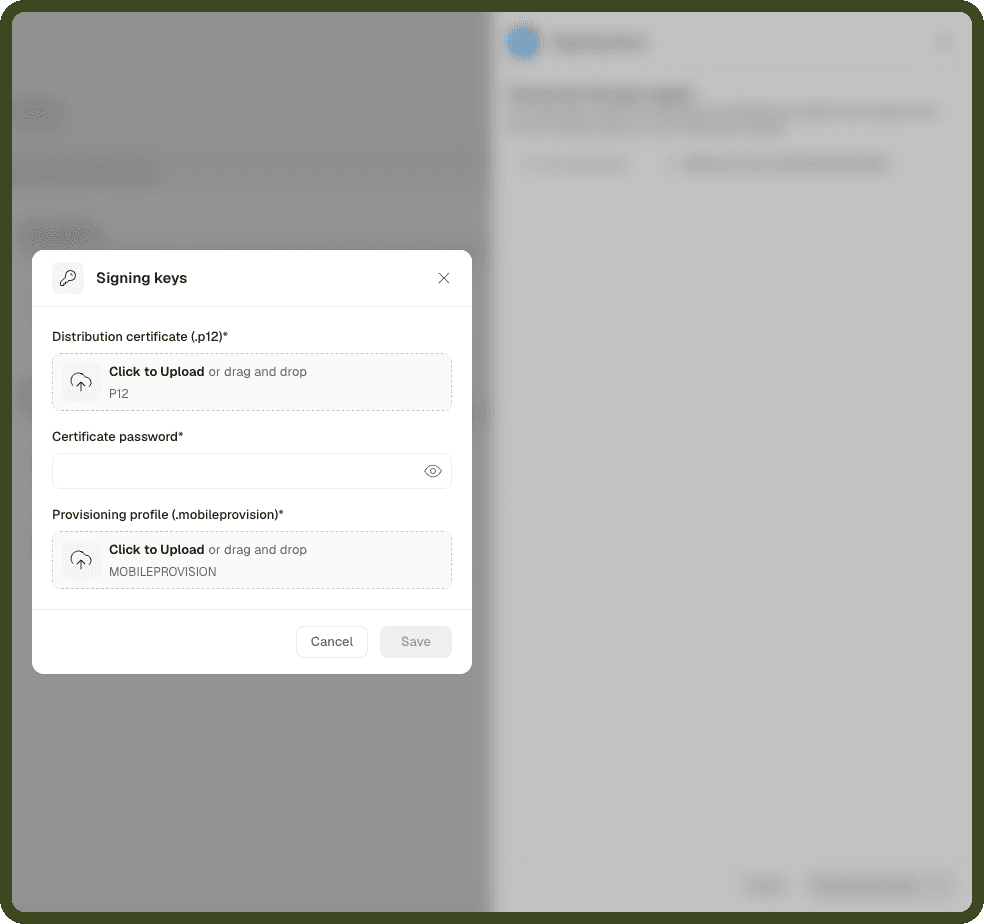
Get the certificate as a .p12: Apple gives you the distribution certificate as a .cer file. On the Mac where its certificate request was made, double-click the .cer to add it to Keychain Access. Under login > My Certificates, find Apple Distribution: {team name} and check that a private key appears under it. Right-click it, choose Export, pick .p12, and set a password. That password is the Certificate password UnifyApps asks for.
Get the provisioning profile: At developer.apple.com, open Profiles, click + and choose App Store under Distribution. Pick the app's bundle ID and the certificate you exported, then download the .mobileprovision file.
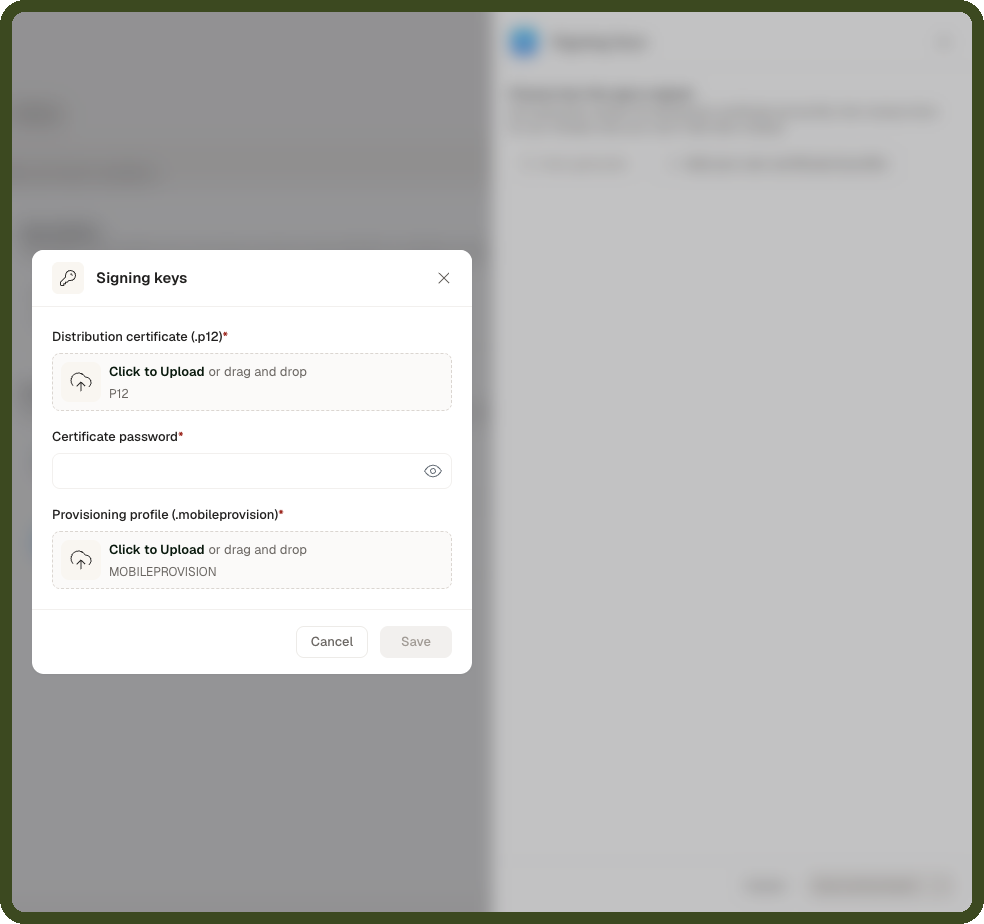
Add them in UnifyApps: Click Stores, then Set up on the Apple App Store card. Click Skip on the connection step, and leave the App Store App ID empty. Under Signing keys, choose Add your own certificate & profile, upload the .p12, enter its password, upload the .mobileprovision file, and click Save and proceed.
Note: If no Mac has the certificate's private key, the .cer can't become a .p12. Create a new distribution certificate from a new certificate request, and export that one.
Build and Upload the IPA
Start the build: Click New release, choose Get a test file, select IPA and click Build test file. A build takes about 15 to 30 minutes.
Download it: When it shows Ready, click Download .ipa.
Upload it: On a Mac, open Apple's free Transporter app, sign in with the App Store Connect account, and drag in the .ipa. After Apple processes it, the build appears in TestFlight.
Release Directly to the App Store
Connect your App Store Connect account once, and UnifyApps uploads every new version to TestFlight for you. With the connection in place, UnifyApps can also create and renew the signing certificate and profile for you.
Connect Your App Store Connect Account
UnifyApps uploads through an App Store Connect API key: a key file (.p8) and two IDs that identify it. The app must already exist at Apple (see Create the App at Apple above).
Open the API keys: In App Store Connect, go to Users and Access > Integrations > App Store Connect API, and open Team Keys. The first time, the Account Holder must click Request Access and accept the terms.
Copy the Issuer ID: It's shown above the list of keys.
Generate a key: Click Generate API Key (or +), give it a name, choose App Manager access, and click Generate.
Copy the Key ID and download the key: Click Copy Key ID on the key's row, then Download to get the .p8 file. Apple lets you download it only once, so keep it safe like a password.
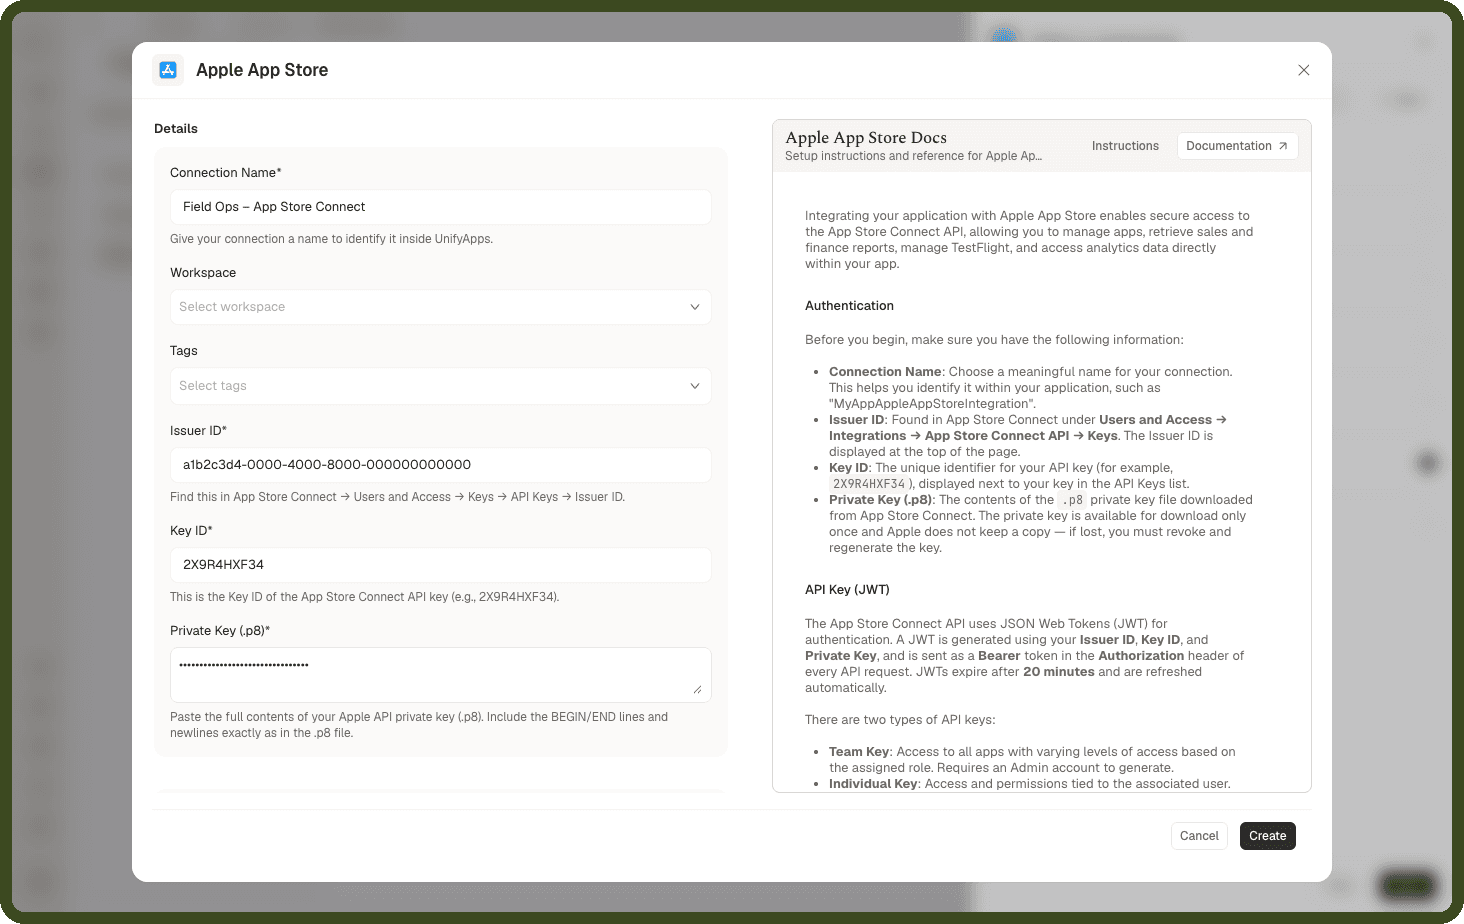
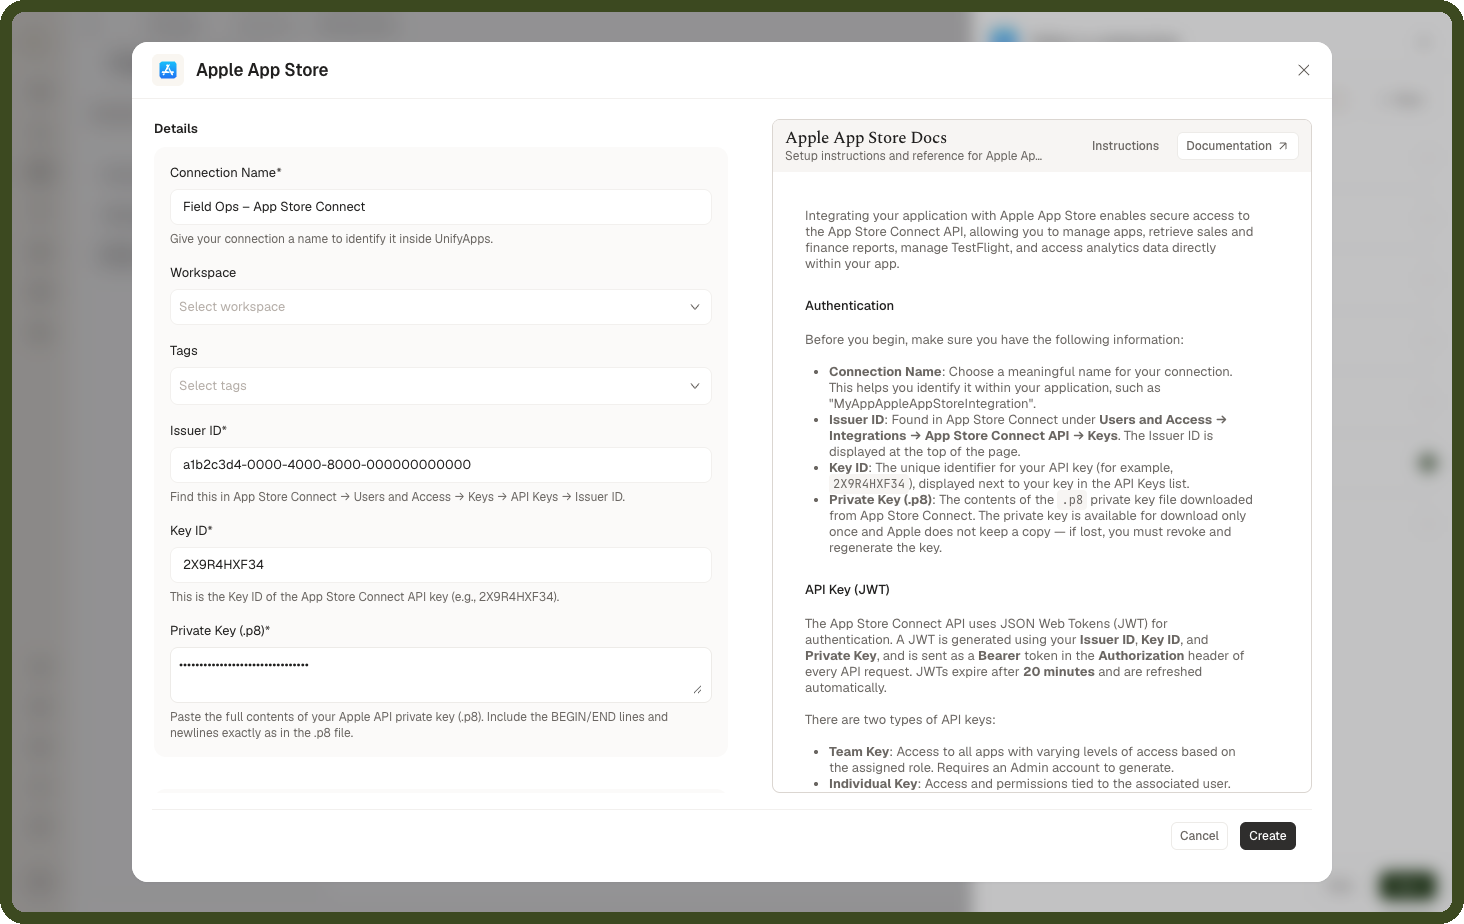
Add the connection in UnifyApps: On the Stores page, click Set up on Apple App Store, then + New. Fill in the form below, click Create, select the new connection and click Next.
Enter the App Store App ID: In App Store Connect, open your app's App Information and copy the number labelled Apple ID, for example 6483927104. Paste it on the App Store App ID step and click Next.
| Field | What to enter |
|---|---|
| Connection Name | Any name, for example "Field Ops – App Store Connect" |
| Issuer ID | The ID shown above the team keys |
| Key ID | The 10-character ID of the key |
| Private Key (.p8) | The whole .p8 file, including the BEGIN and END lines |
| If Create fails with | Fix |
|---|---|
| 403, a required agreement is missing or has expired | The Account Holder accepts Apple's updated agreement at developer.apple.com/account. Then click Create again with the same values. |
| Any other refusal | Check the Issuer ID, Key ID and .p8 file all belong to the same key, and paste the .p8 file whole. |
Note: If UAT and production send to different App Store apps, each environment has its own App Store App ID.
Let UnifyApps Generate the Signing Keys
With the connection added, UnifyApps can create the distribution certificate and provisioning profile through Apple, and renew them before they expire.
On the Signing keys step, choose Auto generate. You can still choose Add your own certificate & profile if your team manages them itself.
Click Save and proceed.
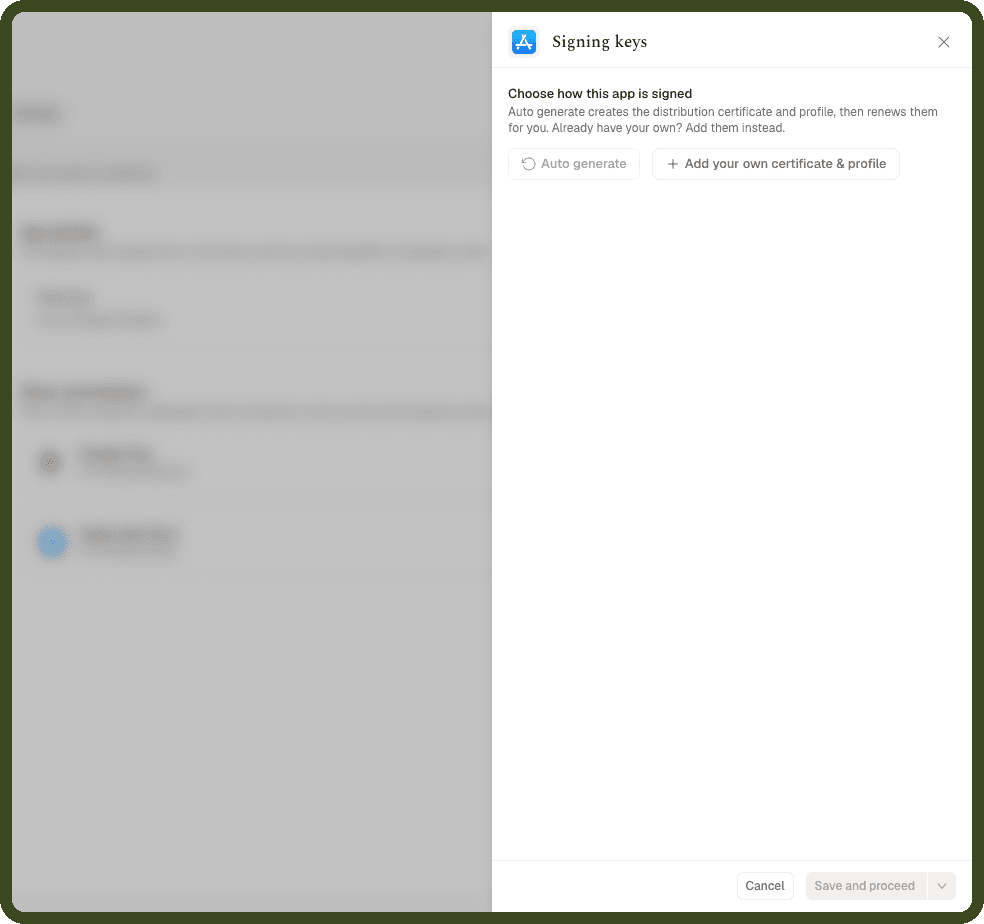
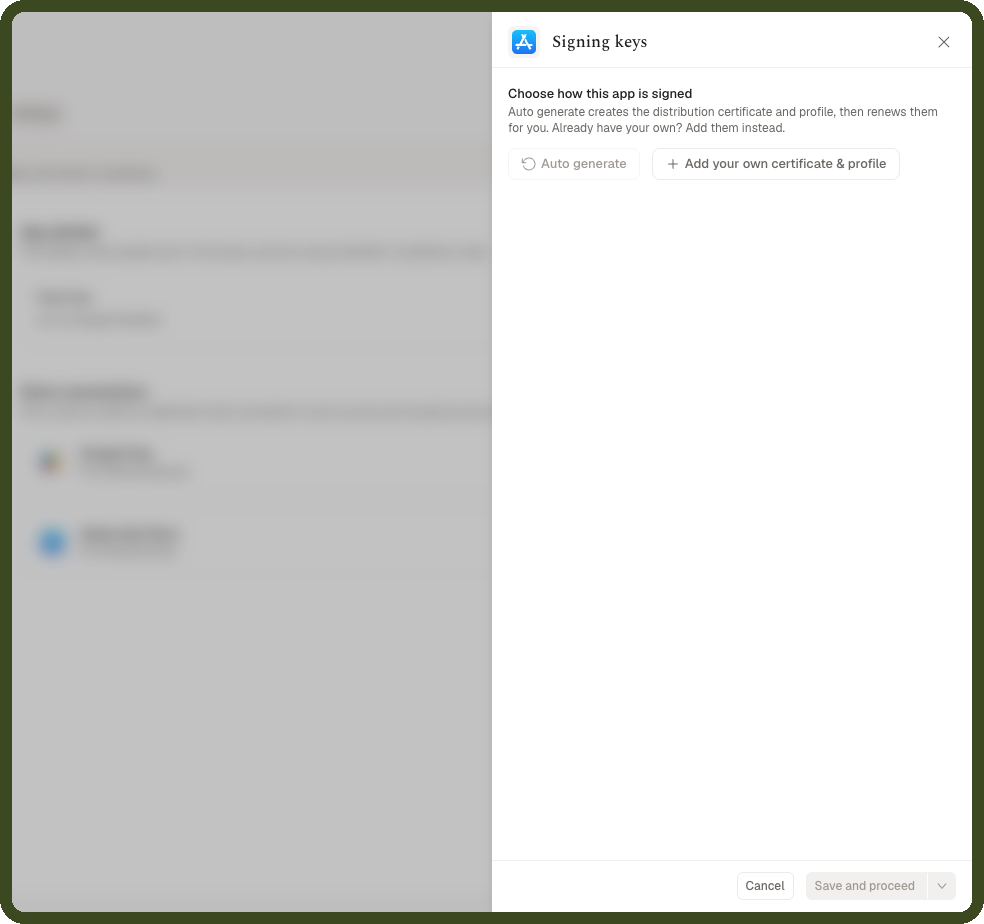
Note: If auto-generation is refused, the API key's role isn't allowed to create certificates. Use a key with the Admin role, or add your own certificate and profile.
Send the Store Release
Click New release and choose Release to app stores.
Select iOS under Publish on.
Check the Version: This is the version people see on the App Store. It's filled in for you, one step above the last one, and each new release must be higher.
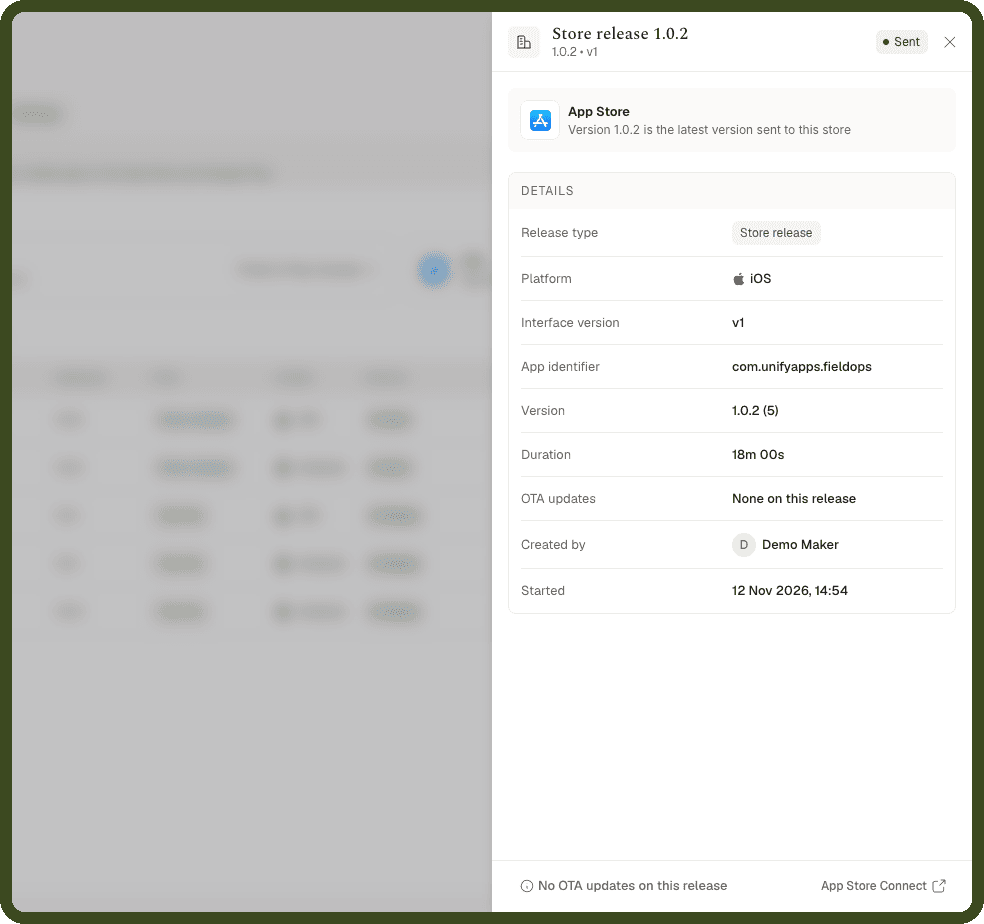
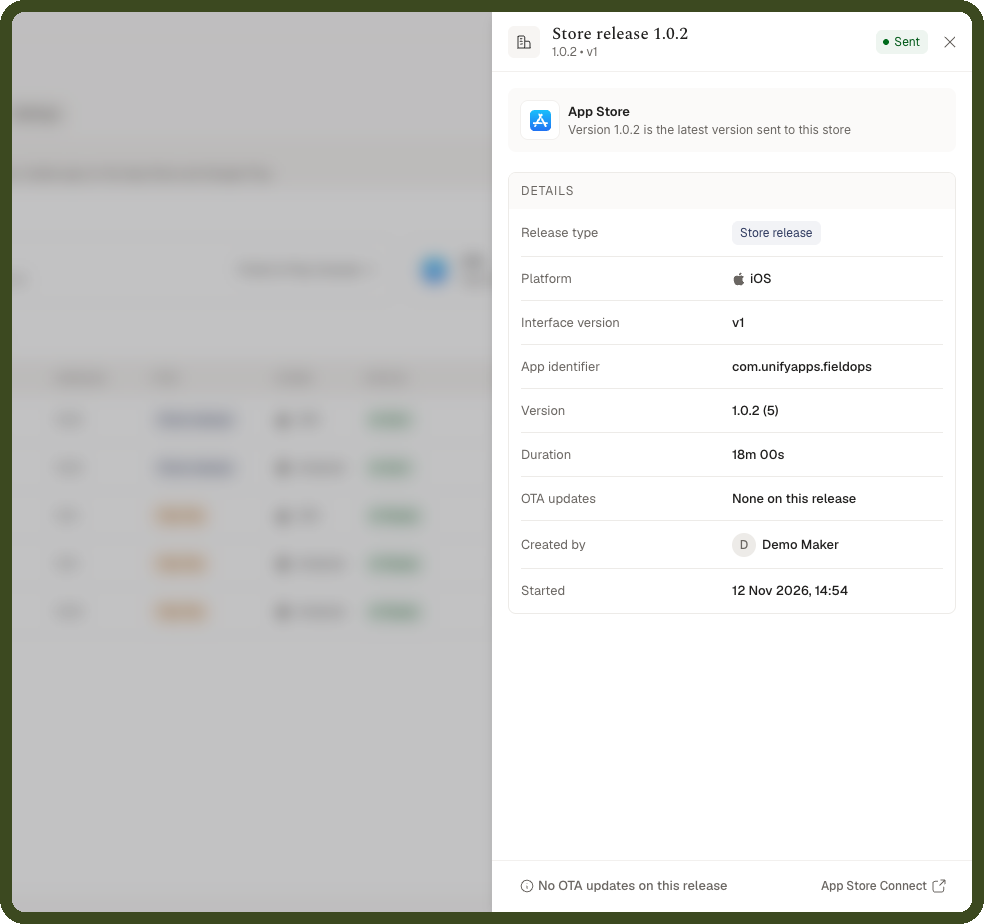
Click Send to store. When the upload finishes, the status changes to Sent.
Test It in TestFlight and Make It Public
A sent build lands in TestFlight in App Store Connect, not on the public App Store.
Wait for processing: In App Store Connect, open your app's TestFlight tab. The build shows Processing for a few minutes. If it shows Missing Compliance, click Manage and answer the encryption question, or no one can install it.
Add testers: Under Internal Testing, create a group and add people from your App Store Connect team (up to 100). They can install straight away. To invite anyone by email or with a public link, use External Testing instead (up to 10,000). The first build goes through Apple's beta review, which usually takes up to a day.
Testers install it: Each tester installs Apple's free TestFlight app, accepts the invite, and installs your app from TestFlight. New builds show up there as updates.
Make it public: In App Store Connect, open the App Store tab, fill in the listing (screenshots, description, privacy details), add the build, give Apple a demo login if the app needs one, and click Submit for Review. Apple usually reviews within a day or two.
Note: A TestFlight build stops working 90 days after it was uploaded. Send a new store release to keep testing.
Update Your App Without a Store Release (OTA)
An OTA (over-the-air) update sends changes to your screens, content and logic straight to apps installed through a store release, from the App Store or TestFlight. People get it the next time they open the app, with no App Store review. It needs at least one store release first, because it's sent on top of a version people have installed.
Publish your changes in the builder.
Click New release and choose Push an OTA update.
Select iOS (or iOS + Android) under Update on, and pick the app version to update. Only people on that version get the update.
Write what changed in Message, then click Push update. The status changes to Pushed.
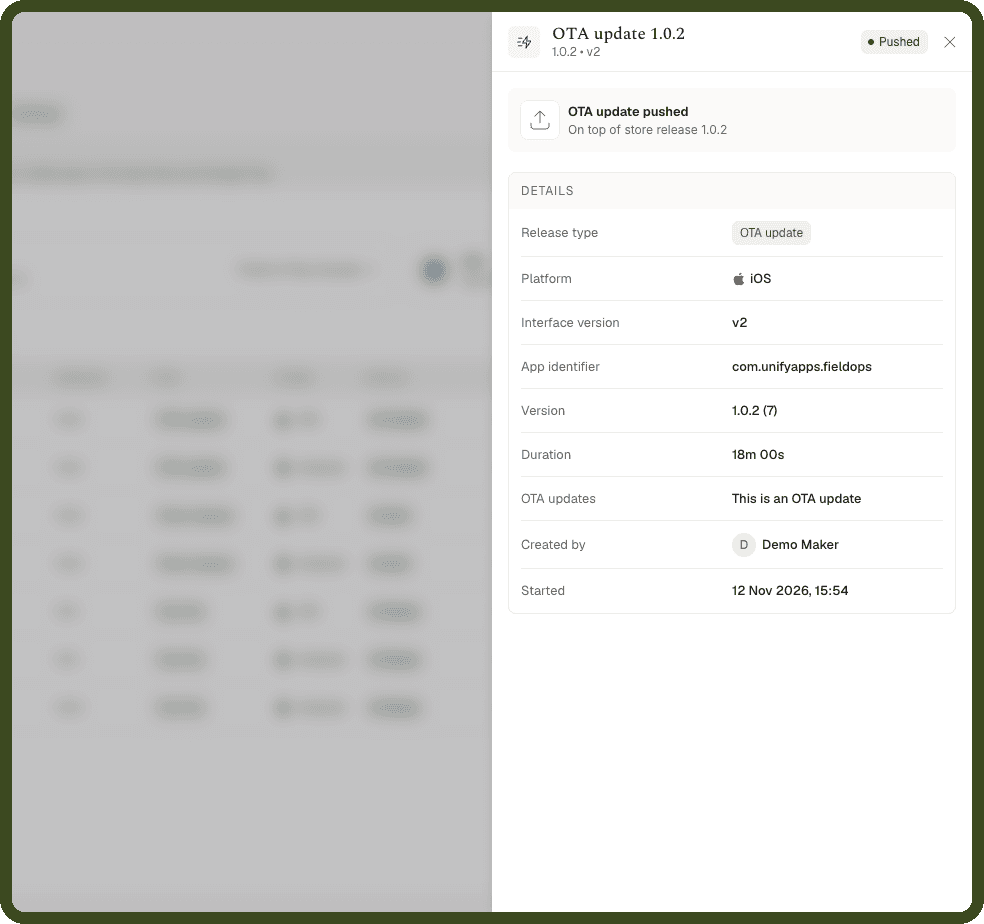
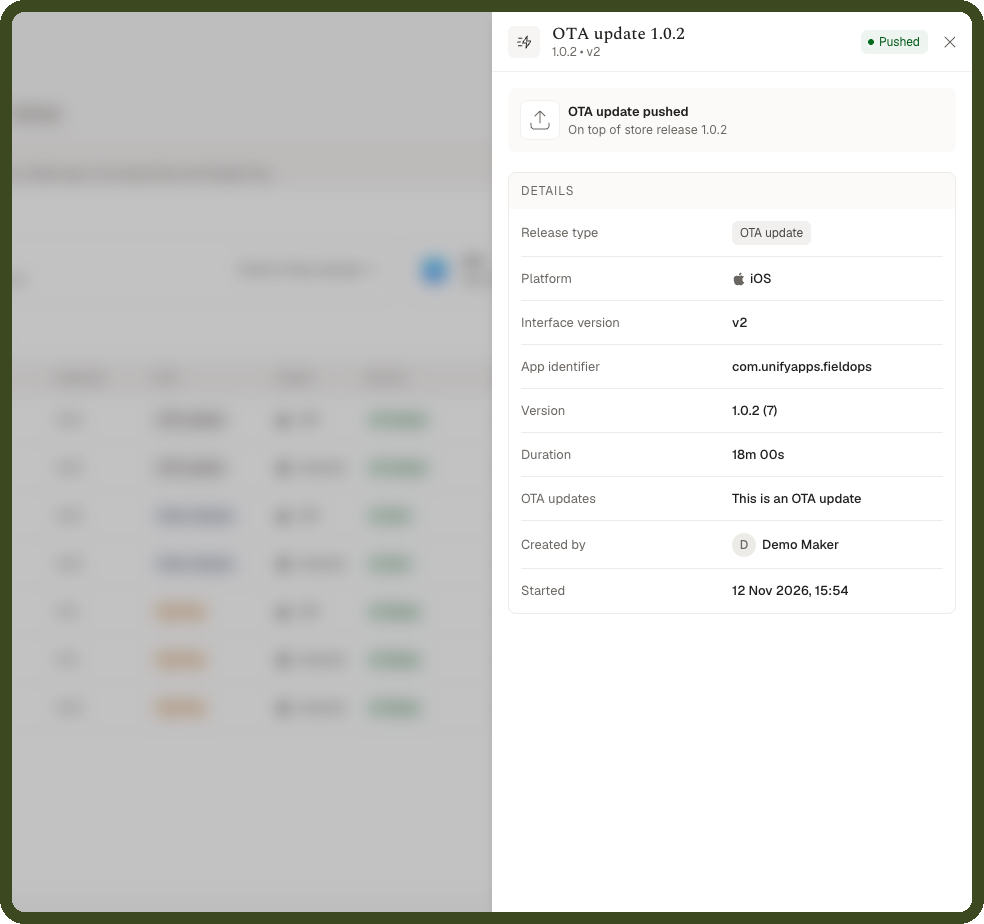
Note: An OTA update can't change the app name, icon or bundle ID, or add new device features. Those need a new store release. If someone doesn't see an update, ask them to close the app fully and open it again.