


Use the eGain connector to manage customer service and engagement.
Integrating your application with eGain lets you use these operations in an automation. It exposes 3 actions, listed below. Add the connector from the Connections area, authenticate, then select its operations in the automation builder. Capabilities: actions.
Authentication
Before you begin, make sure you have the following information:
Connection Name: Choose a meaningful name for your connection. This name helps you identify the connection within your application or integration settings.
Authentication Type: eGain supports Client credentials authentication.
Obtaining Your OAuth Client Credentials
Log in to your eGain Administrator Console with a Partition Administrator (PA) account.
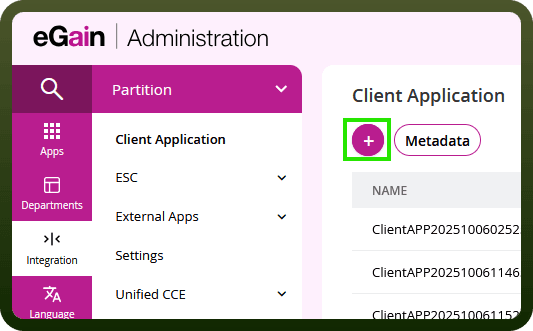
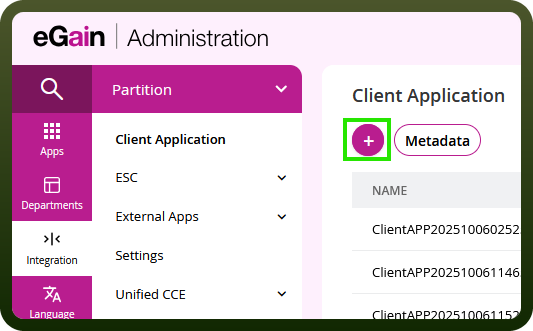
Go to the Department dropdown, then select Partition, then Integration, then Client Application.
Click the (+) Plus button to create a new client application.
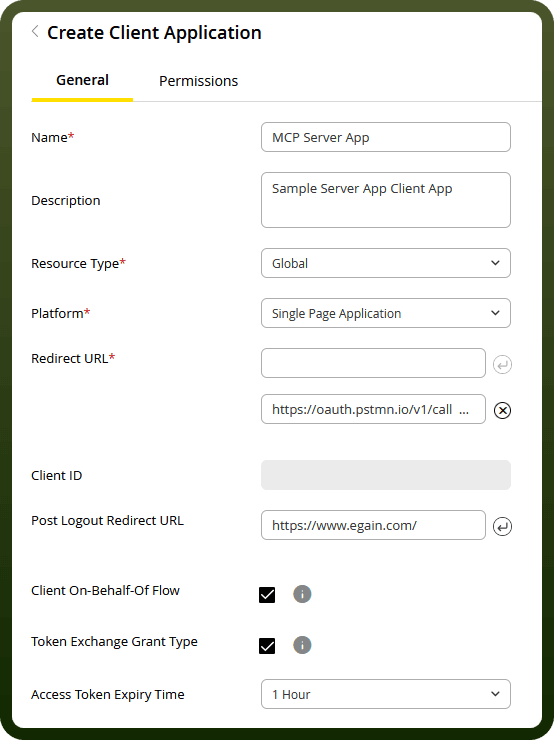
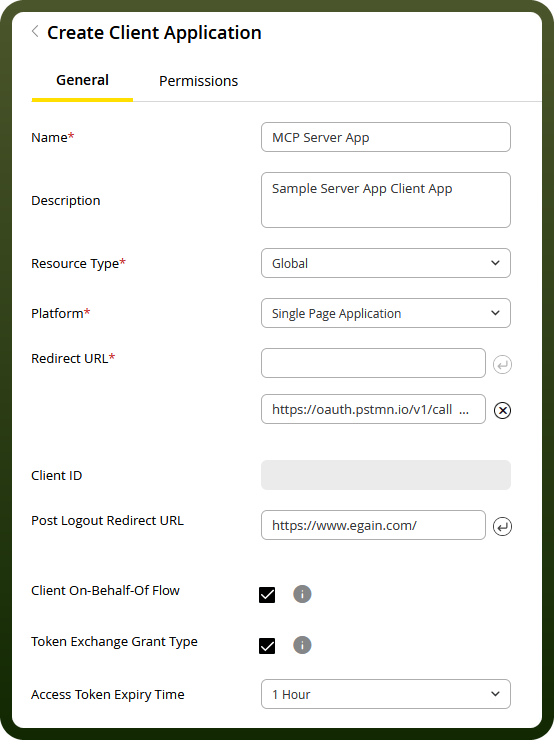
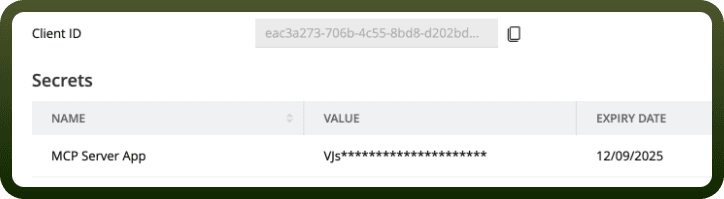
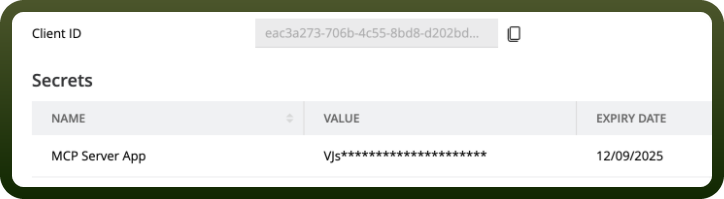
Enter a Name, set Resource Type to Global, set Platform to Web Application, then click Save. eGain generates a Client ID automatically.
In the secret table, click the (+) button to generate a Client Secret. Copy it and store it securely — it is shown only once.
Open the Permissions tab and grant the Application scopes your integration needs.
Click Metadata on the client application to find the Token URL, which you'll use with your Client ID and Client Secret to request an access token.
Actions
Action Name | Description |
|---|---|
Create email response | Creates and sends an email response to an existing eGain activity |
Create incoming email activity | Creates an incoming email activity in eGain |
Send email message | Send outbound email using eGain conversation notification messaging API |