


Use the Crossmint connector to integrate NFT and blockchain-based digital assets.
Integrating your application with Crossmint lets you use these operations in an automation. It exposes 26 actions, listed below. Add the connector from the Connections area, authenticate, then select its operations in the automation builder. Capabilities: actions.
Authentication
Before you begin, make sure you have the following information:
Connection Name: Choose a meaningful name for your connection. This name helps you identify the connection within your application or integration settings.
Authentication Type: The authentication method for this connector is defined in the connection setup. Select the connector in the Connections area to see the fields it requires.
Obtaining Your API Key
Log in to the Crossmint console at crossmint.com/console (use staging.crossmint.com/console if you want a staging/test key first).
Open your project, then go to the API Keys page.
In the Server-side keys section, click Create new key.
Toggle on the scopes this connector needs, such as the collections and NFT scopes, then click Create server key.
Copy the generated API key and store it securely. Production keys are shown only once — once you close the dialog or navigate away, you can't view the key secret again.
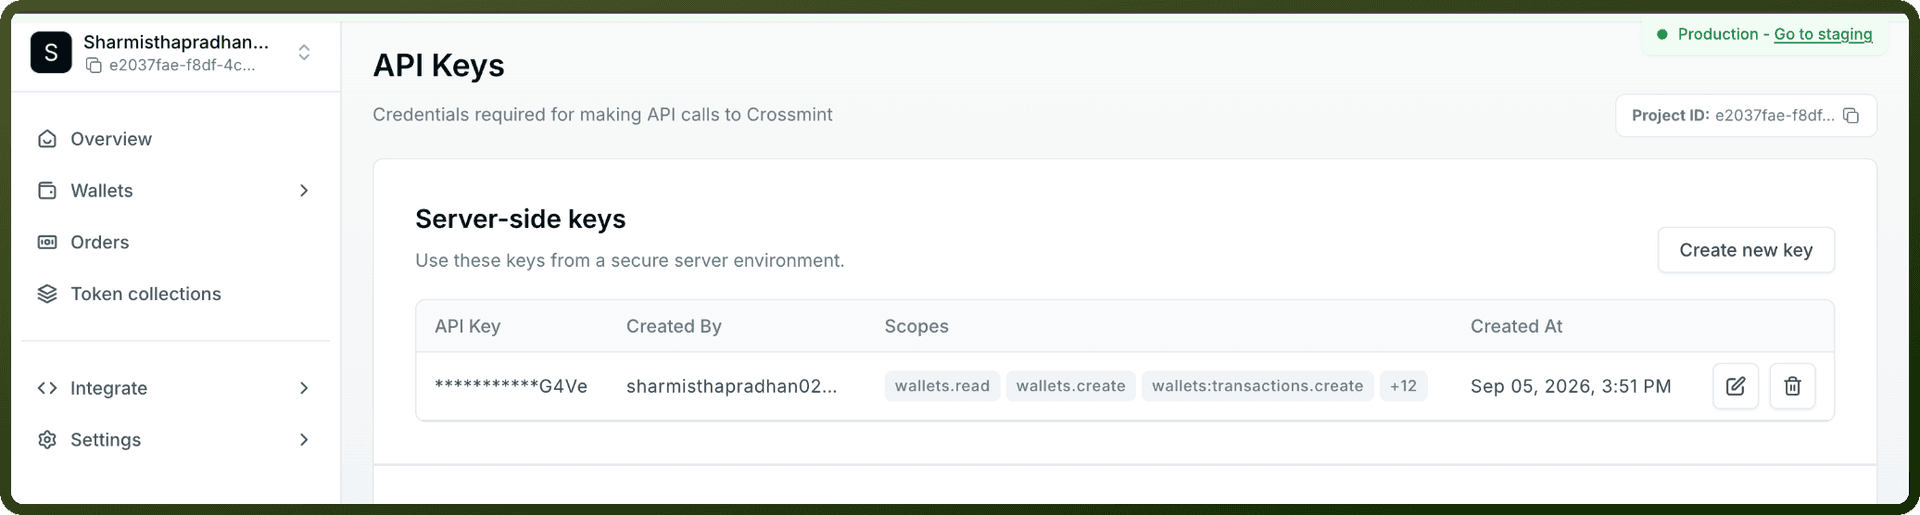
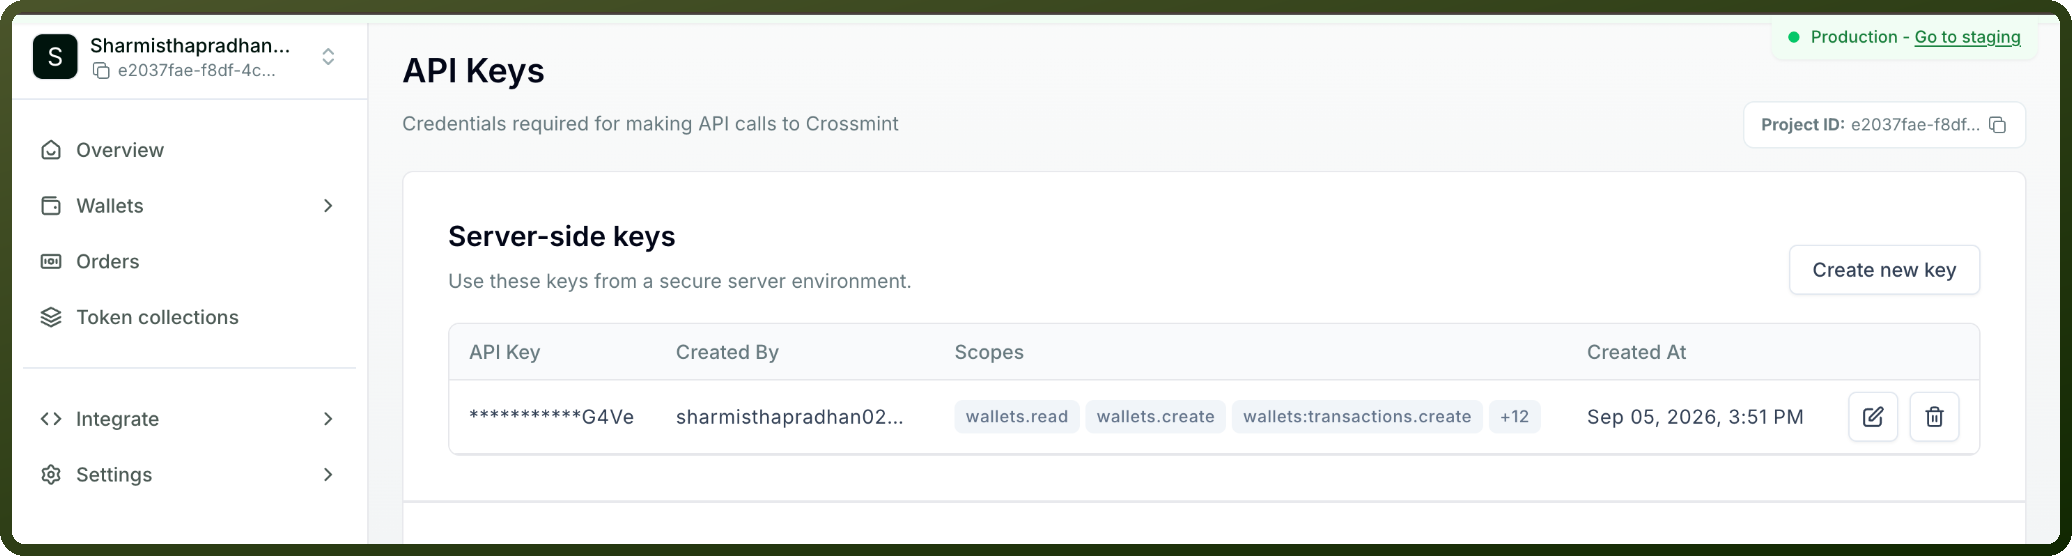
Authentication & setup
Client API Key (Development)
Create account on production console
Generate Client API Key in Developers → API Keys tab
Select scopes:
users.create,users.read,wallets.readInclude
X-API-KEYheader in requests
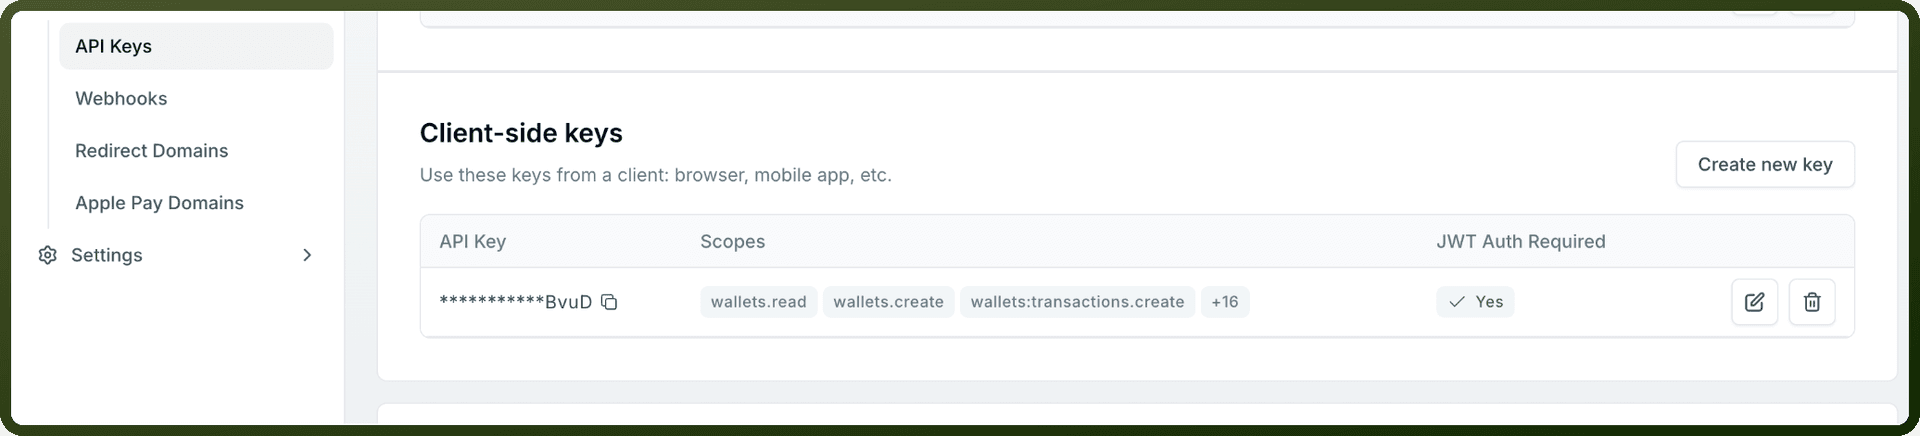
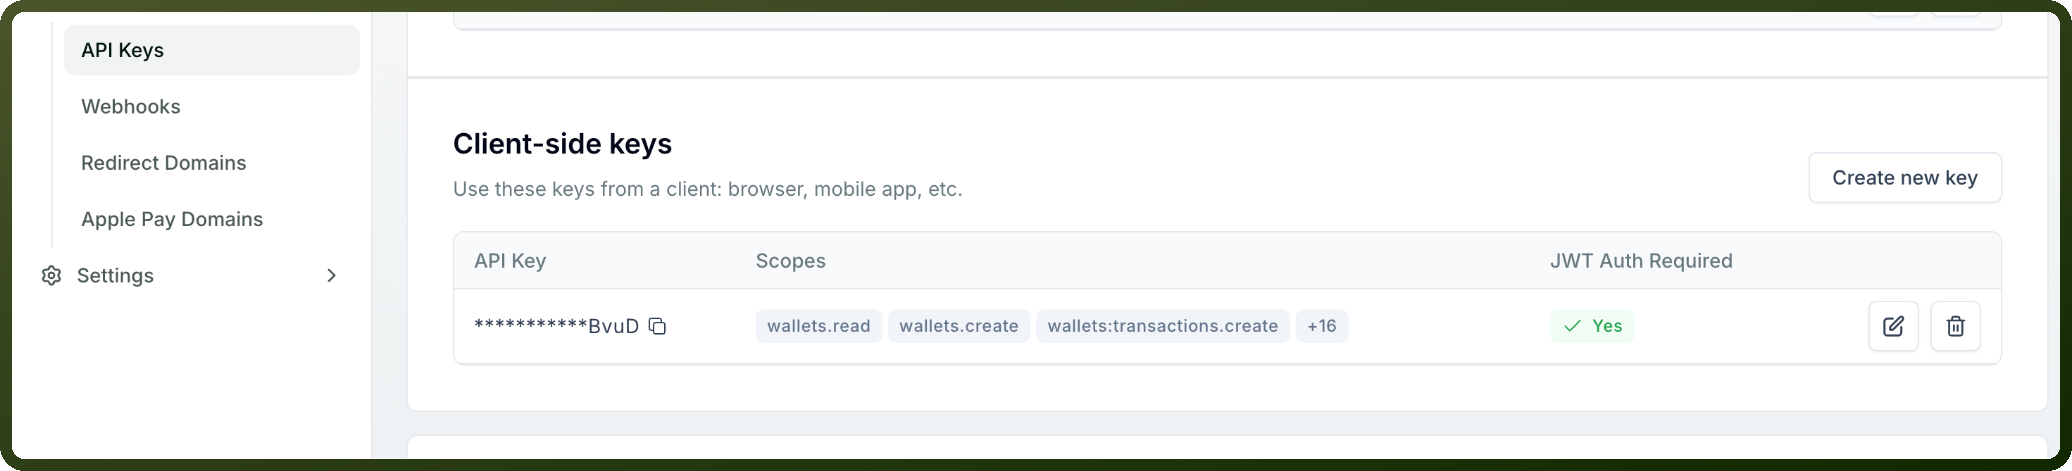
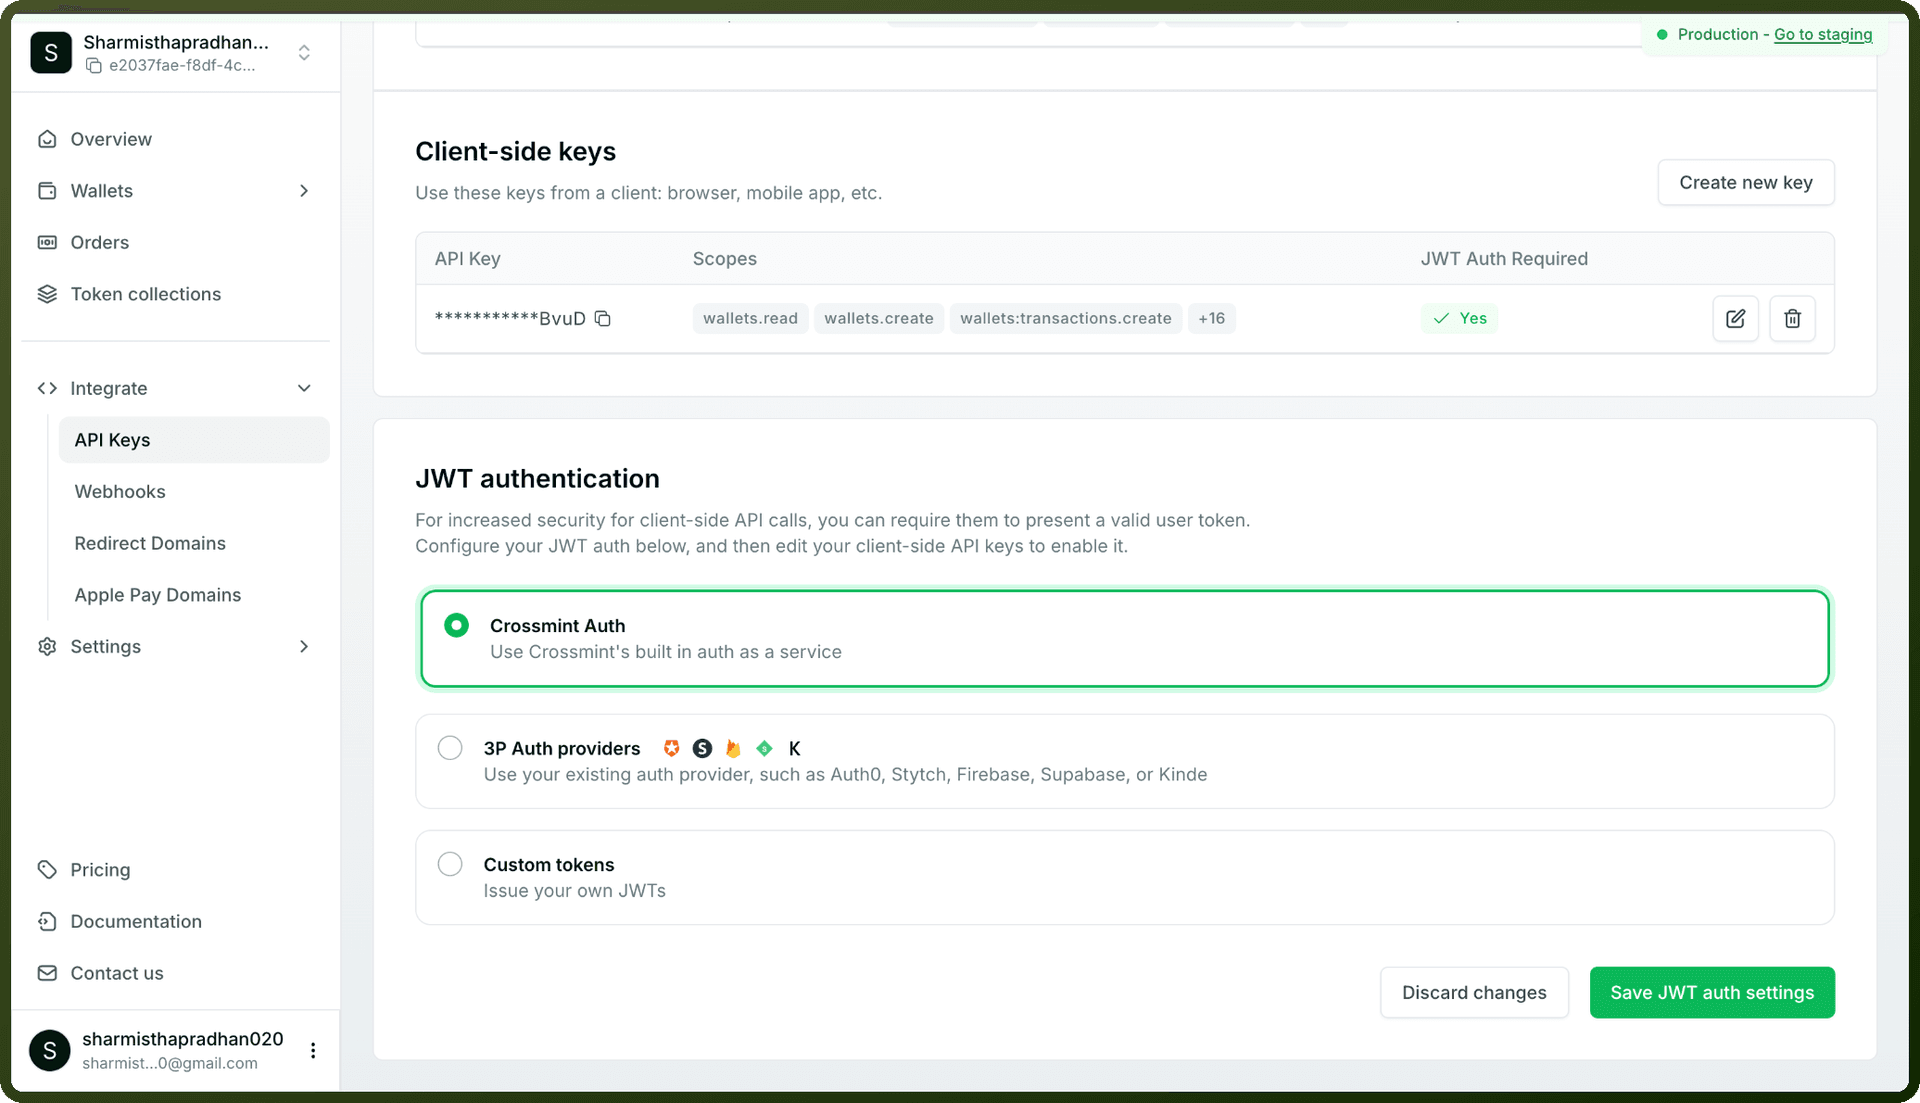
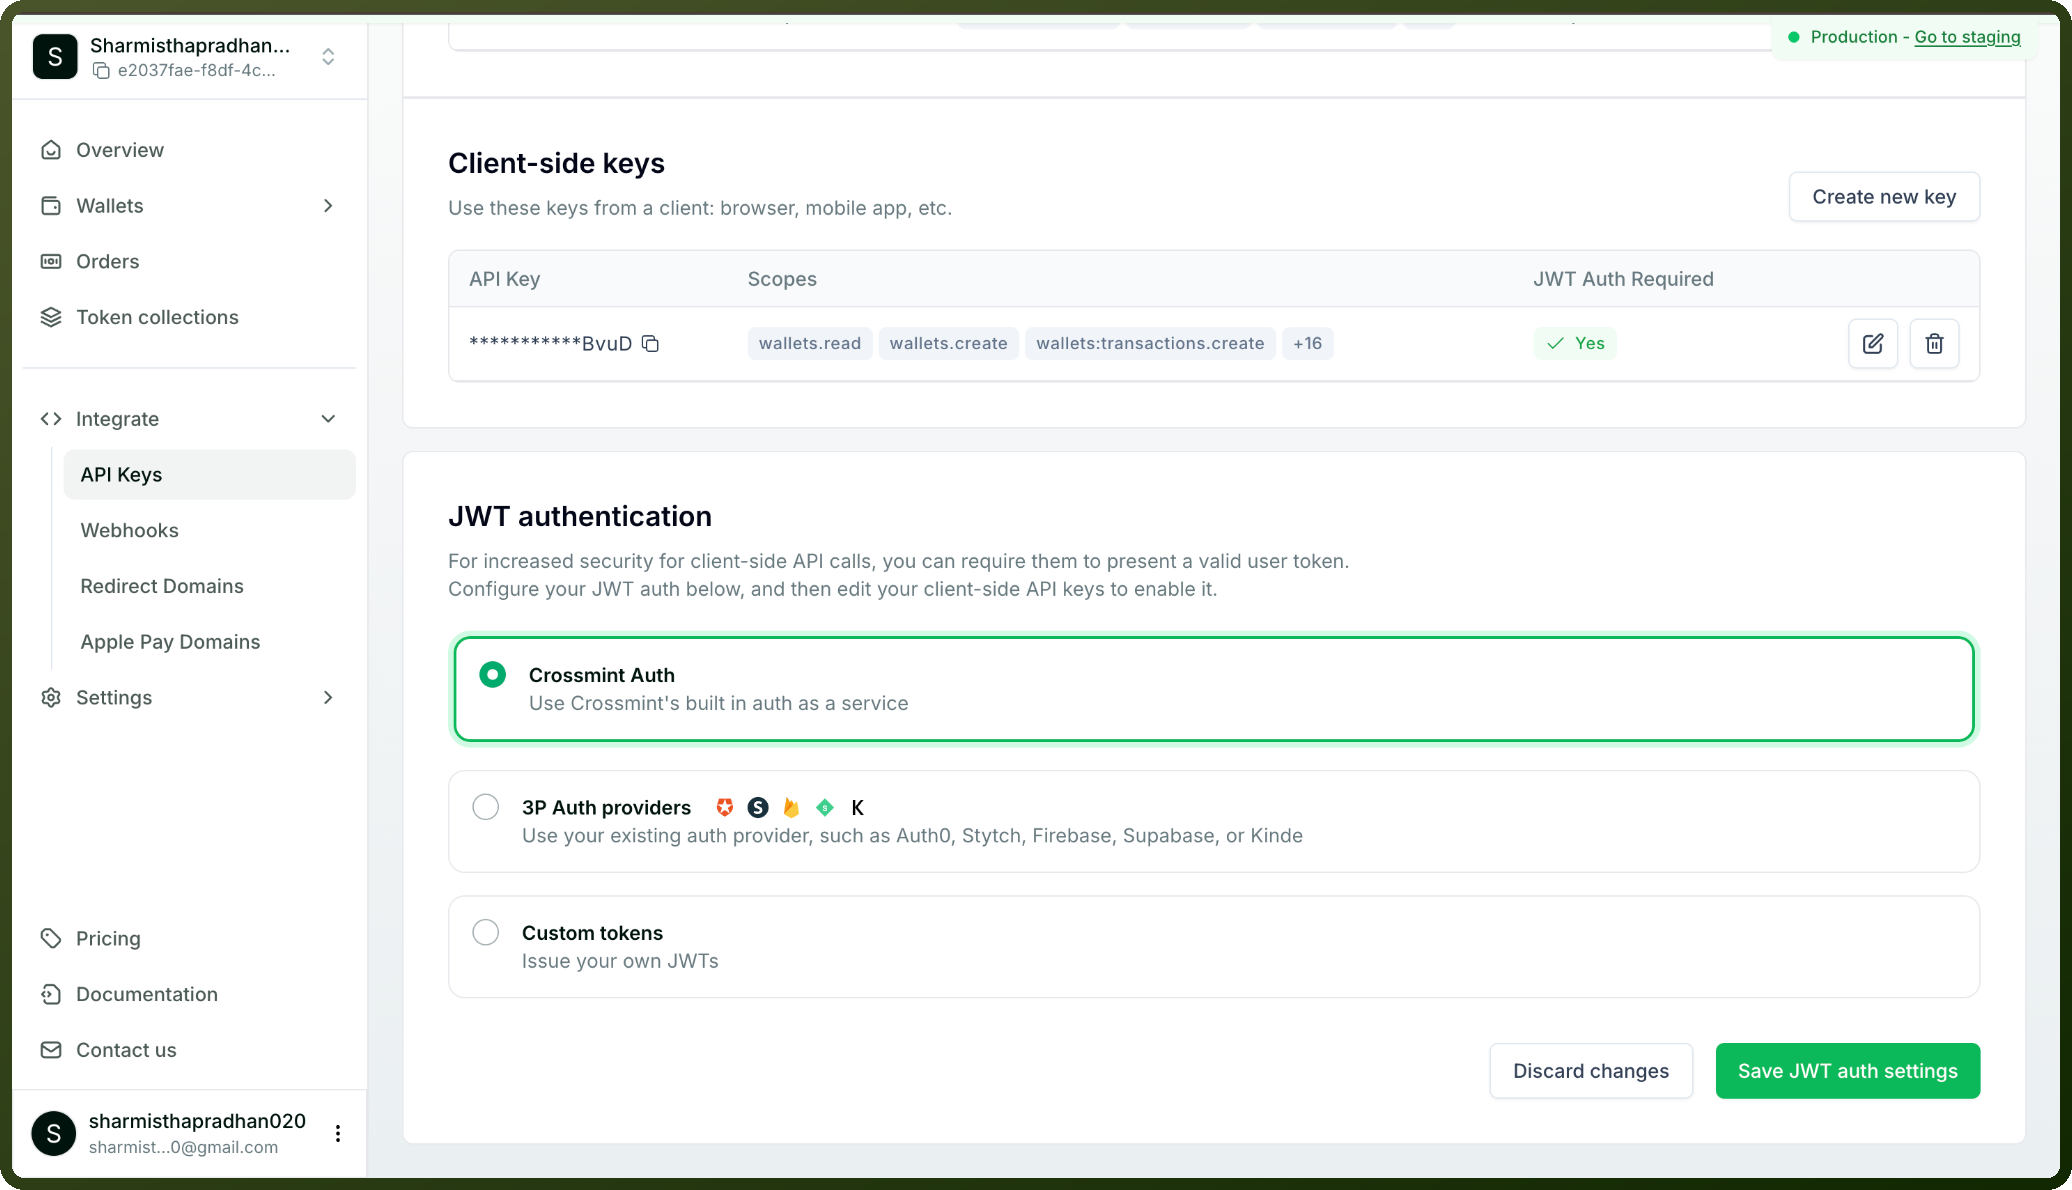
JWT Integration (Production)
Bring Your Own Auth: Use external providers (Auth0, Firebase, Stytch, NextAuth, etc.)
Configure JWT authentication in Crossmint Console
Crossmint automatically provisions wallets upon user signup
Actions
Action Name | Description |
|---|---|
Burn NFT | Burn (destroy) an NFT |
Create collection | Create a new NFT collection |
Create collection (idempotent) | Create collection with specific ID |
Create template | Create a token template for a collection |
Create template (idempotent) | Create template with specific ID |
Delete template | Delete a token template |
Edit NFT | Edit NFT metadata on IPFS |
Edit template | Edit a token template |
Fetch collections | List all NFT collections created under the current Crossmint project |
Get all NFTs | Get all NFTs in a collection |
Get all templates | Get all templates for a collection |
Get base URI | Get base URI of a collection |
Get collection info | Get collection info by ID |
Get collections | Get all collections with full response |
Get NFT (mint status) | Get NFT by ID - retrieve NFT details and mint status |
Get royalties configuration | Get royalties for a collection |
Get template | Get template by ID |
Get transferability | Get transferability status of a collection |
Mint NFT | Mint an NFT and deliver it to a web3 wallet or email address |
Mint NFT with ID | Mint an NFT with a specific ID (idempotent) |
Mint SFT | Mint Semi-Fungible Tokens (SFTs) |
Remove royalties | Remove all royalties from a collection |
Set base URI | Set base URI for a collection |
Set royalties | Set royalties for a collection |
Set transferability | Set transferability for a collection |
Update collection | Update collection settings |
About the API
Crossmint provides user authentication and wallet provisioning APIs. The platform enables Web3 authentication alongside traditional email methods. Authentication supports Farcaster, Twitter, and wallet-based login. Smart wallets are provisioned automatically when users sign up. React SDK wraps authentication in CrossmintProvider and CrossmintAuthProvider components. Webhook notifications available for user events. The API integrates seamlessly with major auth providers through standardized OAuth and JWT flows.