


Use the Expensify connector to automate expense reporting and reimbursement.
Integrating your application with Expensify lets you use these operations in an automation. It exposes 8 actions, listed below. Add the connector from the Connections area, authenticate, then select its operations in the automation builder. Capabilities: actions.
Authentication
Before you begin, make sure you have the following information:
Connection Name: Choose a meaningful name for your connection. This name helps you identify the connection within your application or integration settings.
Authentication Type: The authentication method for this connector is defined in the connection setup. Select the connector in the Connections area to see the fields it requires.
Obtaining Your API Credentials
Log in to your Expensify account at expensify.com (create one first if you don't already have one).
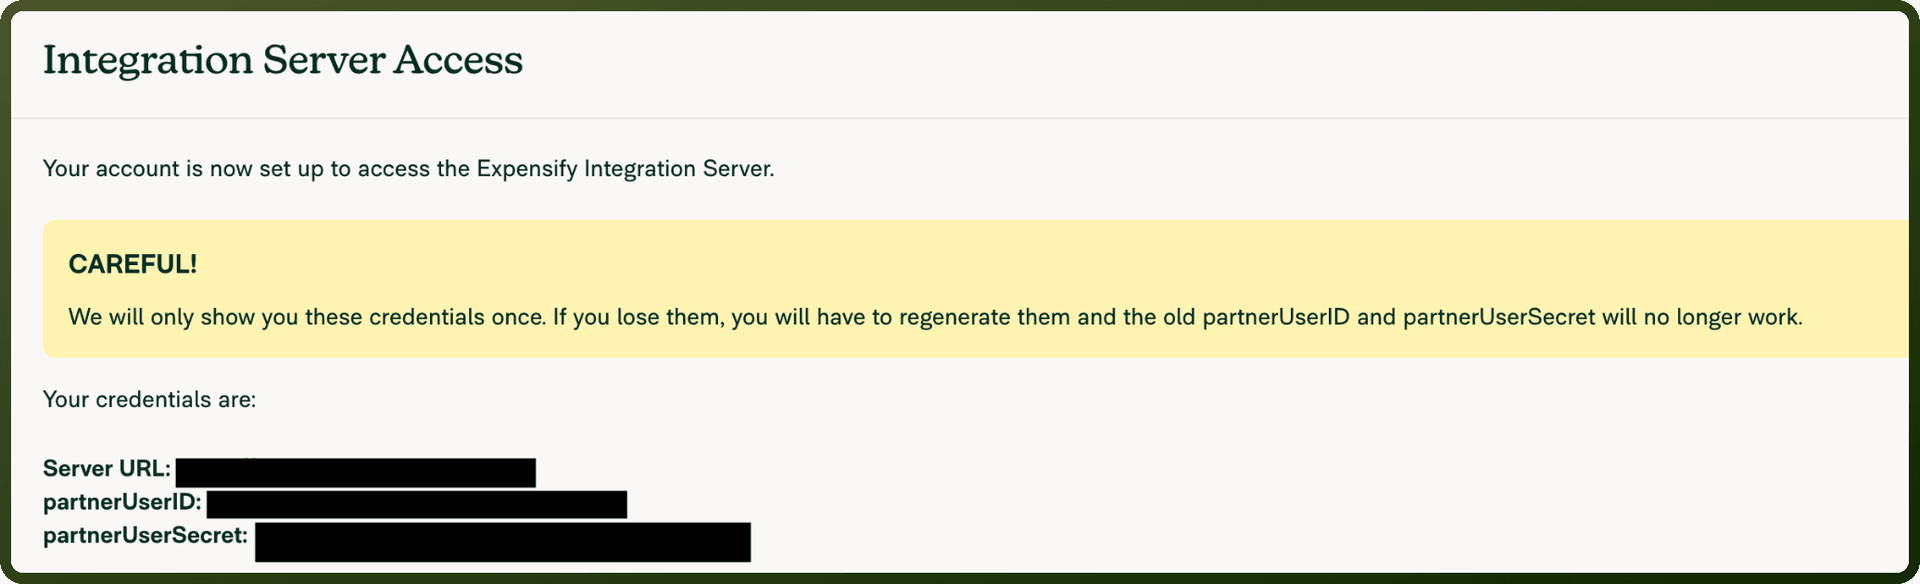
In your browser, go to the Integration Server credentials page at expensify.com/tools/integrations/.
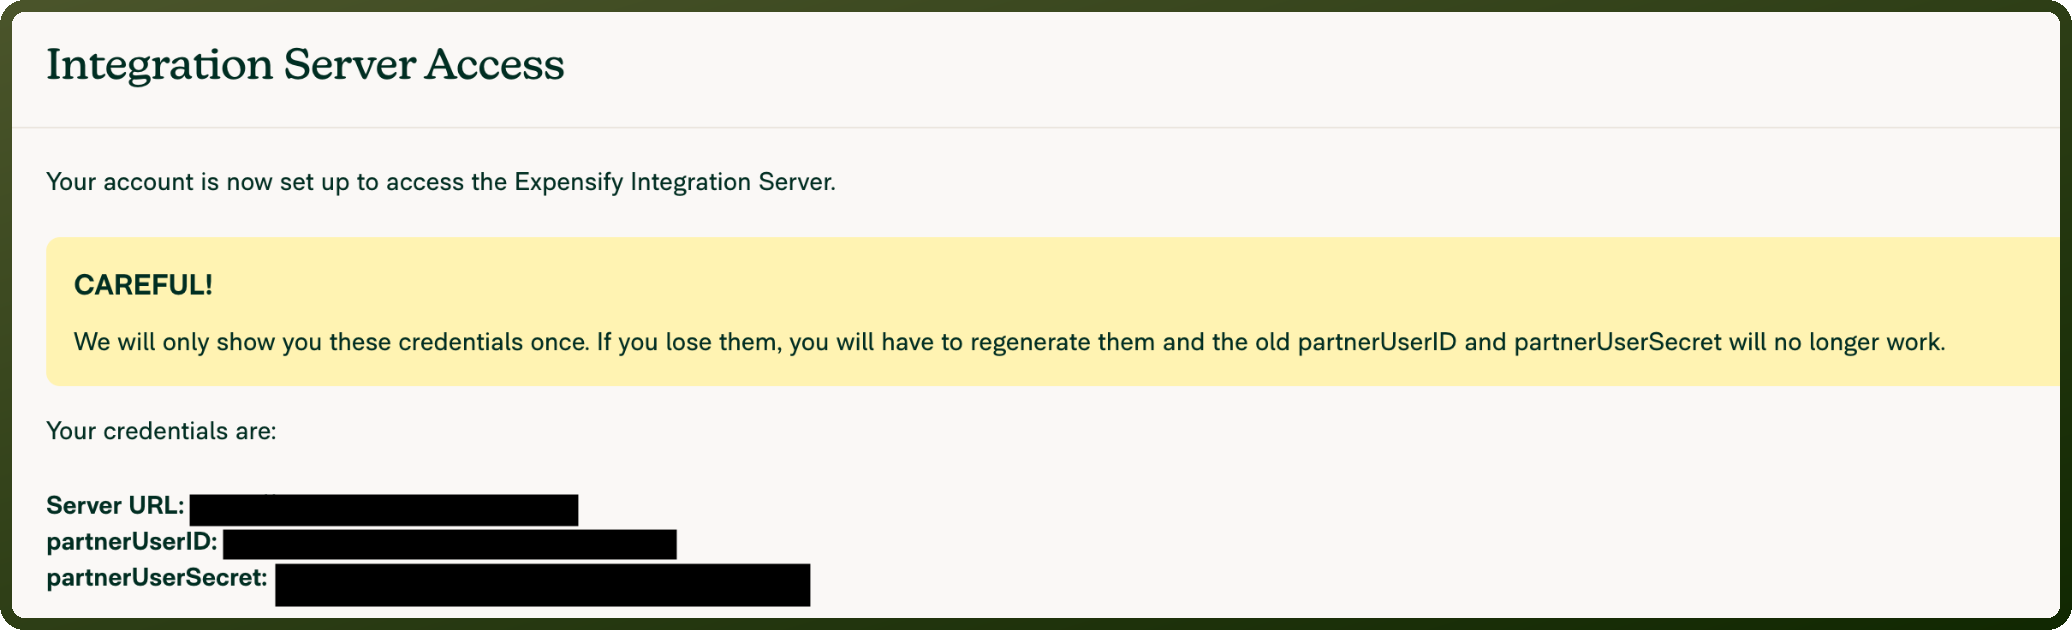
Expensify automatically generates a
partnerUserIDandpartnerUserSecretpair and displays them on the page.Copy both the
partnerUserIDandpartnerUserSecretand store them securely — they are shown only once and can't be retrieved again.
Actions
Action Name | Description |
|---|---|
Create expense | Create expense in Expensify |
Create expense report | Create expense report in Expensify |
Create policy | Create policy in Expensify |
Download reports | Download reports that were generated with the export reports action in Expensify |
Export reports | Exports reports in a configurable format by report IDs or date range in Expensify |
Get policy list | Get policy list in Expensify |
Update an employee | Updates an employee in Expensify |
Update report status | Update expense report status in Expensify. |