


Use the EmailJS connector to send emails directly from web applications.
Integrating your application with EmailJS lets you use these operations in an automation. It exposes 2 actions, listed below. Add the connector from the Connections area, authenticate, then select its operations in the automation builder. Capabilities: actions.
Authentication
Before you begin, make sure you have the following information:
Connection Name: Choose a meaningful name for your connection. This name helps you identify the connection within your application or integration settings.
Authentication Type: The authentication method for this connector is defined in the connection setup. Select the connector in the Connections area to see the fields it requires.
Obtaining Your API Keys
Log in to your EmailJS account at dashboard.emailjs.com.
Click Account in the left-hand navigation menu.
On the Account page, copy the value shown under Public Key.
On the same page, copy the value shown under Private Key.
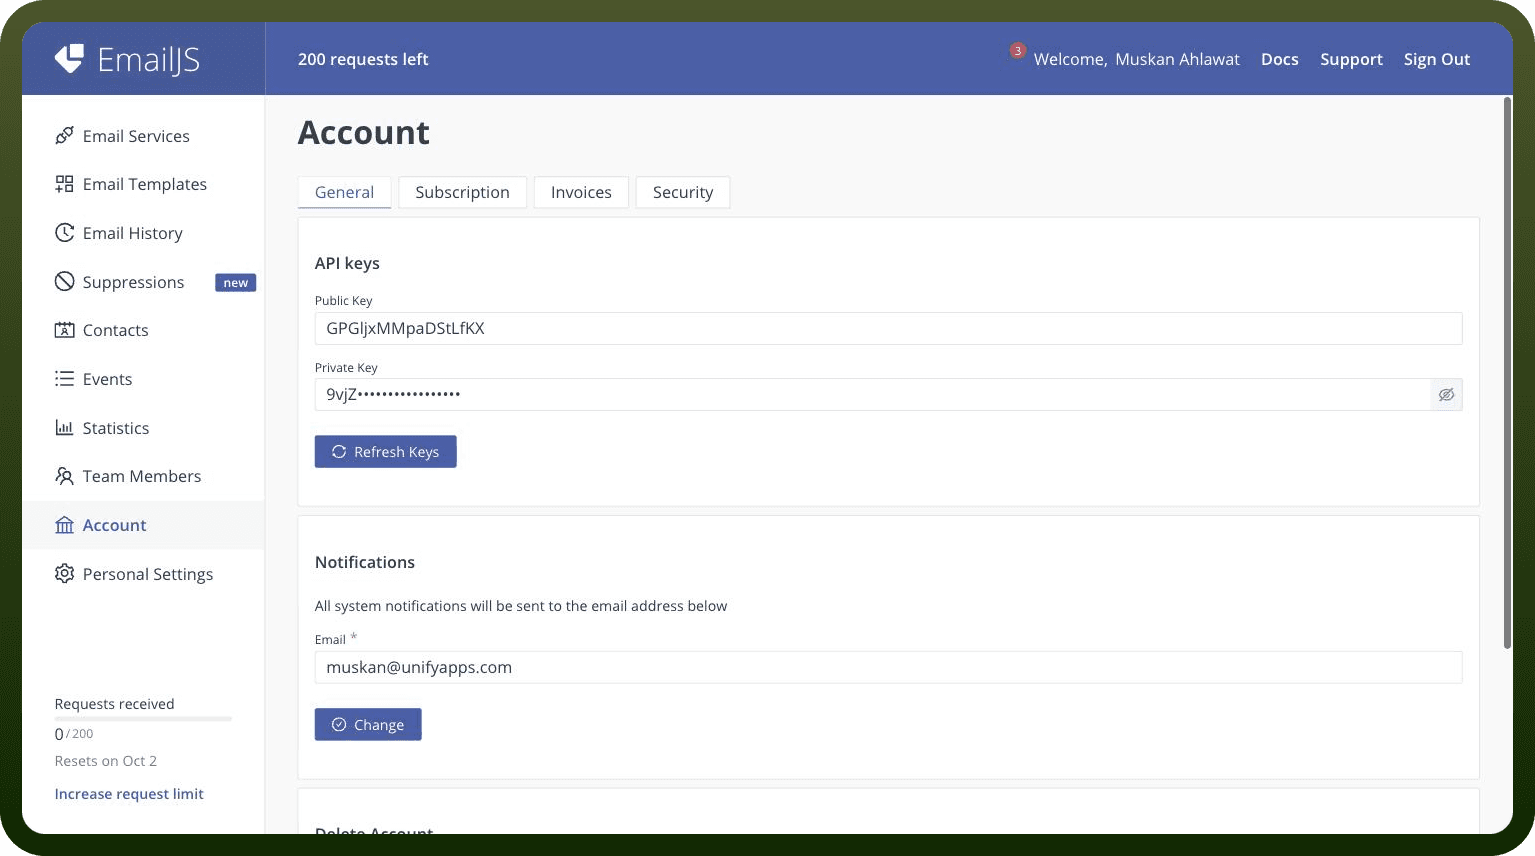
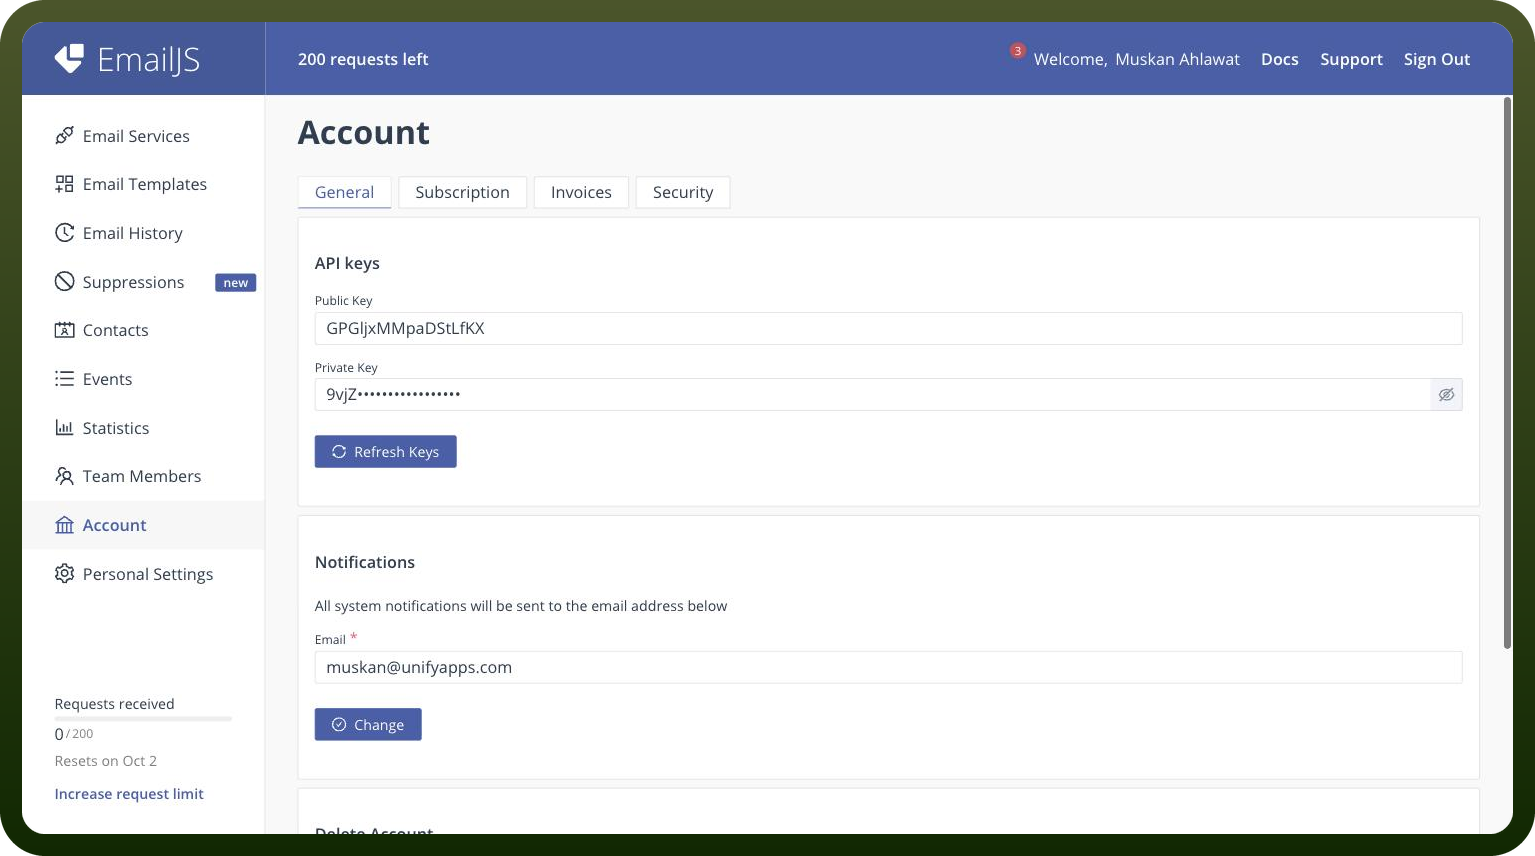
Store both keys securely. UnifyApps uses the Public Key and Private Key together to authenticate requests to EmailJS.
Actions
Action Name | Description |
|---|---|
Fetch history of sent emails | Fetch history of sent emails in EmailJS |
Send an email | Sends an email using EmailJS |