


Use the Click2Mail connector to automate printing and physical mail delivery.
Integrating your application with Click2Mail lets you use these operations in an automation. It exposes 4 actions, listed below. Add the connector from the Connections area, authenticate, then select its operations in the automation builder. Capabilities: actions.
Authentication
Before you begin, make sure you have the following information:
Connection Name: Choose a meaningful name for your connection. This name helps you identify the connection within your application or integration settings.
Authentication Type: The authentication method for this connector is defined in the connection setup. Select the connector in the Connections area to see the fields it requires.
Obtaining Your API Username and Password
Sign in to your Click2Mail account, or create a Business account if you don't have one yet.
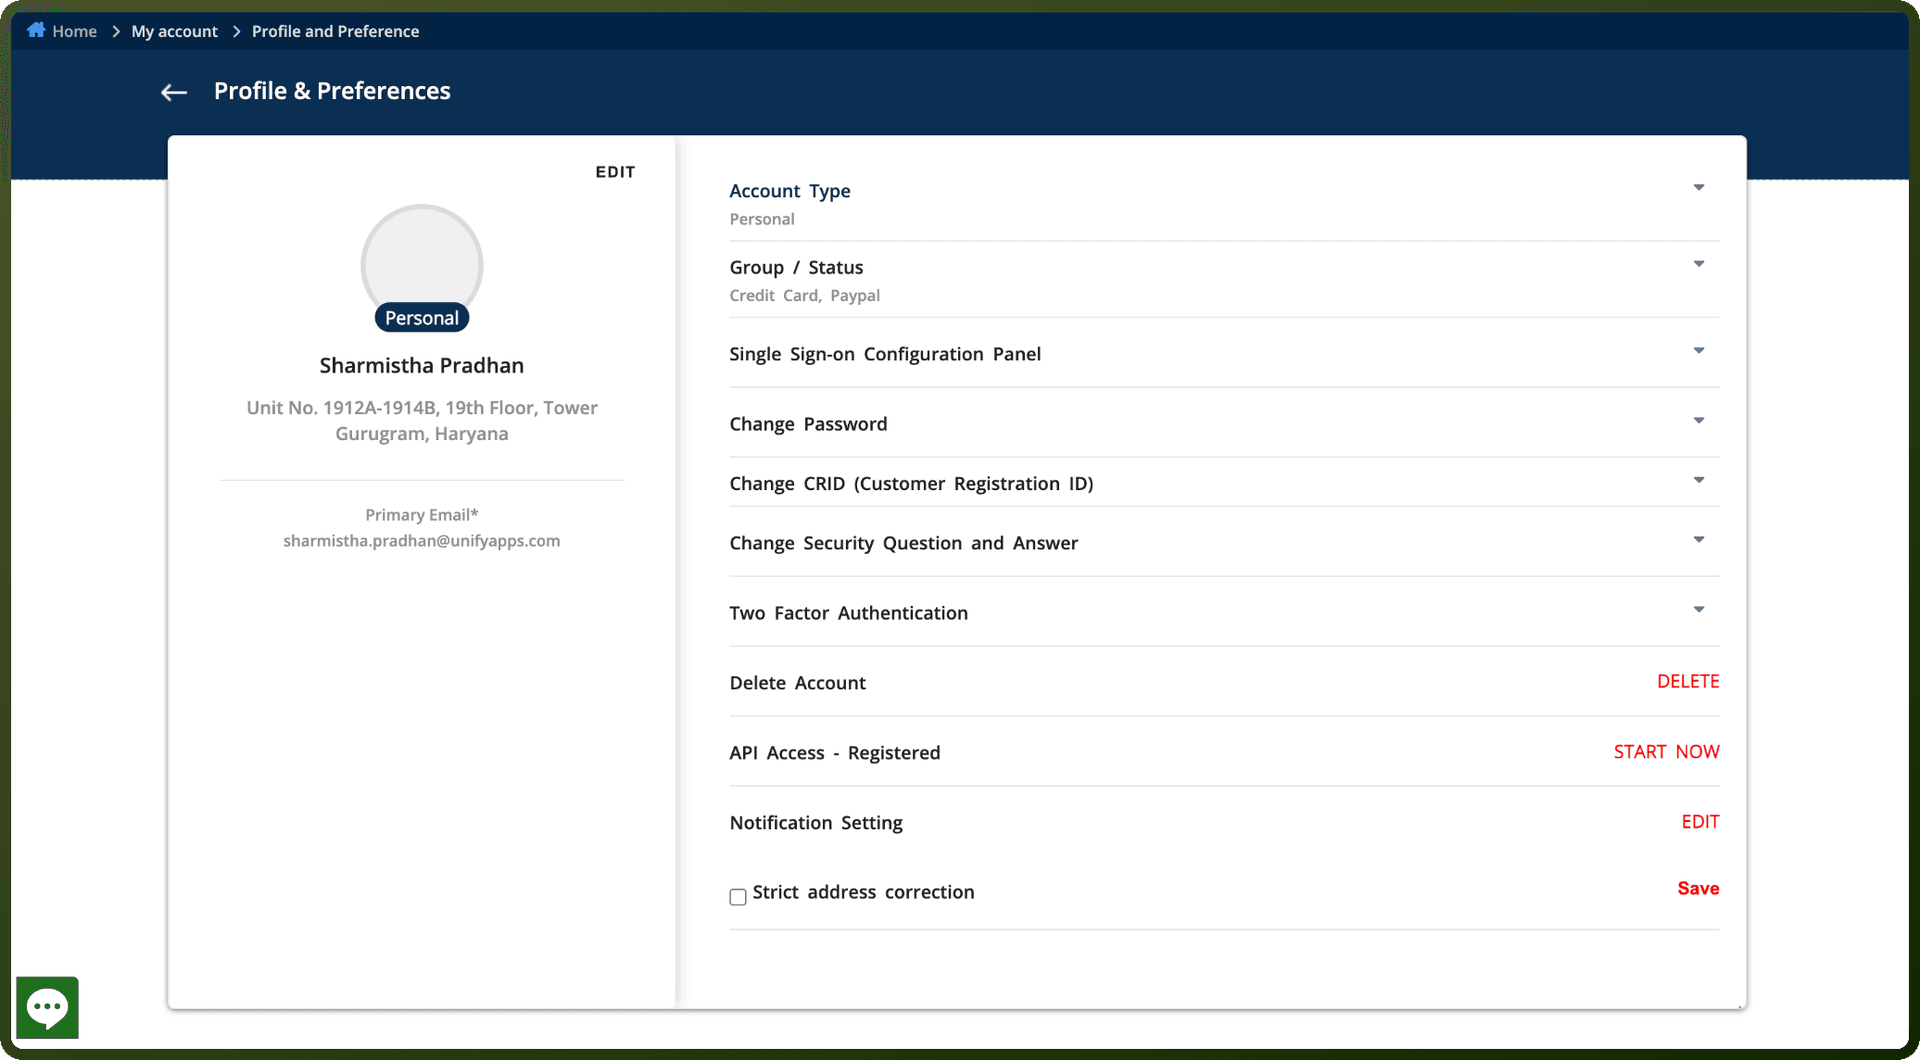
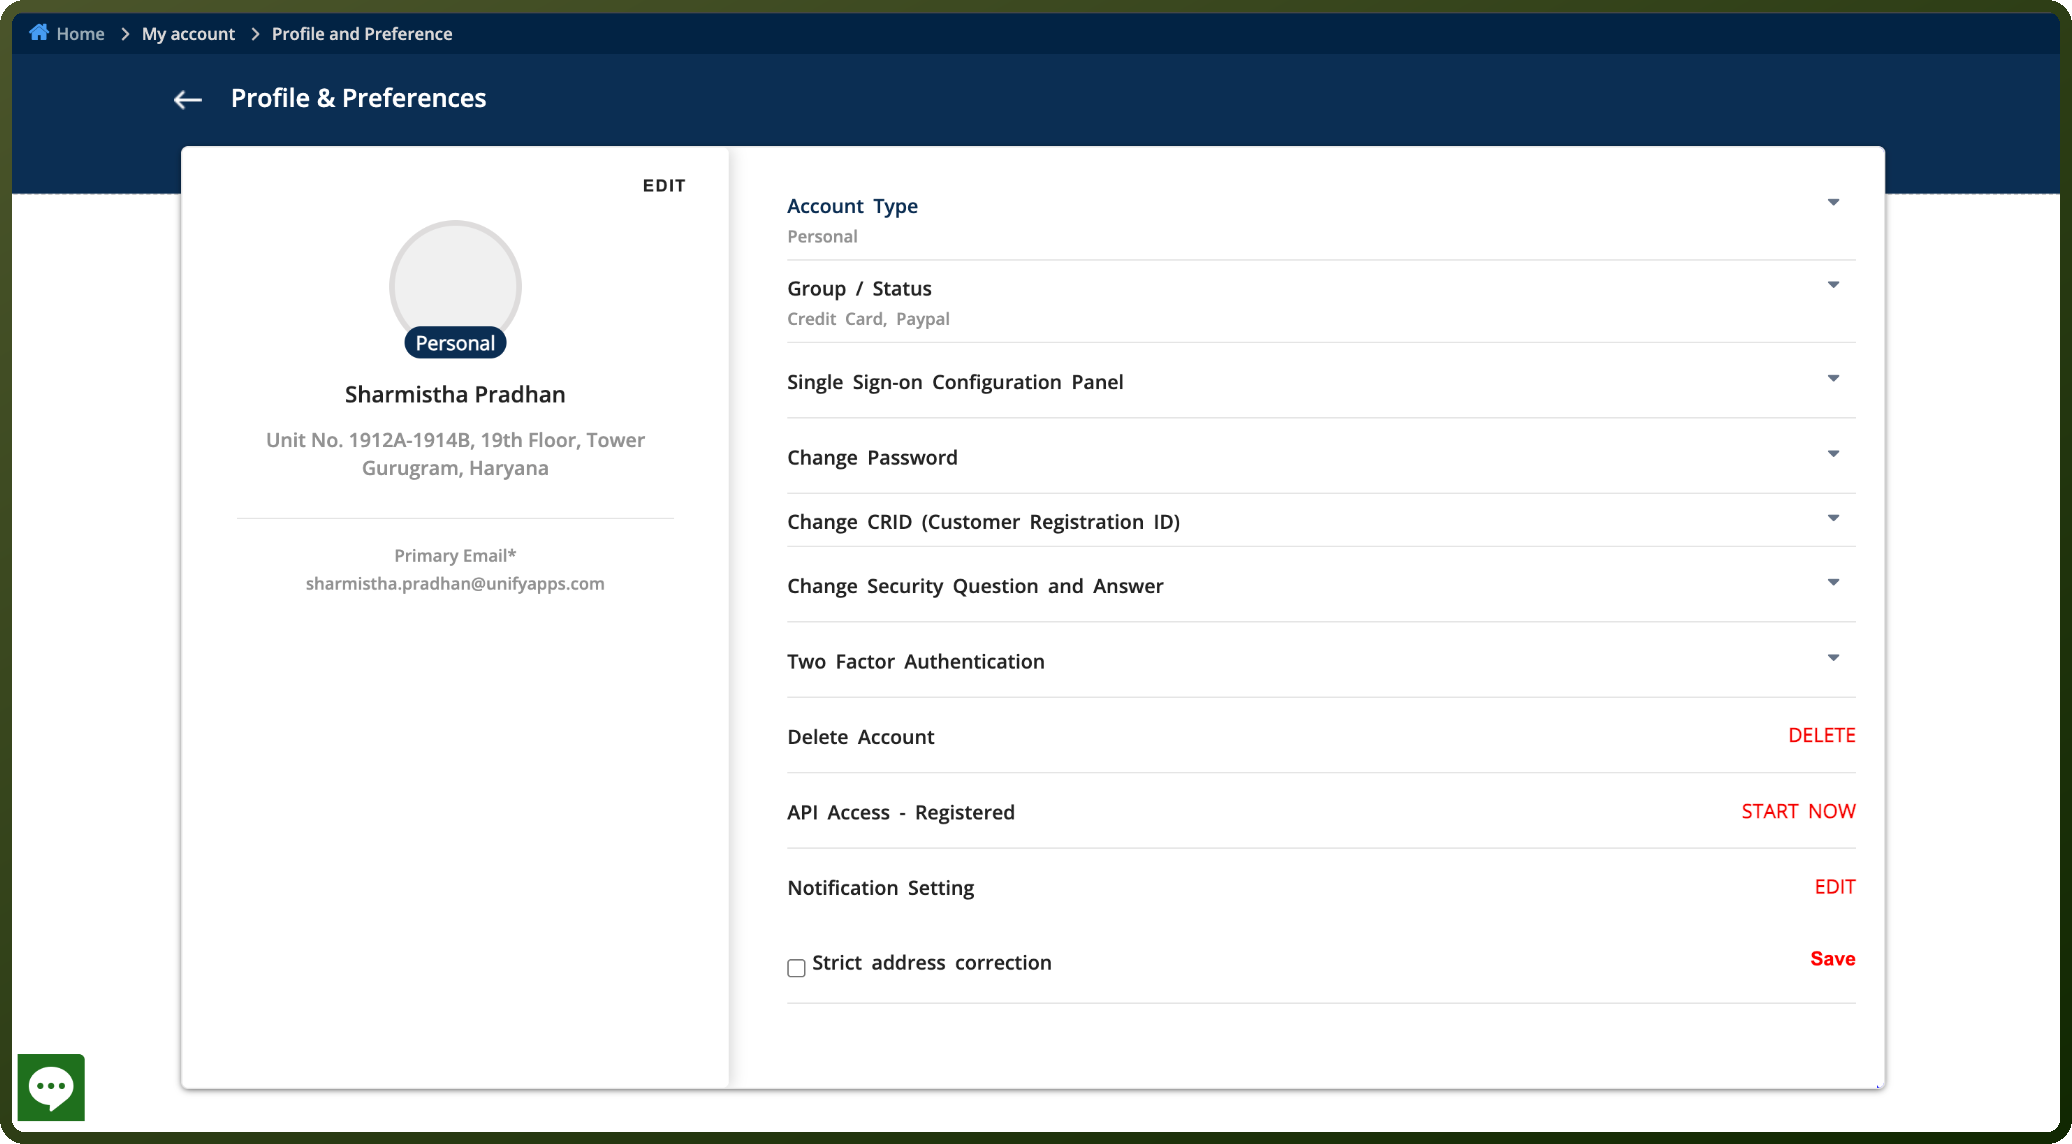
Go to the My Account menu in the upper right, then select Profile & Preference.
In the Account Type section, confirm your account type is set to Business. If it isn't, click Account Type, then Edit to change it.
In the API Access section, click Start Now.
Complete the short survey to activate API access on your account.
Use your Click2Mail account username and password as the credentials when you connect Click2Mail in UnifyApps.
Actions
Action Name | Description |
|---|---|
Check job status | Checks job status in Click2Mail |
Create job | Creates a job in customer account Click2Mail |
List documents | Lists documents from Click2Mail |
Upload document | Creates a new document in your account from an uploaded file in Click2Mail |