


Use the Kickbox connector to verify email addresses and improve deliverability.
Integrating your application with Kickbox lets you use these operations in an automation. It exposes 3 actions, listed below. Add the connector from the Connections area, authenticate, then select its operations in the automation builder. Capabilities: actions.
Authentication
Before you begin, make sure you have the following information:
Connection Name: Choose a meaningful name for your connection. This name helps you identify the connection within your application or integration settings.
Authentication Type: The authentication method for this connector is defined in the connection setup. Select the connector in the Connections area to see the fields it requires.
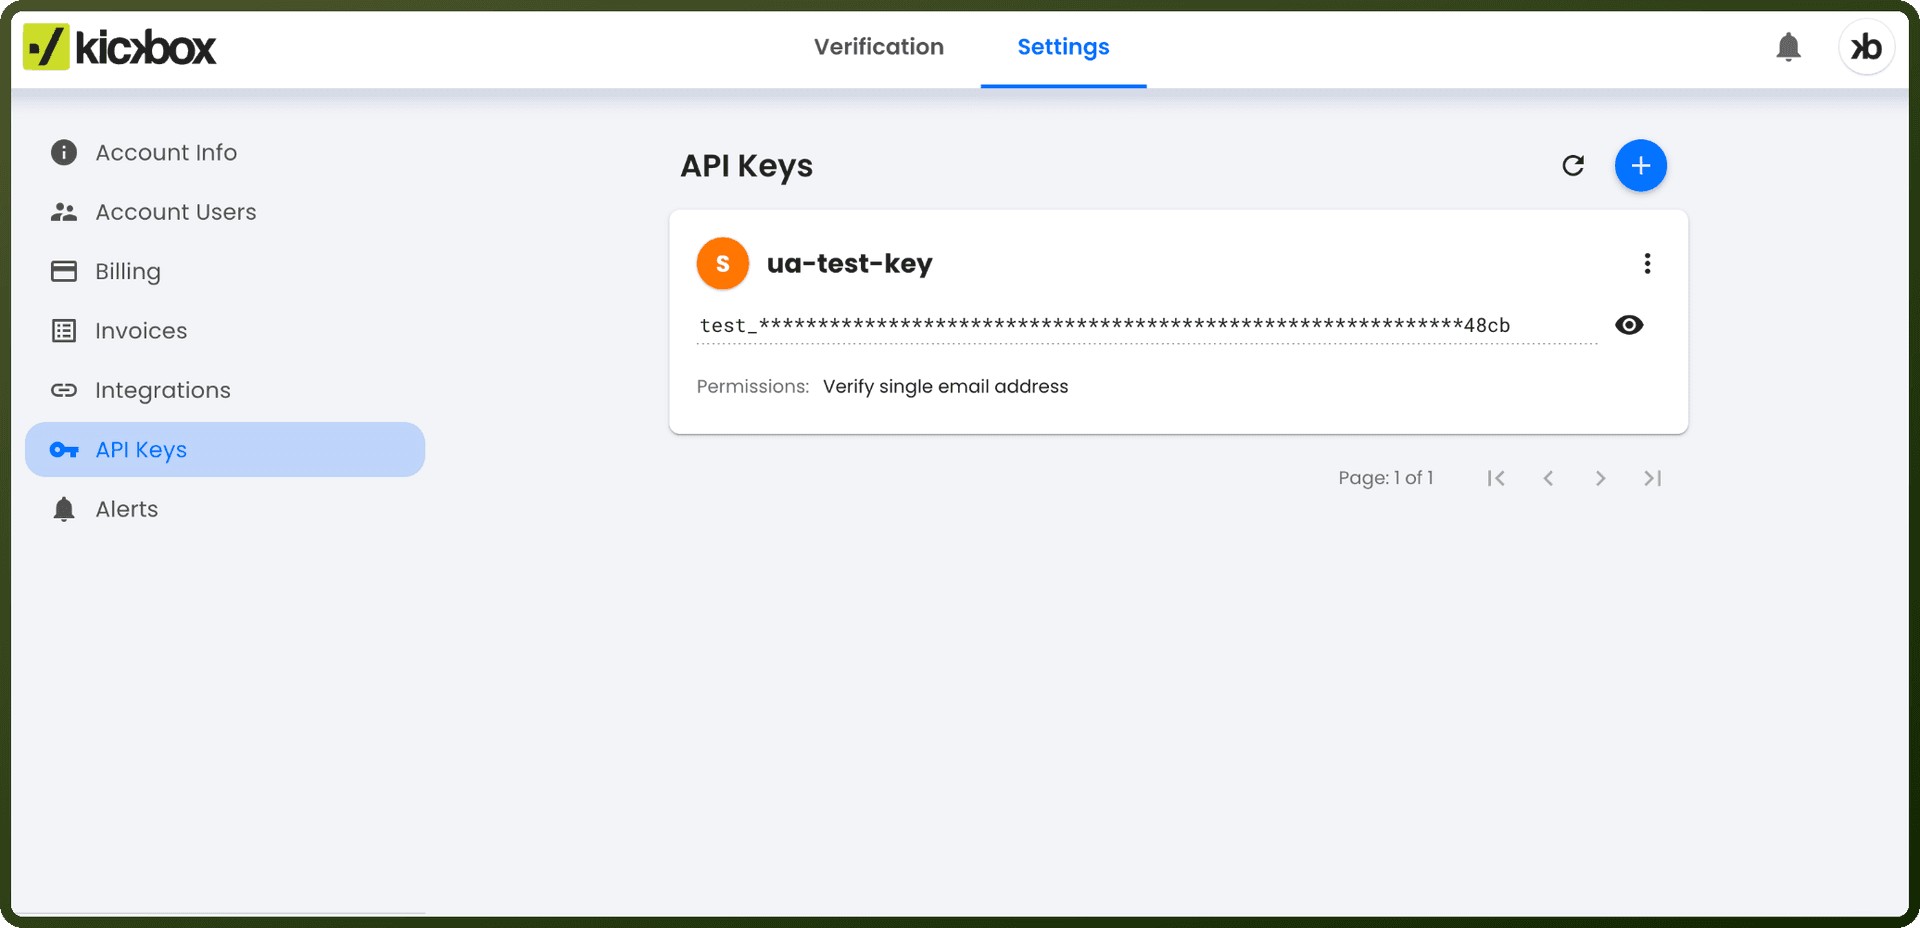
Obtaining Your API Key
Log in to your Kickbox account.
In the left navigation menu, click API.
Click Manage Keys to open your API keys dashboard.
Click the create button in the top right corner to add a new key.
Give the key a name, select which API endpoints it can access, and choose Sandbox Mode or Production Mode.
Click Create to generate the key.
Copy the generated API key and store it securely for further authentication purposes.
Actions
Action Name | Description |
|---|---|
Create batch verification | Creates a batch email verification job in Kickbox |
Get batch status | Retrieves status of a batch verification job in Kickbox |
Verify email | Verify an email address using Kickbox |
Where are the full docs?
The official, detailed documentation for this connector's underlying API is maintained by the provider:
Use it for the exact request/response details of each operation. On the platform, you connect Kickbox from the Connections area (pick Kickbox, choose the authentication method above, and authenticate), then use its operations and triggers in an automation.